










Understanding Your Wood Chipper: Key Components and Their Functions
Before you can operate a gas wood chipper safely, you need to know its anatomy. While designs vary, most chippers share these core components:
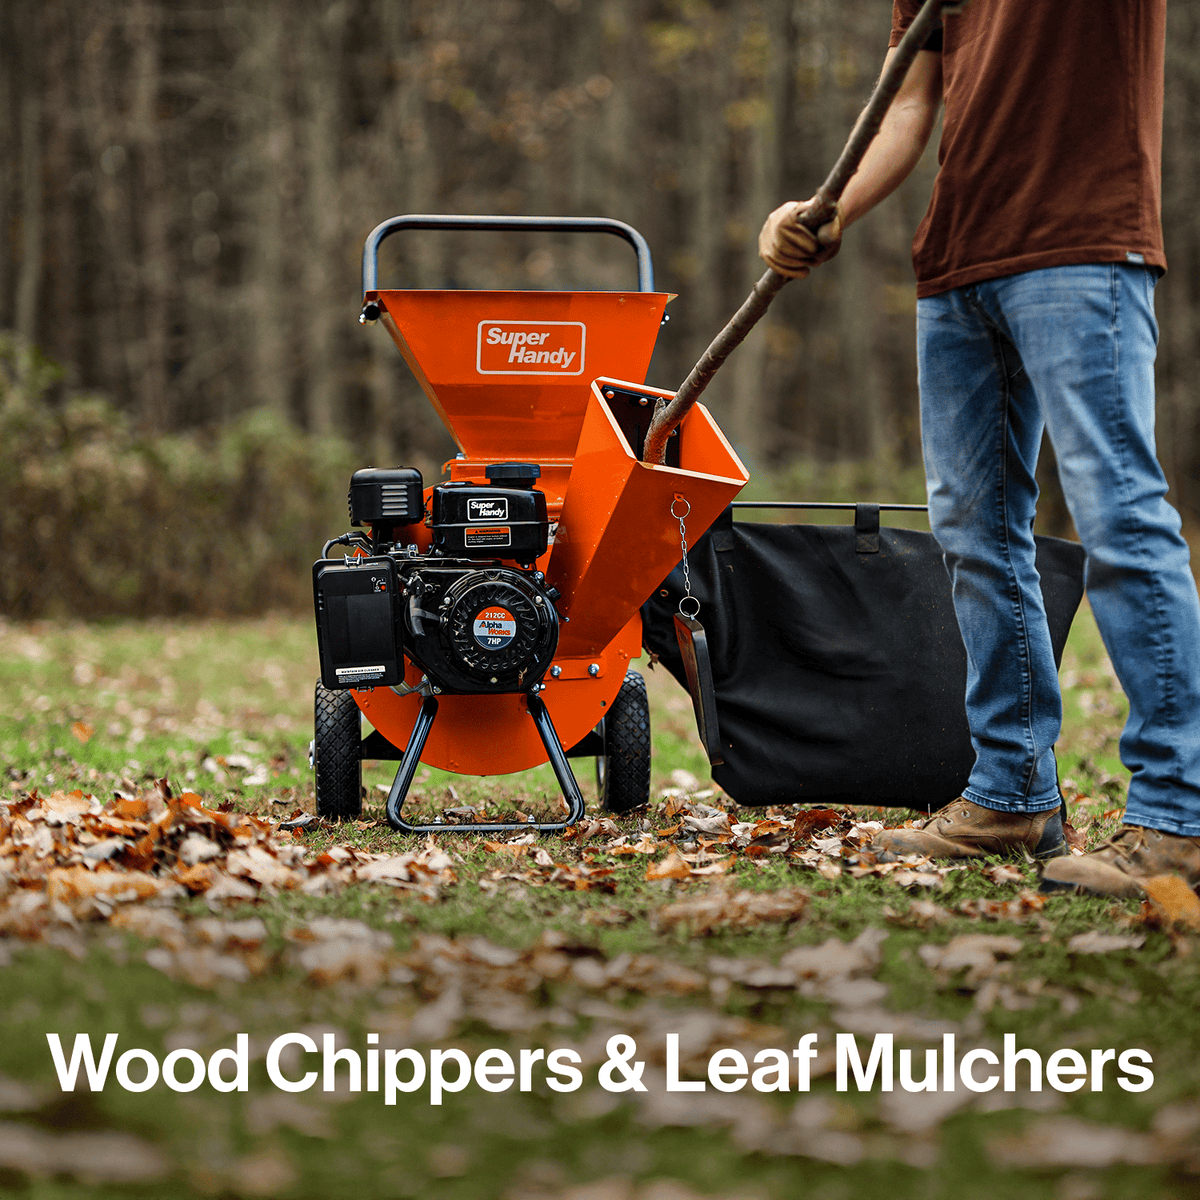
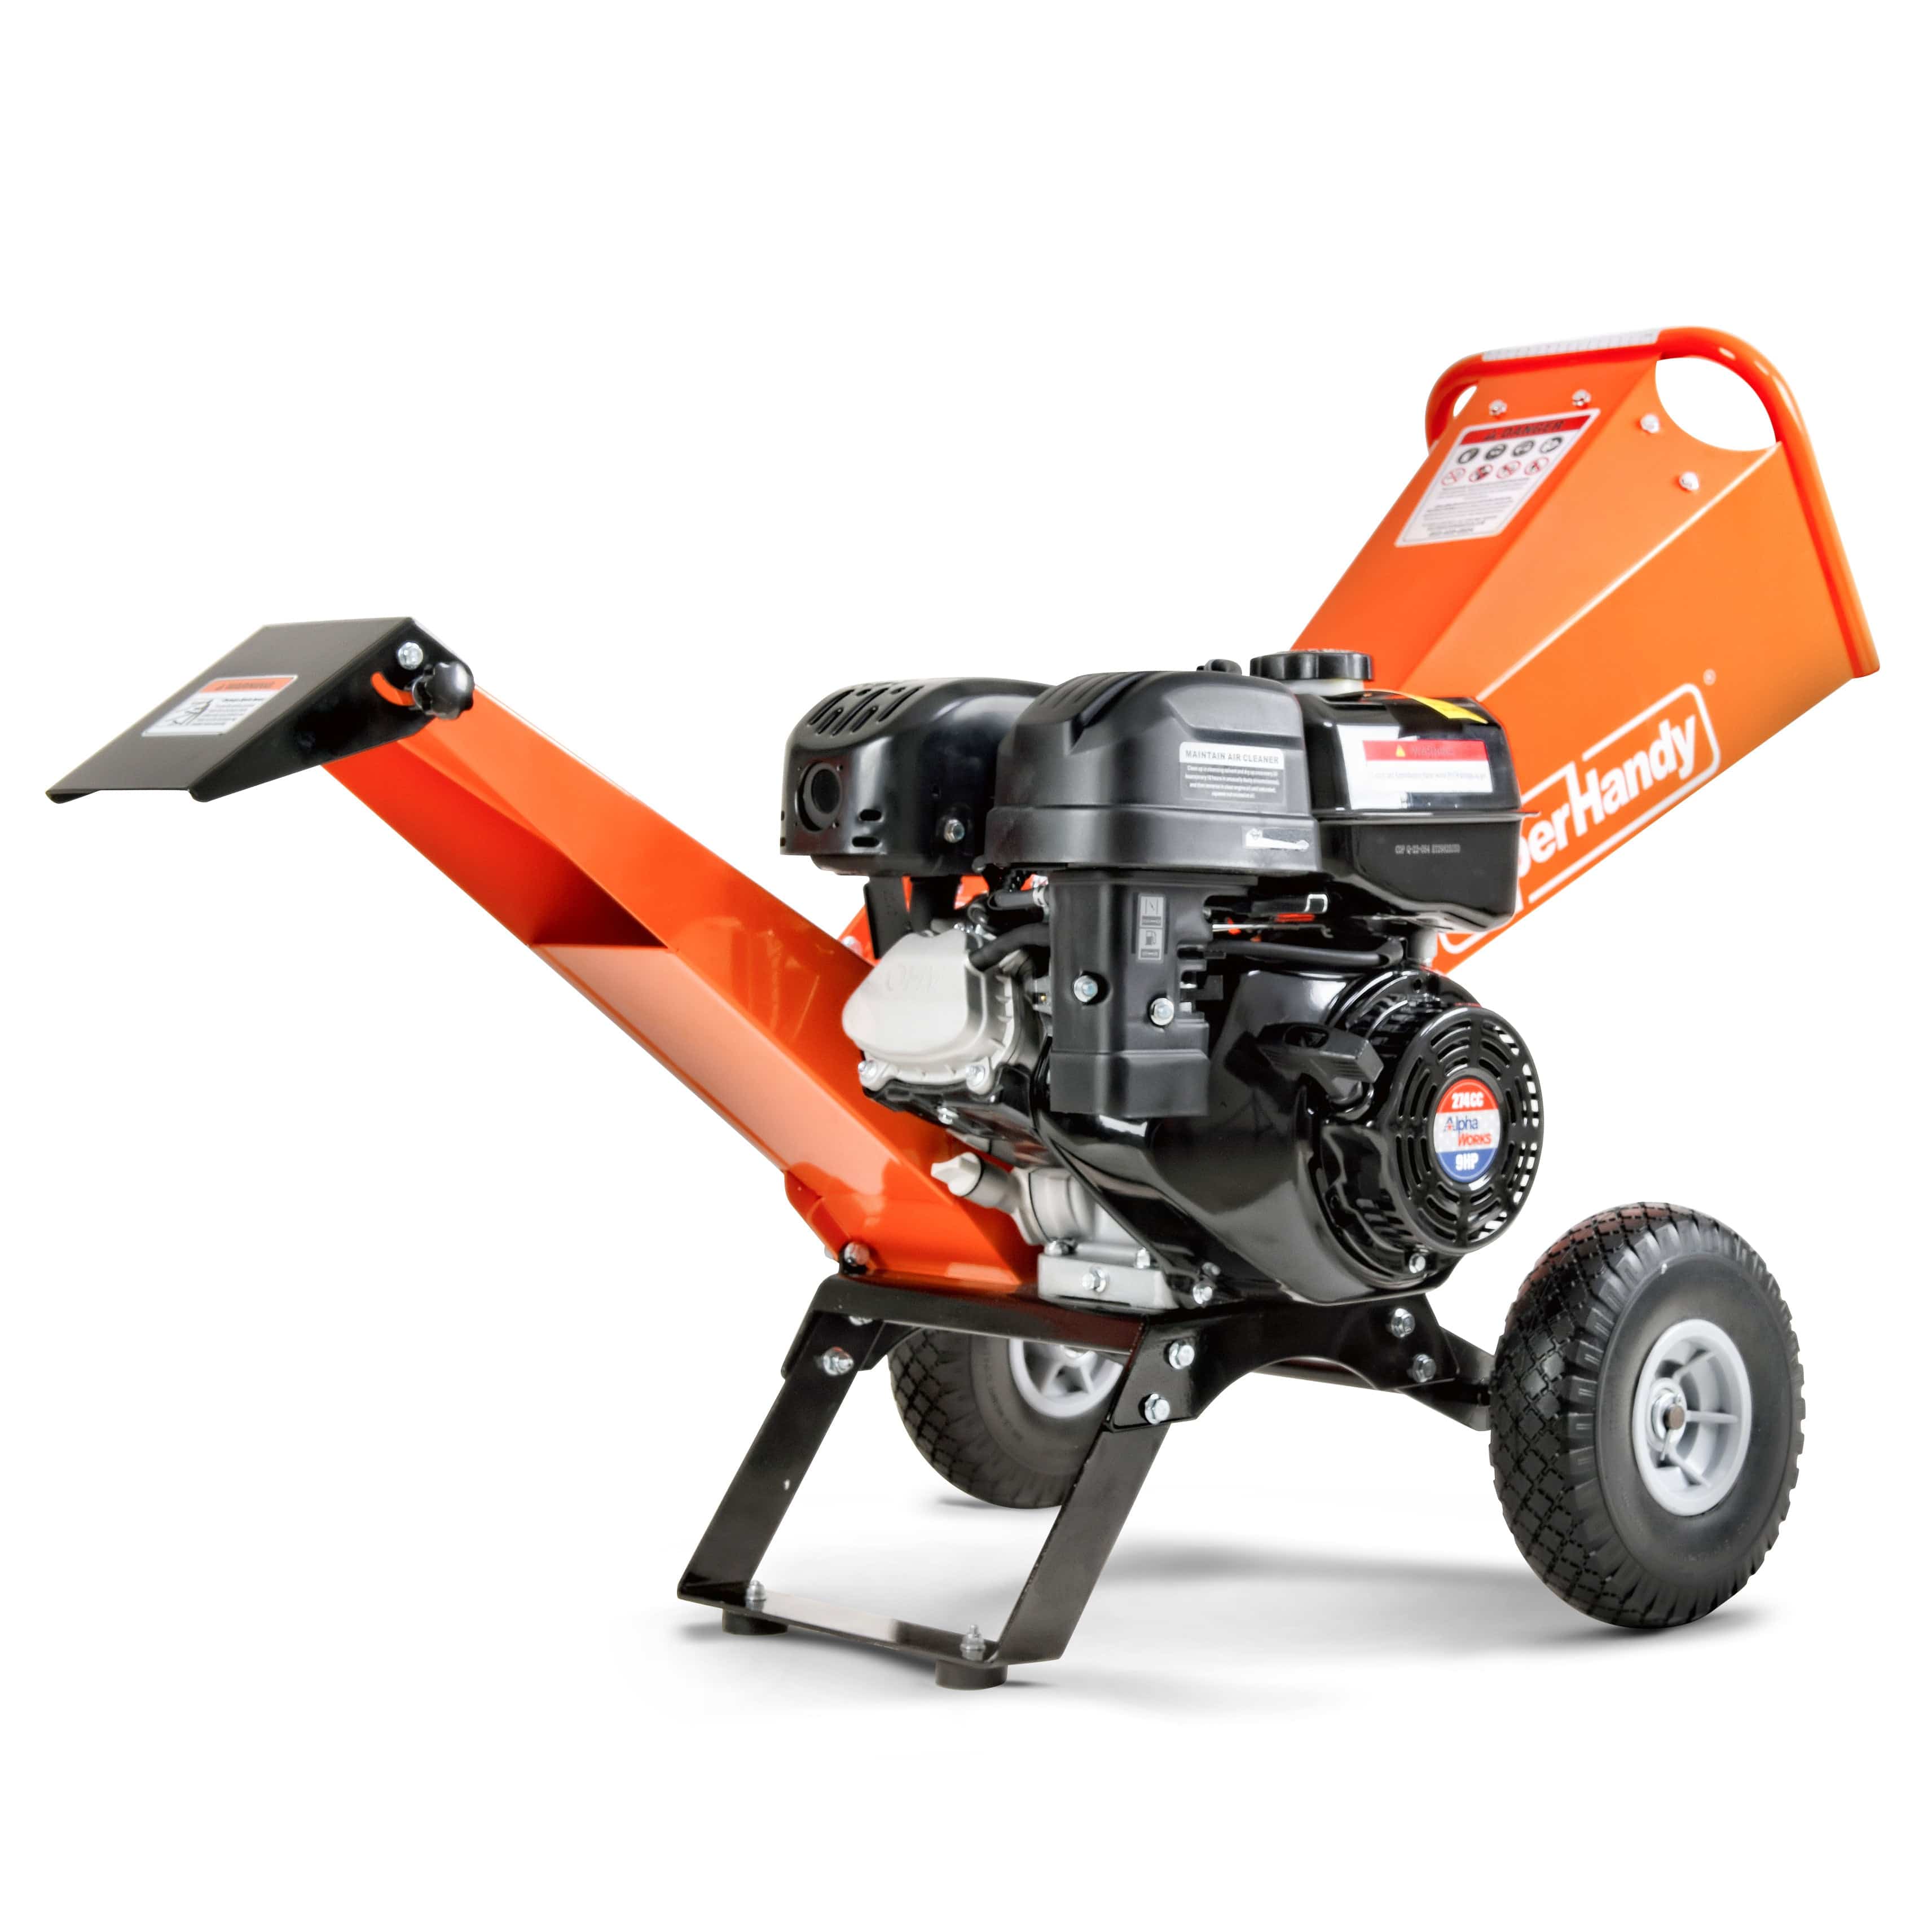
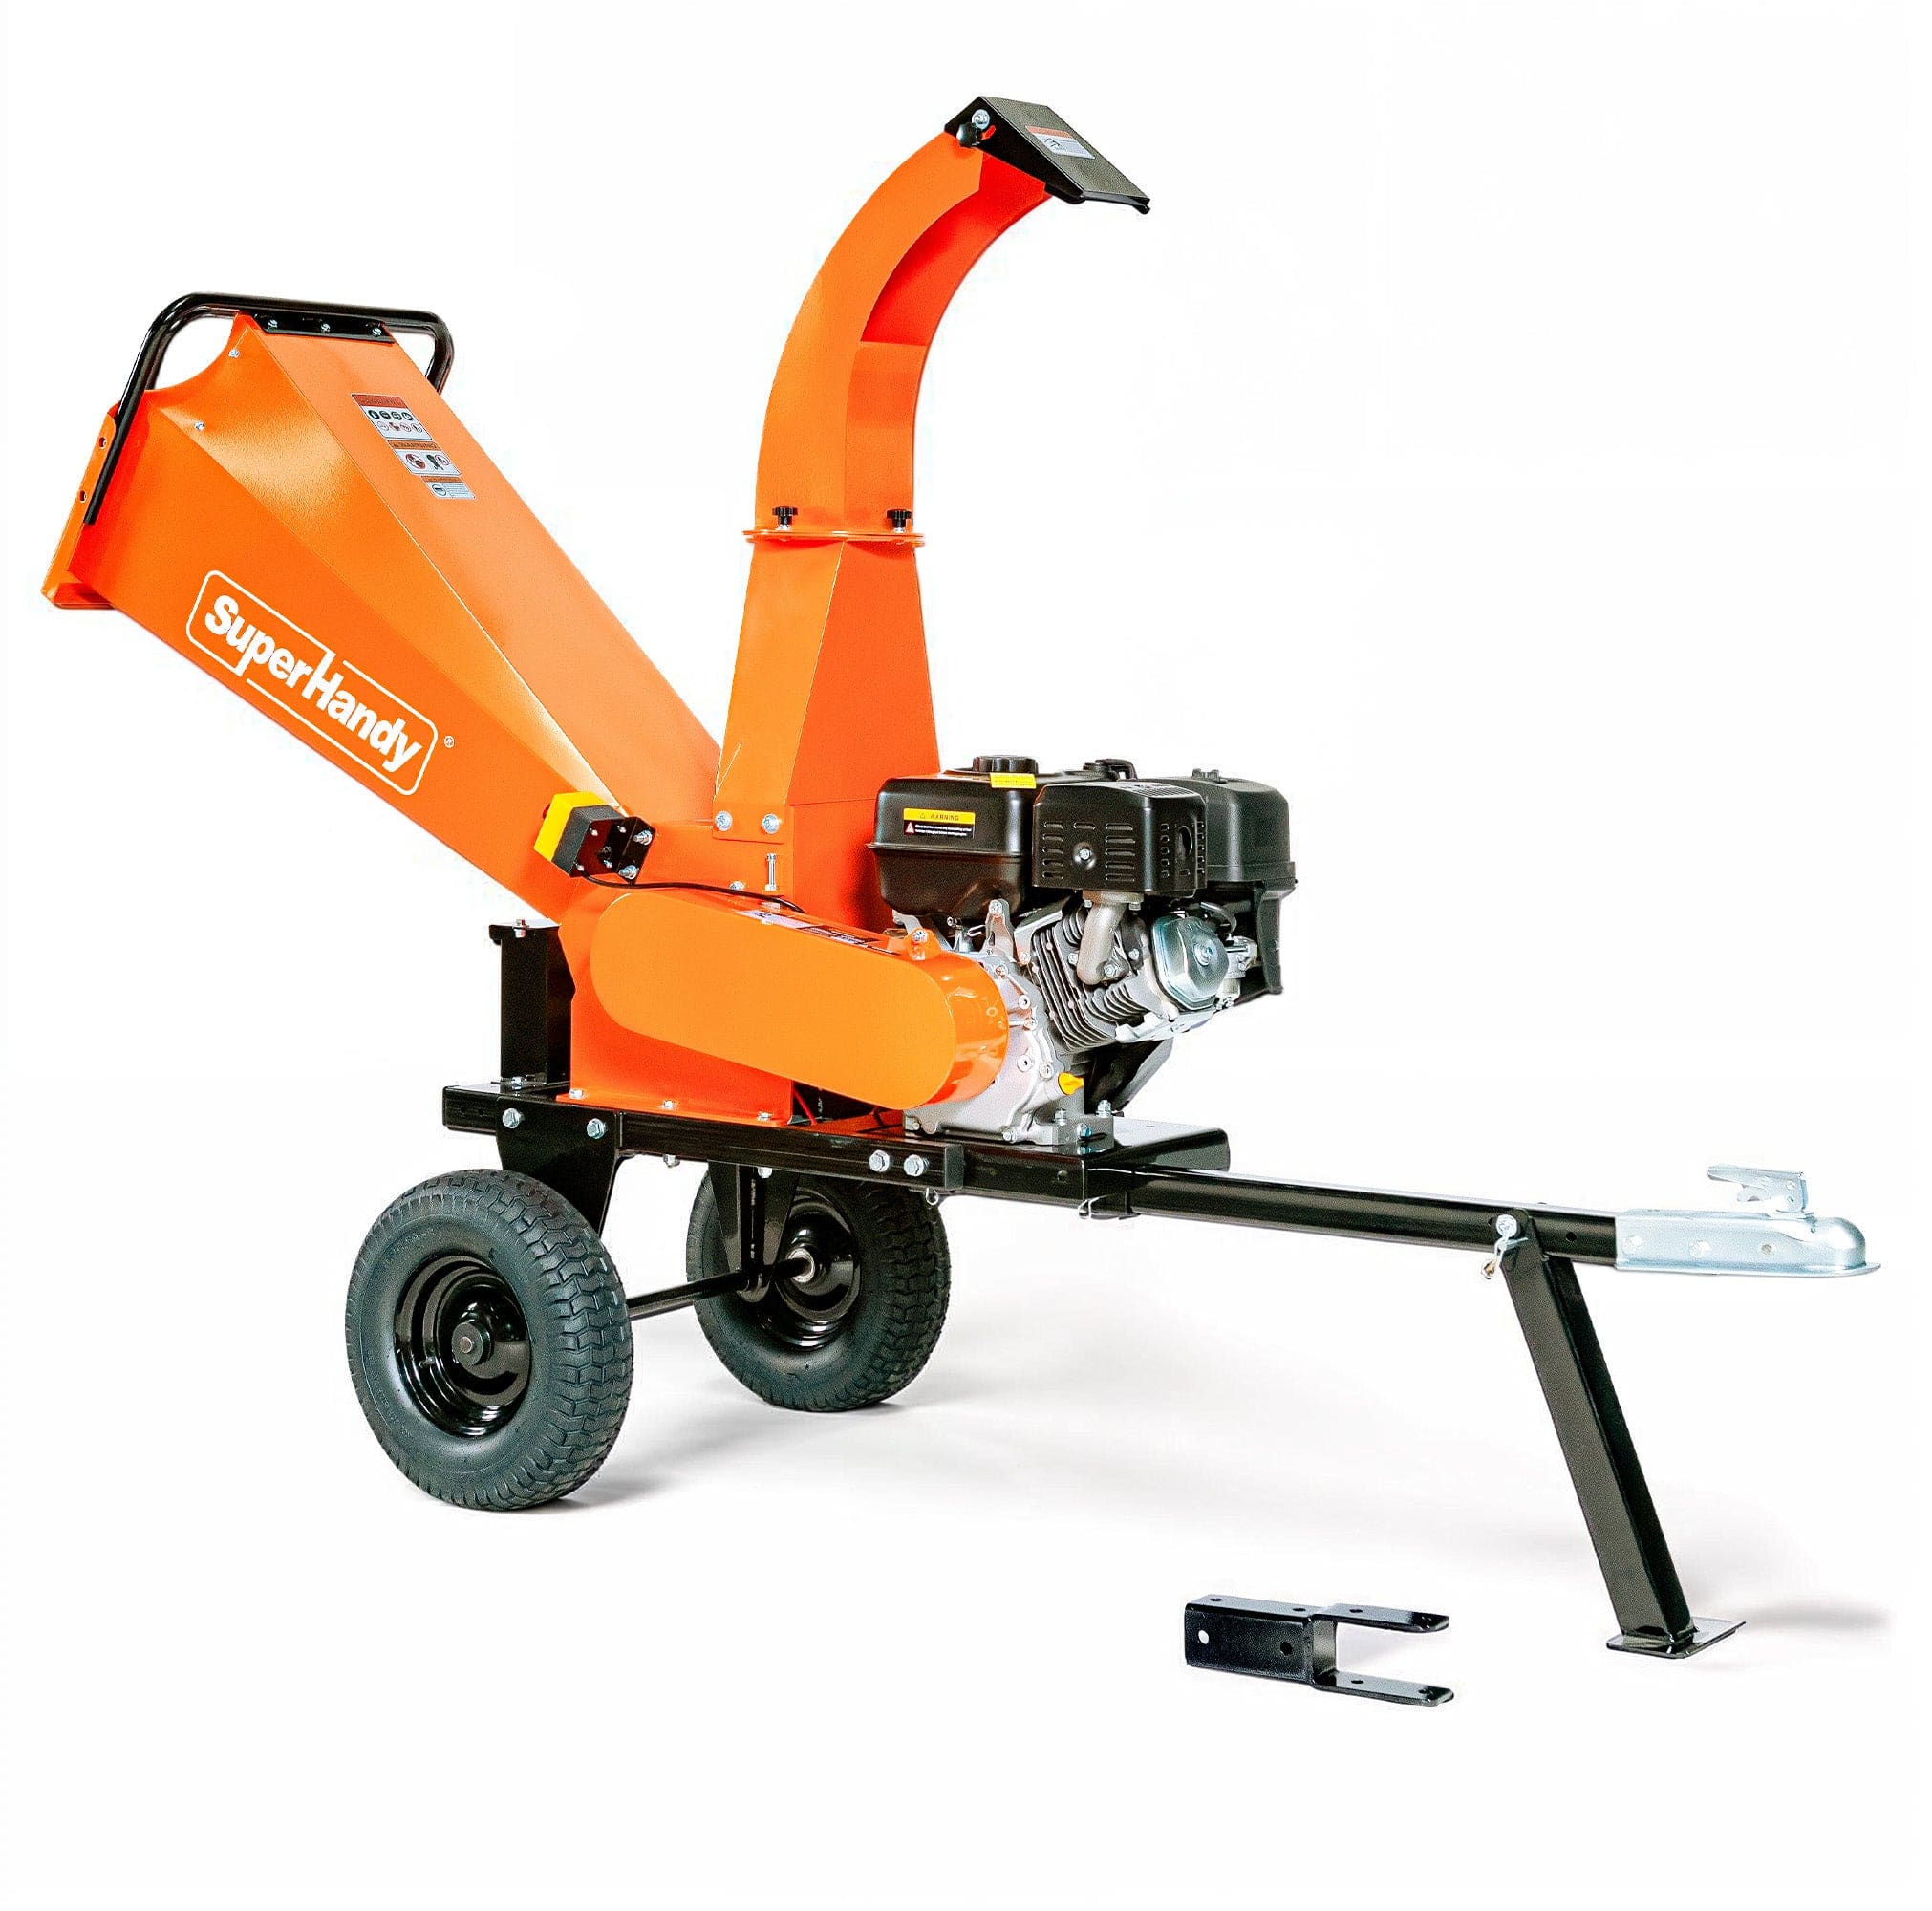
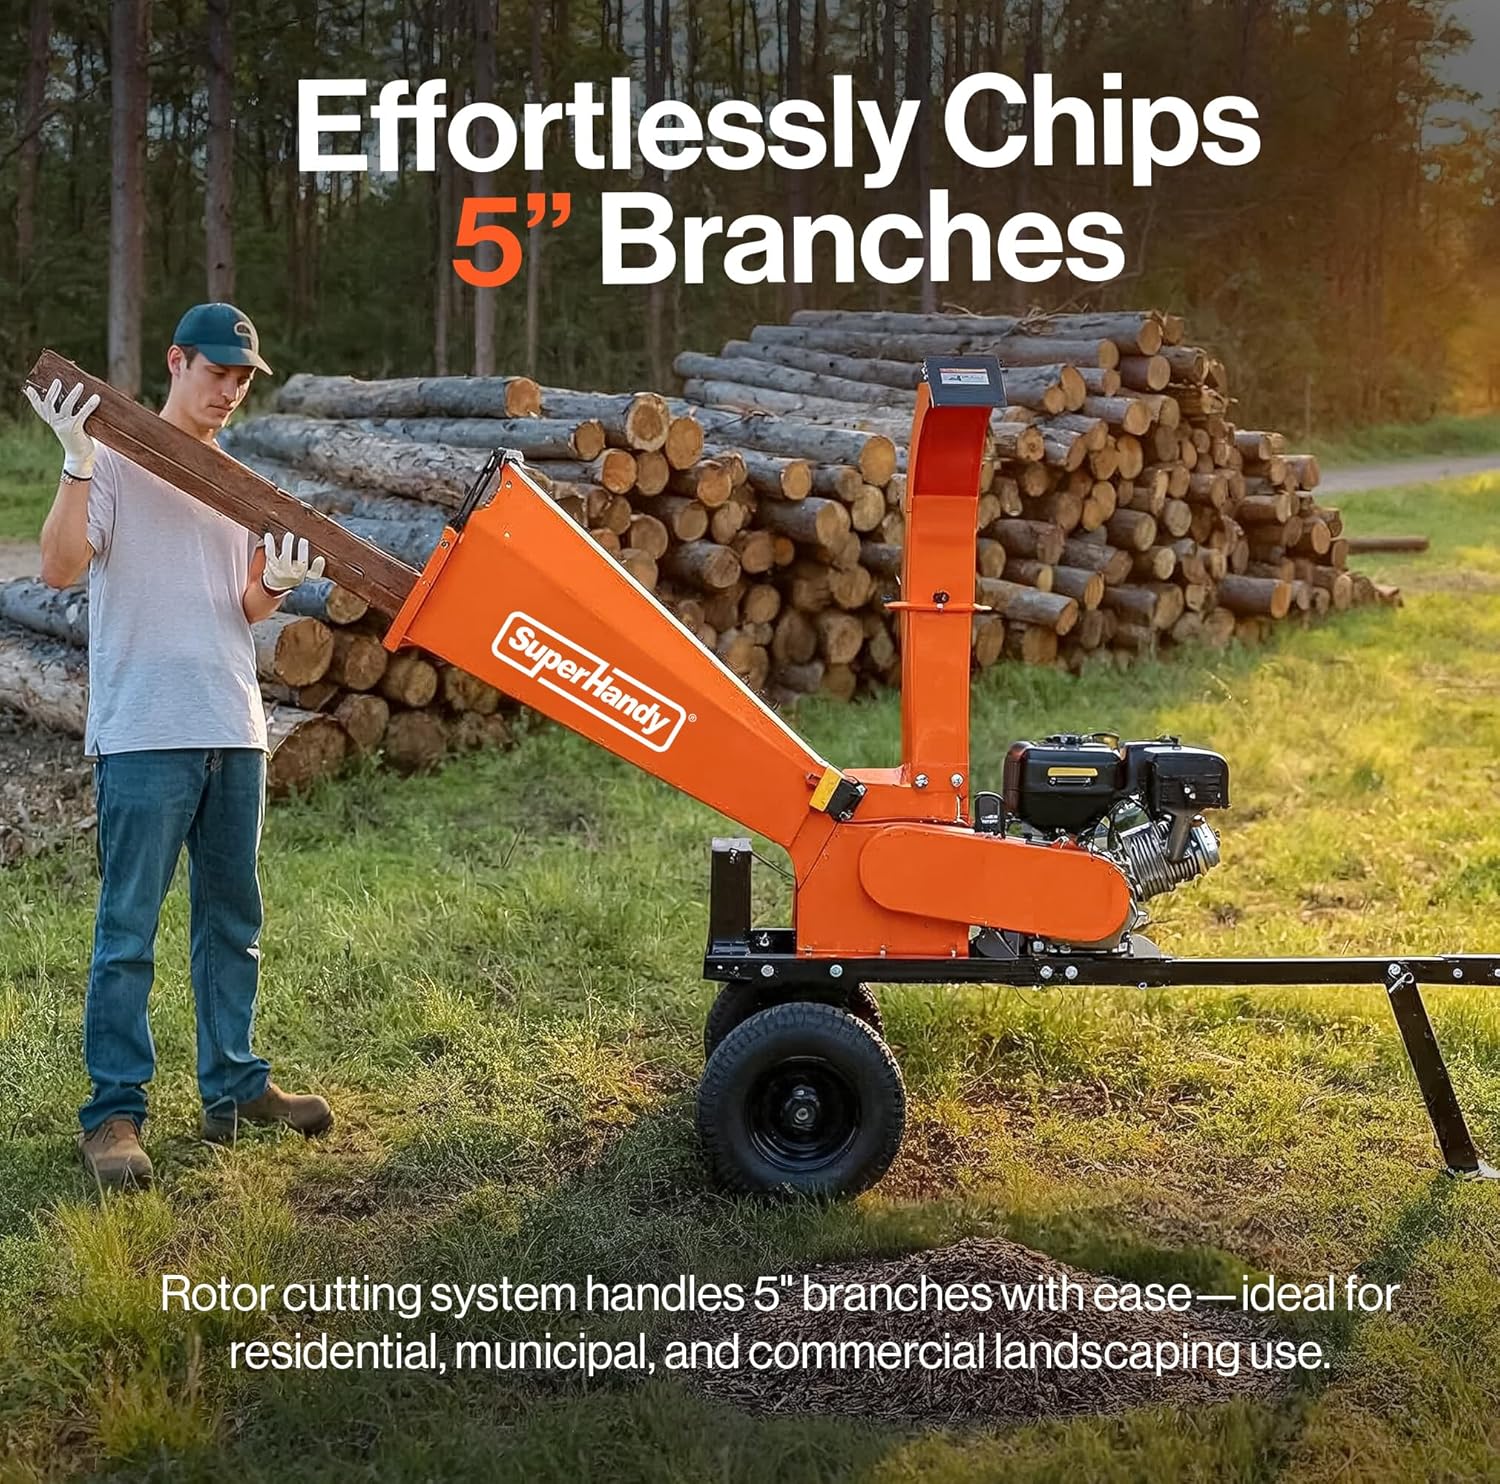
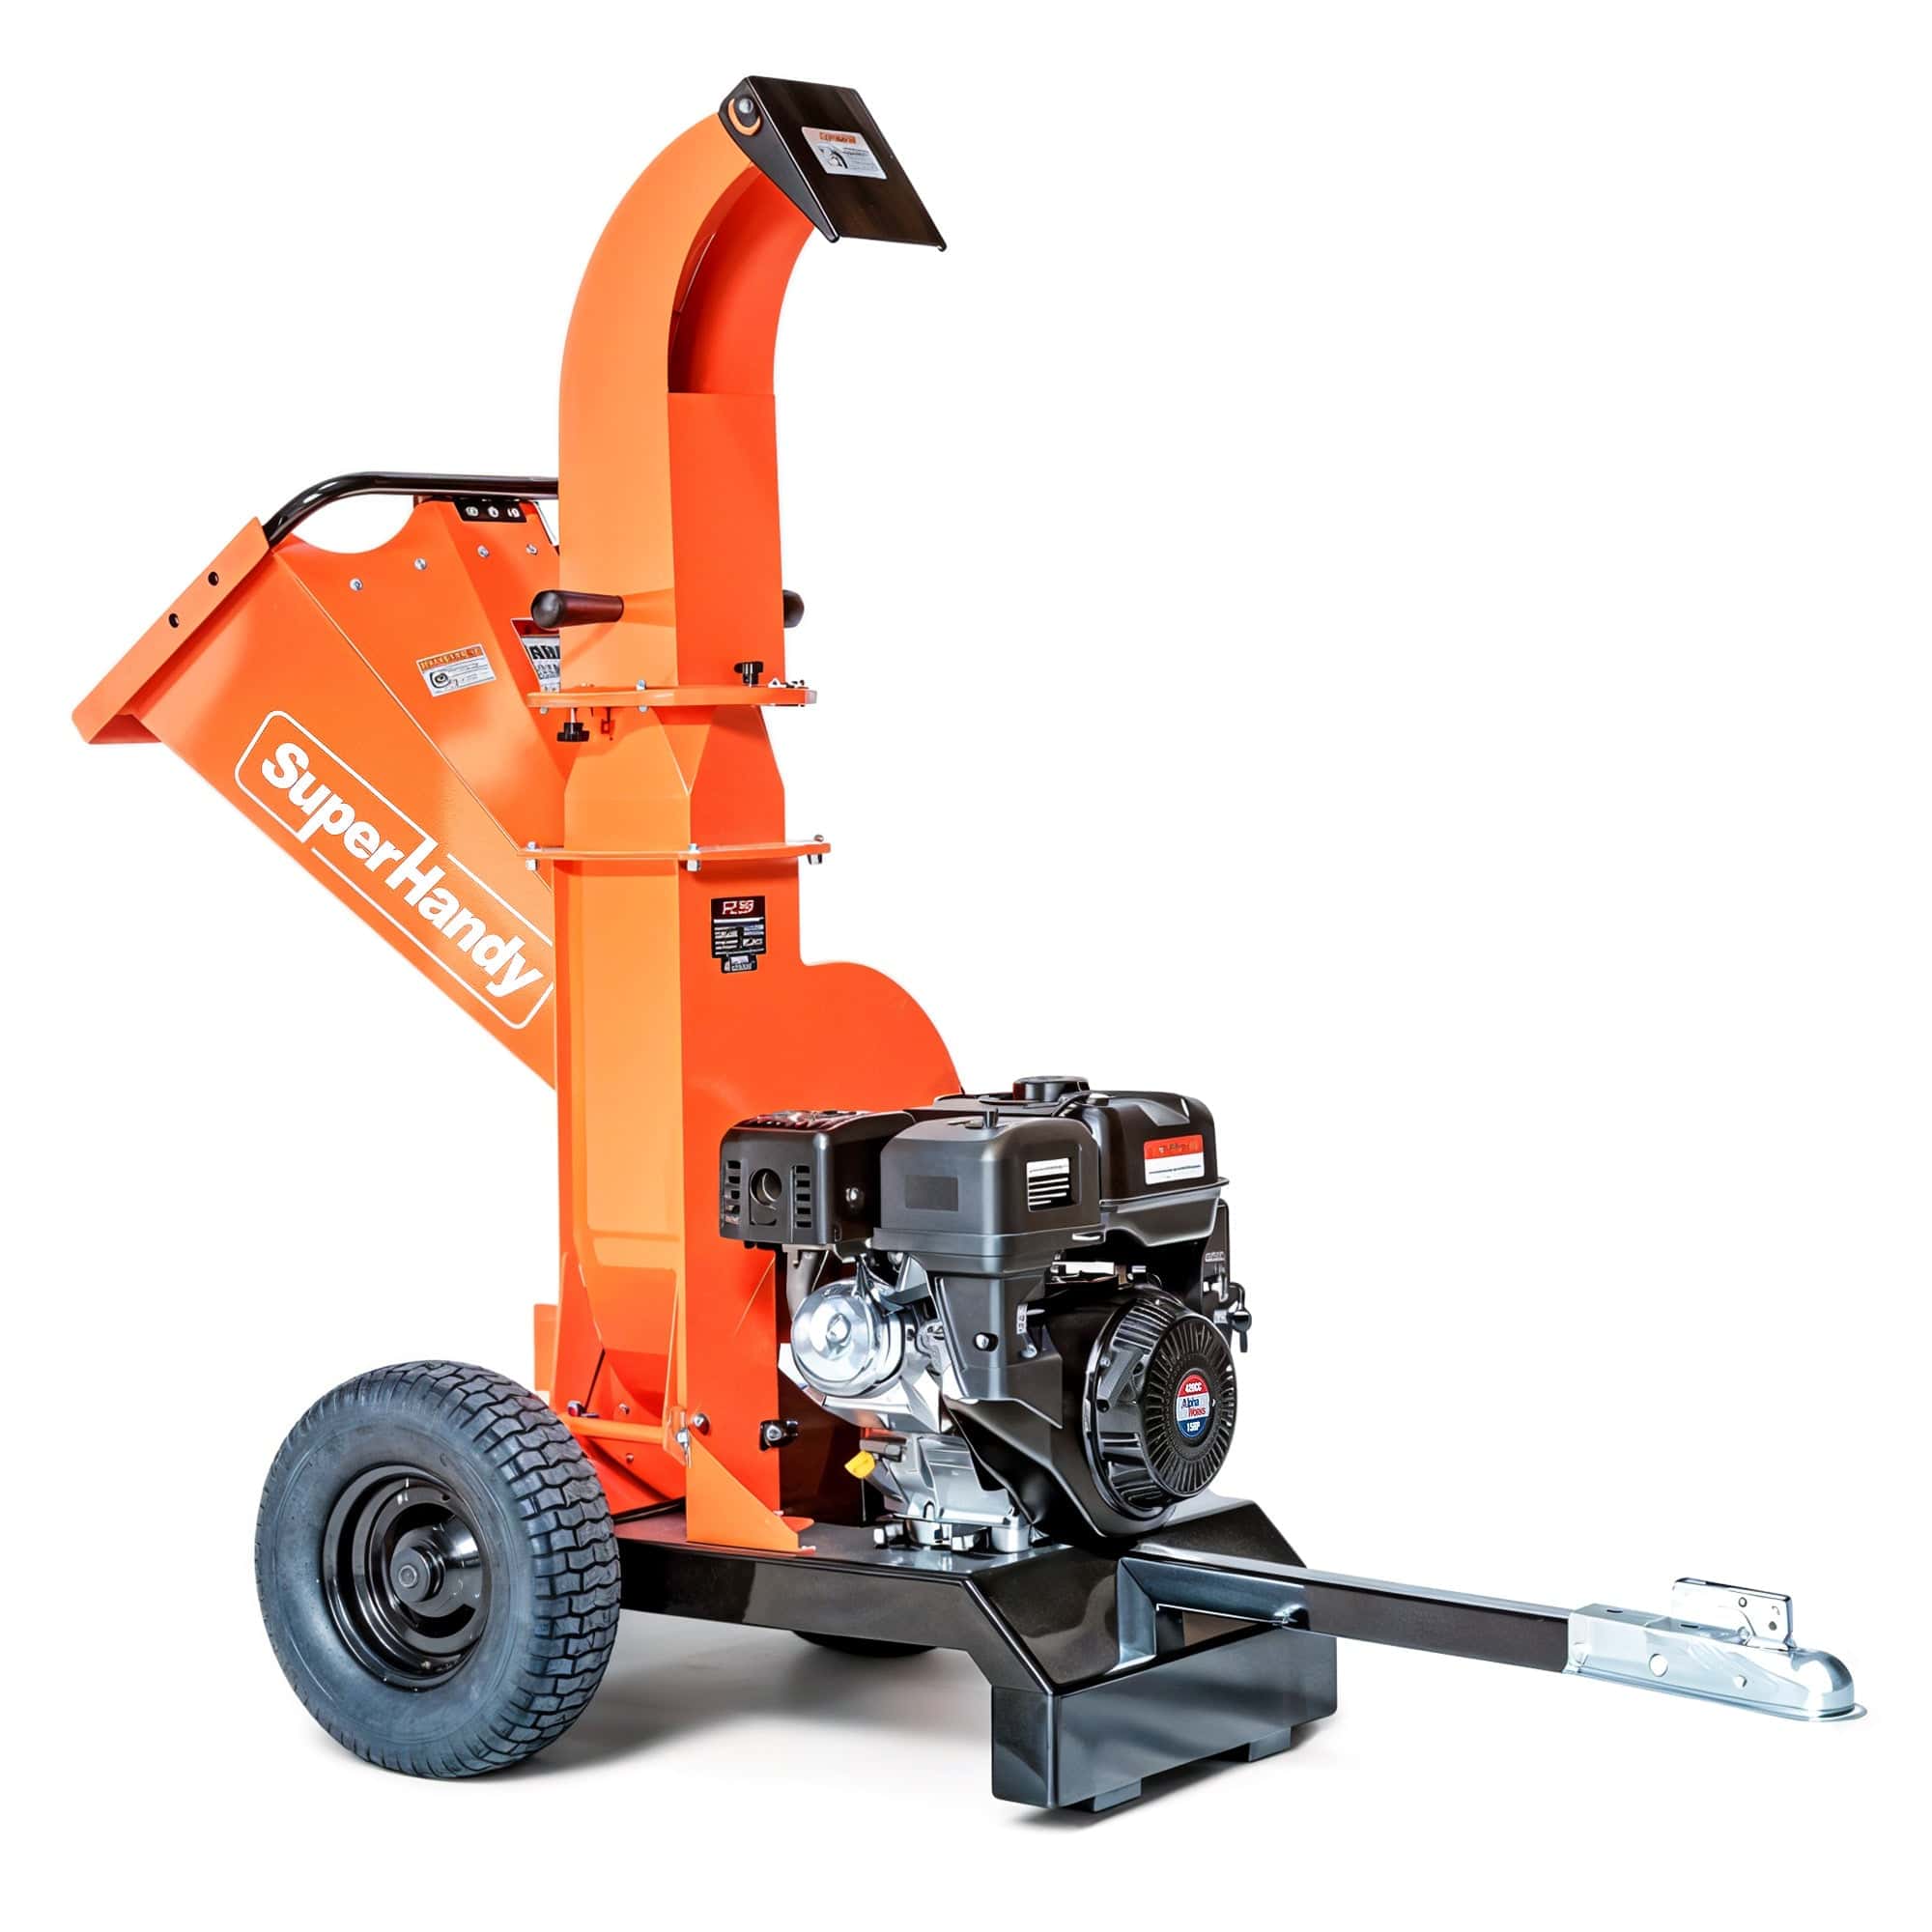
- Infeed Hopper/Chute: This is the large, funnel-like opening where you feed branches and other vegetation. Some models, like a 3 In 1 wood chipper, may have multiple chutes for different material sizes.
- Rotor and Blades: Housed inside the machine, this is the heart of the operation. A heavy, spinning rotor or drum, like that in a Rotor wood chipper, holds the sharp blades that do the actual cutting. The immense rotational force and sharp knives are what make the machine so effective—and so dangerous.
- Engine: This provides the power to spin the rotor. On most consumer and prosumer models, this is a gasoline engine.
- Discharge Chute: This is where the processed wood chips are expelled. It's often adjustable to direct the flow of chips into a wheelbarrow or pile.
Why Wood Chipper Safety Isn't Optional: The Risks You Face
A wood chipper is designed to aggressively grab and pull material into its blades. It cannot distinguish between a tree branch and a hand, loose clothing, or hair. The primary risks are severe and life-altering:
- Lacerations and Amputation: The most catastrophic risk is direct contact with the blades.
- Entanglement: Loose clothing, long hair, and even improperly worn gloves can be snagged by branches and pulled into the feed hopper. According to Penn State Extension, operators should "[n]ever wear loose-fitting clothing, jewelry, or gloves that can get caught in the machine."
- Struck-by Hazards: Material can be violently ejected back out of the infeed hopper (kickback) or fly from the discharge chute, causing serious injury.
Pre-Operation Inspection: A Step-by-Step Visual Guide
Never start a wood chipper without first performing a thorough walk-around inspection. Taking five minutes to check the machine can prevent equipment failure and serious injury. We’ll break down the most critical areas to examine, starting with the business end of the machine: the blades.

Checking the Blades: Sharpness, Damage, and Securement
Crucial Safety Note: Before inspecting the blades, ensure the engine is completely off, the machine is cool, and the spark plug wire is disconnected to prevent any possibility of an accidental start.
- Sharpness: Dull blades don't cut; they smash. This puts enormous strain on the engine, produces poor-quality chips, and dramatically increases the risk of clogs and violent kickback. Well-maintained blades make the job easier and safer.
- Damage: Carefully inspect the edge of each blade for nicks, cracks, or large chips. A damaged blade on a powerful 4 inch wood chipper can fail catastrophically during operation, sending shrapnel flying at high speed. Replace any damaged blades immediately.
- Securement: Verify that all bolts holding the blades are tight. A loose blade is an extreme hazard. If your user manual provides torque specifications, use a torque wrench to confirm they are properly secured. This applies to all cutting components, including the flails on a combination Leaf vacuum and wood chipper.
Inspecting the Hopper and Chute: Obstructions and Integrity
The journey of wood through your chipper begins at the infeed hopper and ends at the discharge chute. Before every use, you must ensure this path is clear and secure. With the machine completely off and the spark plug disconnected, perform a thorough visual and physical inspection.
Look inside the infeed hopper for any leftover material, compacted debris, dirt, or even animal nests that could cause a blockage. A clog at the start can lead to dangerous kickback. Next, check the discharge chute. Ensure it is aimed in a safe direction and is free of any obstructions that could cause processed chips to back up into the cutting chamber. Finally, inspect the structural integrity of both the hopper and chute. Look for cracks, significant dents, or loose bolts that could compromise their function during the intense vibration of operation. On a robust machine like a 4 inch wood chipper, these components are built tough, but a pre-operation check is still essential.
Examining the Engine and Fuel System: Leaks and Maintenance
For any gas wood chipper, the engine is the heart of the operation, and its fuel system demands respect. A leak is not just a messy inconvenience—it's a serious fire hazard.
- Check Fluid Levels: Before starting, place the chipper on level ground and check the engine oil and fuel levels. Running low on oil can seize the engine, while running out of fuel mid-job can be frustrating and lead to unsafe restart procedures.
- Inspect for Leaks: Carefully examine the fuel tank, fuel lines, and carburetor for any signs of gasoline leakage. Check that the fuel cap is secure and its seal is intact. Also, look for any oil drips or seepage around the engine block.
- Examine the Air Filter: A clean air filter ensures your engine breathes properly, providing optimal power and efficiency. A clogged filter can reduce performance and increase fuel consumption.
Verifying Safety Features: Guards, Emergency Stops, and Shields
Wood chippers are equipped with specific safety features designed to protect you from the machine’s most dangerous parts. These are non-negotiable and must be in perfect working order. Never operate a chipper if its safety mechanisms have been removed, bypassed, or damaged. Even a mini wood chipper has critical guards that must be present. Check for:
- Belt Guards: These shields cover the belts and pulleys that transfer power from the engine to the cutting rotor. Ensure they are securely fastened.
- Hopper and Chute Guards: These prevent accidental contact with the blades.
- Emergency Stop Bar/Button: If your model has an emergency stop feature, familiarize yourself with its location and test its function before you begin chipping.
Personal Protective Equipment (PPE): Your First Line of Defense
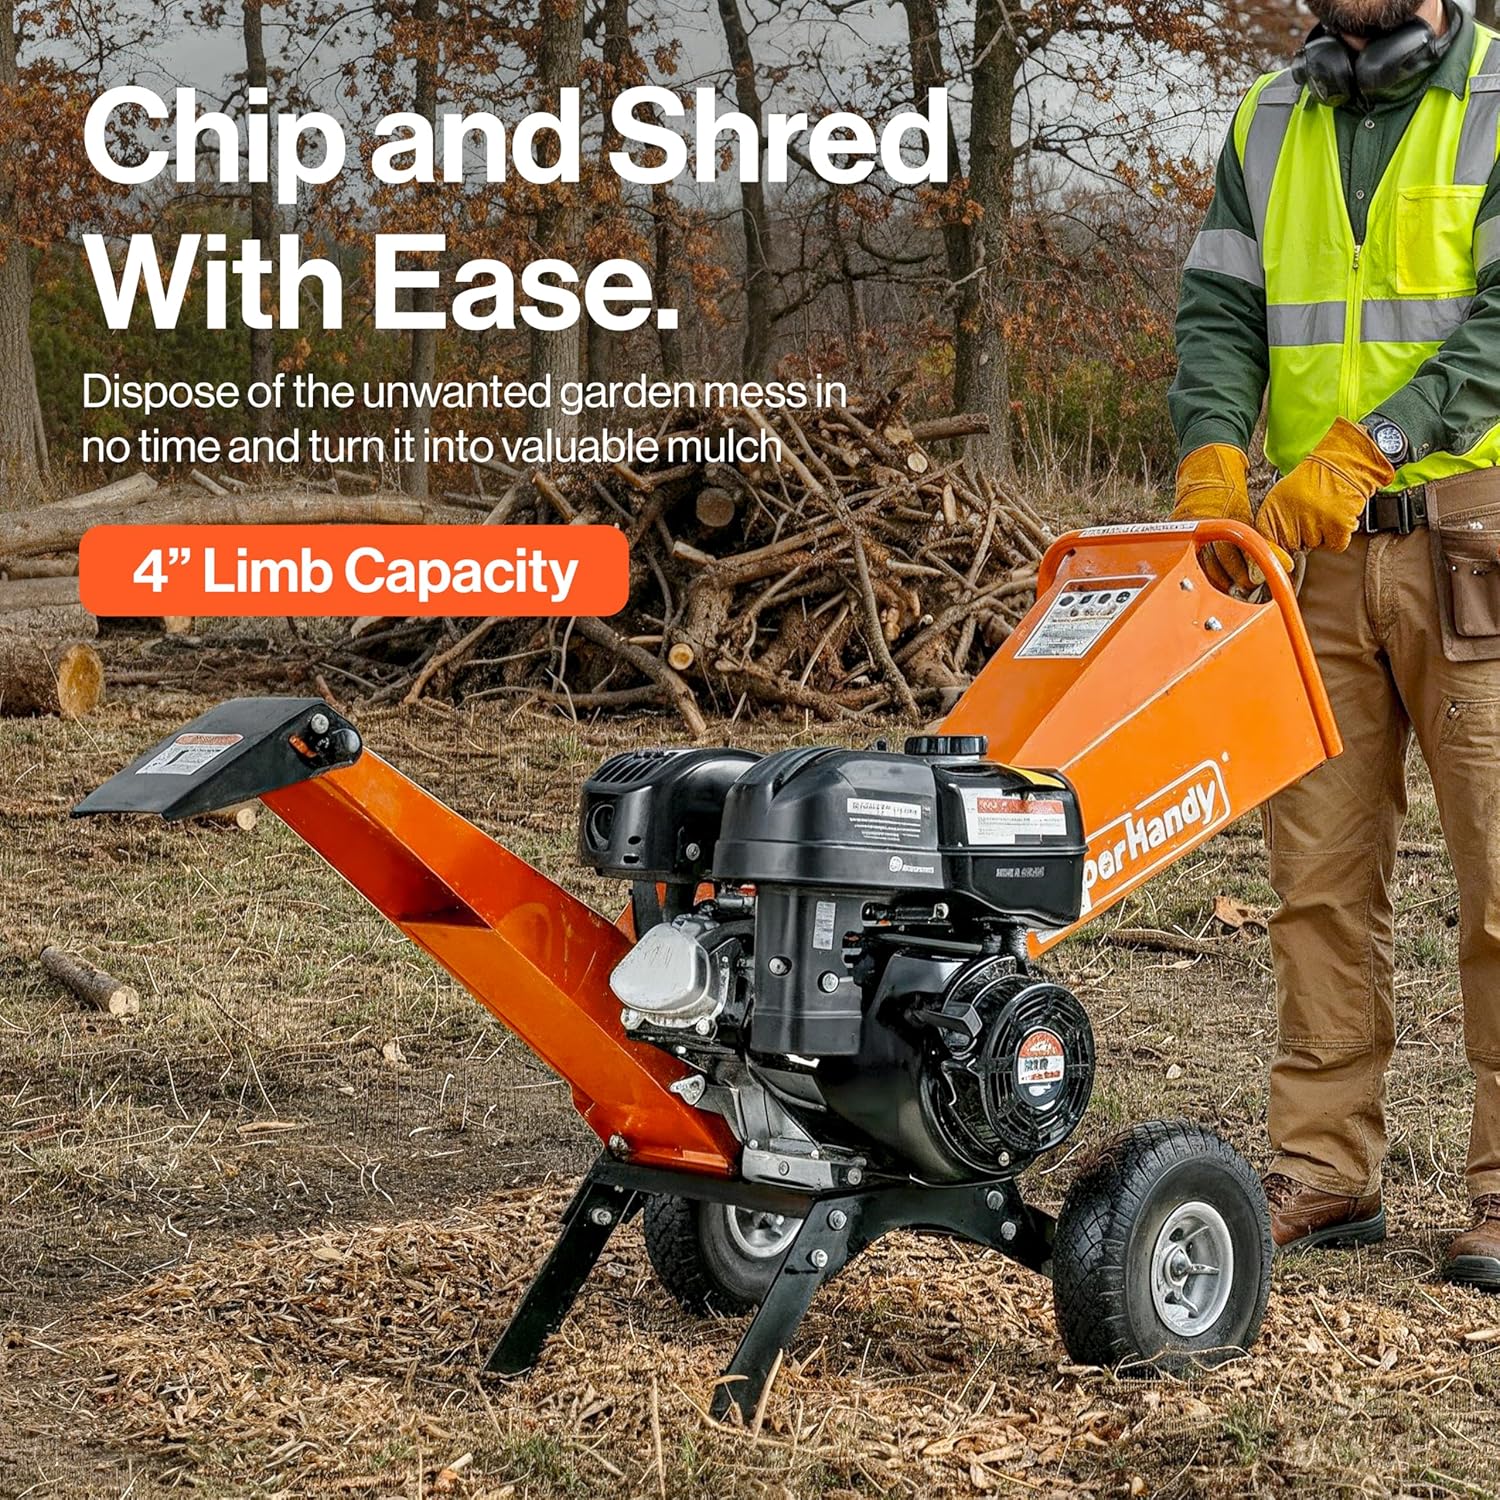
While a well-maintained machine is crucial, your personal safety starts with what you wear. Flying debris, high noise levels, and powerful machinery demand full protection. As experts at Penn State Extension note, a minimum of a "hard hat, safety glasses, hearing protection, and gloves" should be worn when operating a wood chipper. Whether you're using a versatile 3 In 1 wood chipper or a combination leaf vacuum and wood chipper, your PPE is not optional.
Your essential PPE checklist includes:
- Eye Protection: ANSI-rated safety glasses or goggles to shield your eyes from high-velocity wood chips.
- Hearing Protection: Earmuffs or earplugs to prevent permanent hearing damage from engine and chipping noise.
- Head Protection: A hard hat, especially when working near trees where falling branches are a risk.
- Hand Protection: Snug-fitting, durable work gloves to protect against splinters, but avoid loose cuffs that could get caught.
- Sturdy Clothing & Footwear: Wear long-sleeved shirts, tough pants, and steel-toed boots to protect against flying debris and provide stable footing.
 Choosing the Right PPE: What to Wear and Why
Before you even think about pulling the start cord on a gas wood chipper, you need to gear up. Personal Protective Equipment (PPE) is your non-negotiable first line of defense against the machine's inherent dangers, from high-velocity wood chips to intense noise. Never operate a chipper without the proper gear.
- Eye and Face Protection: Debris can be ejected from both the infeed hopper and the discharge chute at incredible speeds. Wear ANSI Z87.1-rated safety glasses or, even better, a full-face shield over safety glasses for maximum protection.
- Hearing Protection: A gas-powered 4 inch wood chipper can easily operate at levels above 100 decibels, causing permanent hearing damage in a short amount of time. Always wear hearing protection, such as earmuffs or earplugs.
- Durable Gloves: Wear snug-fitting, heavy-duty work gloves to protect your hands from splinters and scrapes when handling branches. Avoid loose, cuffed gloves that could get caught in the machine.
- Sturdy Footwear: Steel-toed, slip-resistant boots protect your feet from falling branches and provide stable footing on uneven ground.
- Proper Clothing: Wear close-fitting clothing. Tuck in your shirt and avoid anything with drawstrings, dangling jewelry, or loose sleeves that could be snagged by branches and pulled into the chipper.
Site Preparation: Creating a Safe Working Environment
Where you work is just as important as how you work. A poorly prepared site introduces unnecessary risks like trips, falls, and unexpected hazards. Before starting your wood chipper, take the time to assess and prepare your workspace.
Clearing the Area: Obstacles and Safe Zones
Your first step is to create a clean, organized, and clearly defined work area.
- Remove Ground Debris: Thoroughly inspect the ground around the chipper and clear away any rocks, tools, fallen branches, and other tripping hazards.
- Establish a "Safe Zone": Position the chipper on firm, level ground to prevent it from tipping. Create an "operator zone" of at least a 6-foot radius around the infeed chute. No one but the operator should enter this space.
- Create an "Exclusion Zone": Establish a larger perimeter of at least 20 feet around the entire machine. Keep all bystanders, children, and pets out of this area. The discharge chute can throw chips a considerable distance.
- Check for Overhead Hazards: Look up and check for any dead branches or utility lines that could pose a risk.
Material Preparation: What to Feed and What to Avoid
Feeding the right material into your chipper not only ensures your safety but also protects the machine from damage. Always consult your owner's manual for the maximum diameter your specific model, like a Mini wood chipper or a versatile 3 In 1 wood chipper, can handle.
What to Feed:
- Clean, fresh-cut branches and limbs.
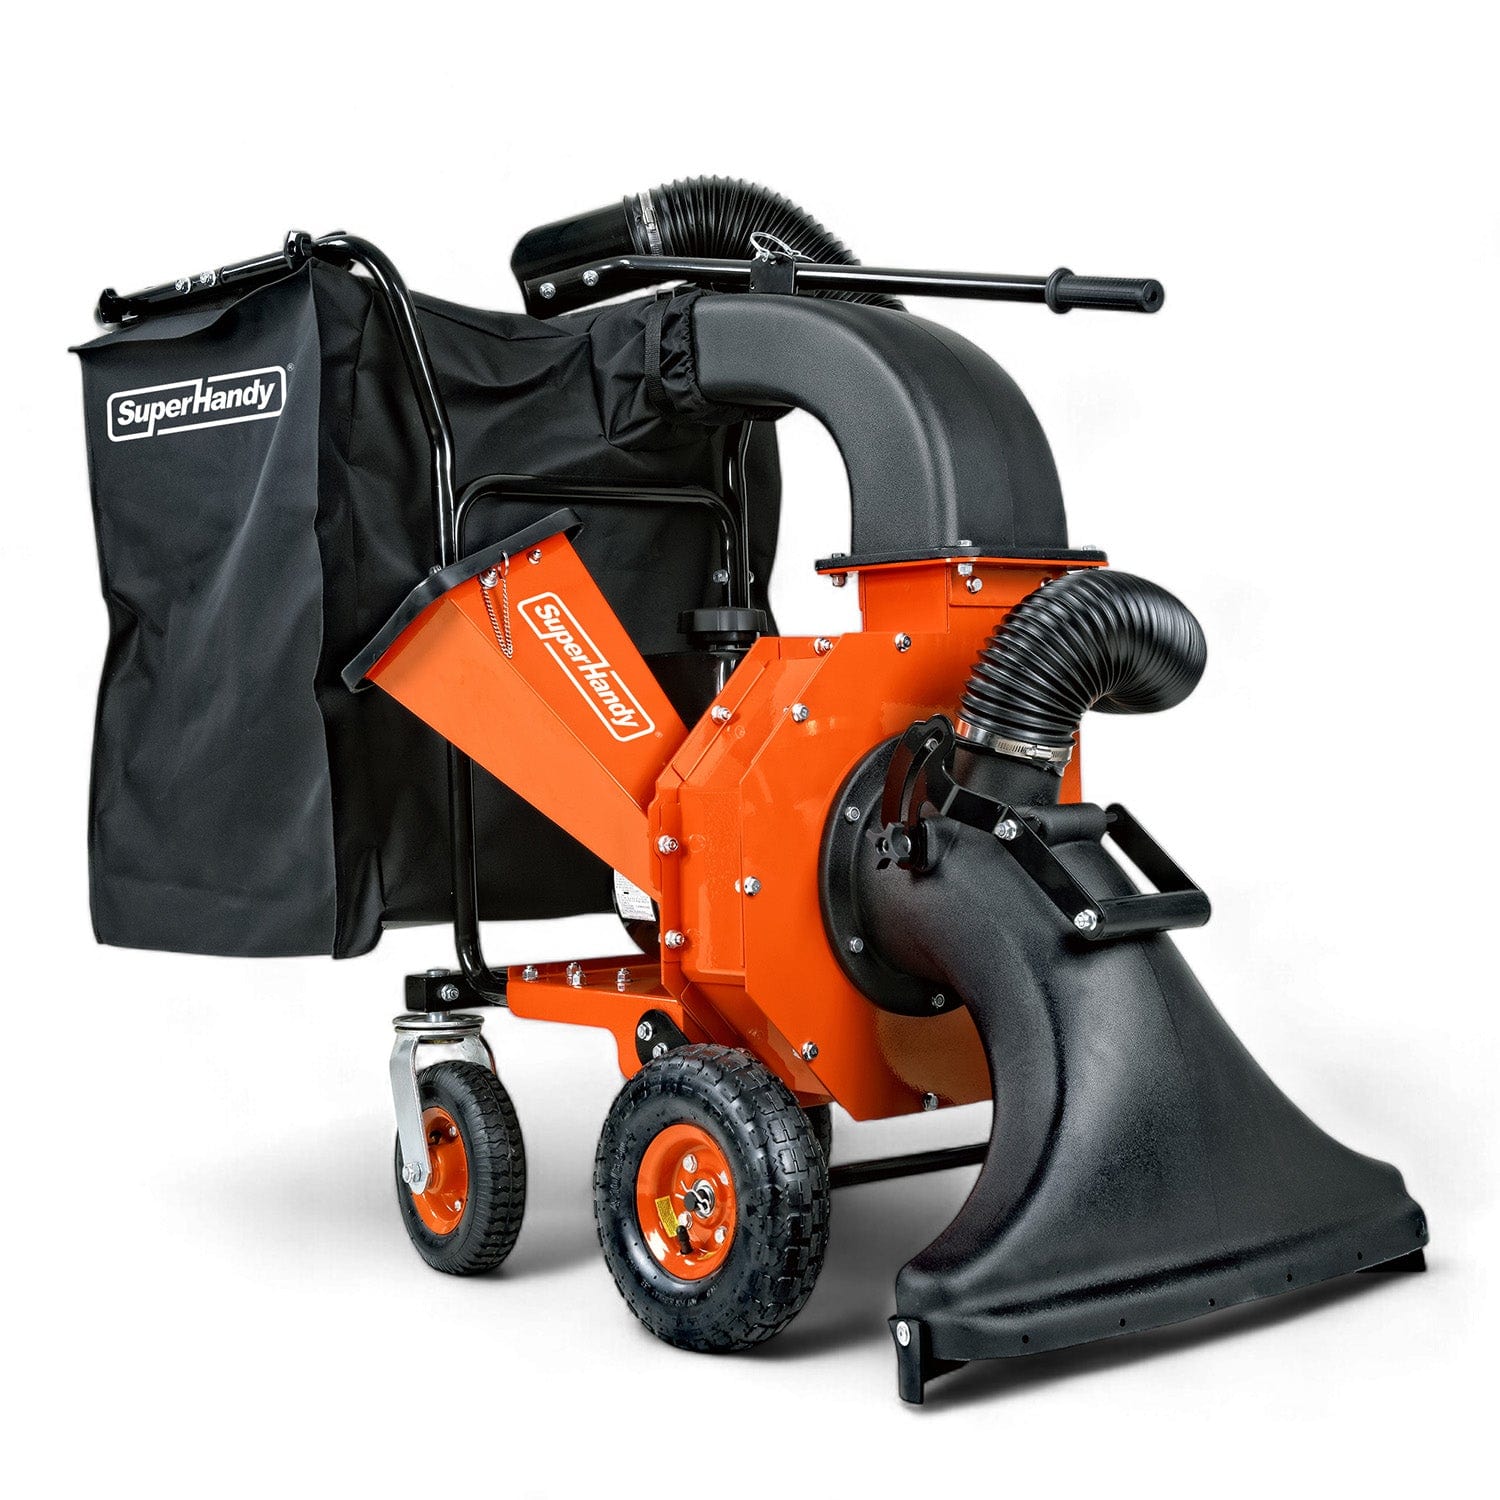
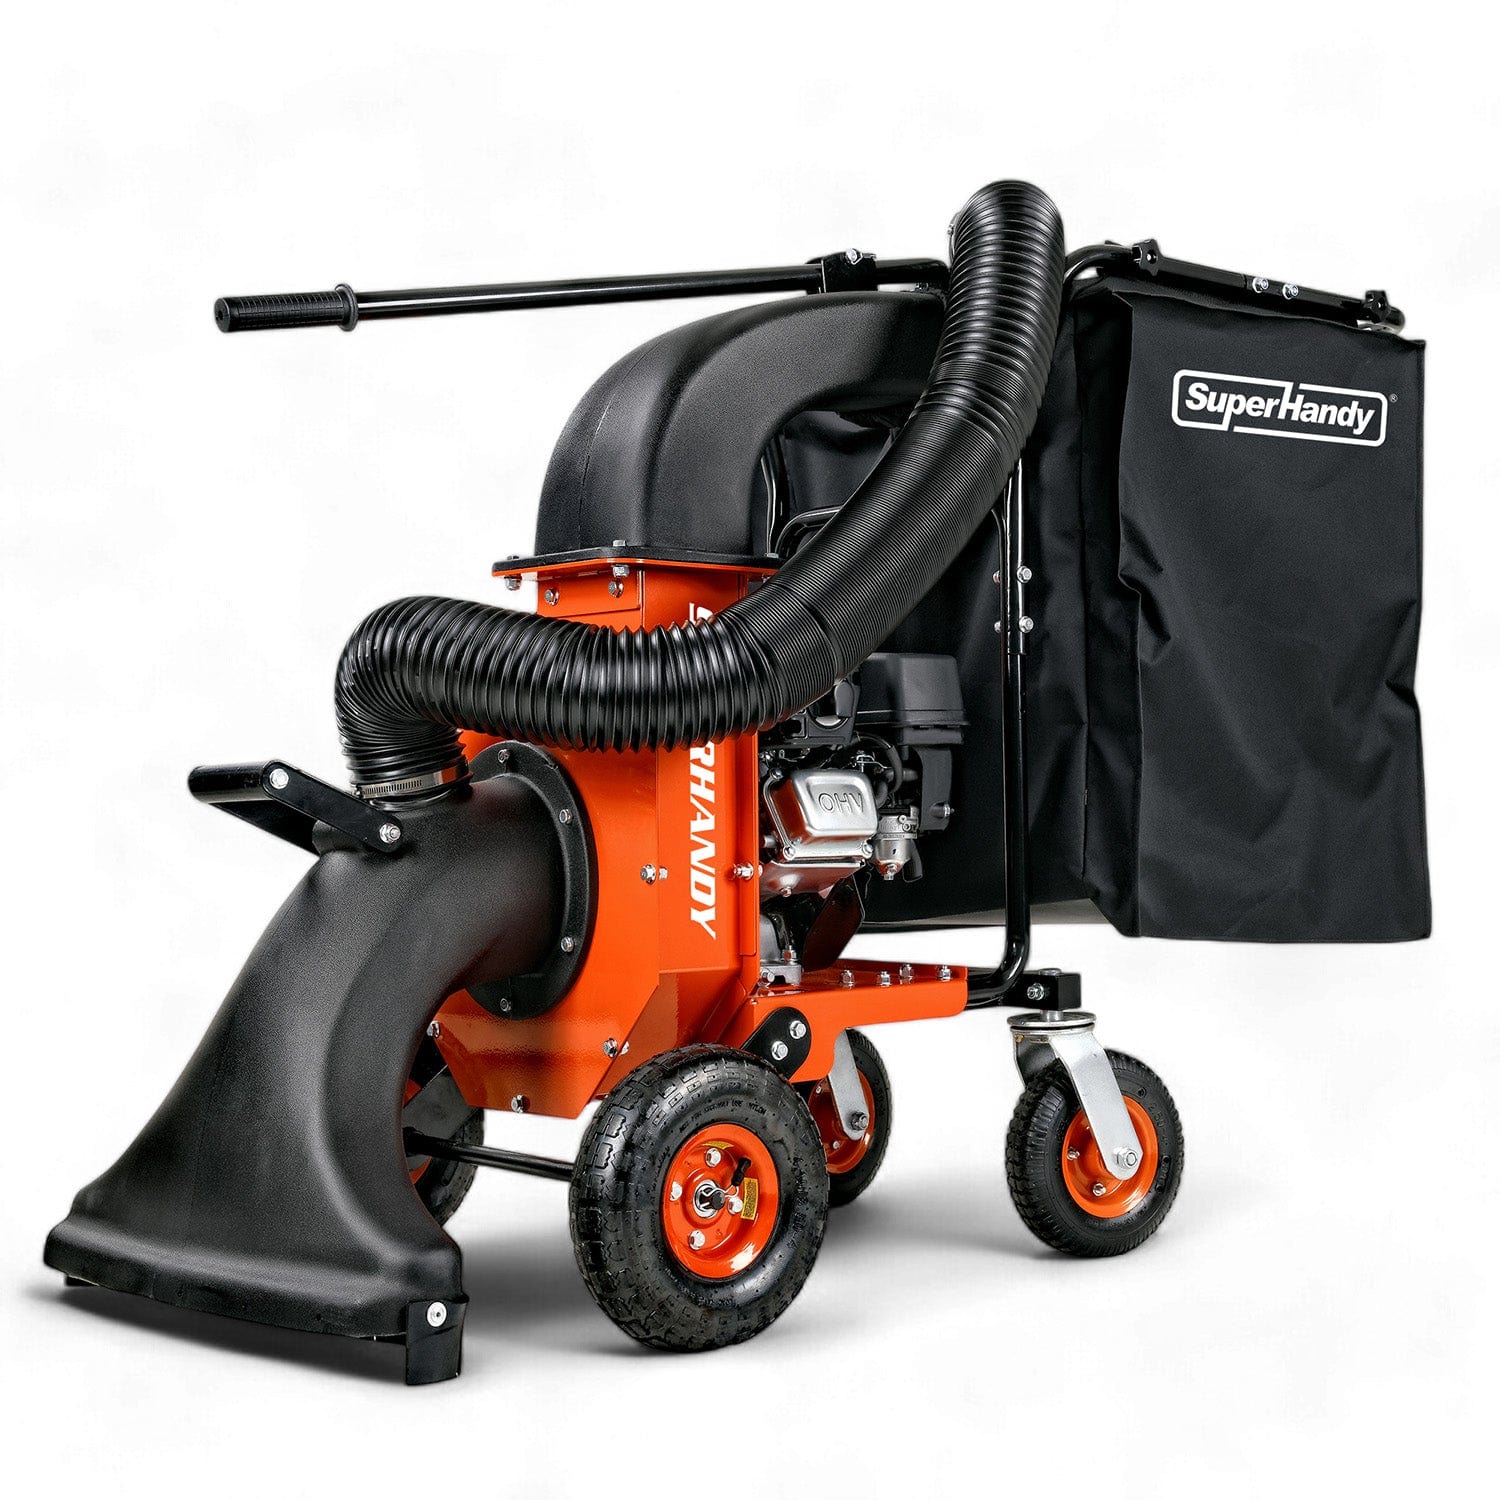
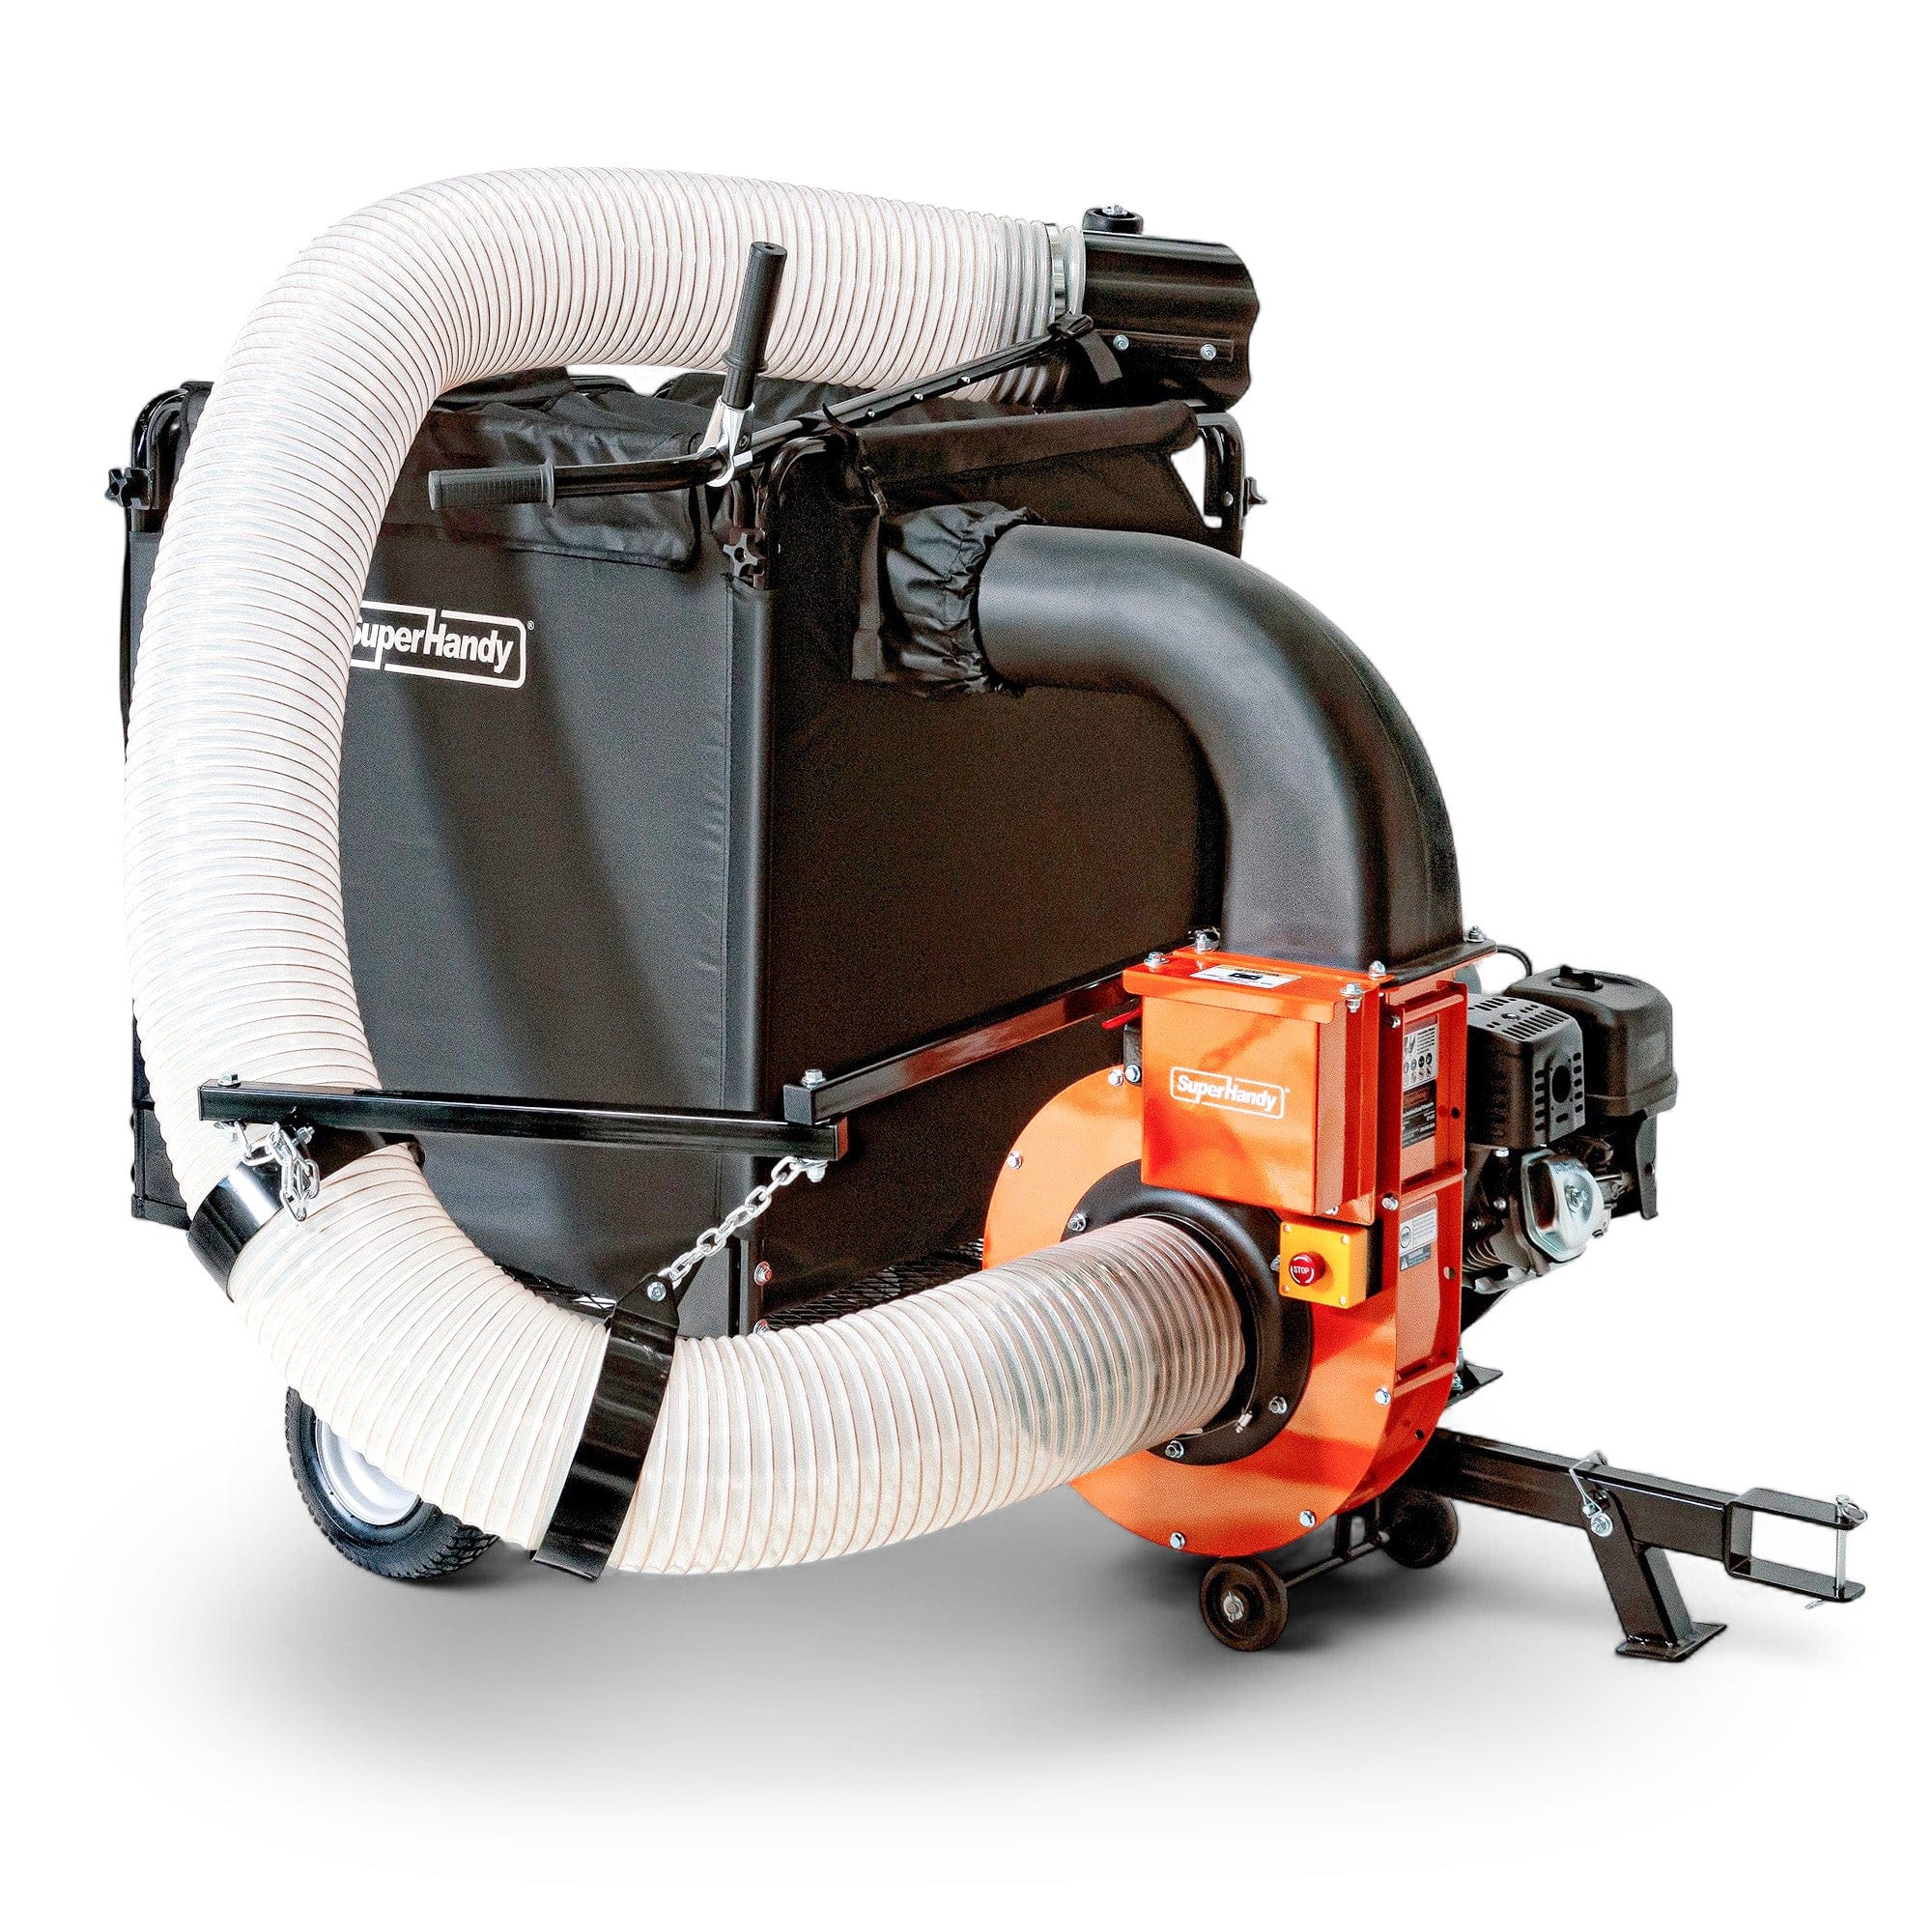
- Leaves and small yard debris (ideal for a leaf vacuum and wood chipper).
- Branches pre-cut to manageable lengths to prevent awkward handling at the hopper.
What to AVOID:
- Rocks, Metal, and Plastic: These items will destroy the blades of your Rotor wood chipper and can be ejected as dangerous projectiles.
- Soil and Root Balls: Dirt and grit will rapidly dull your chipper blades.
- Pressure-Treated or Painted Wood: Chipping these materials can release harmful chemicals into the air and will contaminate your mulch. According to the University of New Hampshire Extension, the preservatives in treated wood can be toxic to some plants and should not be used as mulch.
- Stringy Vines and Palm Fronds: These can wrap around the rotor and cause severe jams.
- Construction Lumber: Often contains nails, screws, or staples that will damage the machine.
 Safe Feeding Techniques: Preventing Kickback and Jams
How you feed material into your wood chipper is just as important as the pre-operation checks. Improper technique is a leading cause of injuries, machine jams, and dangerous kickback events. Mastering the correct feeding method ensures a smooth, efficient, and—most importantly—safe chipping session.
Follow these essential techniques every time you operate your gas wood chipper:
- Feed from the Side: Never stand directly in front of the infeed hopper. Always position yourself to the side. This stance prevents you from being struck by material that might unexpectedly kick back out of the hopper.
- Insert the Butt-End First: When feeding branches, always insert the thickest end (the butt-end) into the chipper first. This allows the machine's feed rollers and blades to get a solid grip, pulling the branch in steadily and reducing the chance of it jumping or jamming.
- Let the Machine Work: A well-maintained chipper with sharp blades is designed to pull material in on its own. Resist the urge to force or shove branches into the hopper. Pushing material can overload the engine and cause a jam. A powerful unit like a 4 inch wood chipper has the torque to handle appropriately sized limbs without assistance.
- Keep Hands and Feet Out: This is a non-negotiable rule. Never, under any circumstances, place your hands or feet inside the infeed hopper while the machine is running. Once you release a branch, let go completely. For smaller debris, use a long, sturdy push paddle, not your hands. While some units like a Leaf vacuum and wood chipper are designed for foliage, a push paddle is your safest tool for feeding loose material into a standard chipper.
- Feed Material Steadily: Avoid "dumping" a large armful of branches and leaves into the hopper all at once. Feed one or two manageable branches at a time to prevent overwhelming the machine. This is especially true for a compact mini wood chipper.
- Listen to Your Engine: The sound of the engine is your best indicator of performance. If you hear it bogging down or struggling, pause feeding and allow the rotor to regain its full speed. This brief pause is crucial for both engine health and chipping efficiency, whether you're using a Rotor wood chipper or a versatile 3 In 1 wood chipper.
What to Do if a Jam Occurs
Even with perfect technique, jams can happen. If your wood chipper clogs, immediately shut off the engine. As the Occupational Safety and Health Administration (OSHA) advises, you must wait for the rotor to stop completely before reaching into the in-feed hopper. Once the machine is silent and still, disconnect the spark plug wire to eliminate any chance of an accidental restart. Only then should you attempt to clear the obstruction, following the specific procedures outlined in your machine's user manual.
Frequently Asked Questions About Wood Chipper Safety
We get a lot of questions about the safe operation of our equipment. Below, we answer one of the most critical questions every operator should ask before starting a job.
What is the most common cause of wood chipper accidents?
The overwhelming majority of serious and fatal wood chipper accidents are "caught-in" incidents. This happens when an operator's hand, arm, or piece of clothing gets snagged by a branch and is pulled into the machine’s high-speed feeding and cutting mechanism. The internal components of a powerful Rotor wood chipper are designed to aggressively grab and process material, and they cannot distinguish between a tree limb and a human limb.
According to the National Institute for Occupational Safety and Health (NIOSH), workers being caught in and pulled into the rotating chipper knives is the leading cause of death involving these machines. These tragic events happen in a split second, long before an operator has time to react. The immense pulling force generated by a commercial or residential gas wood chipper makes self-rescue nearly impossible once a person is entangled.
These accidents typically occur in a few common scenarios:
- Reaching into the Hopper: An operator reaches into the infeed chute to push shorter material, clear a minor jam, or brush away debris. This is the single most dangerous action you can take.
- Loose Clothing or PPE: Dangling drawstrings, unbuttoned sleeves, loose-fitting gloves, or long hair can easily get snagged on branches being fed into the chipper.
- Kickbacks: A piece of wood can be violently ejected back out of the hopper, startling an operator and causing them to fall toward the machine.
This fundamental risk is present regardless of the machine's size. Whether you are operating a compact Mini wood chipper for yard cleanup or a heavy-duty 4 inch wood chipper, you must always keep your hands and body out of the infeed chute. Always use a long push paddle or another branch to feed short material. The same strict safety protocols apply to multi-function units like a 3 In 1 wood chipper or a combination Leaf vacuum and wood chipper. Respecting the danger zone of the infeed hopper is the most important step in preventing a life-altering accident.
Related Products



Leave a comment
All comments are moderated before being published.
This site is protected by hCaptcha and the hCaptcha Privacy Policy and Terms of Service apply.