










Why Your Raised Beds Need Autumn's Gifts: The Mulching Advantage
As autumn leaves blanket your yard, don't see them as a chore—see them as a gift for your garden. Applying a layer of shredded leaf mulch to your raised beds provides a protective barrier that insulates soil from winter's harsh temperature swings, suppresses pesky spring weeds, and retains crucial moisture. This natural blanket helps create a healthier, more resilient garden environment, reducing your workload come spring.
Understanding Leaf Mulch: Nature's Free Fertilizer
Those fallen leaves are a powerhouse of nutrients just waiting to be unlocked. According to the University of Illinois Extension, fallen leaves are one of the most readily available forms of organic matter for home gardeners, perfect for enriching your soil. As they break down, soil organisms like bacteria and fungi go to work. Research from the University of California highlights that these organisms use leaves as a food source, releasing nitrogen, phosphorus, and sulfur back into the soil. Using a leaf mulcher accelerates this process, creating a fine-textured material that decomposes quickly.
Choosing the Right Leaf Mulcher: Electric vs. Gas
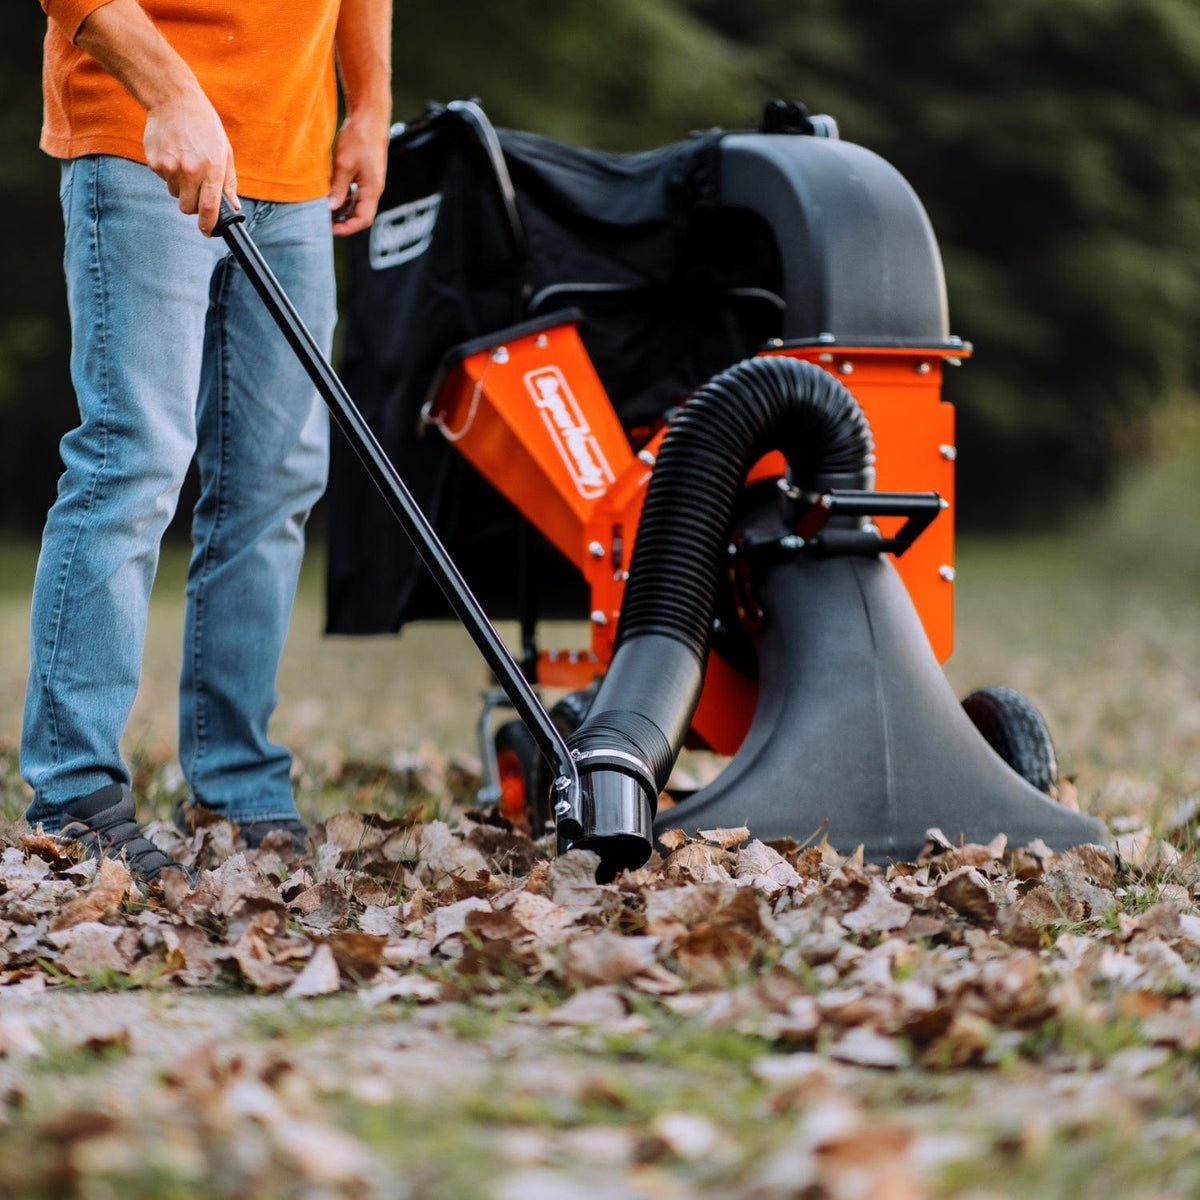
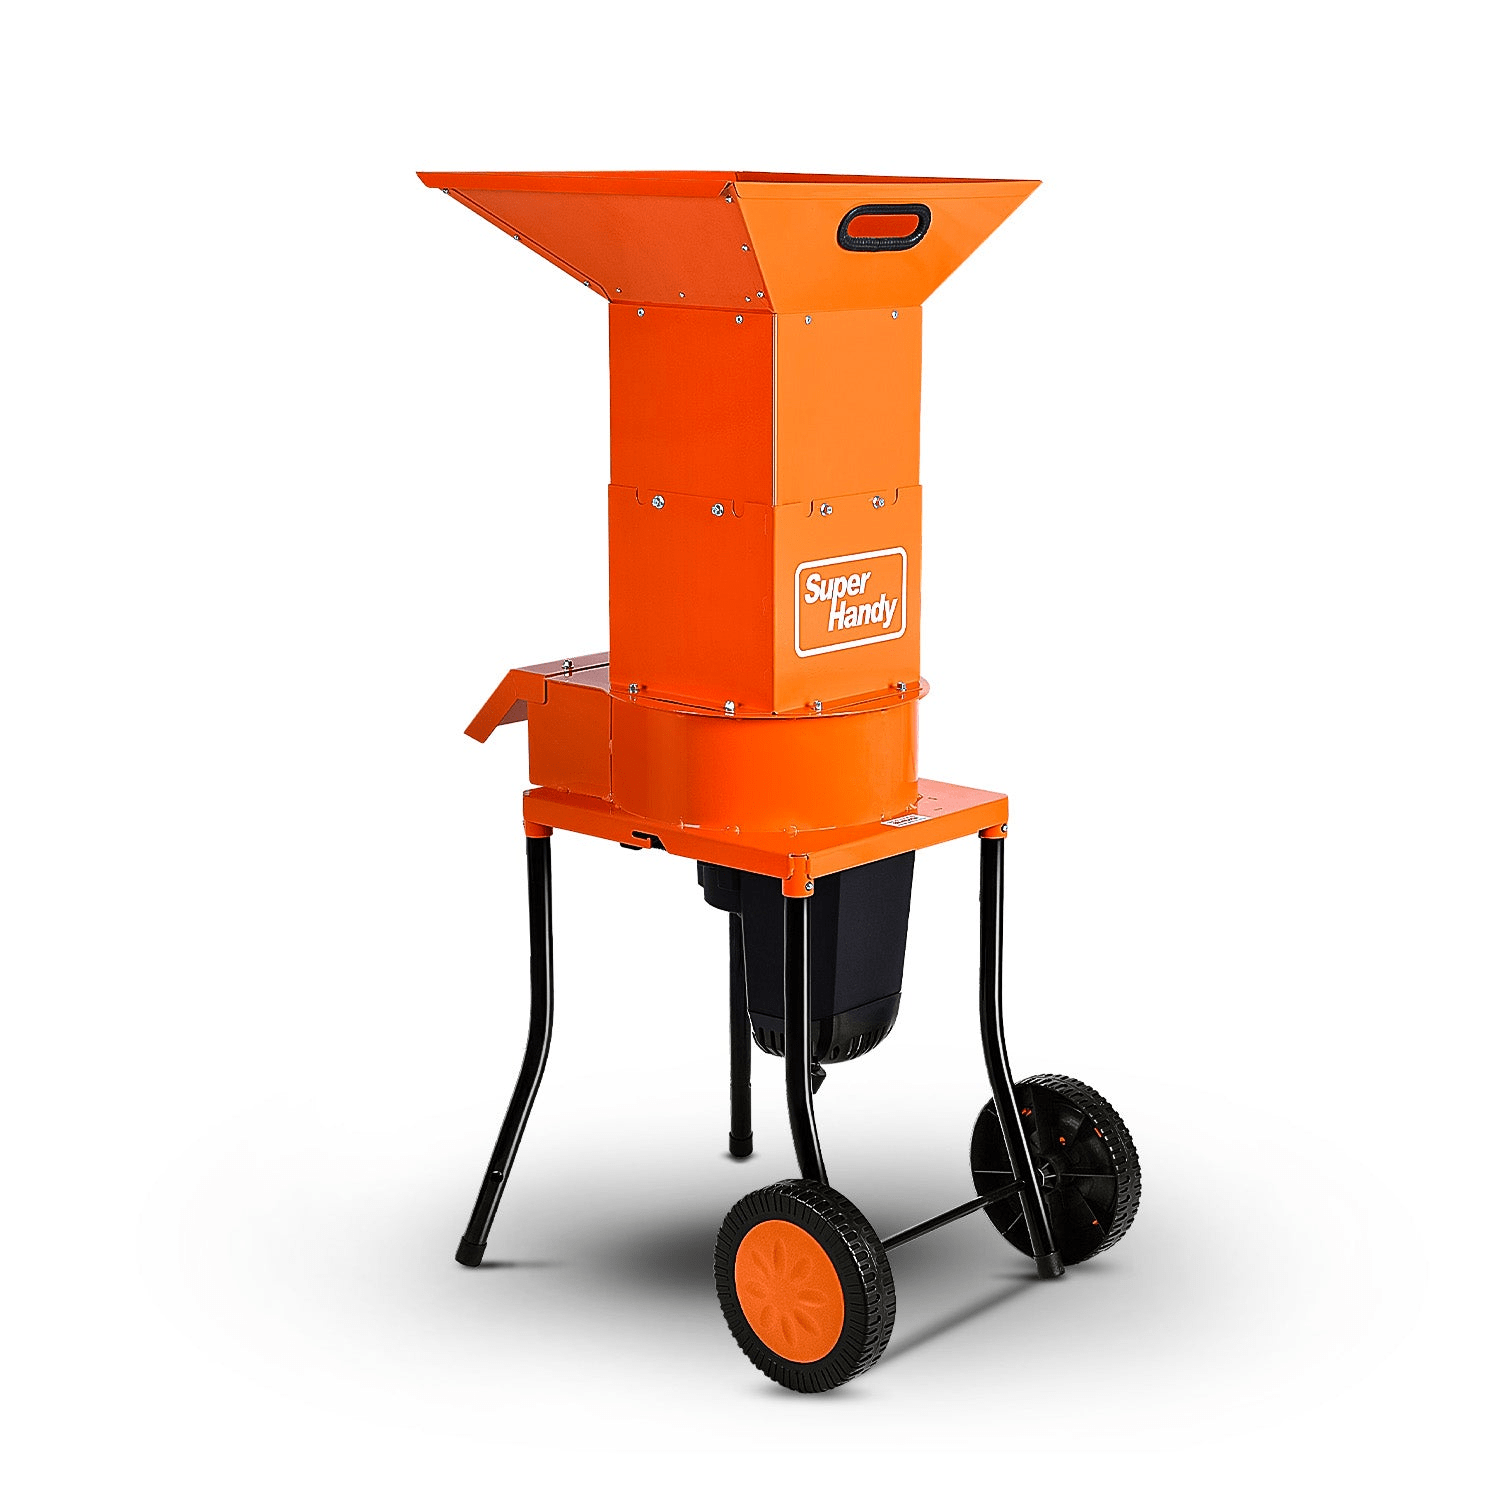
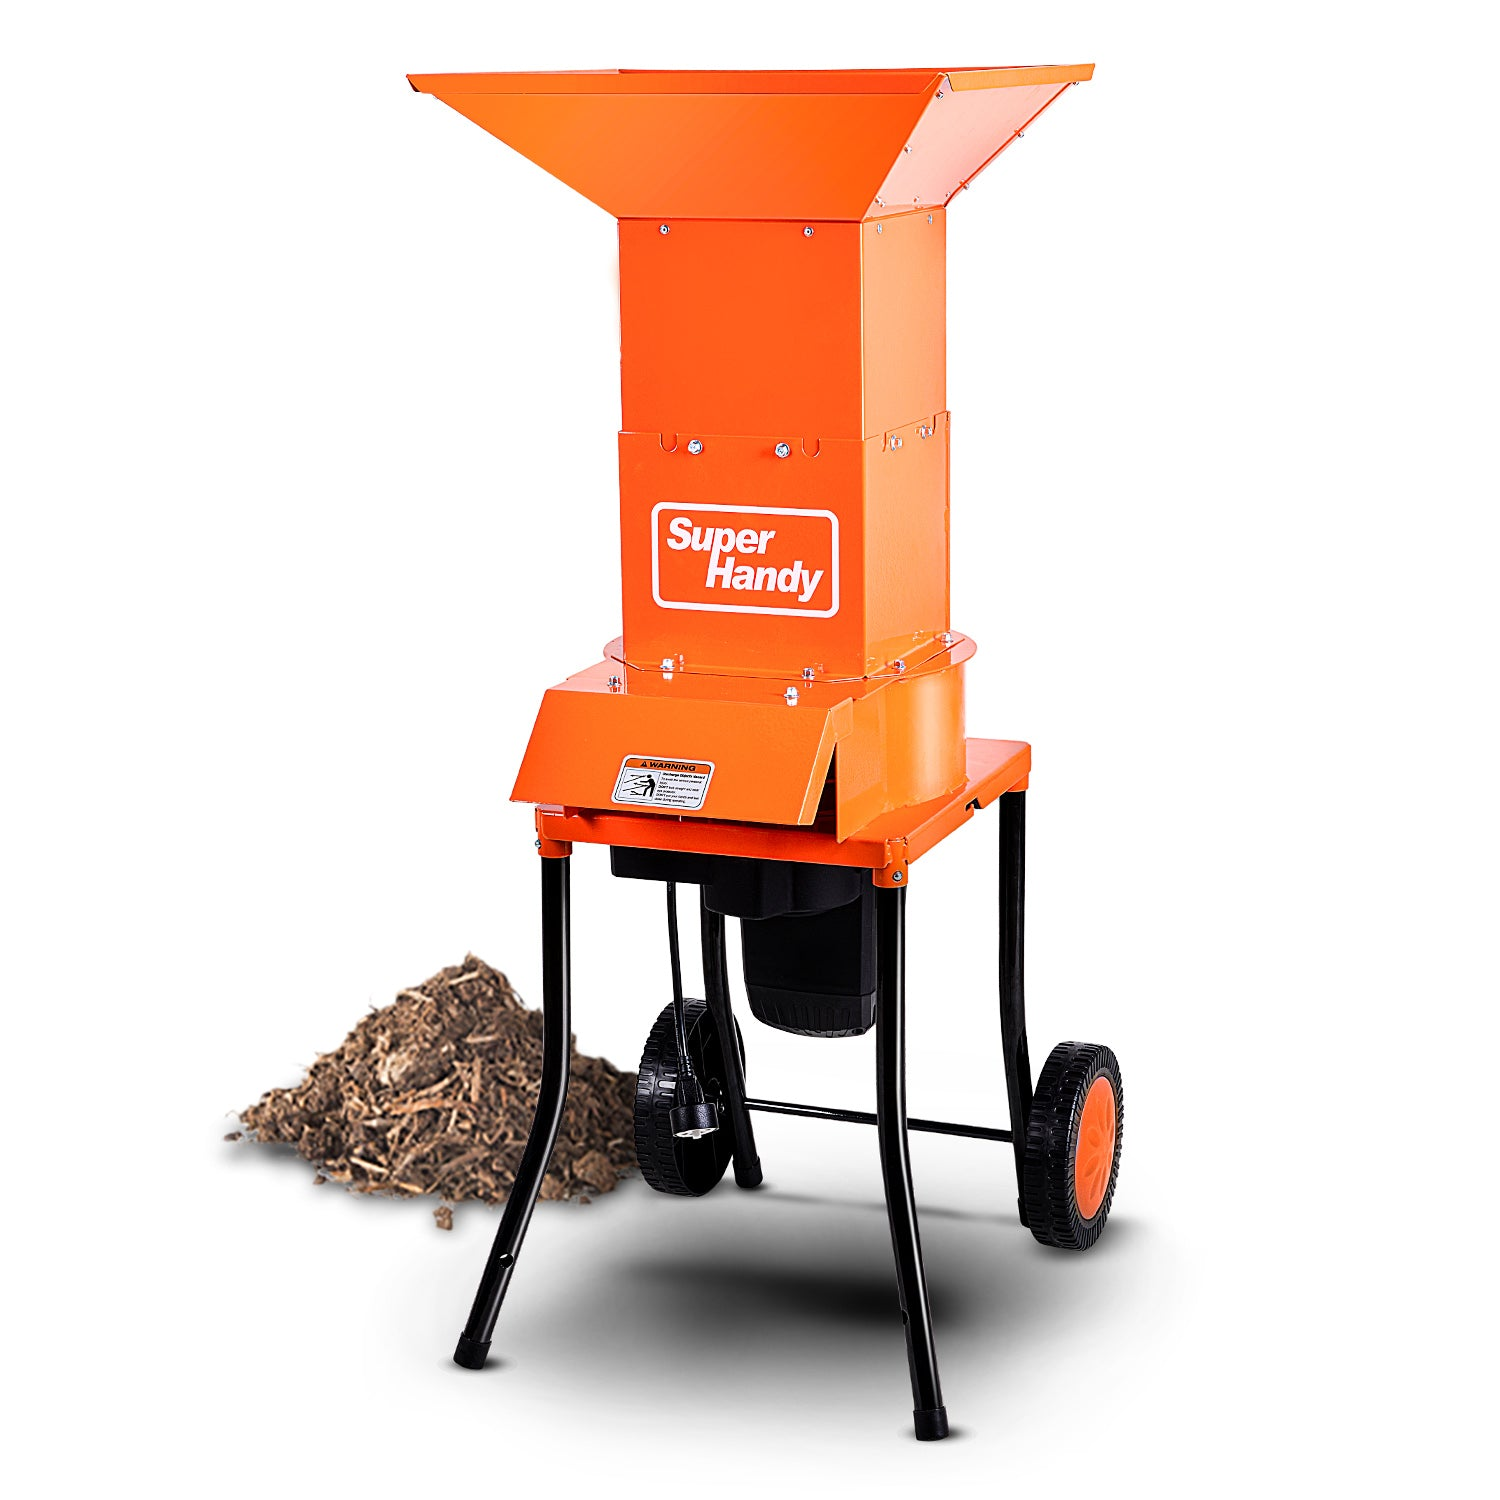
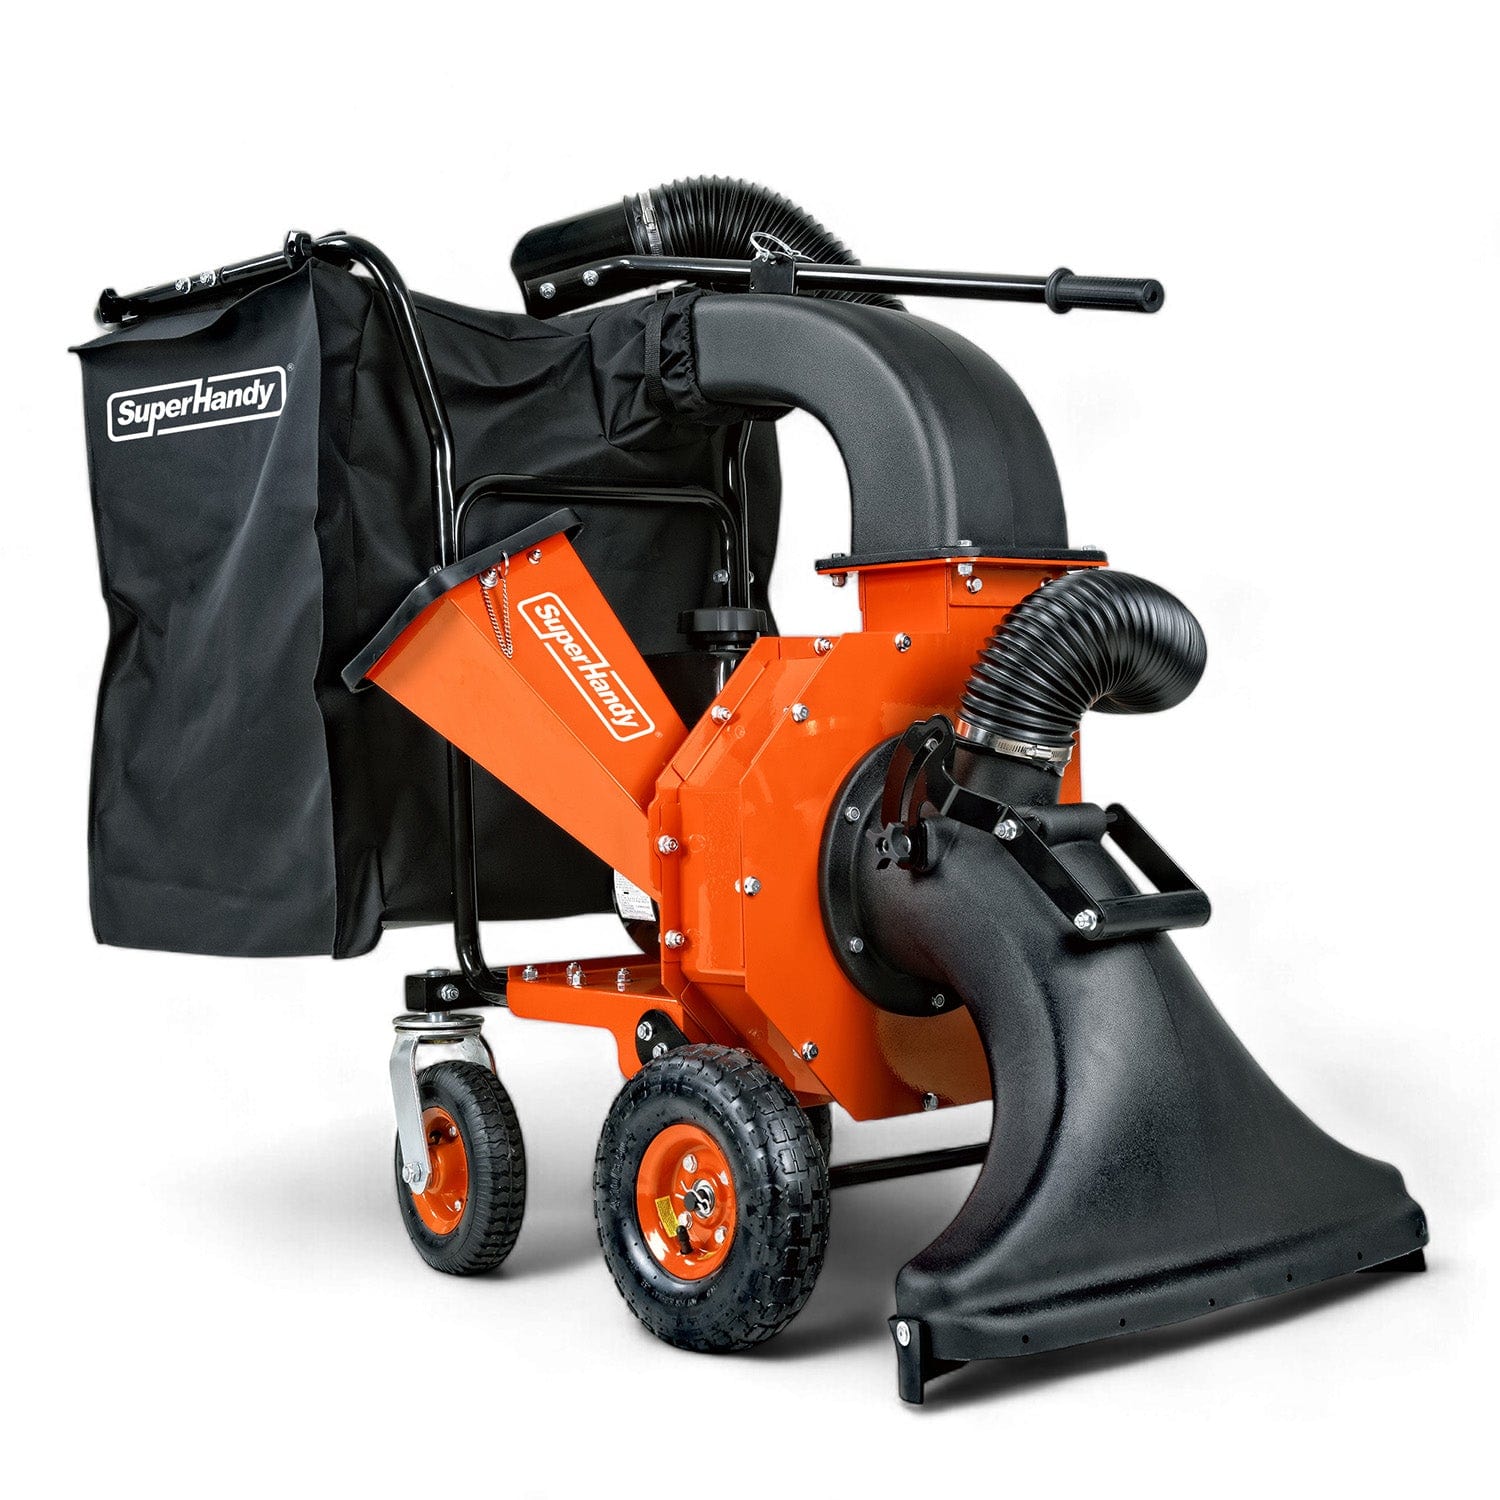
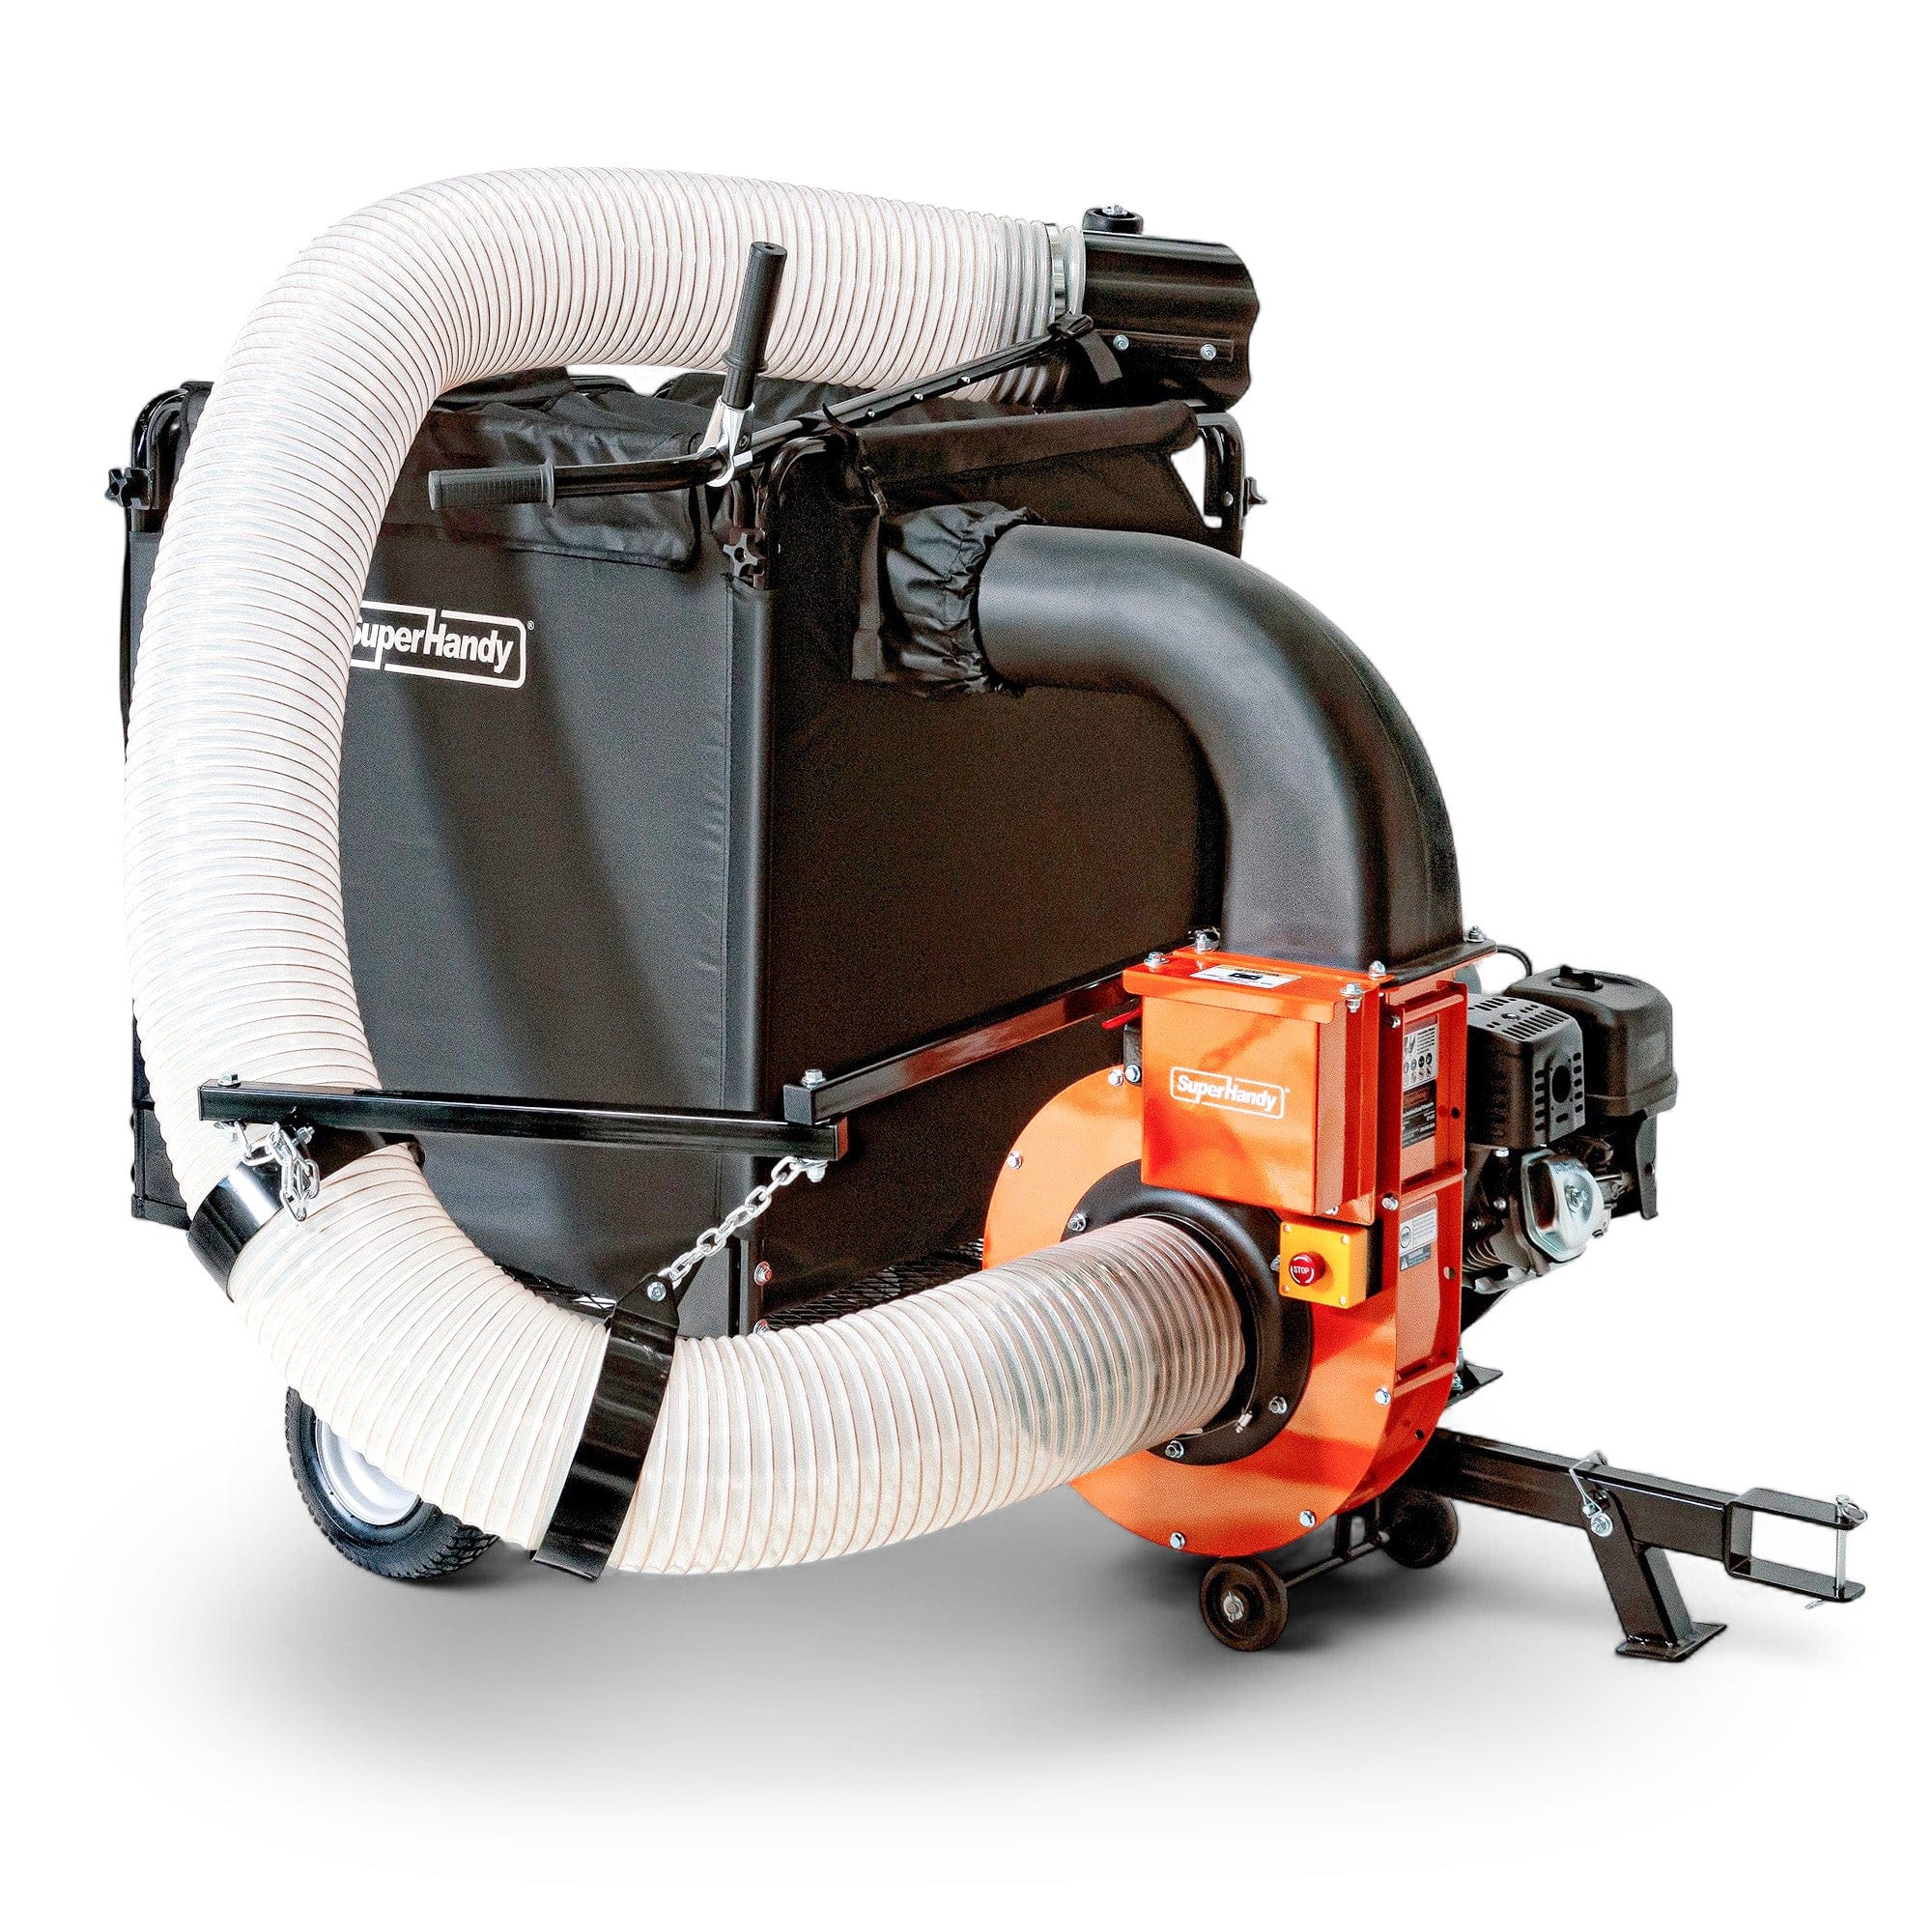
Selecting the right tool is key. Electric Leaf Mulchers are typically lighter, quieter, and ideal for suburban yards with easy access to power outlets. For larger properties or tougher jobs involving wet leaves and small twigs, a gas-powered leaf vacuum mulcher offers superior power and cordless freedom. Consider your yard size and the volume of leaves you handle each year to make the best choice for your needs.
How to Safely Operate Your Leaf Mulcher for Maximum Efficiency
Safety is paramount. Always wear safety glasses and sturdy gloves. For optimal performance, mulch dry leaves, as wet ones can clog the machine. Feed leaves into the hopper at a steady pace, avoiding the temptation to overstuff it. Never place your hands or feet inside the intake or discharge chutes while the machine is running, and always follow the manufacturer's operating instructions.
The Art of Mulching: Best Practices for Raised Beds
Once you've created a pile of finely shredded leaves, applying it to your raised beds is straightforward. Spread a 2- to 3-inch layer evenly over the soil surface, but be sure to pull it back an inch or two from the base of plant stems. This small gap prevents moisture from getting trapped against the stems, which can lead to rot. After applying, give the mulch a light watering to help it settle and prevent the wind from carrying your hard work away.
Transforming Leaves into Garden Gold: The Decomposition Process
Shredded leaves are a feast for the invisible workers in your soil. Earthworms, bacteria, and beneficial fungi immediately begin breaking down the organic material. As they work, this decomposition process slowly releases essential nutrients like nitrogen and potassium into the soil, creating a natural, slow-release fertilizer for next season’s plants. Using a Leaf Mulchers or a leaf vacuum mulcher speeds this up exponentially by increasing the surface area for microbes to work on.
Beyond Mulch: Creative Uses for Shredded Leaves
Shredded leaves are incredibly versatile. They are a perfect "brown" carbon-rich material to balance the "green" nitrogen-rich materials in your compost pile. You can also work a layer directly into your garden soil in the fall to improve its structure and aeration over the winter, giving you a head start on spring planting.
Troubleshooting Common Leaf Mulching Challenges
- Clogging: The most common issue is feeding a leaf mulcher too quickly or using wet, compacted leaves. For best results, use dry leaves and add them to the hopper at a steady pace.
- Mulch Matting: If your leaf mulch forms a dense, water-repellent mat, it may be applied too thickly. Simply rake it to break it up and allow air and water to penetrate.
When to Apply Leaf Mulch to Your Raised Beds
Timing is everything when it comes to mulching. The ideal time to apply a generous layer of shredded leaves to your raised beds is in late autumn, after your final harvest and cleanup but before the ground freezes solid. Applying a 2 to 4-inch layer at this time acts as a protective blanket for your soil. It insulates plant roots (perfect for overwintering garlic or perennials), prevents soil erosion from winter winds and rain, and suppresses early spring weeds. As the mulch slowly decomposes over the winter, it will enrich the soil, preparing it for spring planting.
You can also apply a thinner, 1-inch layer in the spring around new seedlings to help retain moisture and keep weeds at bay. However, the heavy lifting for soil improvement happens with the fall application.

The Environmental Benefits of Using a Leaf Mulcher
Embracing a leaf mulcher isn't just a win for your garden; it's a significant victory for the environment. By shredding and reusing your leaves, you are actively participating in a sustainable, closed-loop system.
Here’s how:
- Reduces Landfill Waste: Yard trimmings, including leaves, constitute a large portion of municipal solid waste. When they decompose in a landfill, they release methane, a powerful greenhouse gas. Mulching keeps this organic matter on your property and out of the waste stream.
- Decreases Chemical Use: Nutrient-rich leaf mulch reduces or eliminates the need for synthetic fertilizers, which require significant energy to produce and can contribute to water pollution.
- Conserves Water: A layer of mulch helps your garden soil retain moisture, meaning you’ll need to water less frequently, conserving a precious resource.
- Creates Cleaner Air: Using Leaf Mulchers is a far cleaner alternative to gas-powered leaf blowers or burning leaves, both of which release harmful pollutants and particulates into the atmosphere.
Frequently Asked Questions
What types of leaves are best for mulching?
Most deciduous leaves are excellent for creating mulch. Varieties like maple, birch, ash, and poplar are ideal because they break down relatively quickly and are packed with minerals. Oak leaves are also great but take longer to decompose due to higher tannin levels. The best approach is to use a diverse mixture of leaves to provide a balanced nutrient profile for your soil. Avoid using leaves from black walnut trees, as they contain a chemical that is toxic to many common garden plants.
How thick should the leaf mulch layer be?
After shredding your leaves with a leaf mulcher, apply a layer that is 2 to 4 inches deep across the surface of your raised garden beds. This depth is perfect for suppressing weeds, conserving soil moisture, and insulating roots from temperature extremes. Unlike whole leaves, which can form a dense, water-repellent mat, shredded leaves allow water and air to penetrate the soil easily.
Can I mulch diseased leaves?
It is safest to avoid mulching leaves that show signs of disease, such as powdery mildew, rust, or black spot. While a hot composting process can kill many pathogens, simply shredding them with a leaf vacuum mulcher and applying them directly to your garden can risk spreading the disease to your soil and plants. When in doubt, it’s best to bag and dispose of diseased leaves separately.
How long does it take for leaf mulch to break down?
The decomposition time for leaf mulch varies, but shredding makes a huge difference. Whole leaves can take a year or more to break down. However, leaves processed through one of our efficient Leaf Mulchers have a much greater surface area, allowing them to decompose in as little as three to six months. By spring, the mulch will have started to transform into nutrient-rich humus for your plants.
Related Products






Leave a comment
All comments are moderated before being published.
This site is protected by hCaptcha and the hCaptcha Privacy Policy and Terms of Service apply.