














Why Proper Off-Season Storage is Crucial for Your Electric Log Splitter
As the wood-splitting season winds down, you might be tempted to simply wheel your electric log splitter into a corner of the garage and forget about it until next year. However, taking a little time for proper off-season storage is one of the smartest things you can do for your equipment. A well-stored wood splitter is a happy wood splitter.
Proper storage protects your investment by preventing common issues that arise from neglect. Rust can form on metal surfaces, hydraulic seals can dry out and crack, and leftover debris can harden, causing jams or damage when you start it up again. By following a simple end-of-season maintenance routine, you ensure that your machine remains in peak condition, ready to tackle cords of wood the moment you need it. This not only extends the lifespan of your splitter but also guarantees it will operate safely and efficiently, saving you from costly repairs and frustrating delays when the first cold snap hits.
Step 1: Safety First - Disconnecting Power and Ensuring a Safe Workspace
Before you perform any cleaning, inspection, or maintenance, your number one priority is safety. An electric log splitter is a powerful machine, and it must be treated with respect, even when it's not actively splitting logs.
The first and most critical step is to completely disconnect the machine from its power source. Unplug the power cord from the wall outlet. Don't just turn off a power strip; remove the plug entirely to eliminate any possibility of the motor accidentally starting while you work.
Once the splitter is de-energized, move it to a flat, stable, and well-lit workspace. A level garage floor or workshop is ideal. This provides a safe footing for you and prevents the machine from rolling or tipping over. Finally, put on a pair of heavy-duty work gloves and safety glasses. This will protect your hands from sharp edges and your eyes from any dislodged debris during cleaning and inspection.
Step 2: Thorough Cleaning - Removing Dirt, Debris, and Sap Residue
With your splitter safely disconnected, it’s time to give it a thorough cleaning. Throughout the season, your machine accumulates a significant amount of sawdust, wood chips, bark, and sticky sap. If left over the off-season, this debris can trap moisture against the metal, leading to rust, and sap can harden into a concrete-like substance that can impede moving parts.
Start by using a stiff-bristled brush or a shop vacuum with a brush attachment to remove all the loose wood chips and sawdust. Pay close attention to the area around the splitting wedge, the ram, and the log cradle. Use compressed air to blow out debris from hard-to-reach areas, especially the motor's cooling vents. Clear vents are crucial for preventing overheating during operation.
For stubborn sap and grime, use a cloth dampened with a degreaser or a mild solvent. Gently wipe down all metal surfaces, ensuring you remove any sticky residue. Finish by wiping the entire machine down with a clean, dry cloth to ensure it's completely free of moisture before storage.
Step 3: Inspecting for Wear and Tear - Identifying Potential Issues Before Storage
Cleaning your electric log splitter gives you the perfect opportunity to perform a detailed visual inspection. Catching potential problems now gives you the entire off-season to order parts and make repairs, so you're not sidelined with a broken machine next fall.
Go over your wood splitter systematically, looking for any signs of damage or wear. Here’s a quick checklist:
- Frame and Welds: Check the main body and all welded joints for cracks, bends, or signs of stress.
- Splitting Wedge: Examine the wedge for any significant nicks, chips, or dullness. A dull wedge crushes wood rather than splitting it, putting unnecessary strain on the motor.
- Power Cord: Carefully inspect the entire length of the power cord and plug for any cuts, frays, or exposed wires. A damaged cord is a serious electrical hazard and should be replaced immediately.
- Wheels and Axles: Ensure the wheels spin freely and are securely attached. Check for any damage that could make moving the splitter difficult.
- Hardware: Look for any loose nuts, bolts, or screws and tighten them as needed.
If you discover significant damage like a cracked frame, it's a major safety concern. In such cases, it may be time to retire the old unit and invest in a new, reliable electric log splitter to ensure your safety and efficiency for years to come.
Step 4: Lubrication - Protecting Moving Parts from Rust and Seizing
Moisture is the enemy of any metal tool, and your electric log splitter is no exception. After a thorough cleaning, the next critical step is lubrication. This simple action prevents rust from forming on exposed metal surfaces and ensures that all moving parts operate smoothly when you pull your wood splitter out of storage next season.
The primary area of focus is the main beam or rail where the push block or ram slides back and forth. This surface experiences constant friction during operation. Apply a thin, even layer of multi-purpose grease along the entire length of the beam. Also, take the time to lubricate any other pivot points or moving joints on your machine. Consult your owner's manual for specific lubrication points and recommended grease types. Applying a light coat is key; excess grease can attract and hold dirt and debris, which can be counterproductive.
Step 5: Checking the Hydraulic System (If Applicable) - Ensuring Fluid Levels and Condition
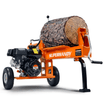
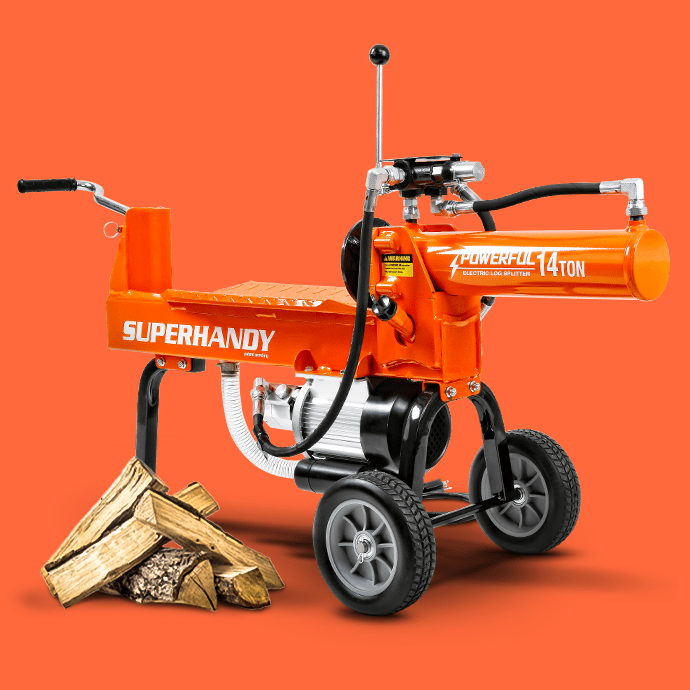
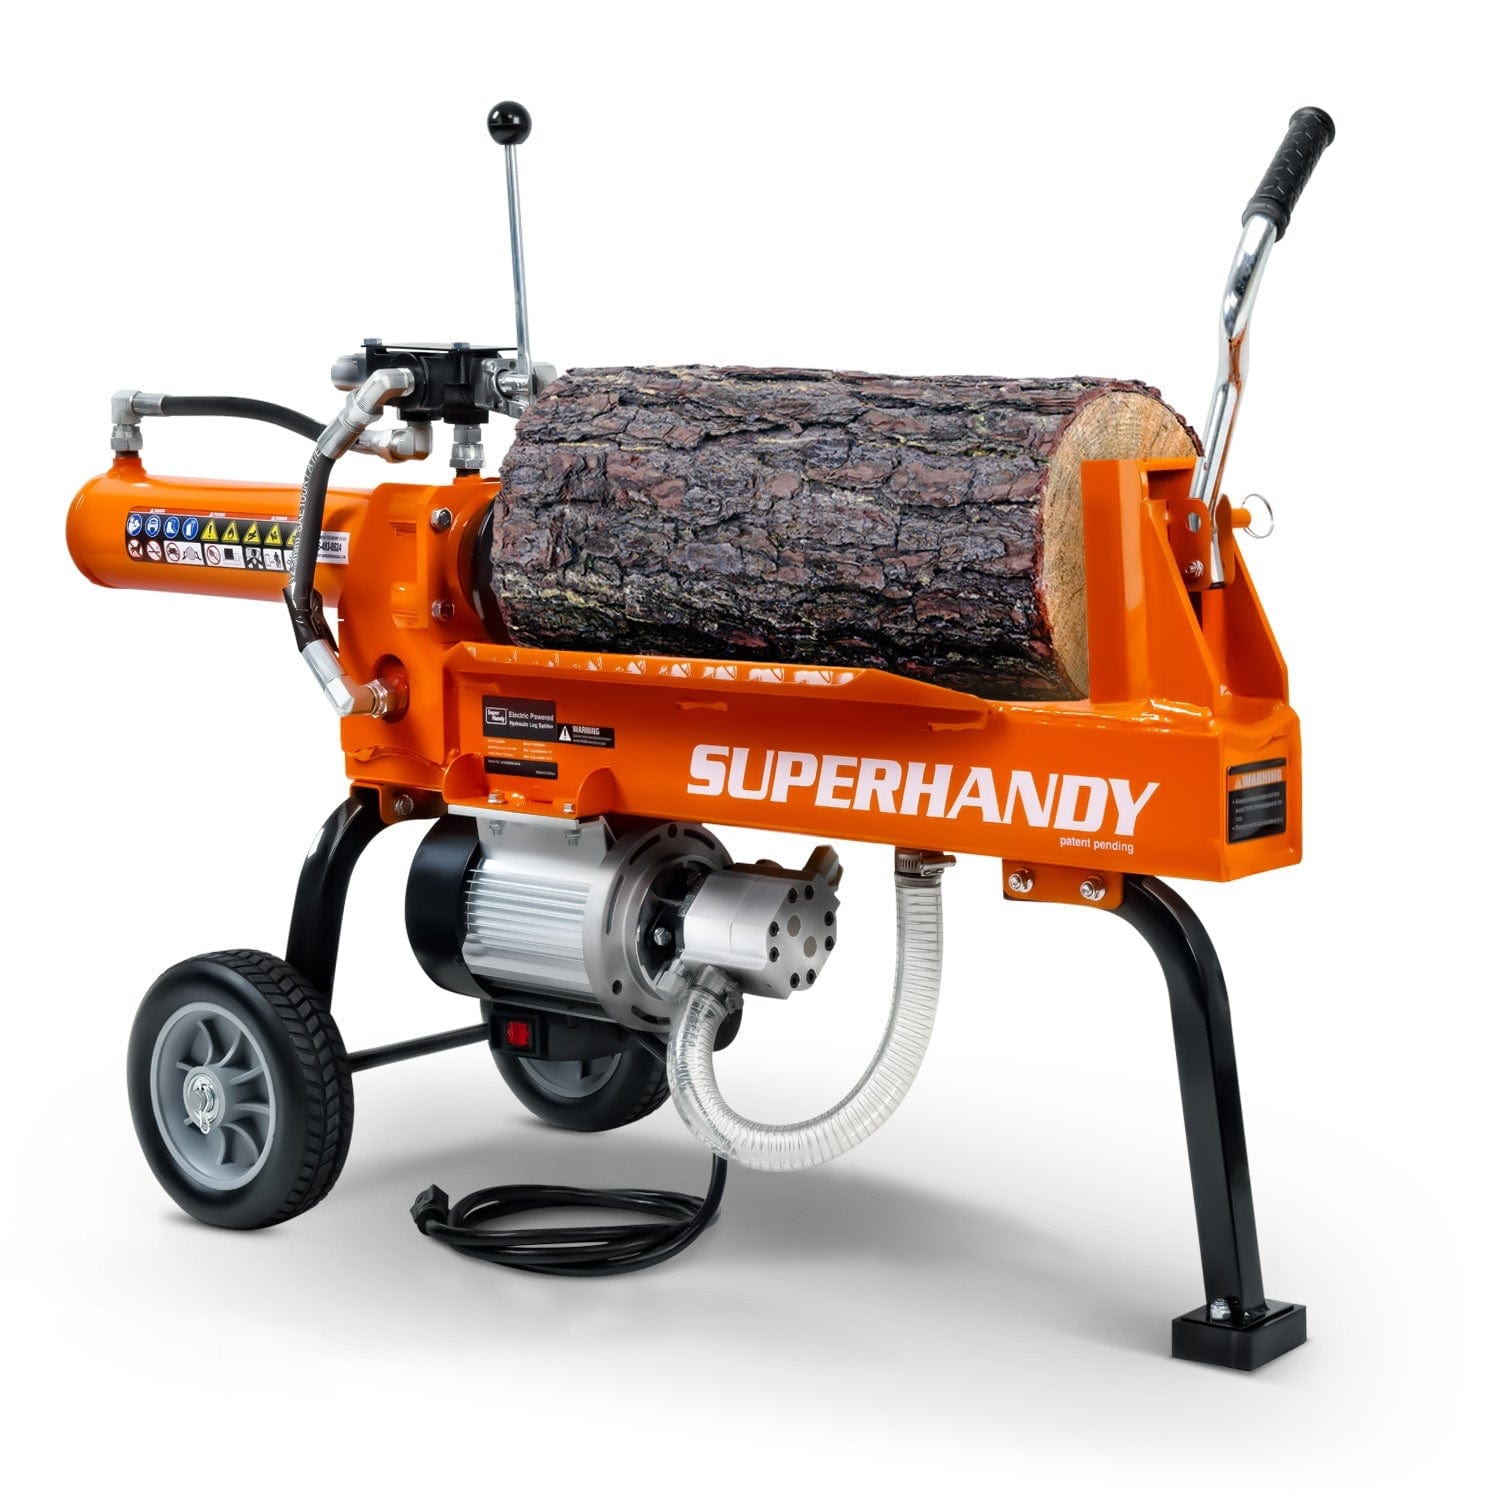
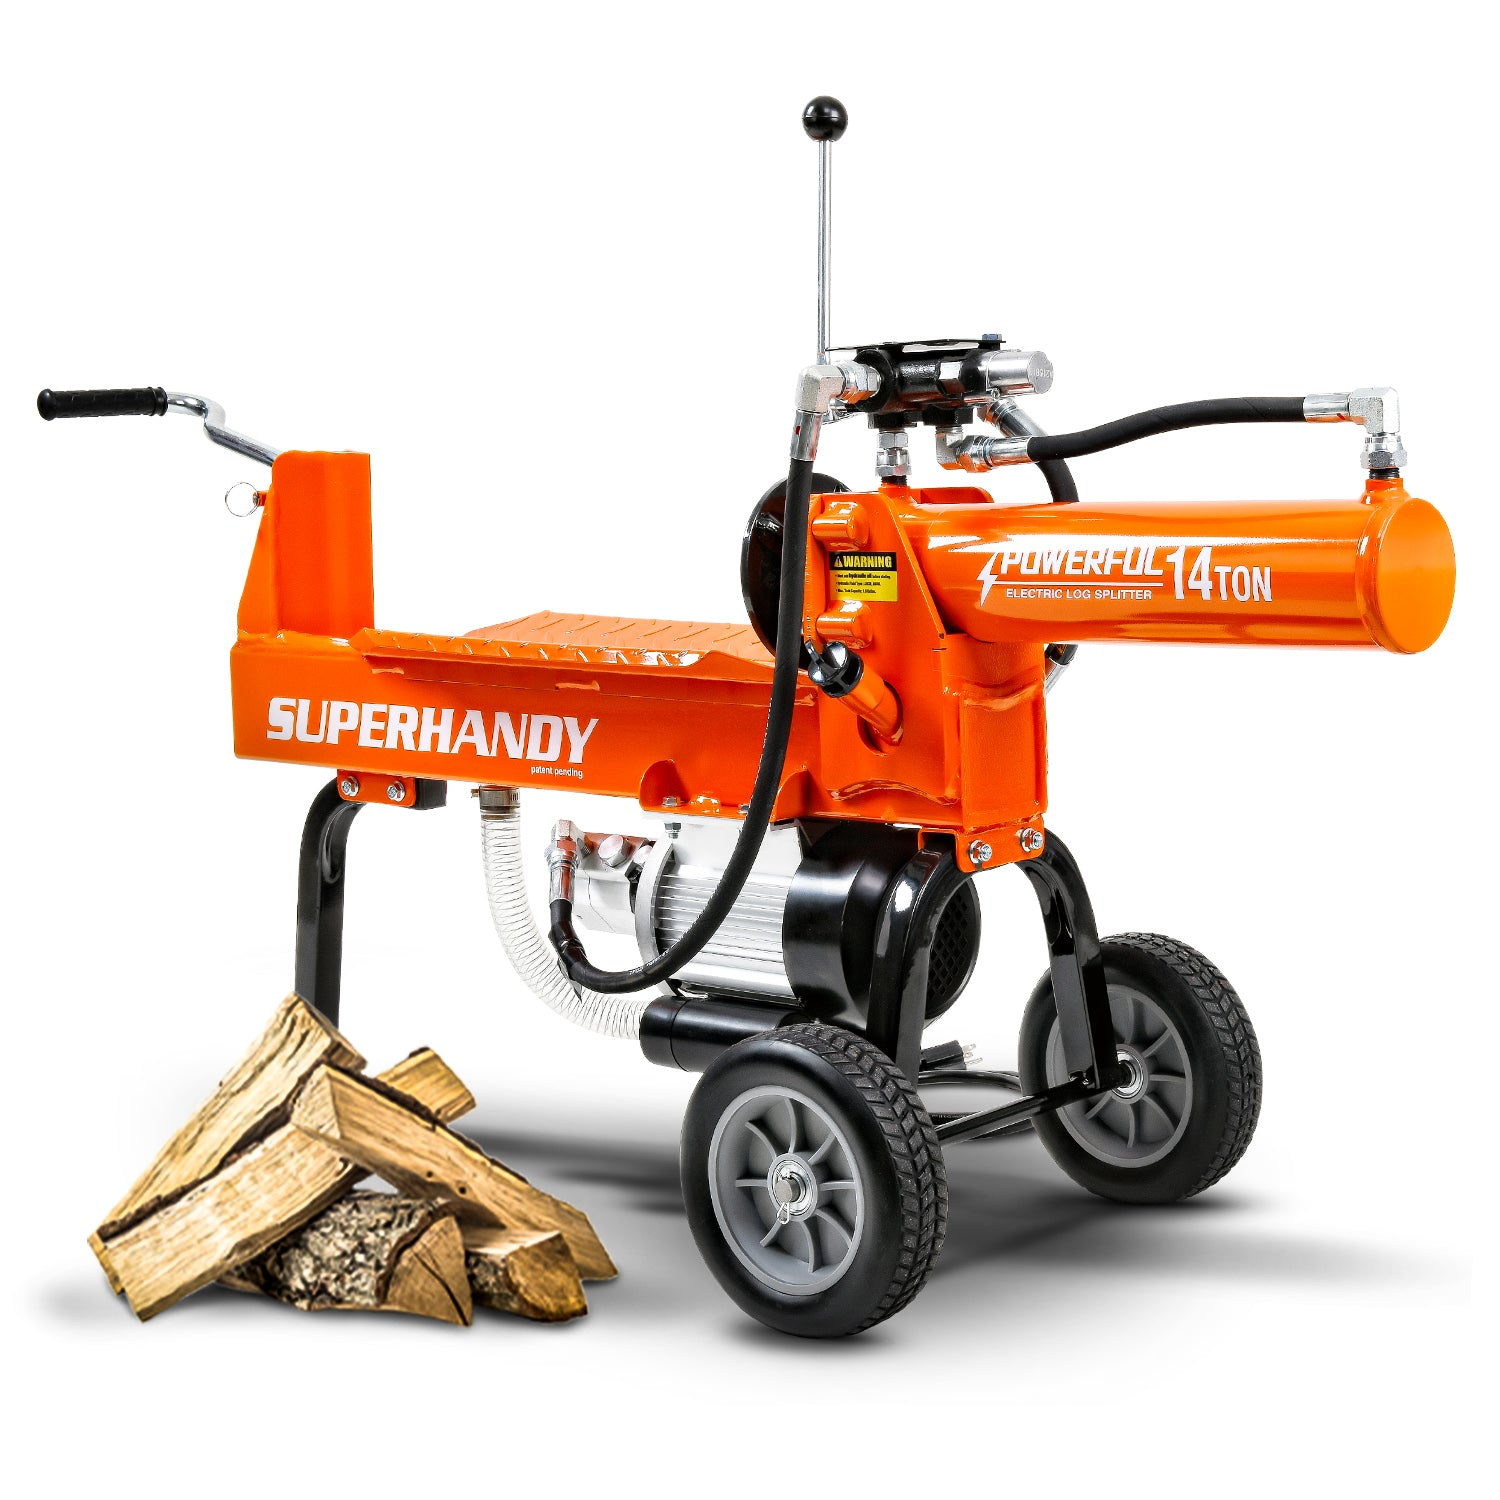
The hydraulic system is the heart of your electric log splitter, providing the immense force needed to split tough logs. Before storing it, a quick health check of this system is essential. Many powerful and reliable models, like the SuperHandy GUO084 Log Splitter, rely on a sealed hydraulic system that requires minimal but crucial maintenance.
First, check the hydraulic fluid level. Your machine will have a dipstick or a fill/breather cap, typically located on the hydraulic fluid reservoir. Refer to your user manual to find its exact location and the proper procedure for checking the level. If the fluid is low, top it off using only the specific type of hydraulic fluid recommended by the manufacturer. Using the wrong type can damage the seals and compromise the system's performance.
Next, inspect the condition of the fluid. It should be relatively clear. If the fluid appears milky or foamy, it's a sign that water has contaminated the system. This must be addressed before long-term storage, as water can cause internal rust and damage. In this case, the system should be completely drained and refilled with fresh fluid. Finally, give all hoses and fittings a quick visual inspection for any signs of cracking, abrasion, or leaks.
Step 6: Storing the Power Cord - Preventing Damage and Tangling
An often-overlooked component is the power cord. Improper storage can lead to kinks, frays, and cracks in the insulation, creating a serious electrical hazard.
Start by carefully inspecting the entire length of the cord and the plug for any signs of damage. If you find any cuts or exposed wires, it's crucial to have the cord professionally repaired or replaced before its next use.
Once you’ve confirmed the cord is in good shape, coil it into large, loose loops. Avoid wrapping it tightly around the body of the wood splitter, as this can put stress on the cord where it enters the motor housing. Use a velcro strap, a zip tie, or a built-in cord wrap if your splitter has one. The goal is to keep the cord neatly secured and free from sharp bends or tangles that could cause damage over the off-season.
Step 7: Protecting the Splitting Wedge - Sharpening and Preventing Rust
The splitting wedge does the hard work, and its condition directly impacts your machine’s efficiency and safety. A dull wedge crushes wood rather than splitting it cleanly, which puts unnecessary strain on the motor and hydraulic system. The end of the season is the perfect time to give it some attention.
Using a flat-file or a grinder, carefully sharpen the edge of the wedge. The key is to maintain the existing factory angle. Make smooth, even strokes on both sides to restore a clean, sharp edge. Always wear heavy gloves and safety glasses during this process.
After sharpening, the exposed metal is highly susceptible to rust. To protect it, apply a thin coating of grease or a rust-preventative oil over the entire surface of the wedge. This creates a protective barrier against moisture, ensuring your wedge is sharp, clean, and ready to work as soon as the splitting season returns.
Step 8: Choosing the Right Storage Location - Indoor vs. Outdoor Considerations
Where you store your electric log splitter can make the biggest difference in its longevity. The ideal location protects it from moisture, extreme temperature swings, and physical damage.
Indoor Storage (Recommended)
Storing your wood splitter in a garage, basement, or shed is the best option.
- Protection: It's completely shielded from rain, snow, and damaging UV rays from the sun, which can degrade plastic components and cause paint to fade.
- Temperature Stability: Indoor locations prevent the extreme cold that can make hydraulic fluid thick and the extreme heat that can stress seals and electrical parts.
- Security: It's safe from theft and keeps it away from curious children or pets.
The only real downside is the space it occupies. However, many modern electric log splitters are designed with a compact footprint and wheels, making them easier to tuck into a corner.
Outdoor Storage
If indoor space is simply not an option, you can store your splitter outdoors, but you must take extra precautions.
- Location: Choose a spot that offers some protection, like under a covered porch, a carport, or a solid lean-to. Avoid storing it in an area where water pools.
- Elevation: Never store the splitter directly on the ground. Place it on a pallet or wooden blocks to allow air to circulate underneath and prevent moisture from wicking up from the ground, which leads to rust.
- Covering: A high-quality, waterproof cover is absolutely essential for outdoor storage (more on this in the next step).
While possible, outdoor storage significantly increases the risk of rust, pest infestation (mice love to chew on wires), and general weather-related wear.
Step 9: Covering Your Electric Log Splitter - Shielding from Dust and Elements
Once you've chosen a location, covering your splitter is the final layer of defense. The type of cover you need depends on where it's being stored.
For indoor storage, a simple dust cover, an old blanket, or a light tarp is sufficient. The main goal is to keep dust and dirt from settling on the machine and in its moving parts, ensuring it’s clean and ready to go next season.
For outdoor storage, you need a heavy-duty, waterproof, and UV-resistant cover. Look for a fitted cover designed for outdoor equipment or a high-quality tarp that can withstand the elements without tearing. Ensure the cover is large enough to cover the entire unit down to the wheels. Secure it tightly with bungee cords or ropes to prevent it from blowing off in the wind and to keep water and pests out.
Step 10: Final Checks Before Storing - A Quick Review of All Steps
You're almost done! Before you walk away, run through this final checklist to ensure you haven't missed anything. This quick review will give you peace of mind knowing your wood splitter is fully prepared for its long winter nap.
- [ ] Power Disconnected: Is the machine completely unplugged from the power source?
- [ ] Clean and Dry: Is the entire unit free of wood debris, sap, and moisture?
- [ ] Inspected for Damage: Have you checked for cracks, loose bolts, or worn parts?
- [ ] Lubricated: Are all recommended pivot points and moving parts properly lubricated?
- [ ] Hydraulic System Checked: Is the fluid level correct and the fill cap tight?
- [ ] Power Cord Secured: Is the cord coiled neatly and stored away from potential damage?
- [ ] Wedge Protected: Is the splitting wedge clean, sharp, and lightly oiled to prevent rust?
Once you can check off every item on this list, your electric log splitter is officially ready for storage.
Preparing Your Electric Log Splitter for Spring Use: What to Do When the Season Returns
When the weather warms up and you have a new pile of logs to tackle, getting your splitter back in service is simple. Following these steps will ensure a safe and productive start to the splitting season.
- Uncover and Inspect: Remove the cover and move your splitter to a clear, level workspace. Give it a thorough visual inspection. Look for any signs of rust, damage, or pests (like chewed wires or nests) that may have appeared during storage.
- Check the Cord and Tires: Carefully examine the entire length of the power cord for cracks or frays. If your model has pneumatic tires, check the air pressure and inflate them to the manufacturer's recommendation.
- Verify Fluid Levels: If your model has a hydraulic system, double-check the fluid level to ensure none has leaked during storage.
- Perform a Test Run: Before splitting any wood, plug in the machine. Engage the ram and let it cycle a few times without a log. Listen for any unusual noises and watch to ensure the ram extends and retracts smoothly.
- Start with a Small Log: For your first split of the season, choose a small, straight-grained piece of wood. This puts a light load on the machine, allowing you to confirm everything is working perfectly before moving on to larger, tougher logs.
By following this simple reactivation process, your SuperHandy Log Splitter will be ready to perform reliably all season long. Happy splitting
Related Products



Leave a comment
All comments are moderated before being published.
This site is protected by hCaptcha and the hCaptcha Privacy Policy and Terms of Service apply.