











Understanding Your Floor Lift: Key Components and Their Functions
Before you can maintain your lift, it’s helpful to know its basic anatomy. While designs vary, most electric floor lifts are considered essential mobility aids and share several core components that work together to provide safe and controlled movement. Familiarizing yourself with these parts will make inspections and maintenance tasks much more intuitive.
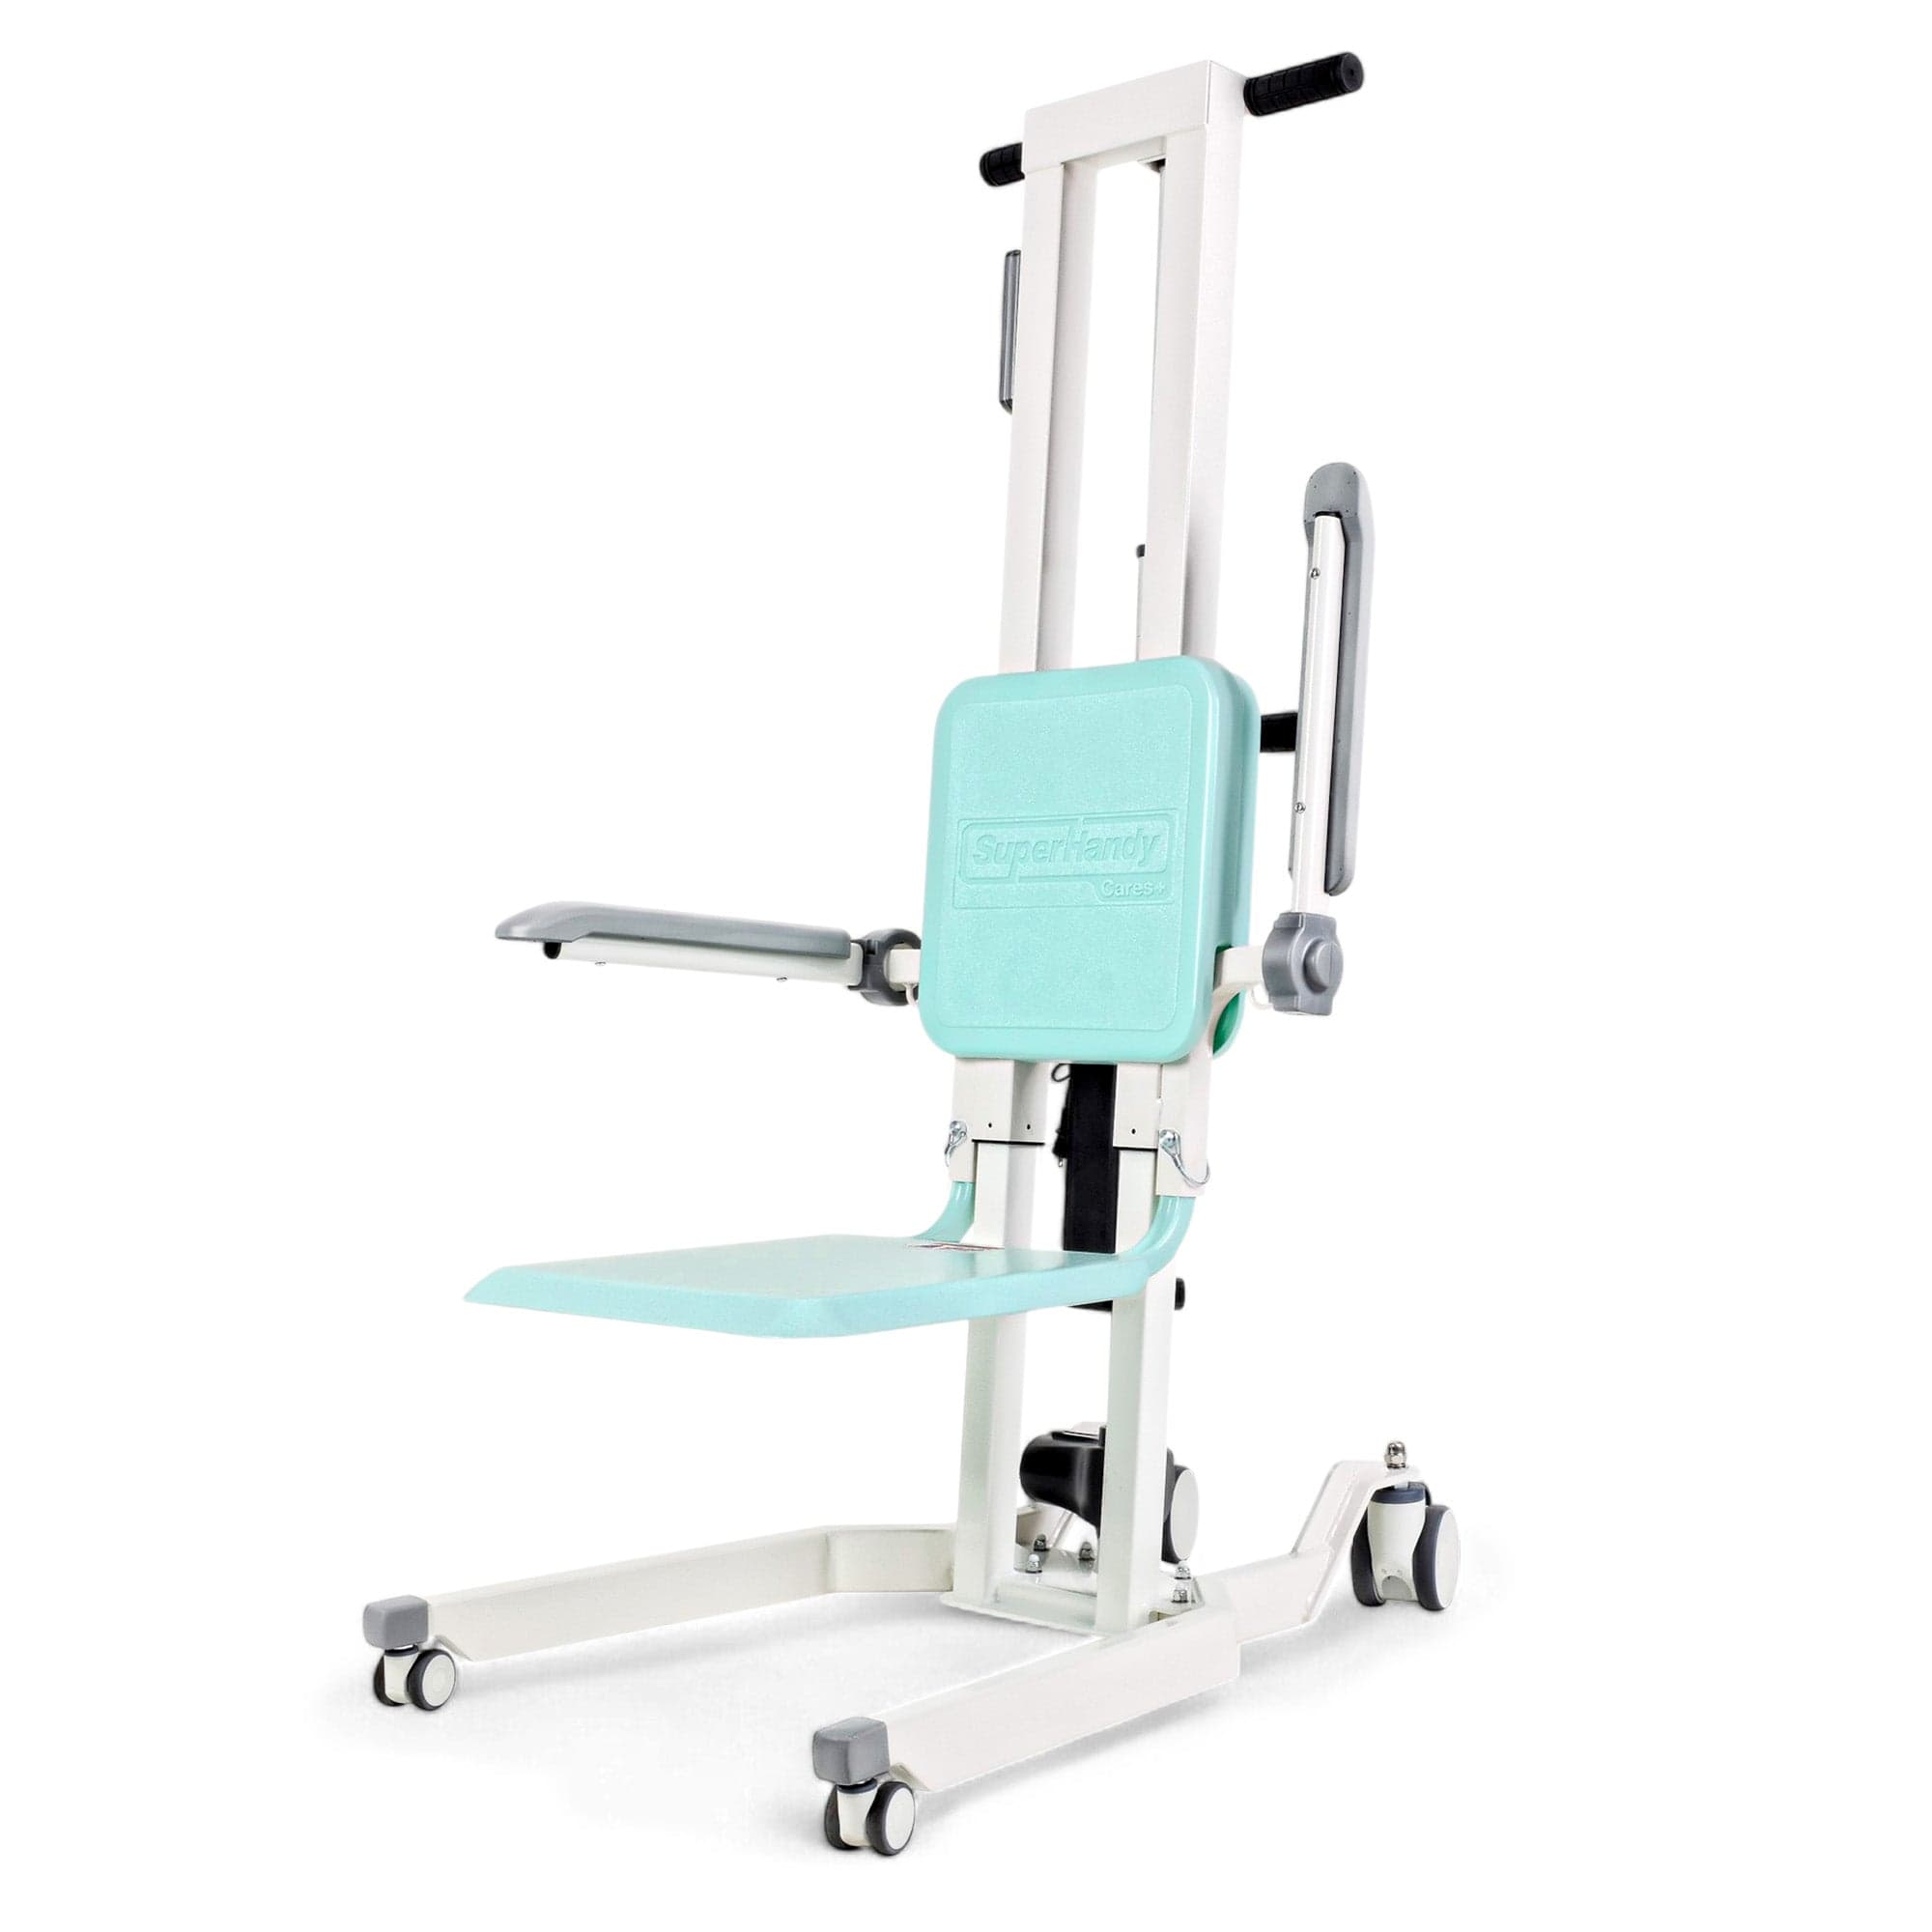
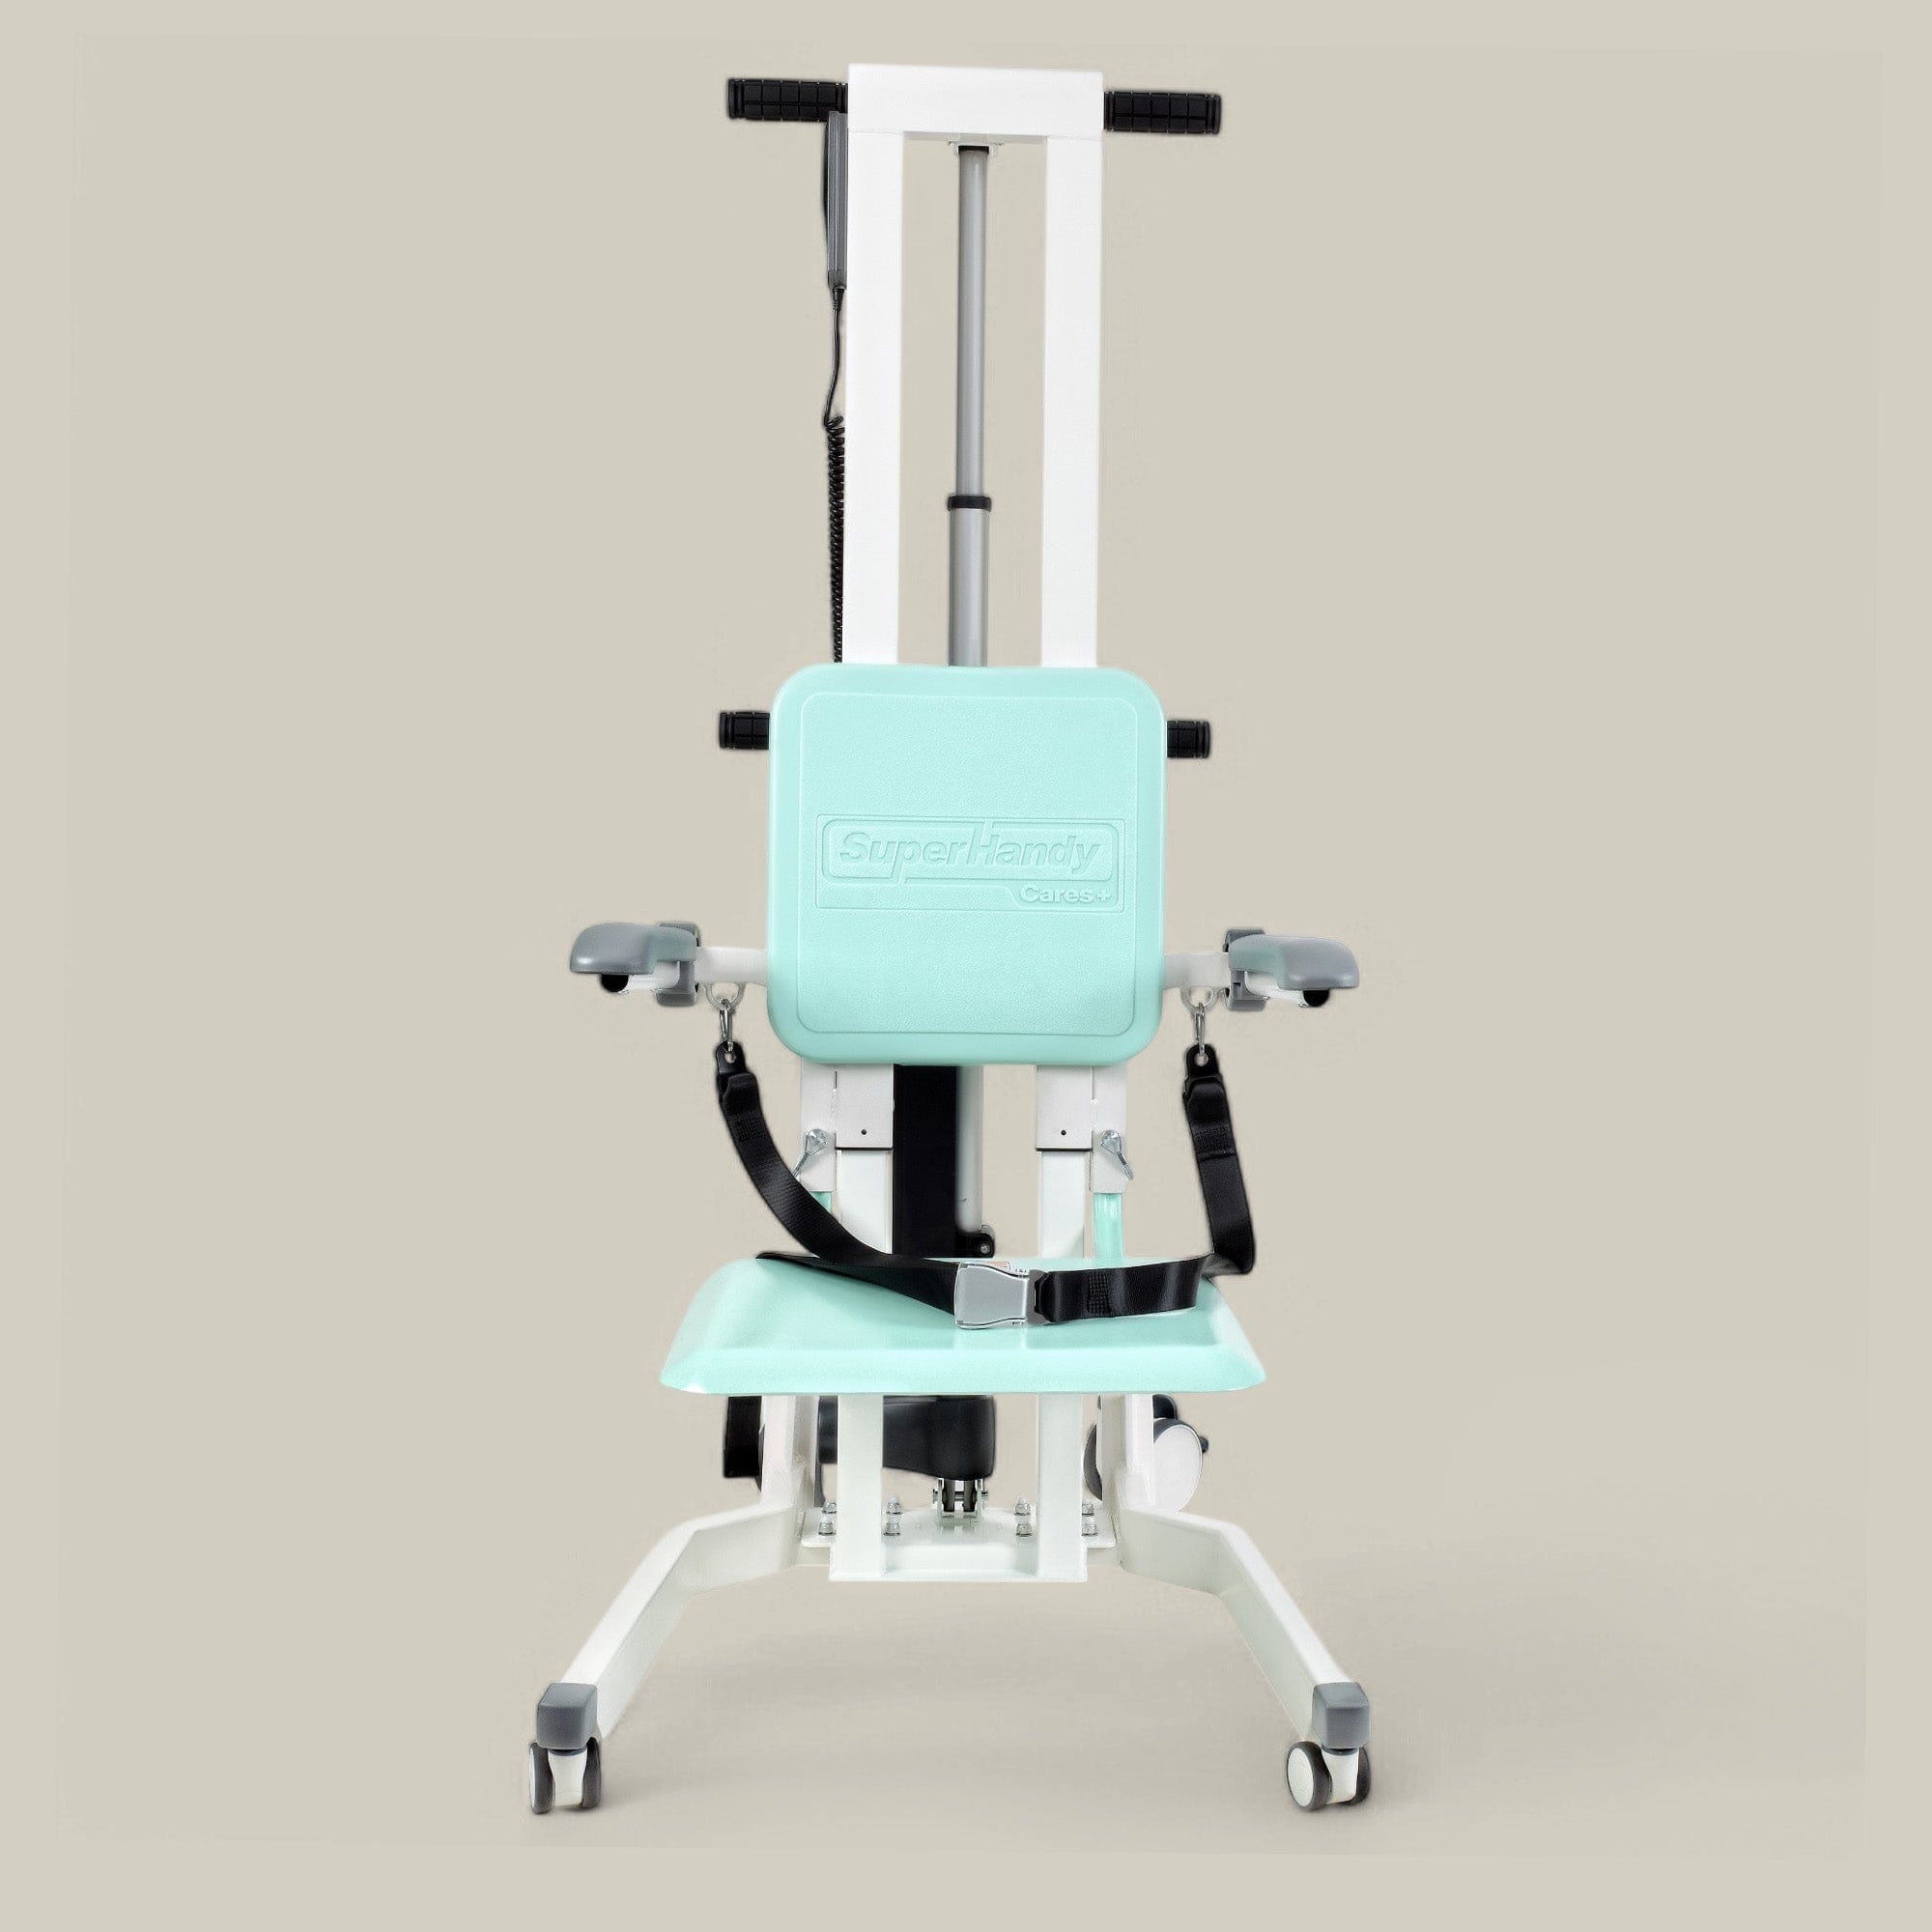
- Base and Casters: The U-shaped or H-shaped base provides a stable foundation. It’s equipped with caster wheels for maneuverability, and at least two of these wheels will have locking mechanisms to secure the lift during a transfer.
- Mast and Boom: The mast is the vertical column that supports the boom—the pivoting arm that extends over the individual. The boom is the part that raises and lowers during operation.
- Actuator: This is the heart of the lifting mechanism. In most modern lifts, it’s a powerful electric linear actuator that smoothly drives the boom up and down.
- Sling and Spreader Bar: The spreader bar attaches to the end of the boom and features hooks or clips to connect the sling. The sling is the fabric support that cradles the person being transferred.
- Hand Control (Pendant): This handheld device, connected by a cord or via Bluetooth, allows the caregiver to operate the lift’s functions, such as raising and lowering the boom.
- Battery and Control Box: The control box houses the lift’s electronics and the rechargeable battery that powers the actuator. It typically features a battery life indicator and an emergency stop button.
Why Regular Maintenance is Crucial for Floor Lift Longevity
Investing in a high-quality floor lift is an investment in safety and quality of life. Regular maintenance is the single most important factor in protecting that investment. Neglecting routine care can lead to premature wear, sudden malfunctions, and compromised safety for both the user and the caregiver. A well-maintained lift, like a robust 500lb floor lift, is designed for durability, but only if its components are kept in optimal condition. Consistent check-ups ensure operational reliability, prevent small issues from becoming expensive repairs, and provide invaluable peace of mind, knowing your equipment is always ready and safe for use.

Pre-Operation Checks: Ensuring Safety Before Every Use
The most effective maintenance habit is performing a quick safety check before every single transfer. This simple, two-minute routine can prevent accidents and identify potential issues before they escalate. Make this checklist a non-negotiable part of your transfer process.
- Inspect the Sling: Check the sling fabric and straps for any signs of fraying, tears, or worn stitching. Do not use a damaged sling.
- Check Casters and Brakes: Roll the lift a few feet to ensure the wheels turn smoothly. Test the locking brakes on the casters to confirm they engage securely and prevent movement.
- Test the Controls: Without anyone in the lift, use the hand pendant to raise and lower the boom completely. Ensure the movement is smooth and the controls are responsive.
- Verify Battery Charge: Glance at the battery indicator on the control box or handset to ensure there is sufficient power to complete the transfer.
- Confirm Emergency Stop: Press the emergency stop button to confirm it cuts power to the lift. Disengage it and test the controls again to ensure function is restored.
Lubrication Essentials: Keeping Moving Parts Smooth and Efficient
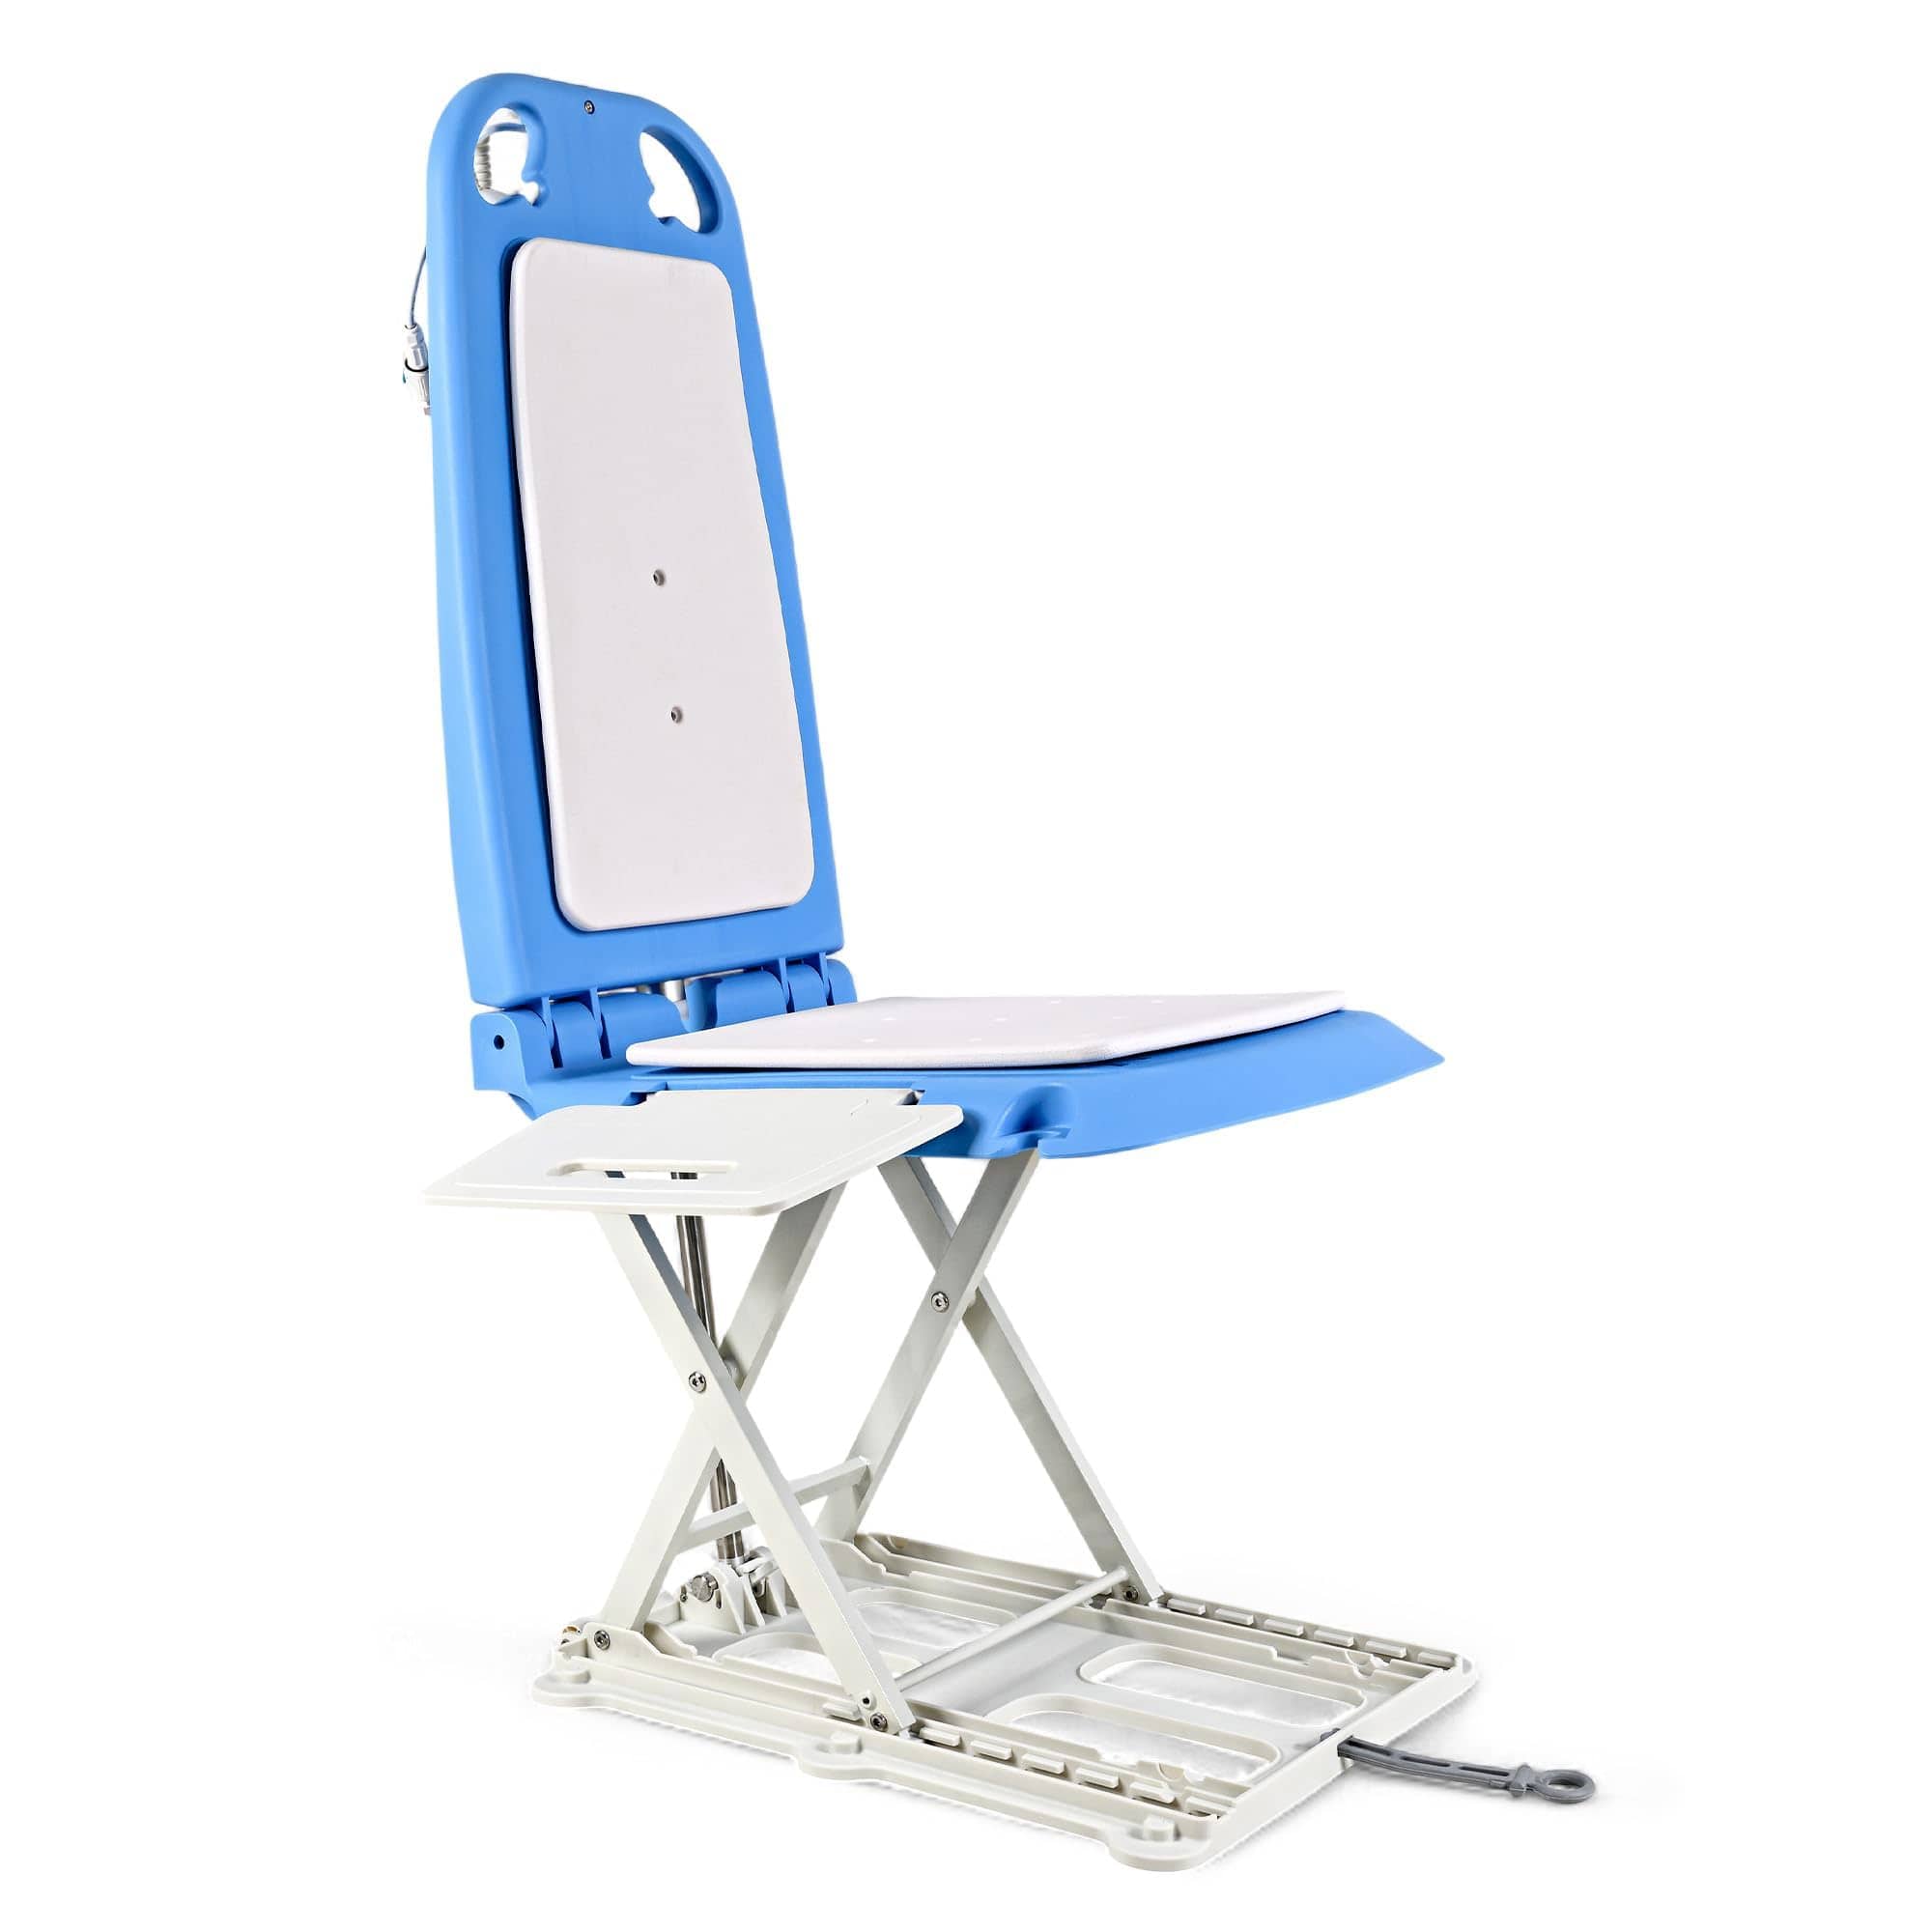
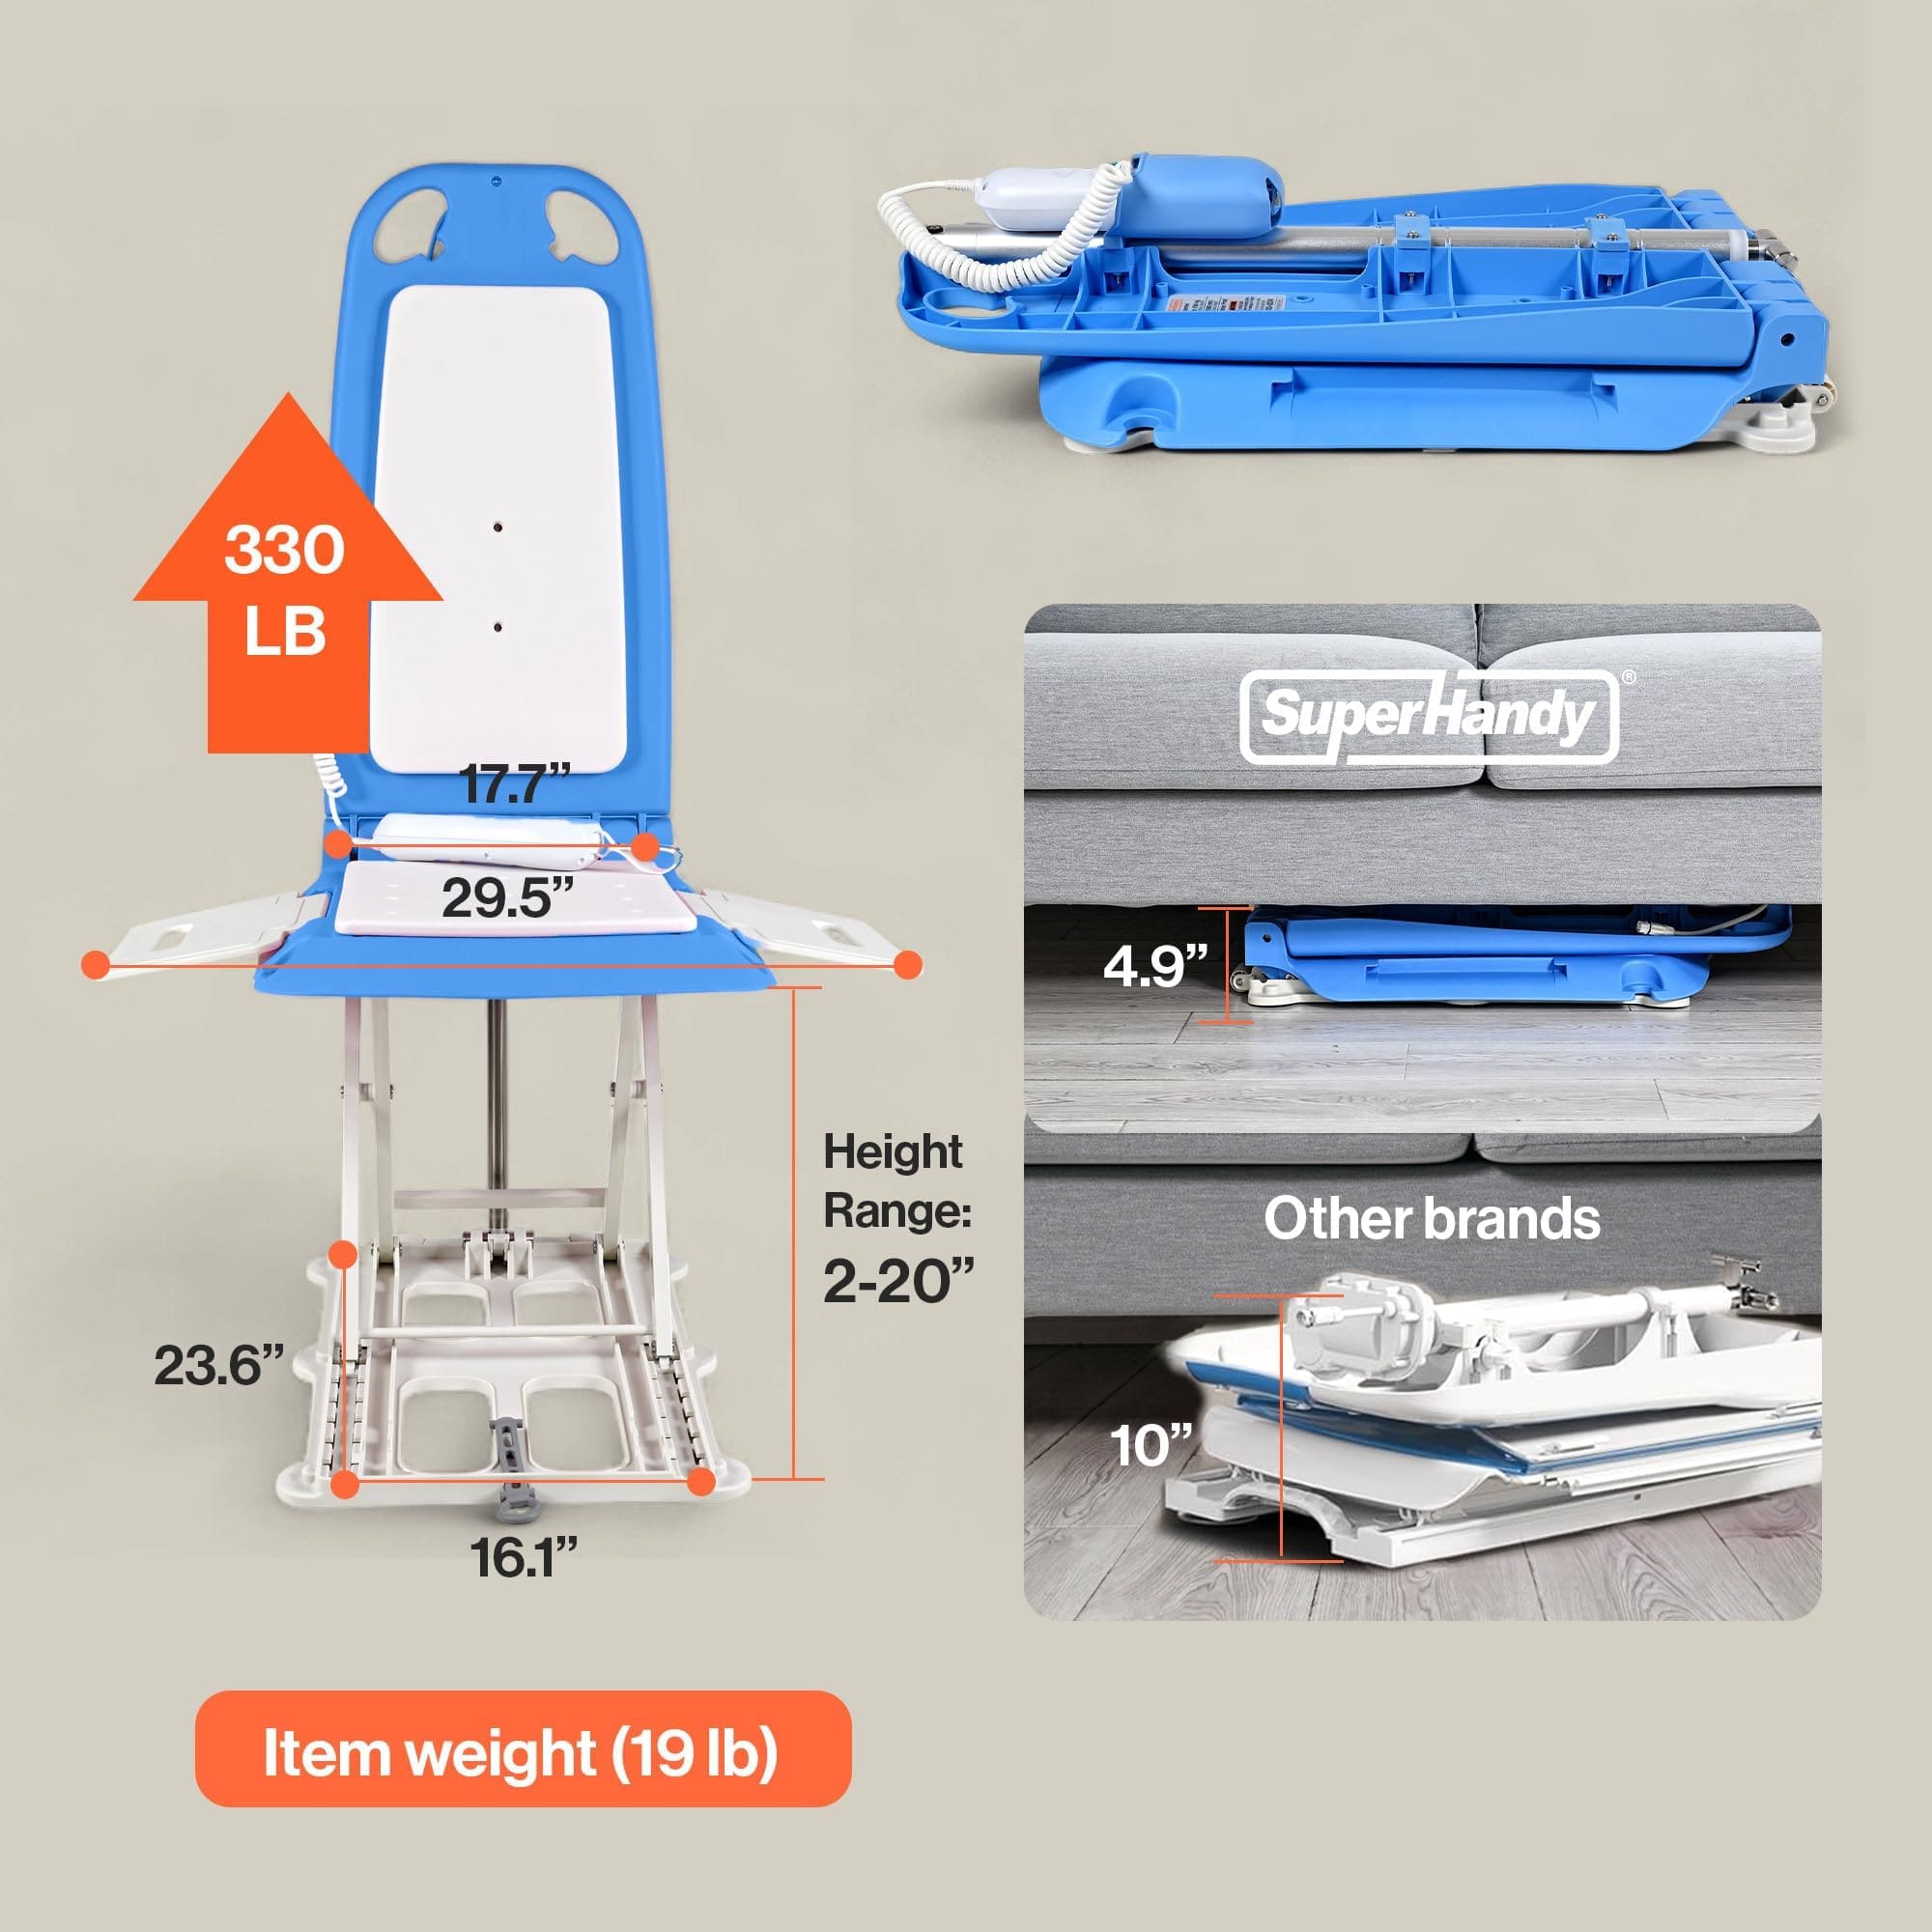
Friction is the enemy of any mechanical device. Proper lubrication reduces wear and tear on your floor lift’s moving parts, ensuring quiet, smooth operation and preventing the metal-on-metal grinding that can lead to damage. For most lifts, including a portable bath lift, this should be done every few months or as recommended by the manufacturer.
Key areas that require lubrication typically include:
- Pivot points where the boom connects to the mast.
- Caster wheel bearings and swivels.
- Hinge points on an adjustable base.
Always consult your user manual for the recommended type of lubricant—often a silicone-based spray or white lithium grease. To apply, first wipe the area clean of any dust or old grime. Apply a small, targeted amount of lubricant directly to the pivot or joint. Move the part back and forth to distribute the lubricant evenly, then wipe away any excess to prevent it from attracting dirt.
Hydraulic System Maintenance: Fluid Levels and Seal Integrity
While traditional floor lifts often relied on hydraulic systems, most modern designs, including electric patient lifts, utilize a powerful and efficient linear actuator. Instead of checking hydraulic fluid, your focus will be on this core component. The actuator is a sealed unit responsible for the smooth, controlled motion of the lift arm. Regularly inspect the actuator's casing for any signs of damage, cracks, or leaking grease. While it's a sealed system, any breach in the housing can allow contaminants in and lubricant out, leading to premature wear. Also, listen carefully during operation. A healthy actuator on a robust model like a 500lb floor lift should produce a consistent, low-level hum. Any grinding, clicking, or straining sounds could signal an internal issue that requires professional attention. For coverage planning, Medicare.gov outlines when wheelchairs and scooters may qualify as durable medical equipment.
Electrical System Checks: Wiring, Connections, and Power Source
The electrical system is the nervous system of your floor lift, powering everything from the motor to the hand controller. A routine visual inspection can prevent unexpected failures and ensure user safety. Start with the hand pendant; check its cord for any frays, kinks, or exposed wires, and test each button to ensure it responds correctly. Next, trace the wiring from the control box to the actuator and battery. Look for secure connections, ensuring no plugs are loose or working their way out. Pay close attention to any areas where wires might rub against the frame during operation, as this friction can wear away the protective insulation over time. For any lift, including a versatile transfer floor lift, ensuring these connections are clean and tight is fundamental to reliable performance.

Battery Care and Charging Best Practices for Optimal Performance
For an electric floor lift, the battery is its heart. Proper care is essential to maximize its lifespan and ensure the lift is always ready when you need it. The most important rule is to follow the manufacturer's charging recommendations. Generally, it's best to recharge the battery after each day of use, even if it was only used for a few transfers. This practice prevents deep discharging, which can permanently damage the battery's capacity.
Follow these key best practices:
- Use the Right Charger: Always use the charger that was supplied with your floor lift. Using an incompatible charger can damage the battery and create a safety hazard.
- Avoid Extreme Temperatures: Store and charge your battery in a dry, room-temperature environment. Extreme heat or cold can negatively impact performance and longevity.
- Keep Terminals Clean: Periodically check the battery terminals and the lift’s connection points for any signs of corrosion (a white or greenish powder). If you see any, consult your user manual for cleaning instructions, which typically involve a wire brush and a protective solution.
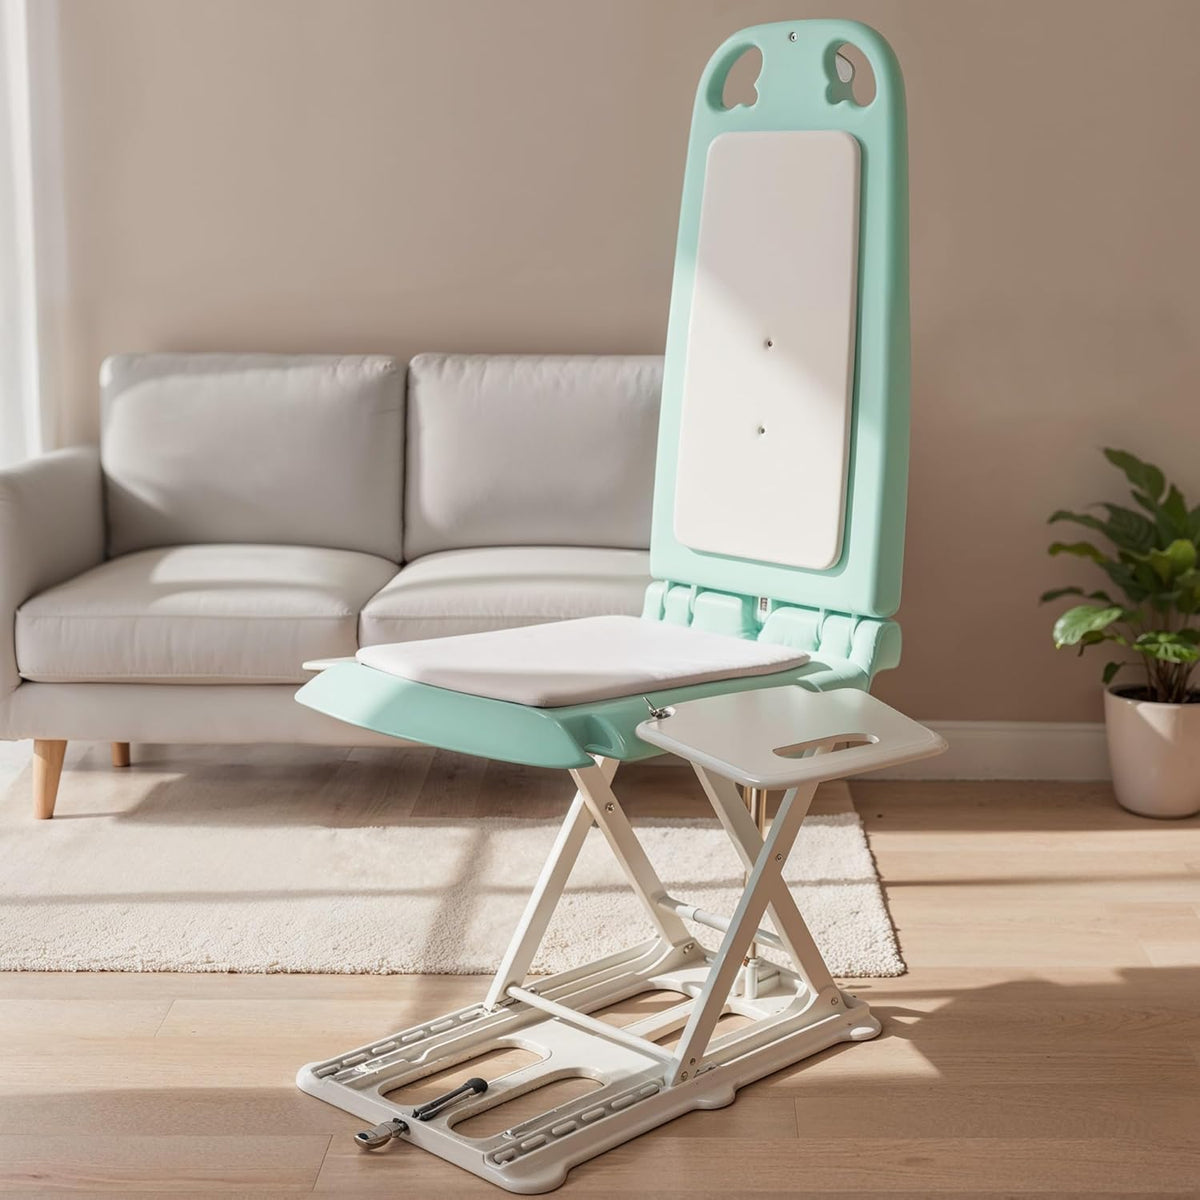
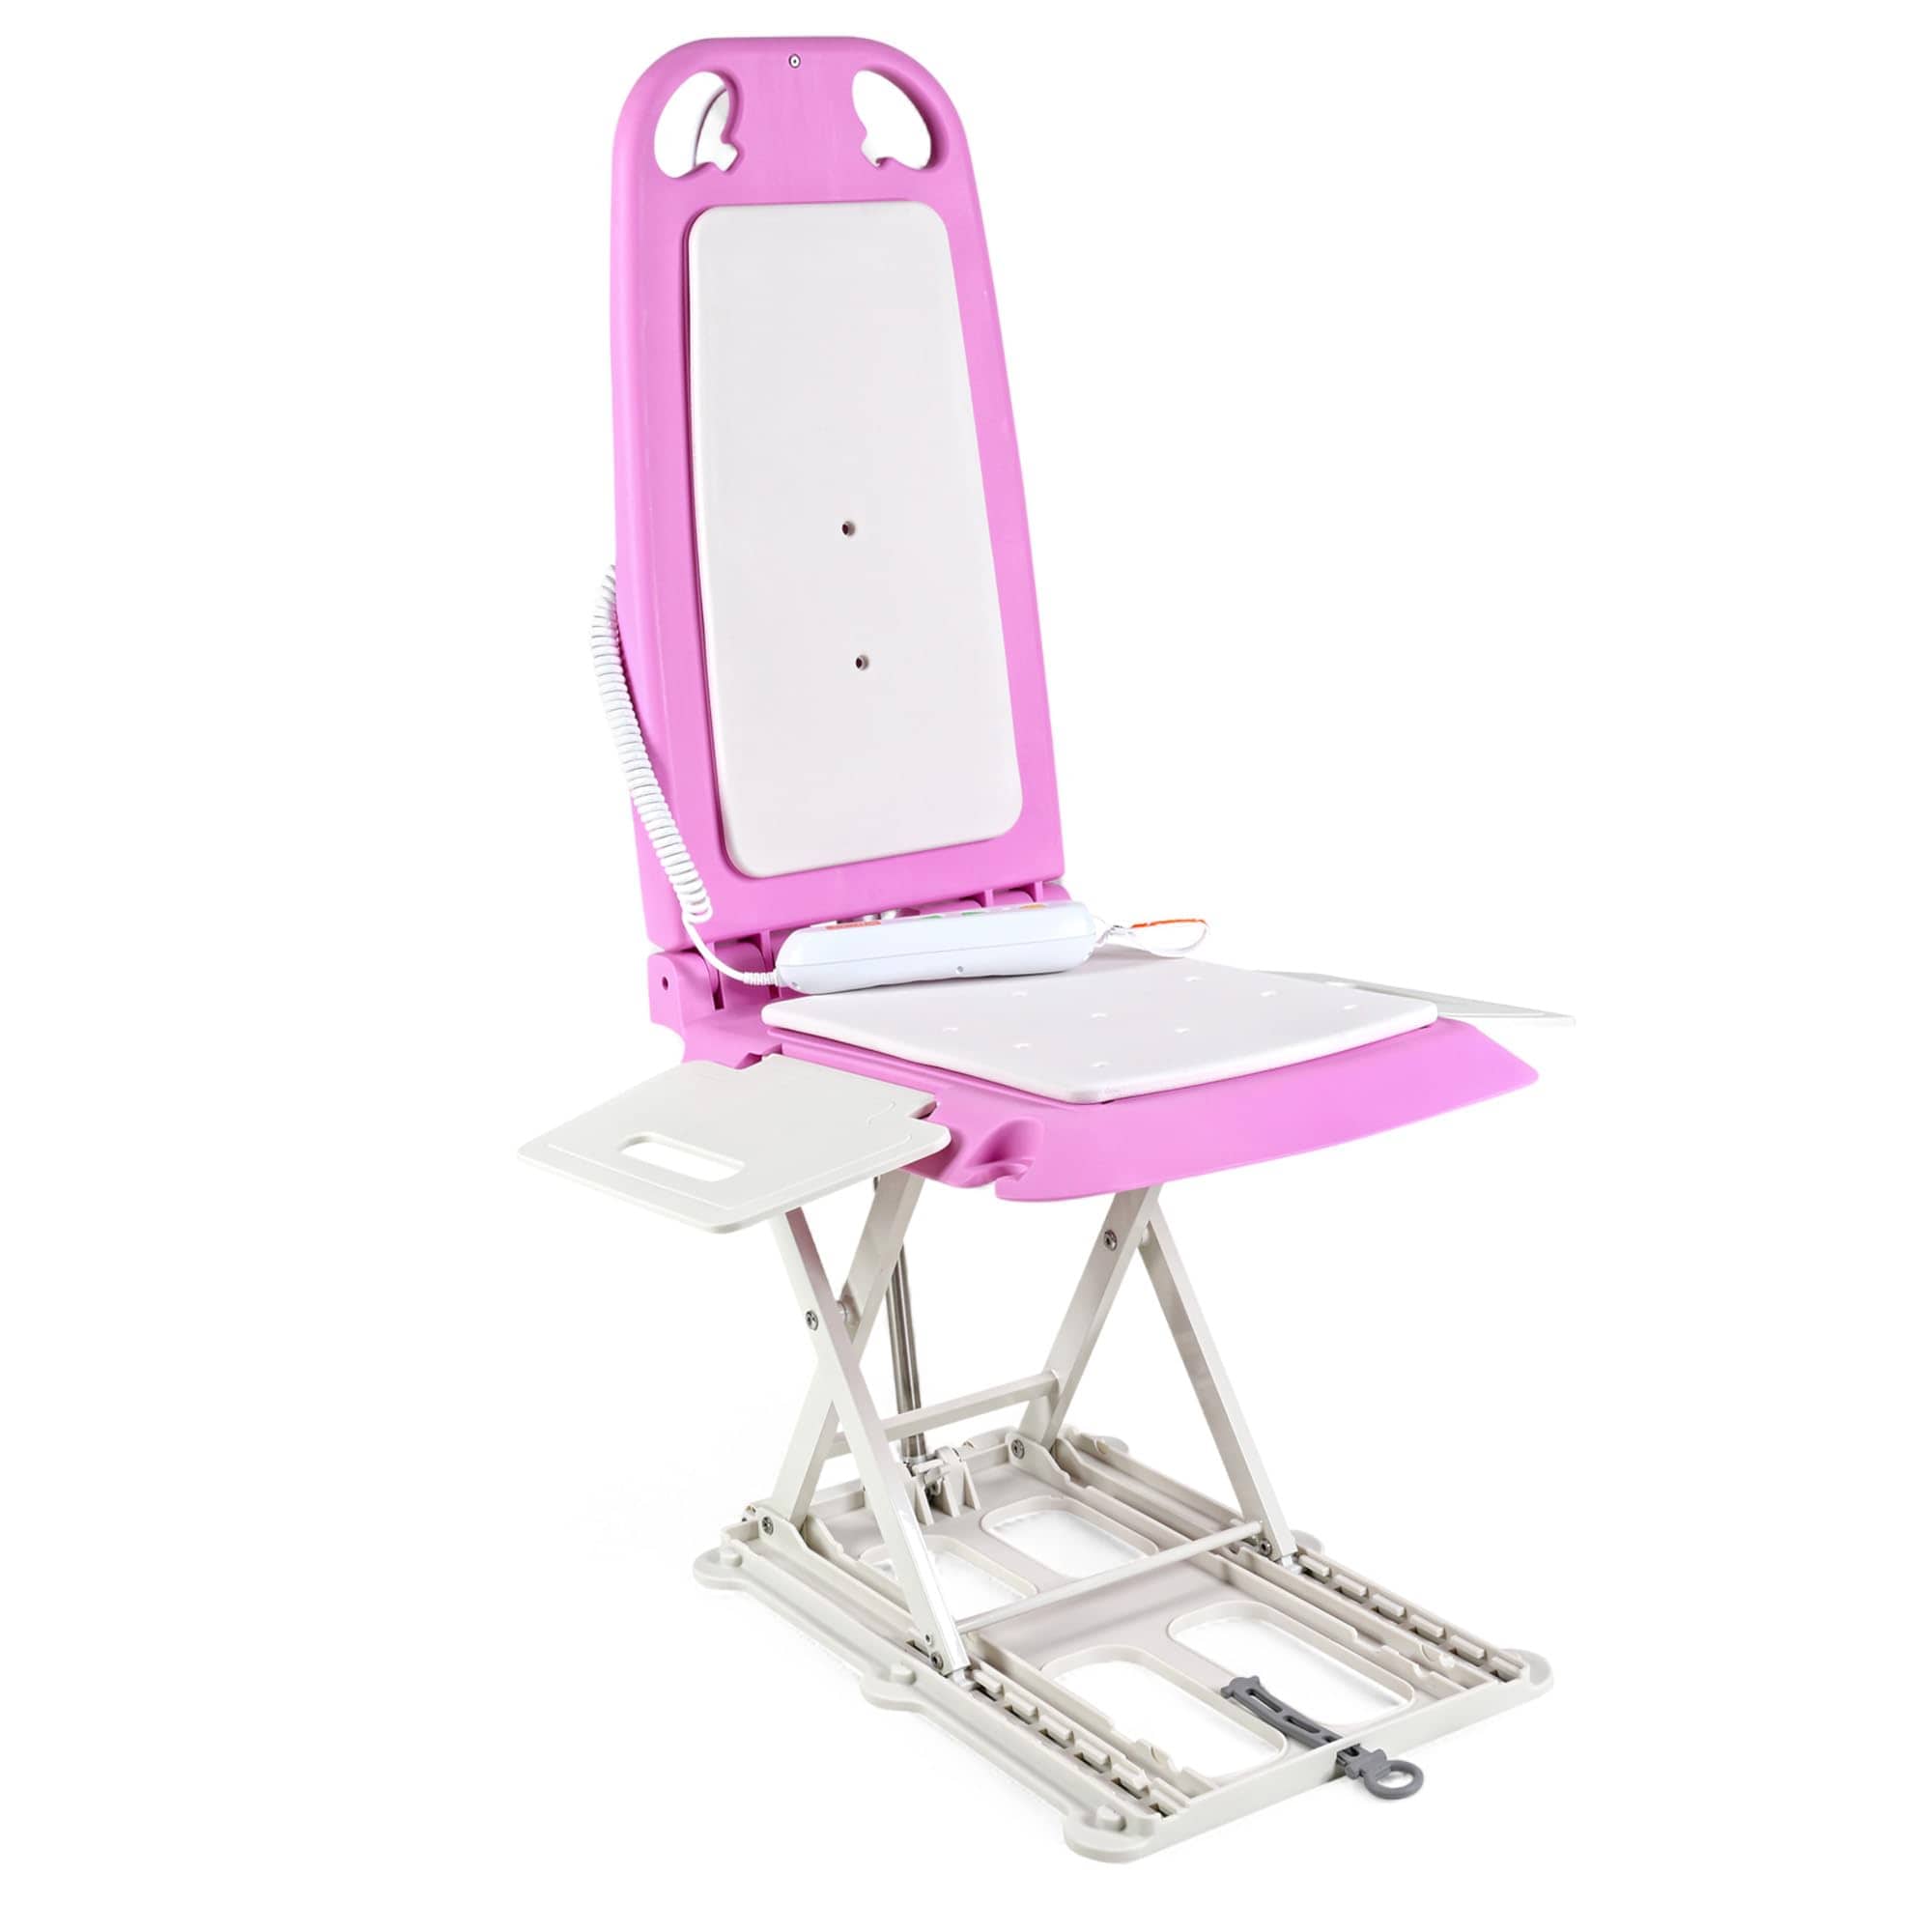
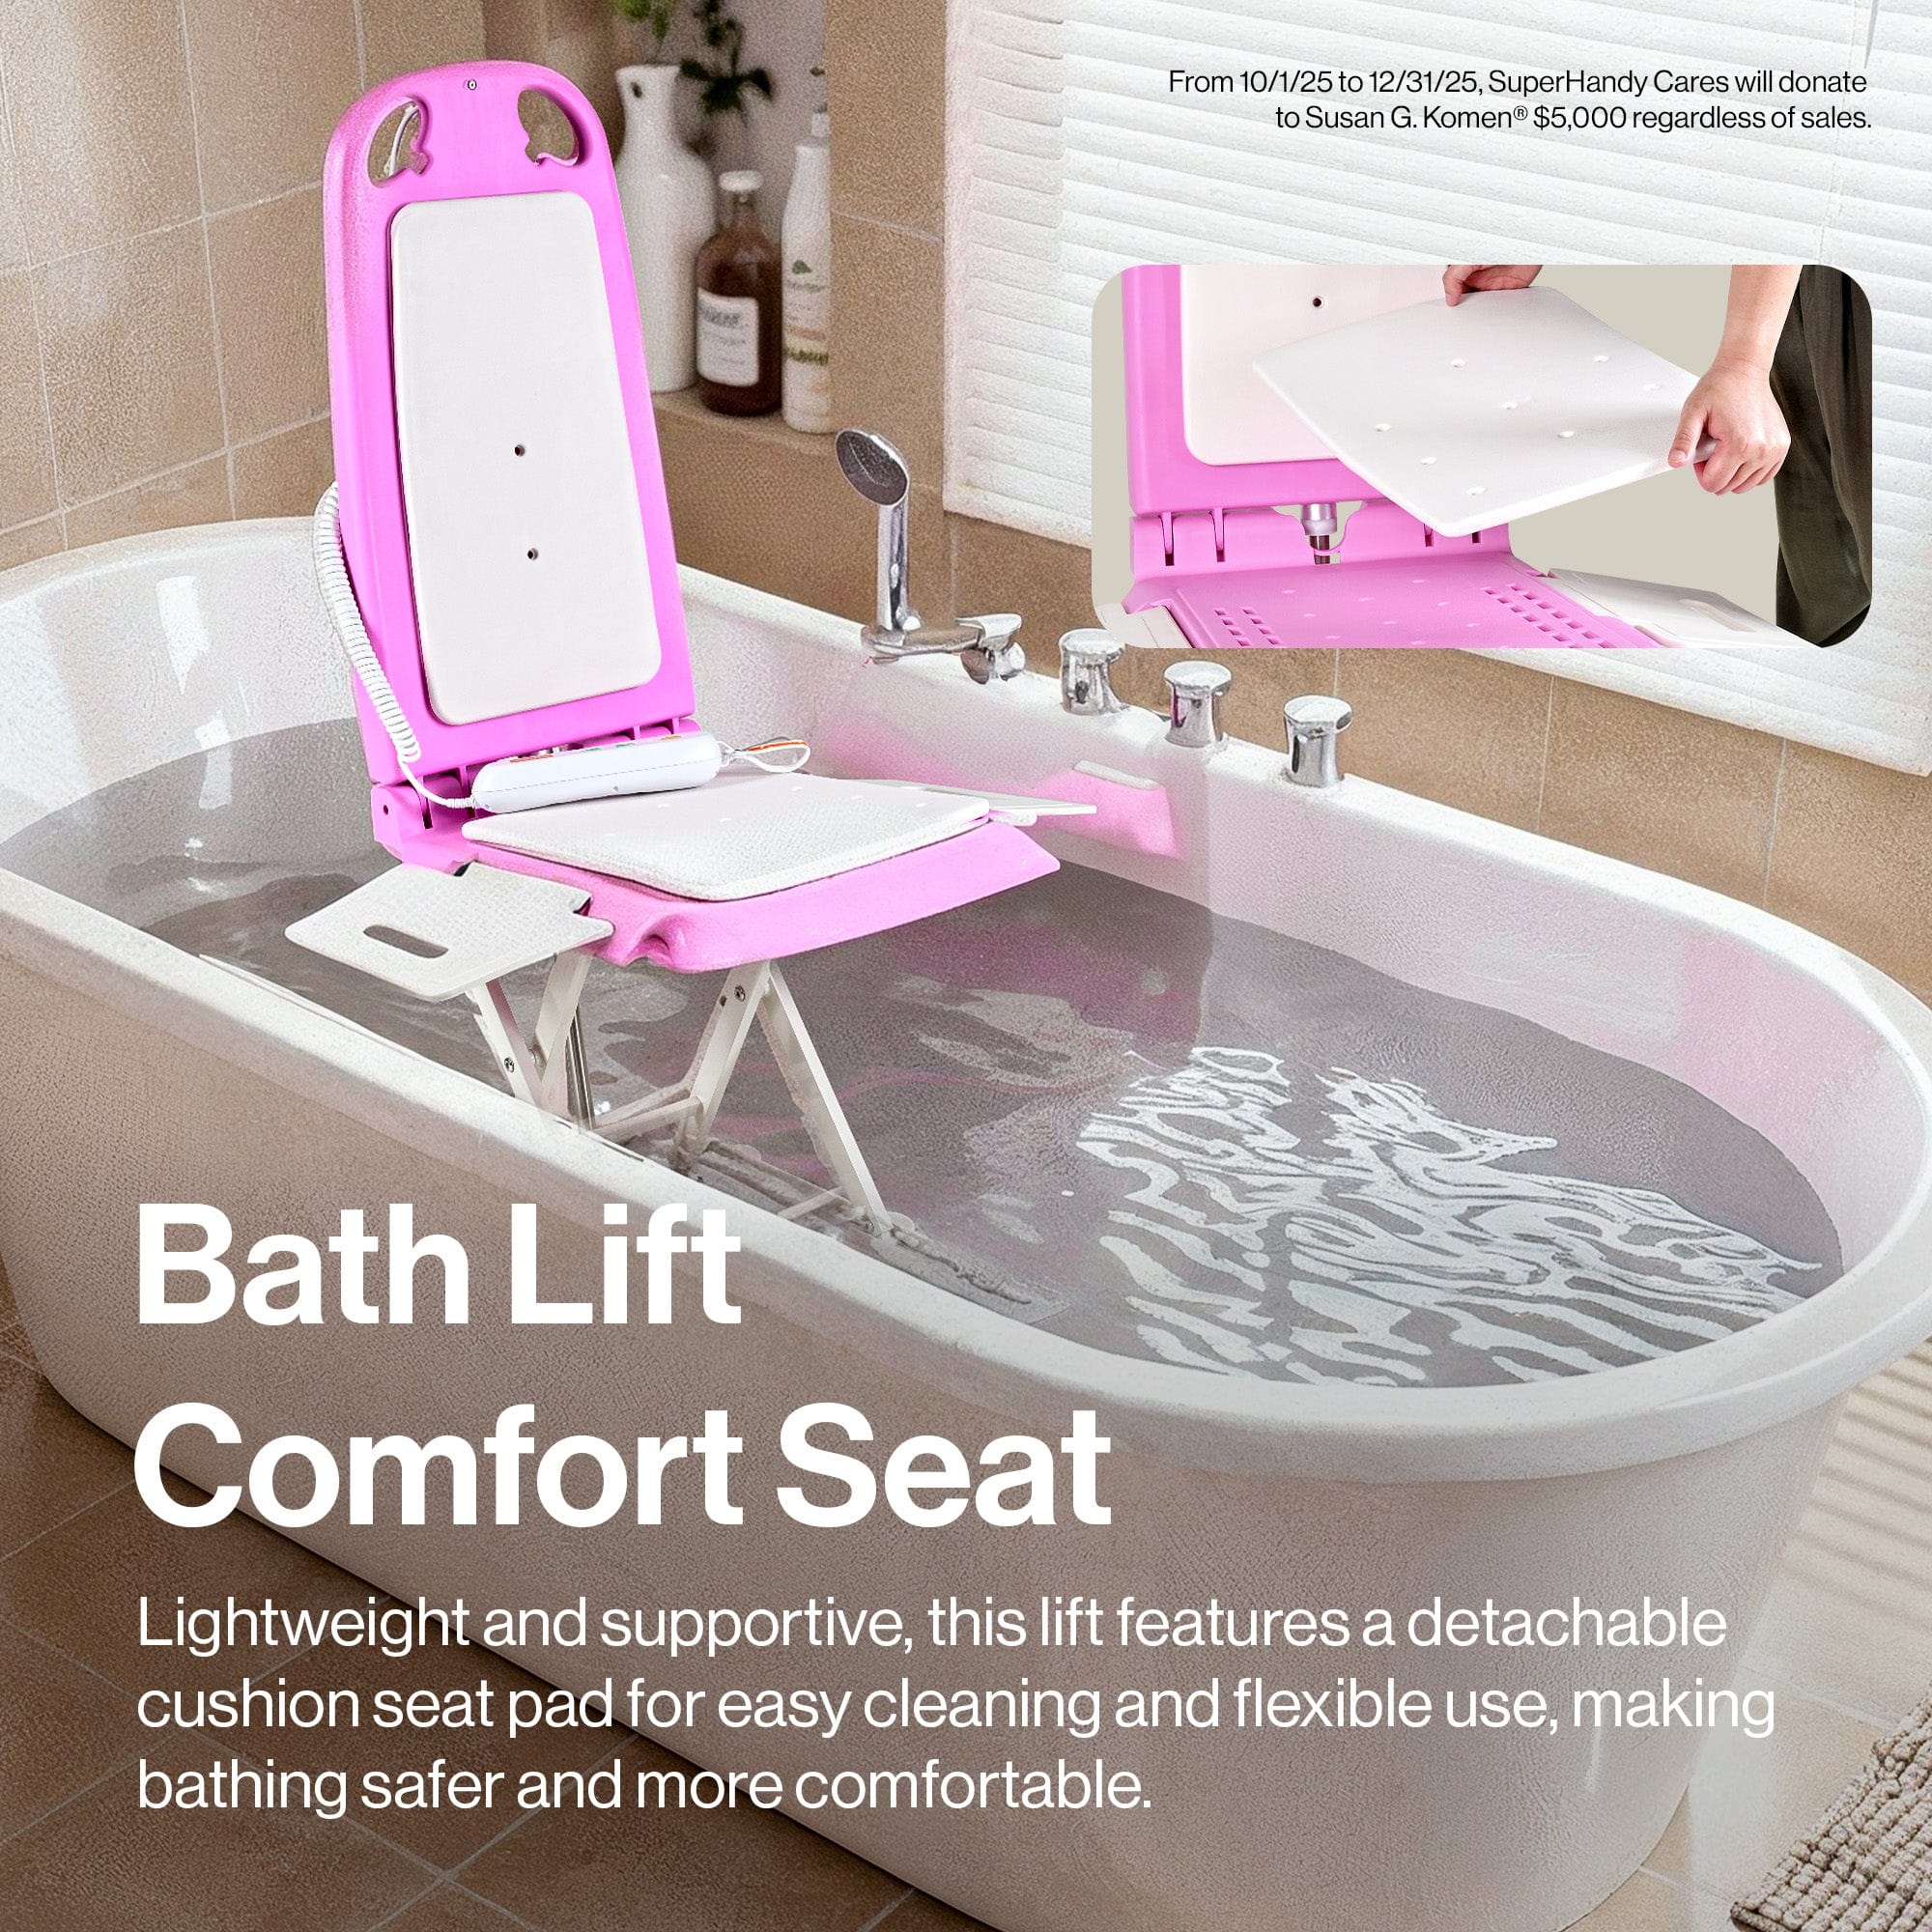
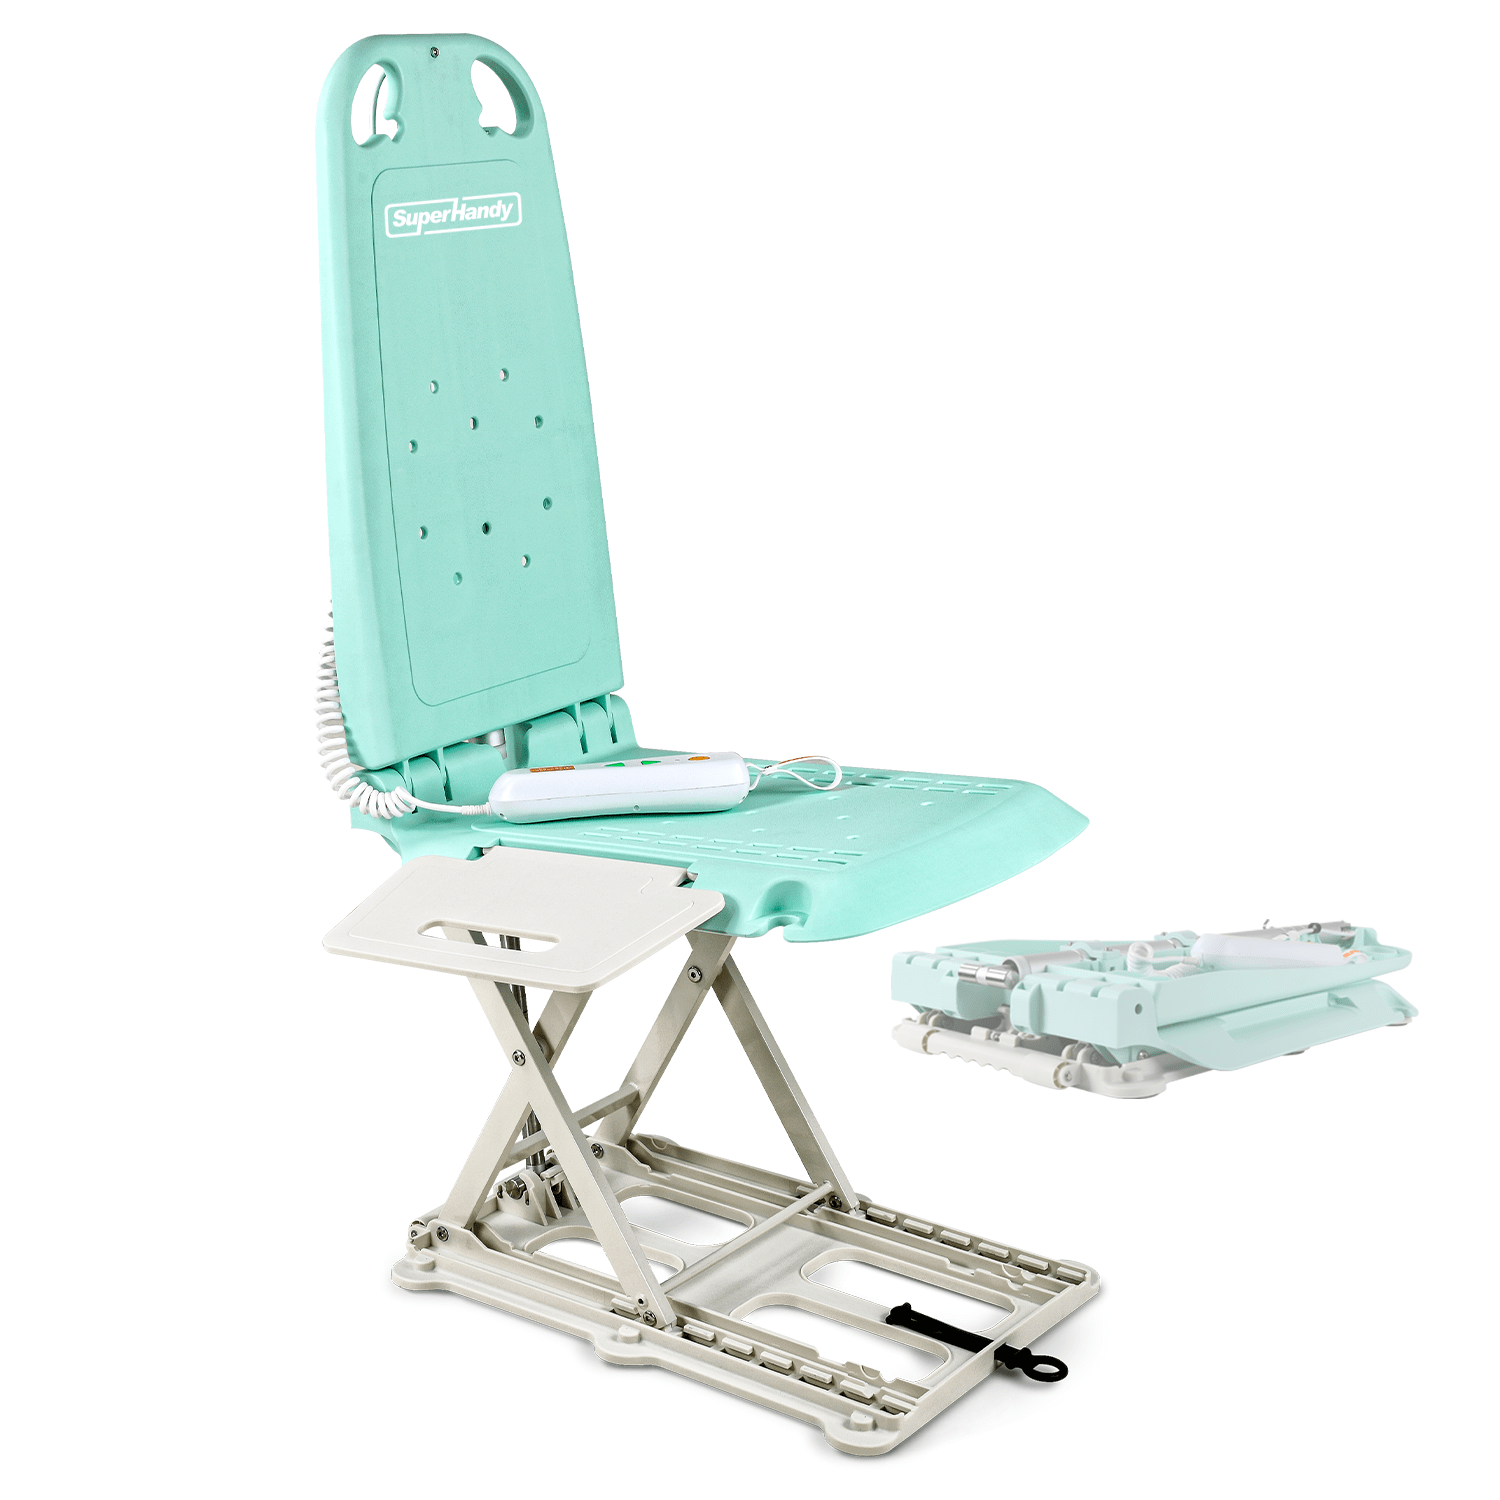
Proper battery maintenance ensures that portable models, like a lightweight bath lift or even the special edition pink floor lift, retain their power and reliability.
Cleaning and Debris Removal: Preventing Obstructions and Corrosion
Regular cleaning is more than just about appearance; it's a critical maintenance task that prevents operational failures. Dust, hair, and other debris can accumulate in moving parts, especially the caster wheels, causing them to jam or roll unevenly. This not only makes the lift difficult to maneuver but also puts extra strain on the frame and the caregiver. Wipe down the entire frame of your 400lb floor lift with a soft cloth and a mild, non-abrasive detergent. Avoid harsh chemicals that could damage the paint or plastic components. Pay special attention to the base and casters, carefully removing any tangled hair, threads, or dirt. Ensure the lift is completely dry before storing it to prevent rust and corrosion, particularly on any exposed metal fasteners or components. Don't forget the sling—clean it according to its specific care tag to maintain hygiene and fabric integrity.
Structural Integrity Inspections: Identifying Wear and Tear
The frame is the backbone of your floor lift, and its integrity is non-negotiable for safety. Regularly performing a hands-on inspection of the entire structure can catch potential failures before they happen. Run your hands along the main mast, boom, and base, paying close attention to all welded joints. Look for any signs of stress, such as hairline cracks in the paint or metal, bending, or warping. Check every nut, bolt, and screw to ensure they are tight and secure. Vibrations from normal use can cause fasteners to loosen over time. Don't forget to inspect the sling attachment points, ensuring they are not bent, cracked, or excessively worn. For a heavy-duty model like a 500lb floor lift, the reinforced components are critical and should be examined with extra care. For medical context, MedlinePlus summarizes common mobility aids such as canes, walkers, wheelchairs, and scooters.

Troubleshooting Common Floor Lift Issues: What to Look For
Even with diligent maintenance, you may occasionally encounter operational issues. Knowing how to troubleshoot common problems can save you time and restore function quickly. Here are a few scenarios you might face with your transfer floor lift:
- Lift Won't Operate: The most common culprit is the power source. Check that the battery is fully charged and properly connected. Inspect the hand controller's cable for damage and ensure it’s securely plugged into the control box.
- Jerky or Slow Movement: If the lift moves unevenly or slower than usual, it could indicate a need for lubrication on the mast or pivot points. For hydraulic models, this may signal low fluid levels or air in the lines.
- Unusual Noises: Squeaking or groaning usually means moving parts need lubrication. A grinding sound, however, can indicate a more serious issue, like a worn bearing or debris caught in the mechanism. Stop use immediately and investigate.
- Battery Doesn't Hold a Charge: If the battery life seems unusually short, it may be nearing the end of its lifespan. First, ensure you are following the correct charging procedures. If the problem persists, the battery or the charger itself may need replacement.
When to Call a Professional: Recognizing Limits of DIY Maintenance
While routine upkeep is manageable, some situations demand the expertise of a qualified technician. Your safety, and the safety of the person using the lift, is the top priority. Do not attempt to perform complex repairs yourself if you are not trained. Immediately stop using the lift and call a professional if you notice any of the following:
- Cracks in the frame or at any welded joint.
- Any leak from the hydraulic system.
- Frayed, cut, or damaged electrical wires.
- The smell of burning plastic, smoke, or sparks from the motor or control box.
- Failure of a critical safety feature, such as the emergency lowering function or wheel locks.
- Any issue you are unable to diagnose or feel uncomfortable fixing.
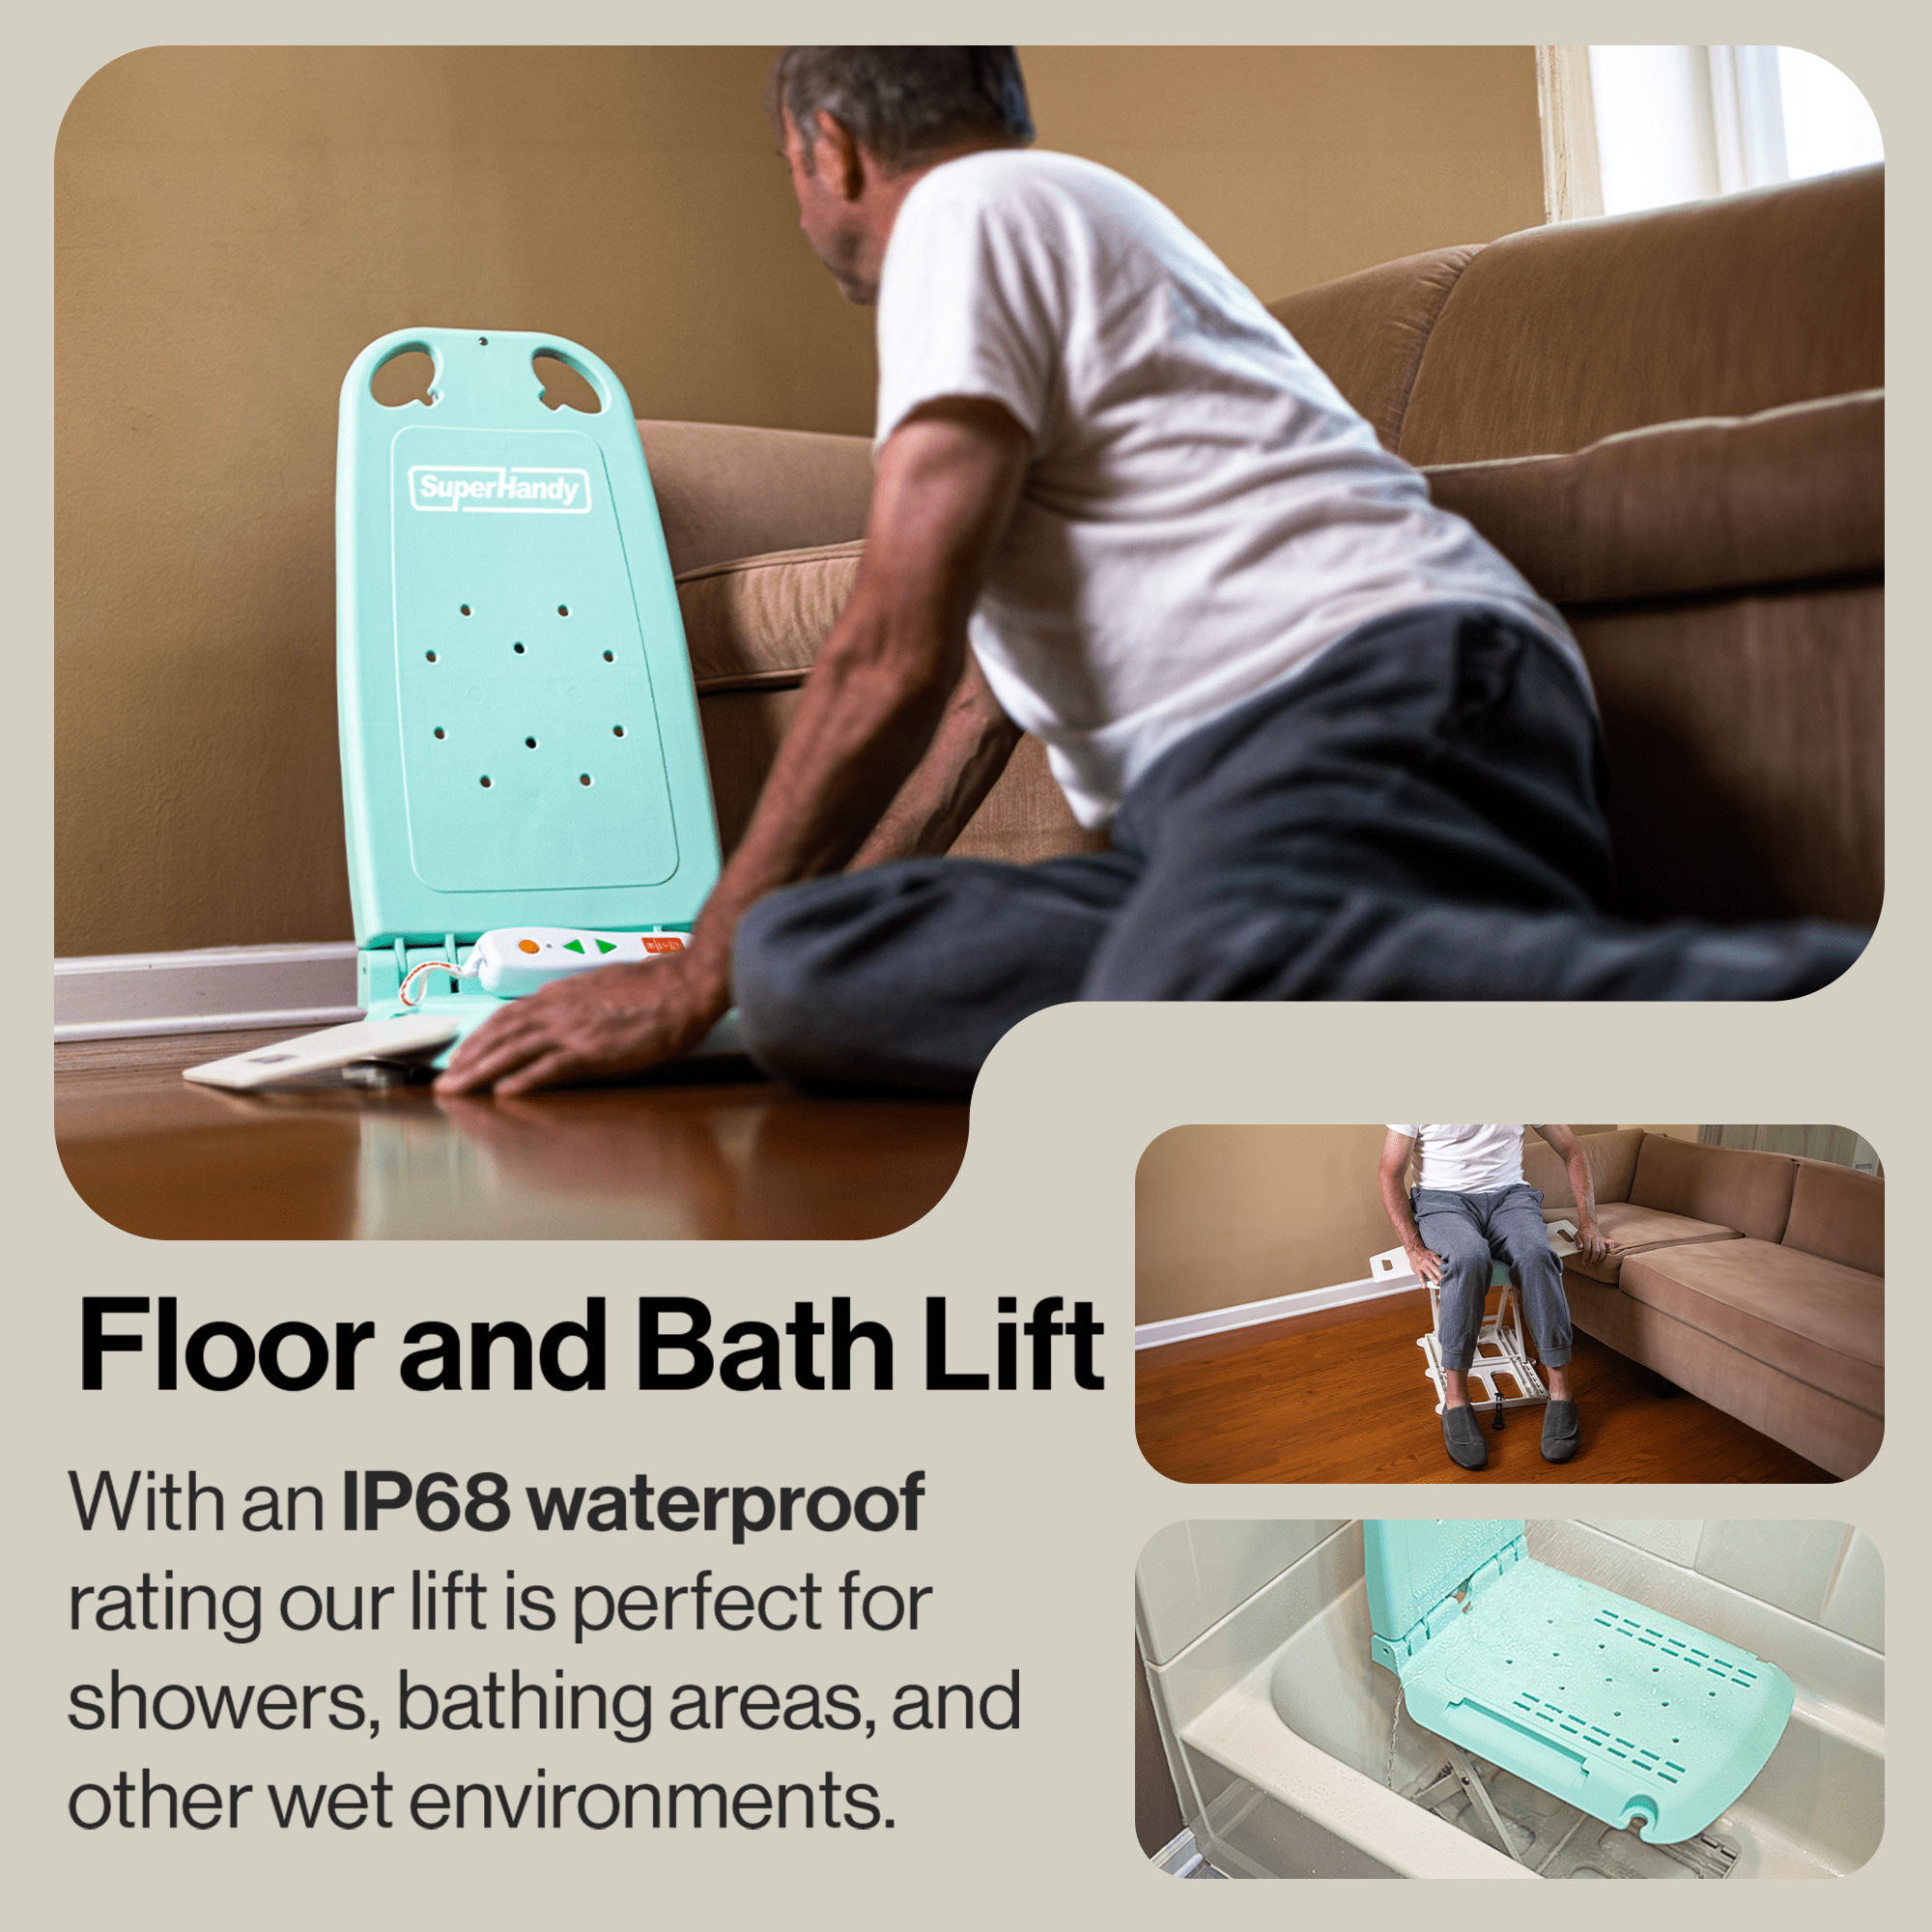
For specialized equipment like a waterproof bath lift, electrical safety is paramount, and any related concerns should always be handled by a professional.
Essential Tools and Supplies for Floor Lift Maintenance
Having a dedicated maintenance kit makes preventative care easy and efficient. You don’t need a professional workshop, but a few key items will help you handle most routine tasks. Whether you have a robust 400lb floor lift or a lightweight pink floor lift, this basic toolkit will serve you well.
Recommended Tools & Supplies:
- Wrench and Socket Set: For tightening nuts and bolts on the frame and wheels.
- Screwdriver Set: Including both Phillips-head and flat-head types for accessing panels and securing smaller components.
- Clean, Lint-Free Rags: For cleaning surfaces and applying lubricants.
- Mild Cleaning Solution: A simple mixture of soap and water is usually sufficient for cleaning the frame and surfaces.
- Manufacturer-Approved Lubricant: Typically a white lithium grease or silicone-based spray for pivot points and moving parts. Always check your user manual for the correct type.
- Tire Pressure Gauge: If your lift has pneumatic tires.
Developing a Preventative Maintenance Schedule: A Step-by-Step Approach
A floor lift is a significant investment in safety and mobility. To protect that investment, a consistent maintenance schedule is not just recommended—it's essential. Proactive care prevents unexpected failures and ensures the device is always ready and safe for use. Creating a schedule is simple and provides peace of mind. Here’s how to break it down.
Step 1: Create a Maintenance Log Use a simple notebook or a digital spreadsheet. Record the date, the task performed, any notes on the lift's condition, and the initials of the person who completed the check. This log becomes an invaluable history of your lift's health.
Step 2: Schedule Tasks by Frequency Not every task needs to be done daily. Group your maintenance checks to make them manageable and effective.
- Before Every Use: Perform a quick visual scan. Check that the sling attachments are secure, the casters roll freely, and the battery has enough charge for the transfer.
- Weekly: Dedicate a few minutes to wipe down the entire lift with a soft, damp cloth. Test all functions of the hand controller, including the emergency stop button. Check caster locks to ensure they engage and disengage properly.
- Monthly: This is time for a more thorough inspection. Check all nuts and bolts for tightness. Inspect electrical cables for any signs of fraying or damage. Lubricate all pivot points and moving parts according to your user manual to keep your transfer floor lift operating smoothly.
- Annually: Schedule a comprehensive inspection with a qualified technician. They can perform tasks like checking hydraulic fluid levels, load testing the lift, and assessing the internal components of the electrical and battery systems.
[IMAGE PLACEHOLDER]
Frequently Asked Questions About Floor Lift Maintenance
How often should I charge my floor lift's battery? It's best practice to charge the battery daily or after a day's use to ensure it's always ready. Most modern lifts have systems that prevent overcharging, but you should always consult your owner’s manual for specific instructions. Avoid letting the battery fully deplete, as this can shorten its overall lifespan.
What kind of lubricant should I use? Always refer to the manufacturer's guide for your specific model. Typically, a high-quality, silicone-based spray or lithium grease is recommended for the pivot points and moving parts. Never use WD-40 as a lubricant, as it can attract dust and eventually gum up the mechanisms.
Can I use household cleaners on my floor lift? You should avoid harsh chemical or abrasive cleaners, as they can damage the lift's finish and plastic components. A simple solution of mild soap and water on a soft cloth is sufficient for cleaning most surfaces. This is especially important for multi-use models like a Pink floor lift that may also function as a bath lift and require frequent cleaning.
What is a floor lift and what is it used for? A floor lift is a crucial piece of assistive technology designed to safely transfer a person with limited mobility from one place to another, such as from a bed to a wheelchair. It is a key type of mobility aid that helps prevent injury to both the individual and the caregiver by reducing the strain of manual lifting.

Extending Your Floor Lift's Lifespan: Long-Term Care Strategies
Beyond your routine maintenance schedule, adopting a few key strategies will significantly prolong the functional life of your floor lift and ensure it remains a reliable tool for years to come.
Adhere to Weight Capacity: Every floor lift has a specified weight limit for a reason. Consistently exceeding this limit puts extreme stress on the frame, motor, and lifting mechanisms, leading to premature wear and potential failure. Whether you have a 400lb floor lift or a heavy-duty 500lb floor lift, always respect its stated capacity.
Ensure Proper Storage: When not in use, store your floor lift in a clean, dry, and temperature-controlled environment. Avoid leaving it in damp basements, unheated garages, or in direct sunlight. Proper storage prevents rust, protects electronic components, and keeps the battery in optimal condition. This is also true for specialized devices like a portable bath lift, which should be thoroughly dried before storage. For air travel, FAA PackSafe lists battery and handling rules for wheelchairs and mobility devices.
Invest in Operator Training: A floor lift is only as safe as the person operating it. Ensure that every caregiver who uses the lift is fully trained on its features, safety checks, and emergency procedures. Proper operation—such as ensuring a wide, stable base and smooth movements—reduces unnecessary strain on the equipment.
Address Minor Issues Immediately: A small squeak, a sticky wheel, or a slightly frayed cable can be precursors to a major problem. Don't ignore these small warning signs. Addressing them promptly is often a simple, inexpensive fix that can prevent a costly and dangerous failure down the road.
Related Products



Leave a comment
All comments are moderated before being published.
This site is protected by hCaptcha and the hCaptcha Privacy Policy and Terms of Service apply.