










Why Clearing Overgrown Branches is Crucial for Your Small Farmstead
On a bustling small farmstead, every square foot of land matters. Overgrown branches creeping into pastures and along fence lines aren't just an eyesore; they're a liability. They choke out healthy pasture grass by blocking sunlight, reducing the forage available for your livestock. These tangled messes can become havens for pests and predators, posing a risk to your animals. Furthermore, low-hanging and fallen branches create physical hazards for both livestock and equipment, hindering access and creating potential for injury. During dry seasons, this accumulated debris becomes a significant fire hazard, threatening your home, barns, and the very livelihood of your farm.
Understanding the Benefits of a Tow-Behind Chipper for Farmsteads
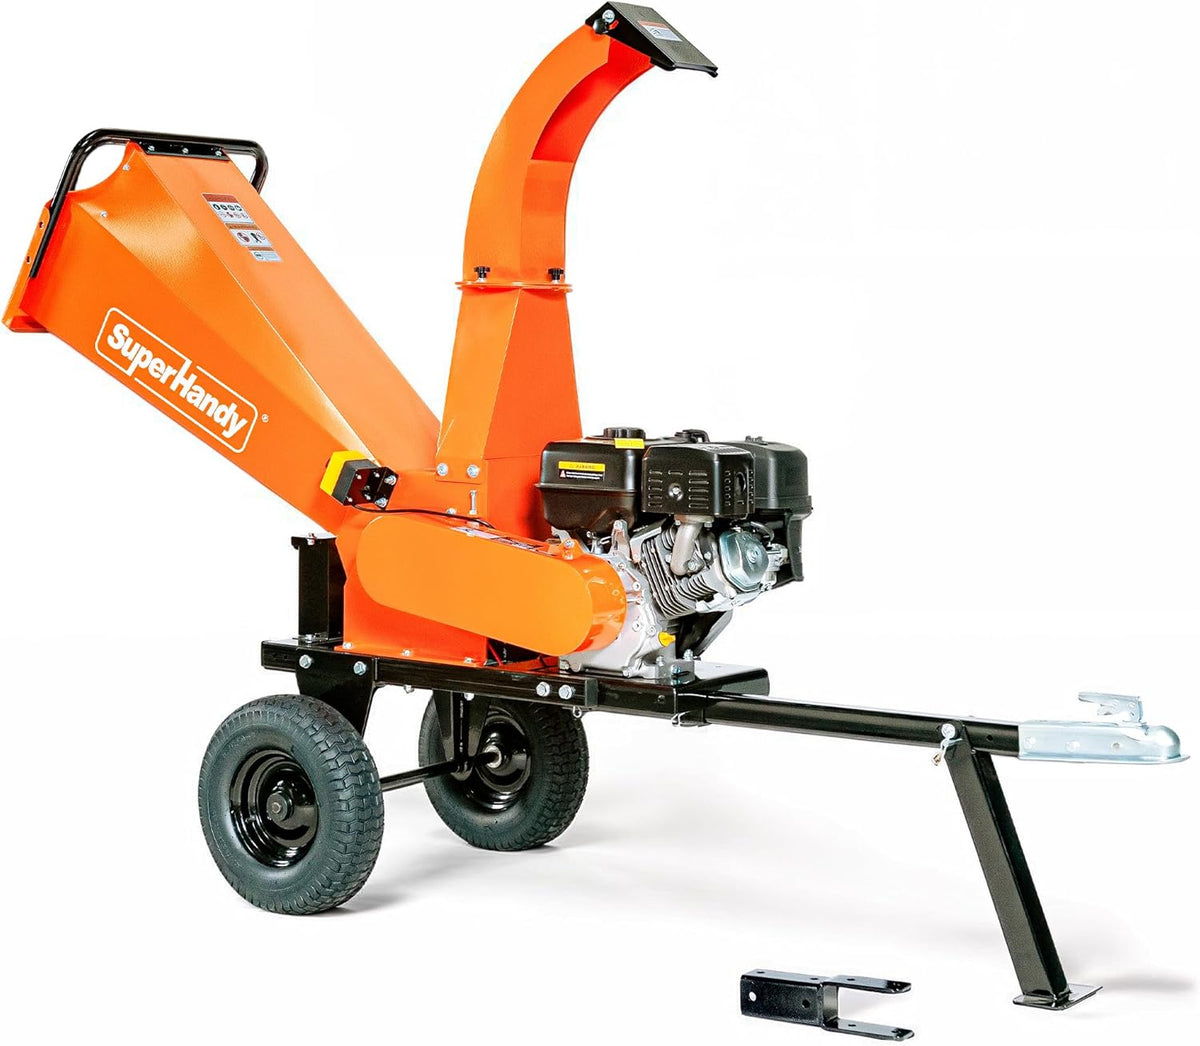
Tackling branch overgrowth on a farmstead requires more muscle than a simple garden shredder can provide. This is where a tow-behind wood chipper becomes an indispensable tool. Unlike smaller, stationary units, a tow-behind chipper can be hitched to your ATV, UTV, or lawn tractor and brought directly to the source of the work. This eliminates the exhausting task of hauling massive brush piles across your property.
Instead of creating burn piles (which are often restricted and wasteful) or paying to haul debris away, a chipper shredder transforms your branch problem into a valuable resource. It efficiently turns bulky, unmanageable limbs into a uniform pile of wood chips, reducing the volume of waste by a factor of up to 20:1. This powerful efficiency saves you time, labor, and money, allowing you to reclaim your pastures and manage your property on your own terms.
Choosing the Right Tow-Behind Chipper: Key Features for Pasture Clearing
Selecting the right tow-behind chipper is crucial for farmstead efficiency. Look for these key features to ensure your machine can handle the demands of pasture clearing:
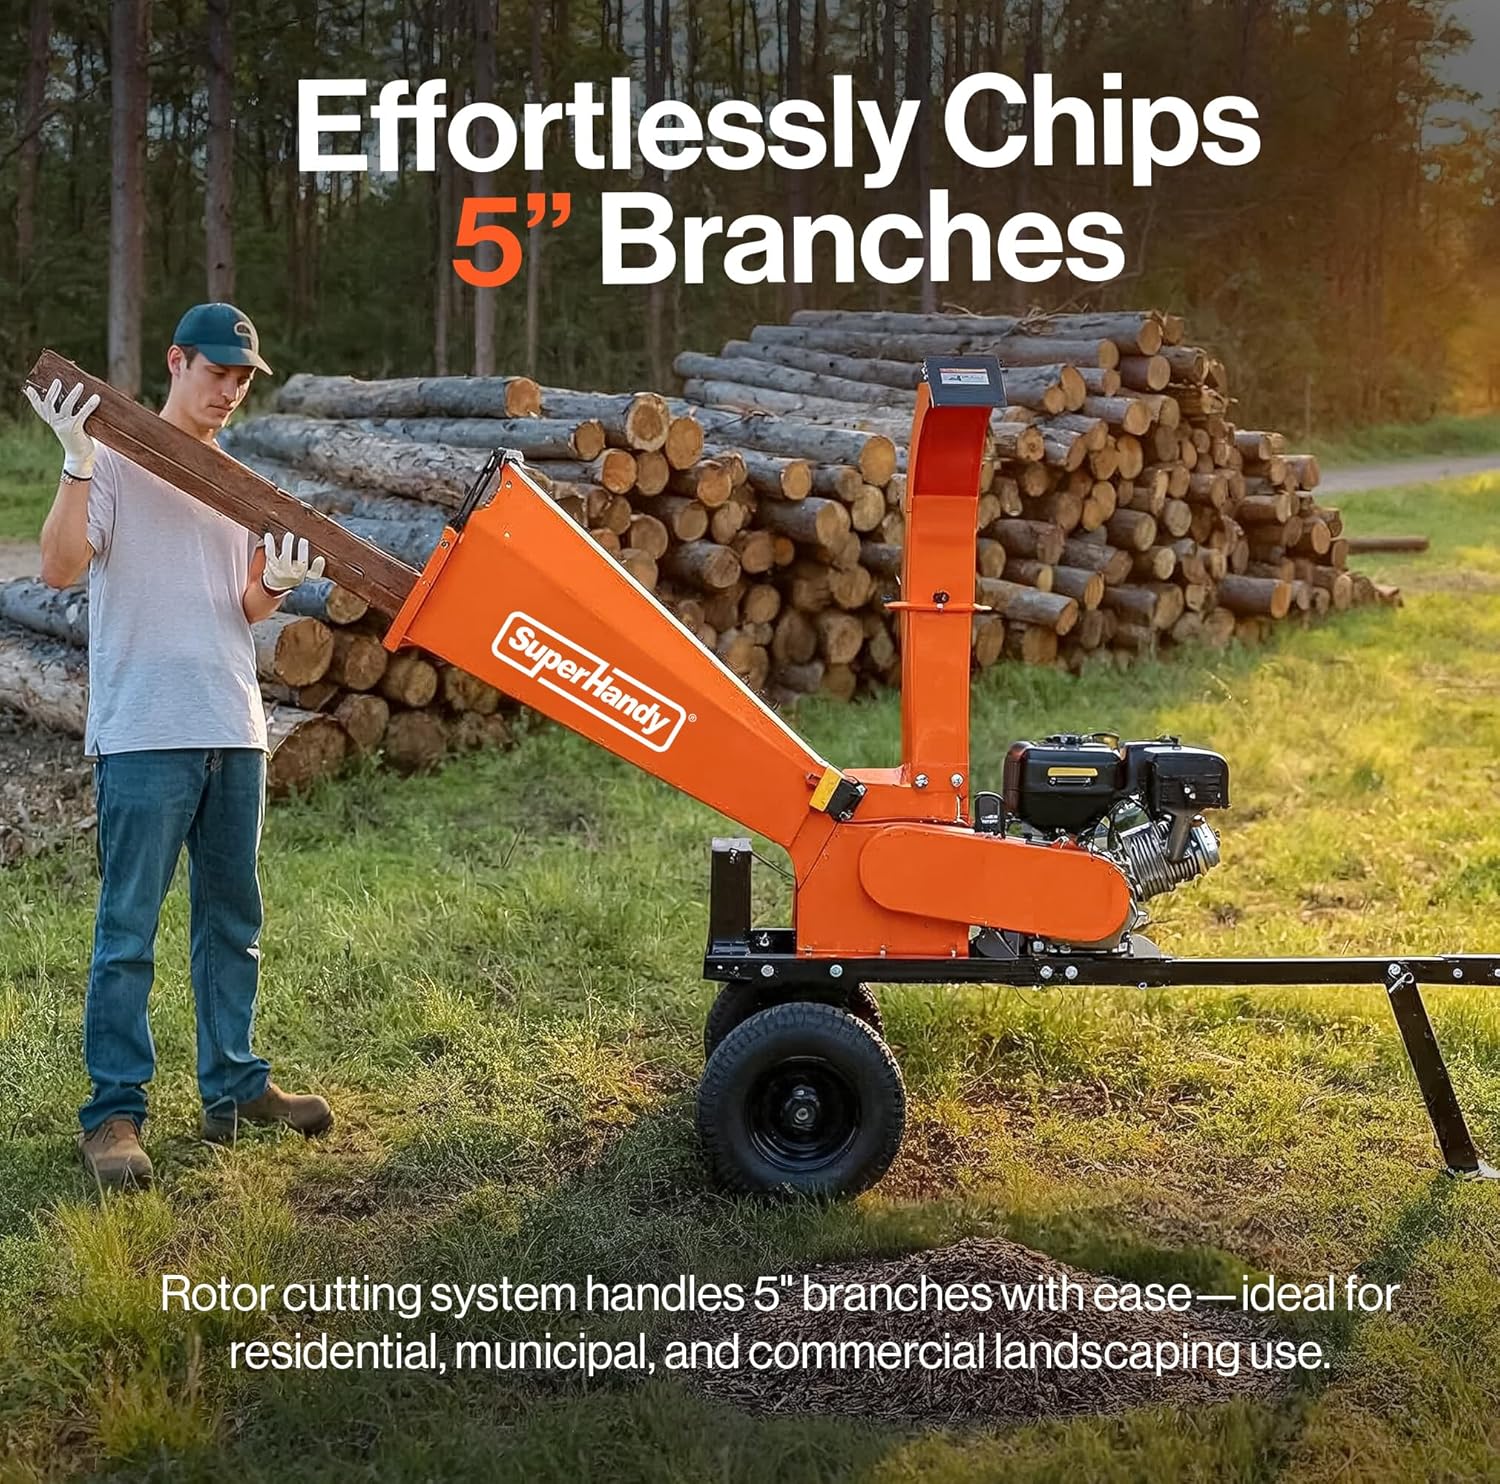
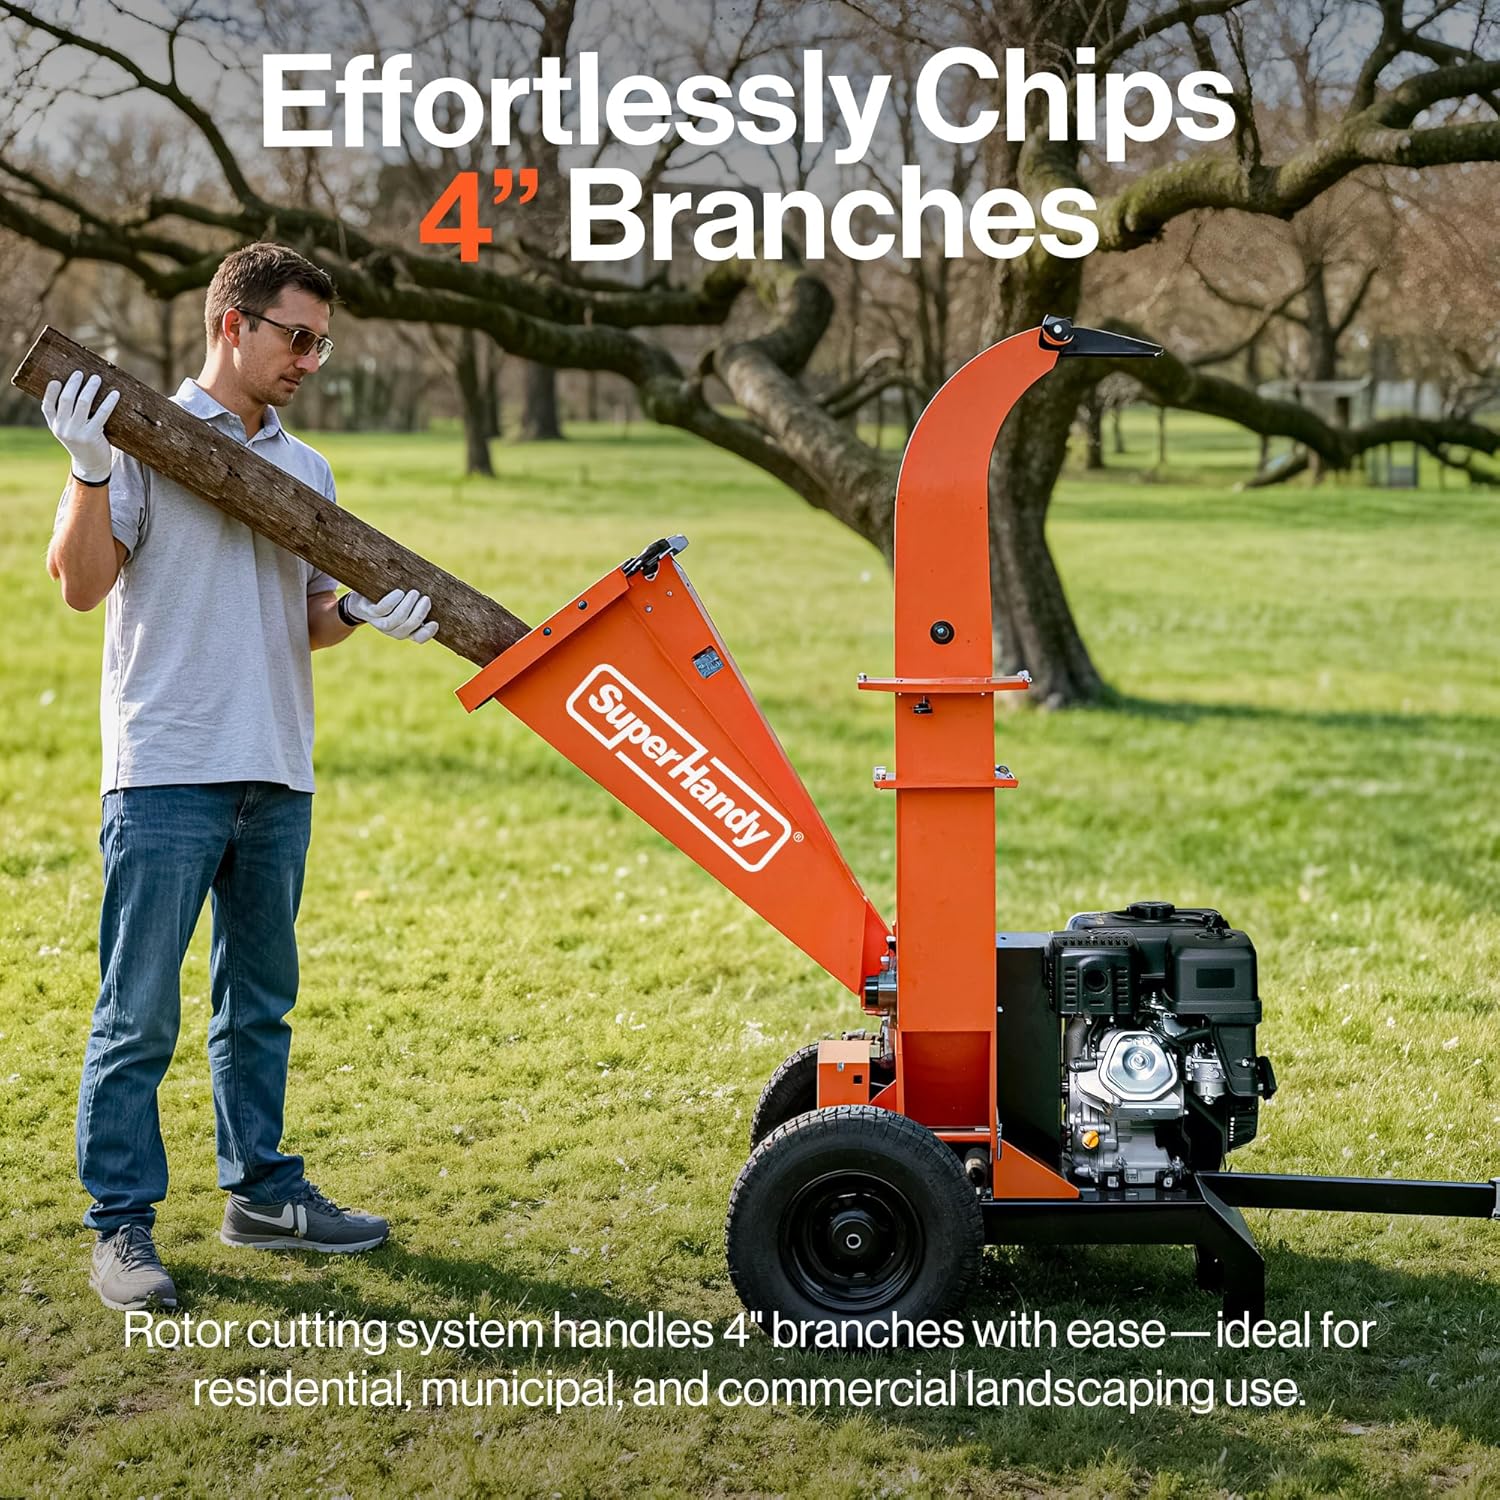
- Chipping Capacity: This is the most important specification. It dictates the maximum diameter of the branches you can process. For general pasture maintenance and smaller trees, a model with a 4-inch chipping capacity is a versatile workhorse. However, for properties with more mature trees or for clearing dense, established overgrowth, stepping up to a heavy-duty 5-inch chipper provides the necessary power to avoid bottlenecks.
- Engine Power: A strong engine (typically 15HP or more) ensures the chipper can pull in and process hardwoods without bogging down. Features like an electric start are a welcome convenience for quick, reliable operation in the field.
- Towability and Build: A sturdy tow bar with a standard 2-inch ball coupler is essential for easy transport. Look for large, rugged tires that can handle the uneven terrain of a pasture without issue.
Assessing Your Farmstead's Branch Management Needs: What to Chip?
Before you fire up your chipper, take a walk around your property to identify what needs to be processed. This will help you plan your work and understand the scope of the job. Common materials on a farmstead perfect for chipping include:
- Fallen Limbs: Clean up after storms or seasonal shedding.
- Fence Line Clearing: Trimmings from bushes and saplings that encroach on your fences.
- Pasture Reclamation: Invasive species like buckthorn, multiflora rose, and autumn olive that can quickly take over fields.
- Orchard Prunings: Annual cuttings from fruit trees to encourage healthy growth.
- Trail Maintenance: Branches and brush cleared to maintain access paths around your property.
It's equally important to know what not to chip. Avoid pressure-treated lumber, wood with nails or screws, poison ivy, and excessively wet, green, or pulpy material, which can clog the machine.
Safety First: Essential Gear and Precautions for Chipper Operation
A tow-behind wood chipper is a powerful and efficient tool, but it demands respect. Before you even start the engine, prioritizing safety is non-negotiable. Always begin by thoroughly reading your chipper’s user manual. Your first line of defense is your Personal Protective Equipment (PPE). Never operate a chipper without:
- Eye Protection: Safety glasses or goggles are mandatory to protect your eyes from flying debris.
- Hearing Protection: The engine and chipping action create significant noise. Use earmuffs or earplugs to prevent hearing damage.
- Heavy-Duty Gloves: Protect your hands from splinters and scrapes when handling rough branches.
- Sturdy Footwear: Steel-toed boots are ideal for protecting your feet from falling branches or the machine itself.
- Close-Fitting Clothing: Avoid loose clothing, drawstrings, or jewelry that could get caught in the machine.
Beyond gear, operational discipline is key. Always operate the chipper on level, stable ground. Keep children, pets, and bystanders at a safe distance. Never, under any circumstances, reach into the infeed hopper or the discharge chute while the machine is running.
Step-by-Step Guide: Preparing Your Farmstead for Branch Clearing
Proper preparation makes chipping day smoother, safer, and more efficient. Rushing into a cluttered pasture with a chipper is a recipe for frustration. Follow these steps to set yourself up for success.
- Survey and Plan: Walk the area you intend to clear. Identify the brush and branches that need to be removed. It’s helpful to flag the specific trees or overgrown sections you’re targeting.
- Create Organized Piles: As you cut branches, consolidate them into manageable piles. For easy feeding, orient all the branches with their cut ends facing the same direction. This saves you from having to untangle a messy heap later.
- Clear Your Path: Ensure you have a clear, unobstructed path to tow your chipper to each pile. Remove any rocks, logs, or other hazards that could make maneuvering difficult.
- Inspect Your Material: Before you start chipping, give your brush piles a final once-over. Remove any non-wood items like rocks, wire, fencing, or twine that may have been accidentally gathered. These items can severely damage the chipper’s blades and create dangerous projectiles.
Operating Your Tow-Behind Chipper: A Practical Walkthrough
With your area prepped and your safety gear on, you’re ready to turn branches into valuable wood chips.
- Pre-Start Inspection: Before every use, perform a quick check. Ensure the engine has enough oil and fuel. Check the tire pressure on your tow-behind unit and confirm all safety guards are securely in place.
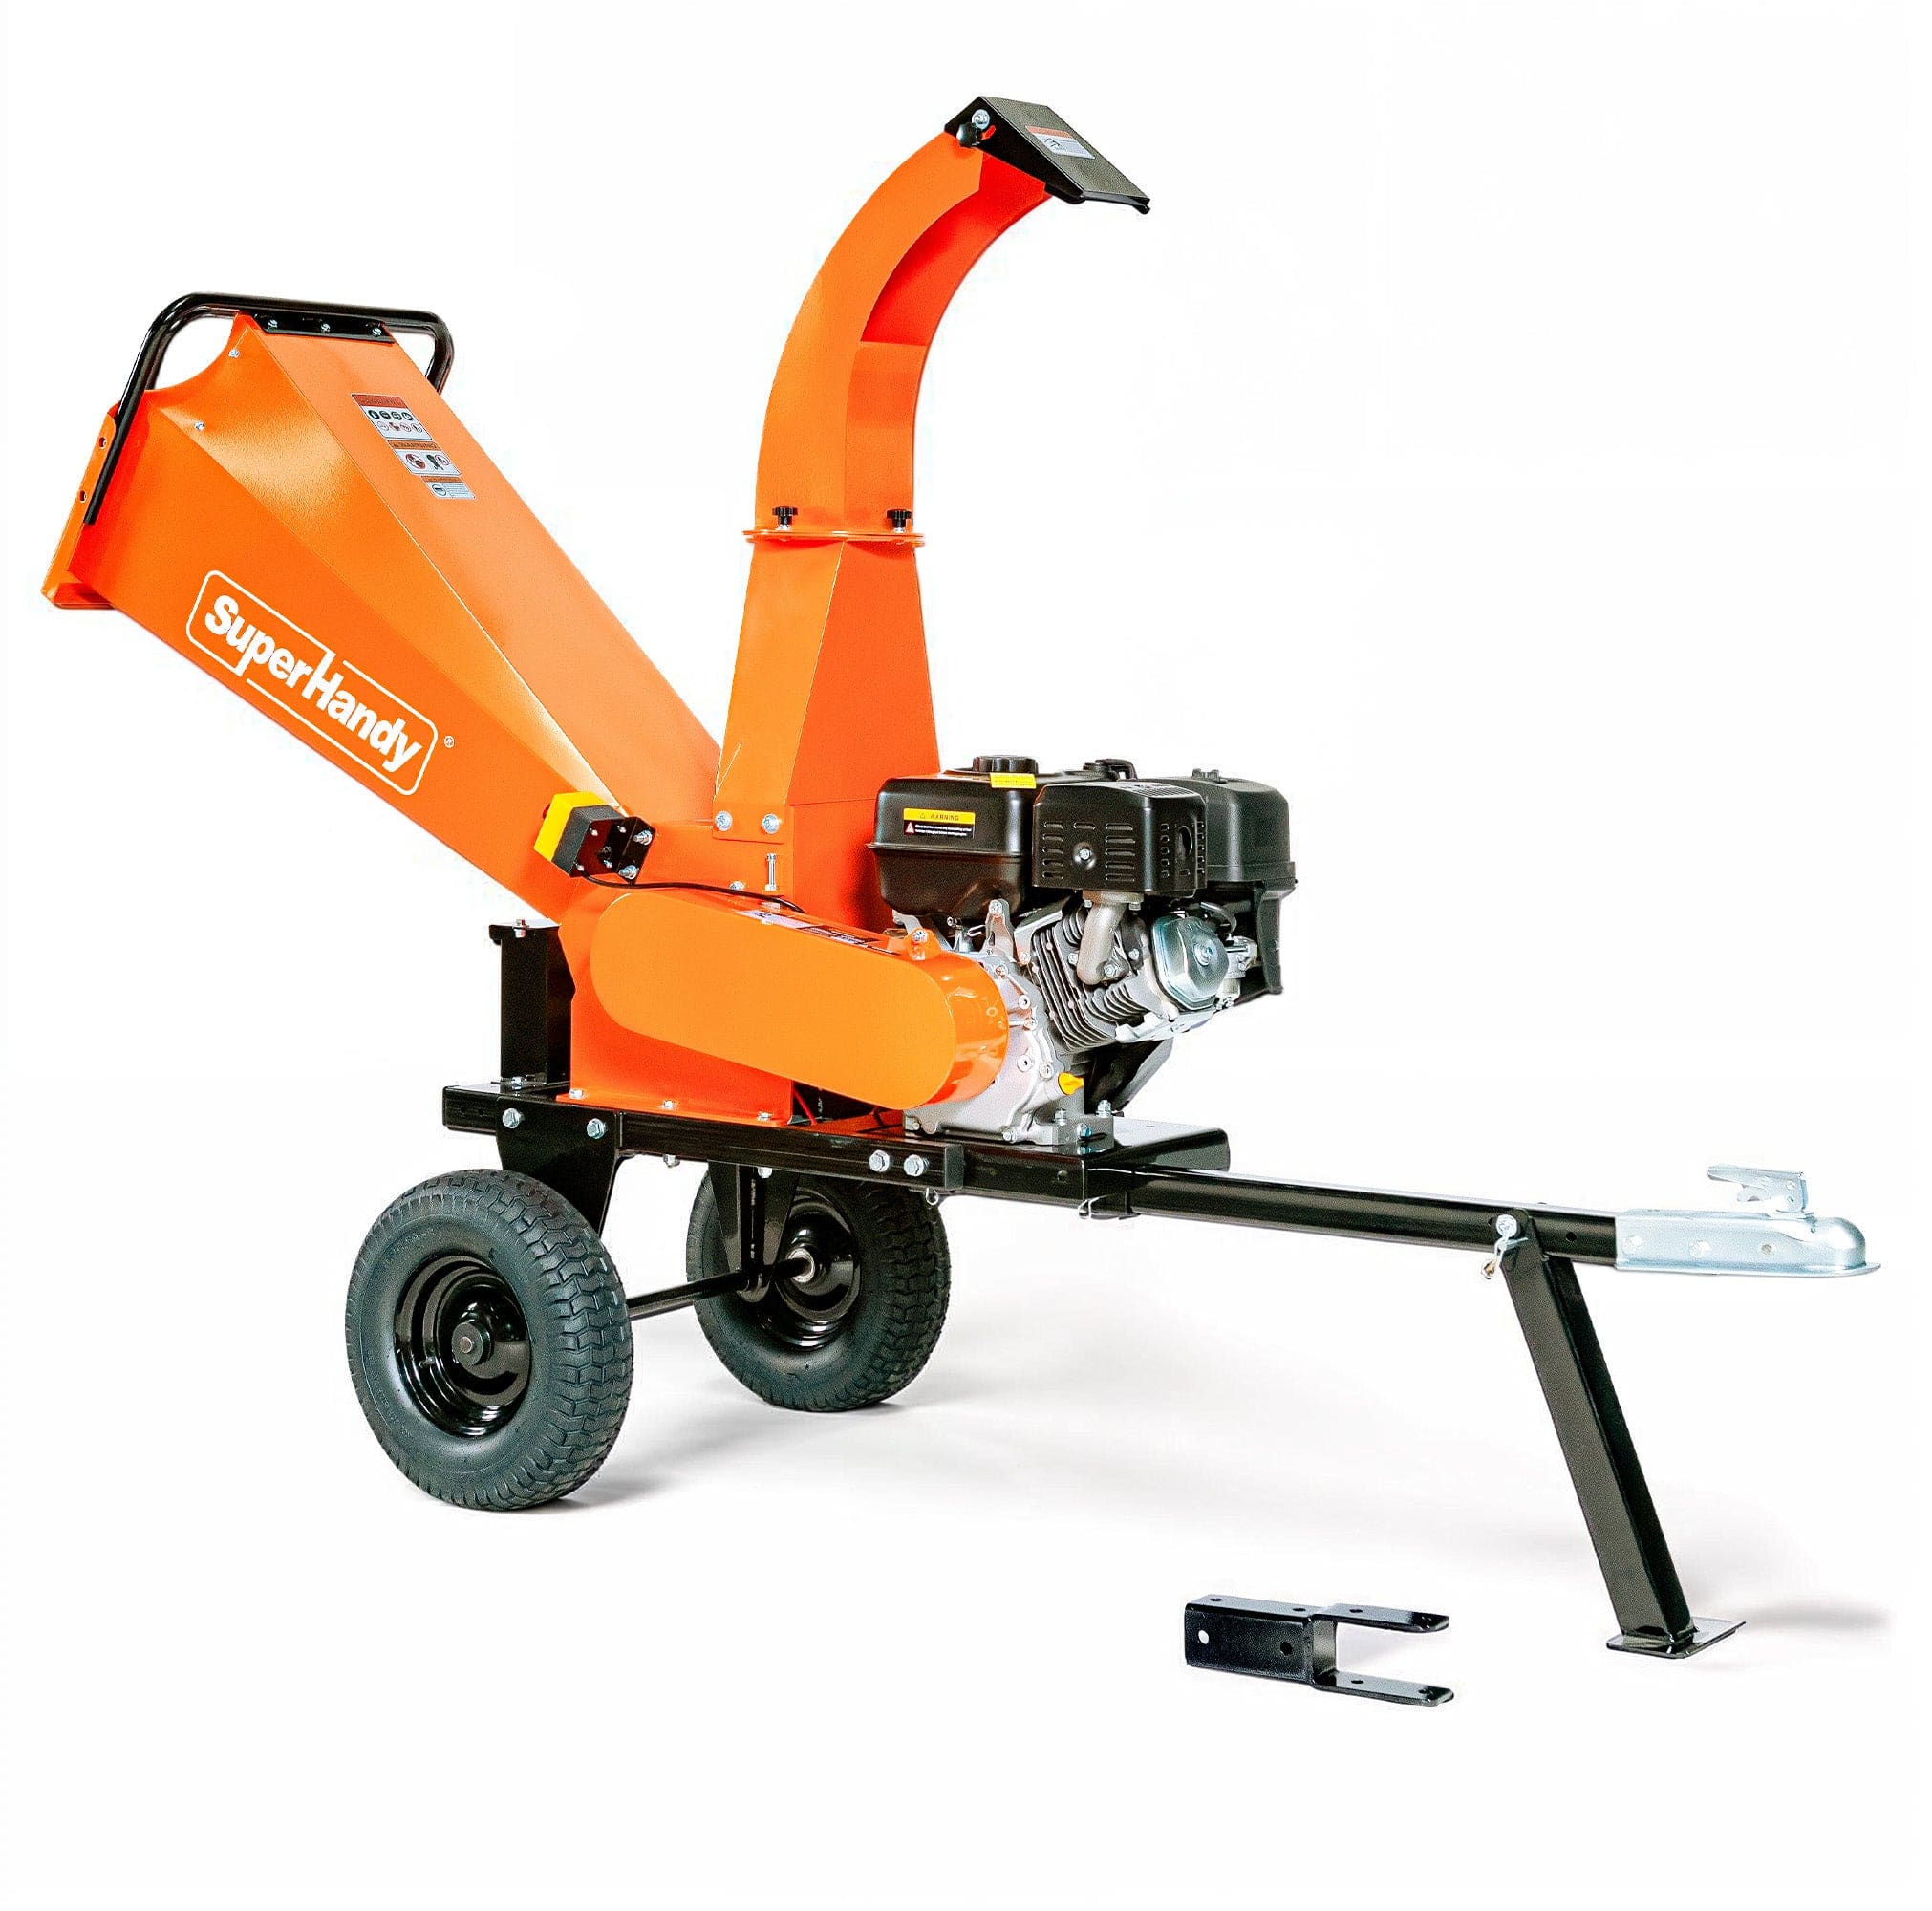
- Start the Engine: Follow the manufacturer's instructions to start the engine. Many modern units, like the SuperHandy 5" Capacity Towable Chipper, feature an electric start for greater convenience. Let the engine warm up for a few minutes before engaging the blades.
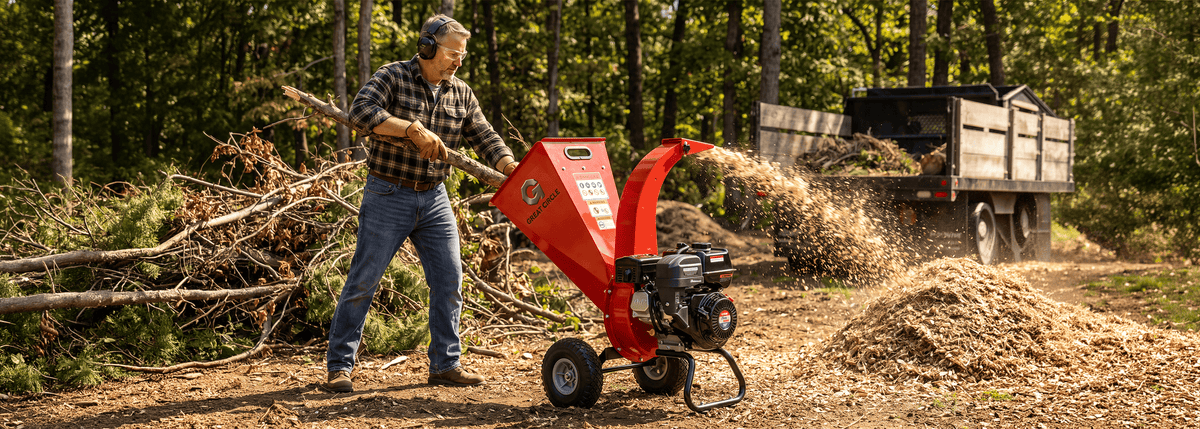
- Feed the Chipper: Begin with a smaller branch to ensure everything is running smoothly. Feed branches into the hopper butt-end first. The machine is designed to self-feed, so allow it to pull the material in at its own pace. Do not force or push material into the hopper with your hands. For shorter pieces, use a long, sturdy push stick.
- Position the Discharge Chute: Adjust the discharge chute to direct the wood chips where you want them—onto a tarp, into a wheelbarrow, or directly onto a garden bed.
Optimizing Chipper Performance for Different Branch Types
Not all wood is created equal. Adjusting your technique based on the material will protect your machine and improve its efficiency.
- Green Wood: Freshly cut, "green" wood is typically soft and chips easily. However, very sappy or stringy varieties can sometimes wrap around the cutting drum. Feed these at a steady, consistent pace.
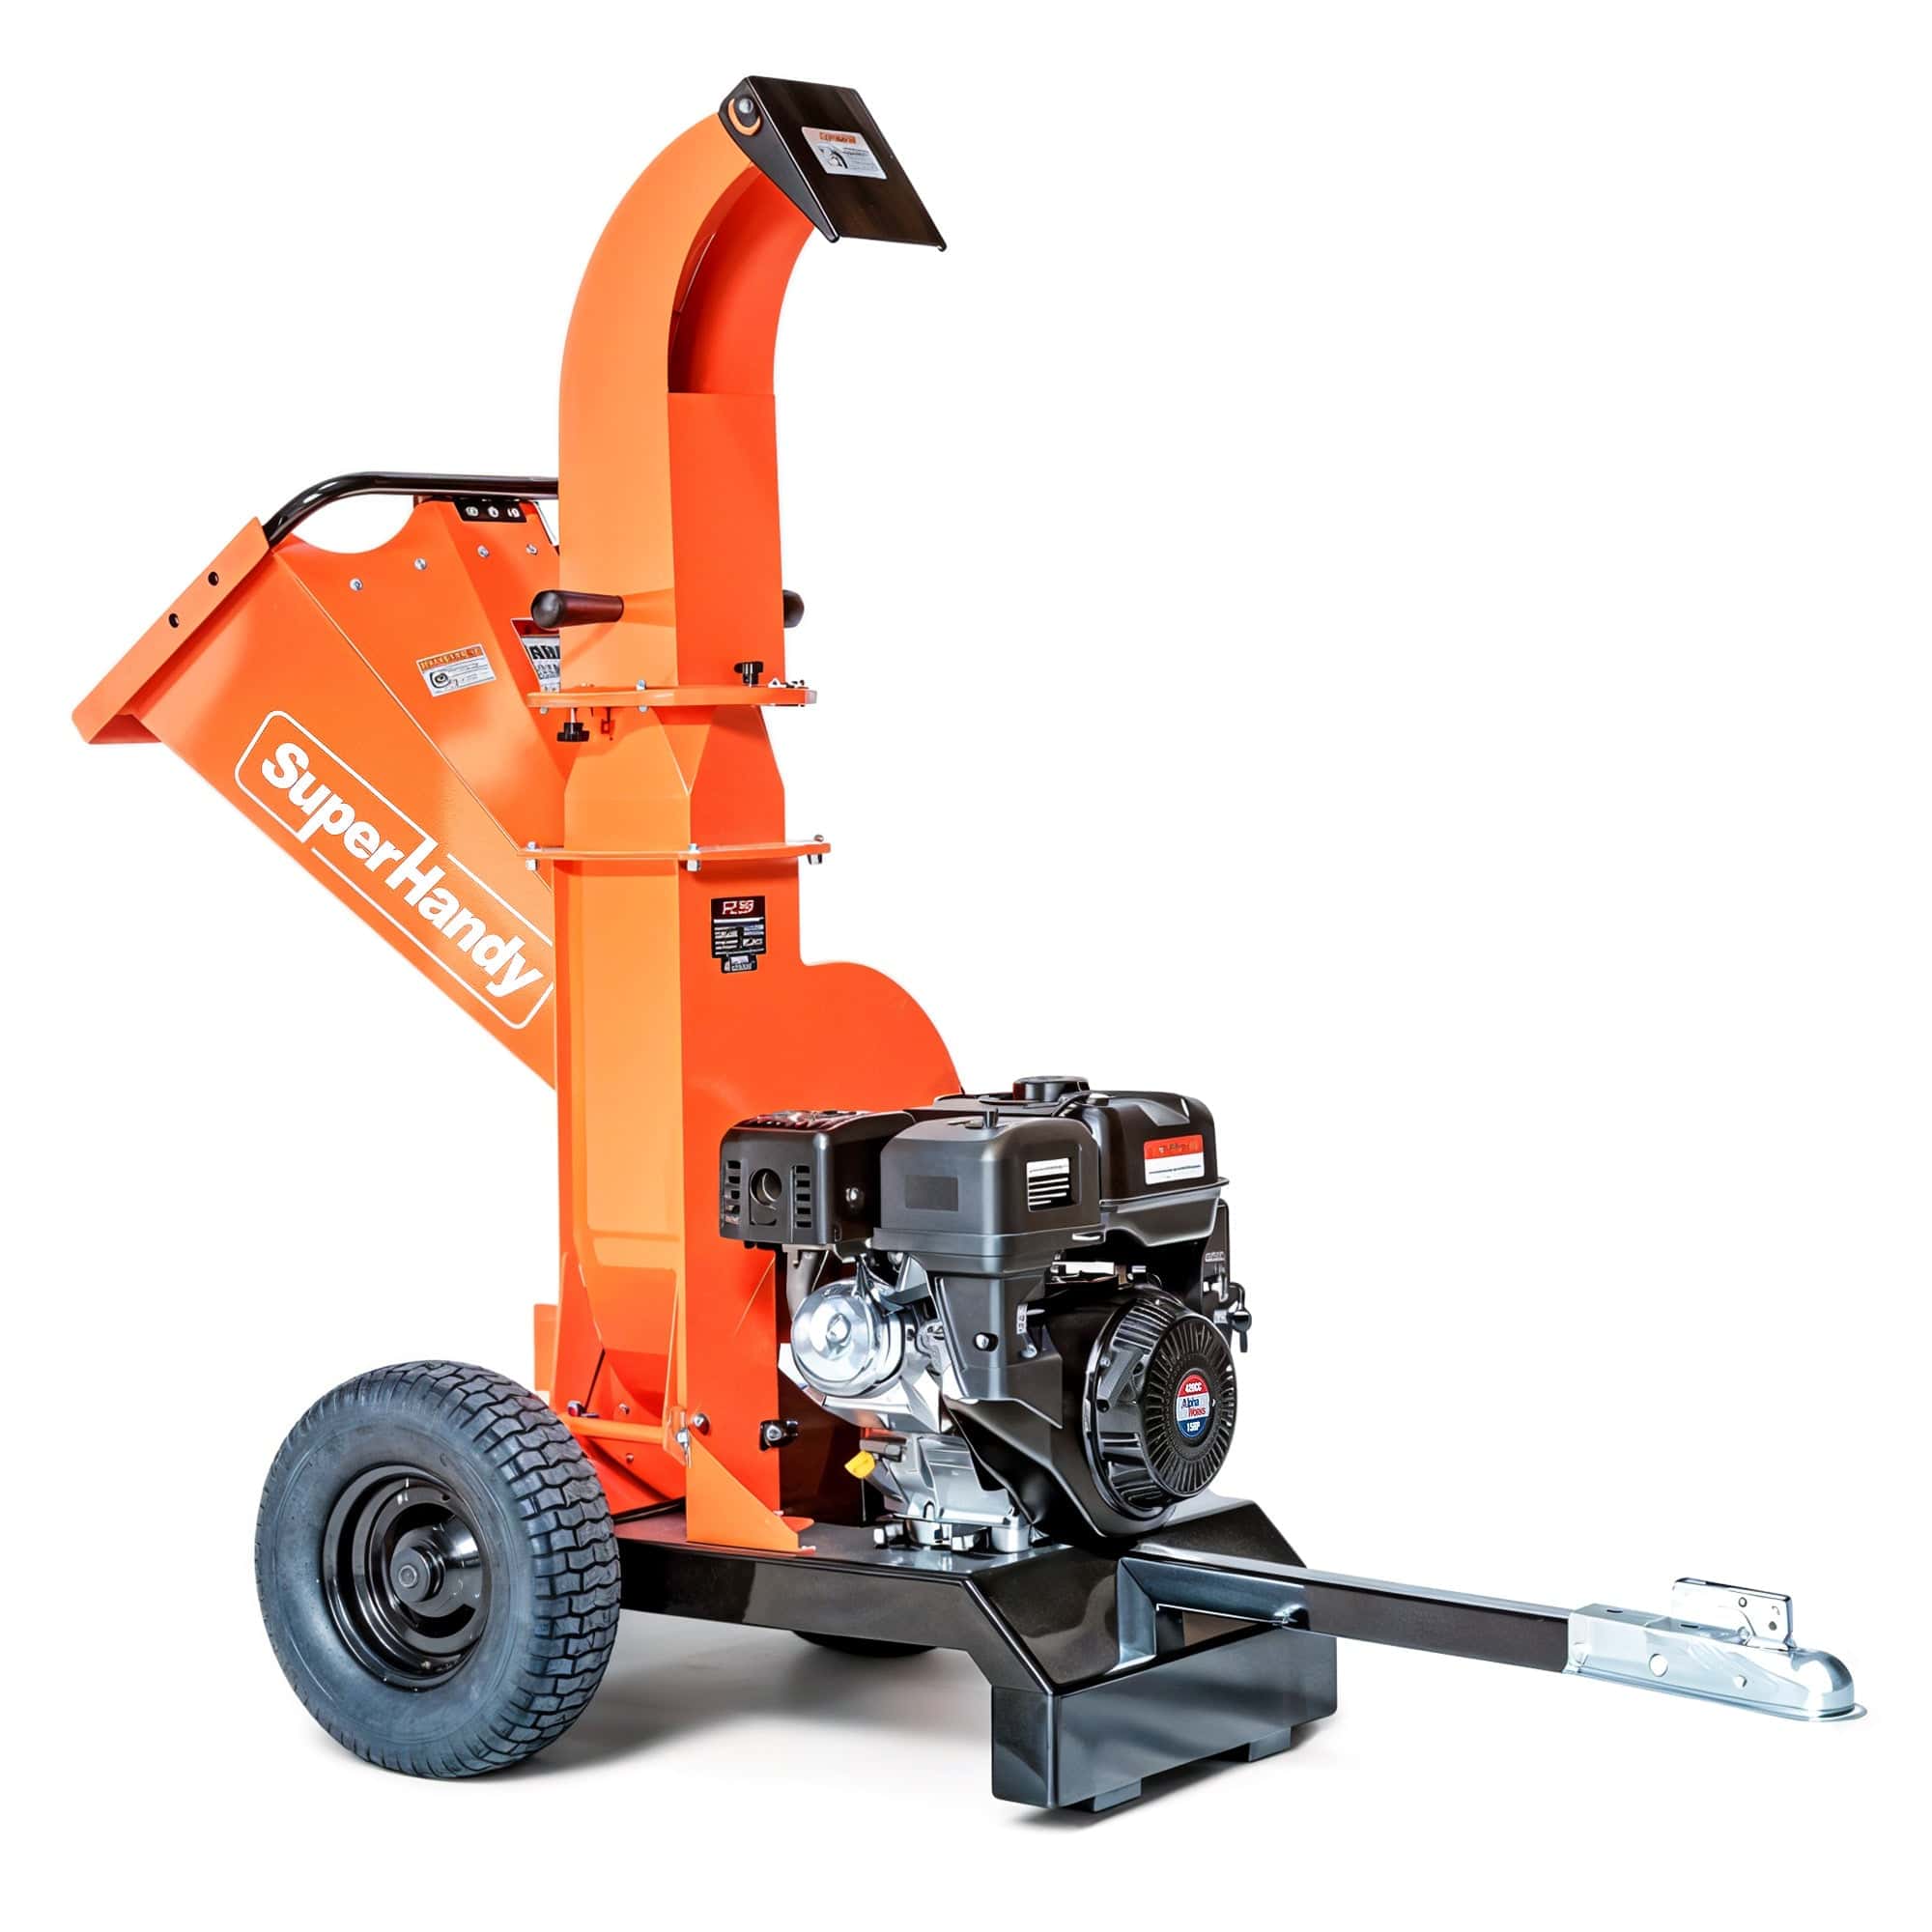
- Dry Hardwood: Seasoned hardwoods like oak or hickory are brittle and can put more strain on the engine. Feed these branches, especially those nearing the machine’s maximum capacity, one at a time. A powerful engine is crucial here, which is why a model like the SuperHandy 4" Capacity Towable Chipper is well-suited for tough farmstead jobs.
- Small Twigs & Leaves: A pile of loose leaves and tiny twigs can be difficult to feed. The best method is to bundle them with a larger branch, which will help pull the smaller debris through the chipper shredder.
Regardless of the wood type, sharp blades are the key to peak performance. Dull blades will struggle, strain the engine, and produce poor-quality chips.
Post-Chipper Cleanup: Utilizing Wood Chips for Farmstead Improvement
Once the engine is off and the last branch has been processed, you're left with one of the greatest assets from your clearing efforts: a massive pile of fresh wood chips. Far from being waste, this "brown gold" is a valuable resource for any small farmstead. Instead of hauling it away, put it to work improving your land.
Here are some of the best uses for the output from your wood chipper:
- Mulch: This is the most popular use. Spread a 3-4 inch layer of wood chips around trees, in perennial beds, and throughout your orchard. This natural blanket suppresses weeds, helps the soil retain moisture during dry spells, and regulates soil temperature.
- Pathways and Paddock Areas: Create beautiful, mud-free walkways through your gardens, pastures, or high-traffic areas. A thick layer of chips provides excellent drainage and a soft, natural surface to walk on.
- Compost Amendment: Wood chips are a fantastic source of carbon ("browns") for your compost pile. Mix them with nitrogen-rich "greens" like grass clippings and kitchen scraps to create a balanced, nutrient-rich soil amendment. Note that fresh chips take time to break down, so they are best for slower, long-term composting methods.
- Erosion Control: On sloped areas of your pasture or property, a layer of wood chips can help prevent soil erosion during heavy rains by slowing water runoff and holding the soil in place.
Troubleshooting Common Tow-Behind Chipper Issues in the Field
Even the most reliable chipper shredder can encounter issues in the field, especially during a long day of clearing pasture. Here are solutions to some common problems:
- Engine Bogs Down or Stalls: This usually happens when you're feeding material too aggressively. Let the machine's flywheel regain speed between large branches. You may also be feeding branches that exceed your chipper's maximum capacity. If the problem persists with properly sized material, your blades are likely dull and need to be sharpened or replaced.
- Clogging in the Discharge Chute: This is often caused by processing a lot of wet, green, or sappy material at once. To prevent this, try to alternate green branches with dry, woody ones. If a clog occurs, turn the machine off completely and wait for the flywheel to stop spinning before attempting to clear the obstruction. Never put your hands inside the hopper or chute while the engine is running.
-
Engine Won't Start: First, run through the basics: Is there fresh fuel in the tank? Is the fuel shut-off valve open? Is the choke in the correct position for a cold or warm start? Many models, like a powerful 15HP towable chipper, have safety switches that prevent the engine from starting if guards are not properly in place. Double-check that everything is secure.

Maintaining Your Tow-Behind Chipper for Longevity and Reliability
A tow-behind wood chipper is a significant investment, and proper maintenance is key to protecting it. A well-maintained machine is safer, more efficient, and will serve your farmstead for years to come.
Before Each Use:
- Check the engine oil and fuel levels.
- Inspect tires for proper inflation.
- Give the machine a quick visual inspection for any loose bolts, damaged guards, or visible wear.
After Each Use:
- Clean out all debris from the hopper, cutting chamber, and discharge chute. Caked-on debris can cause rust and make the next startup difficult.
Periodic Maintenance (refer to your owner's manual for specific intervals):
- Blades: This is the most critical maintenance task. Dull blades tear wood instead of cutting it, putting immense strain on the engine. Regularly inspect, sharpen, or flip your blades as needed.
- Air Filter: Clean or replace the air filter to ensure the engine is breathing properly.
- Drive Belts: Check the belts for cracks and proper tension.
- Lubrication: Grease any fittings as specified by the manufacturer.
Following a simple maintenance schedule ensures your heavy-duty wood chipper shredder is always ready for the next pasture-clearing project.
Case Study: A Small Farmstead's Transformation with a Tow-Behind Chipper
For years, Mark and Sarah felt like they were losing a slow battle against nature on their 15-acre farmstead. The back five acres, once intended for rotational grazing, were being swallowed by aggressive saplings and thorny brush. Fencerows had become tangled, impenetrable walls of overgrown branches, making repairs nearly impossible. After every storm, a new "project pile" of fallen limbs would appear, growing larger and more daunting with each season.
"We were overwhelmed," Mark admits. "We couldn't afford to hire a clearing crew every year, and trying to burn the piles was a constant, smoky hassle that depended too much on the weather. The land felt like it was shrinking."
Their frustration peaked when they realized they were losing almost a third of their pasture to the encroaching woods. They needed a more sustainable, long-term solution. After researching their options, they decided to invest in a piece of equipment that could tackle the problem head-on: a tow-behind wood chipper.
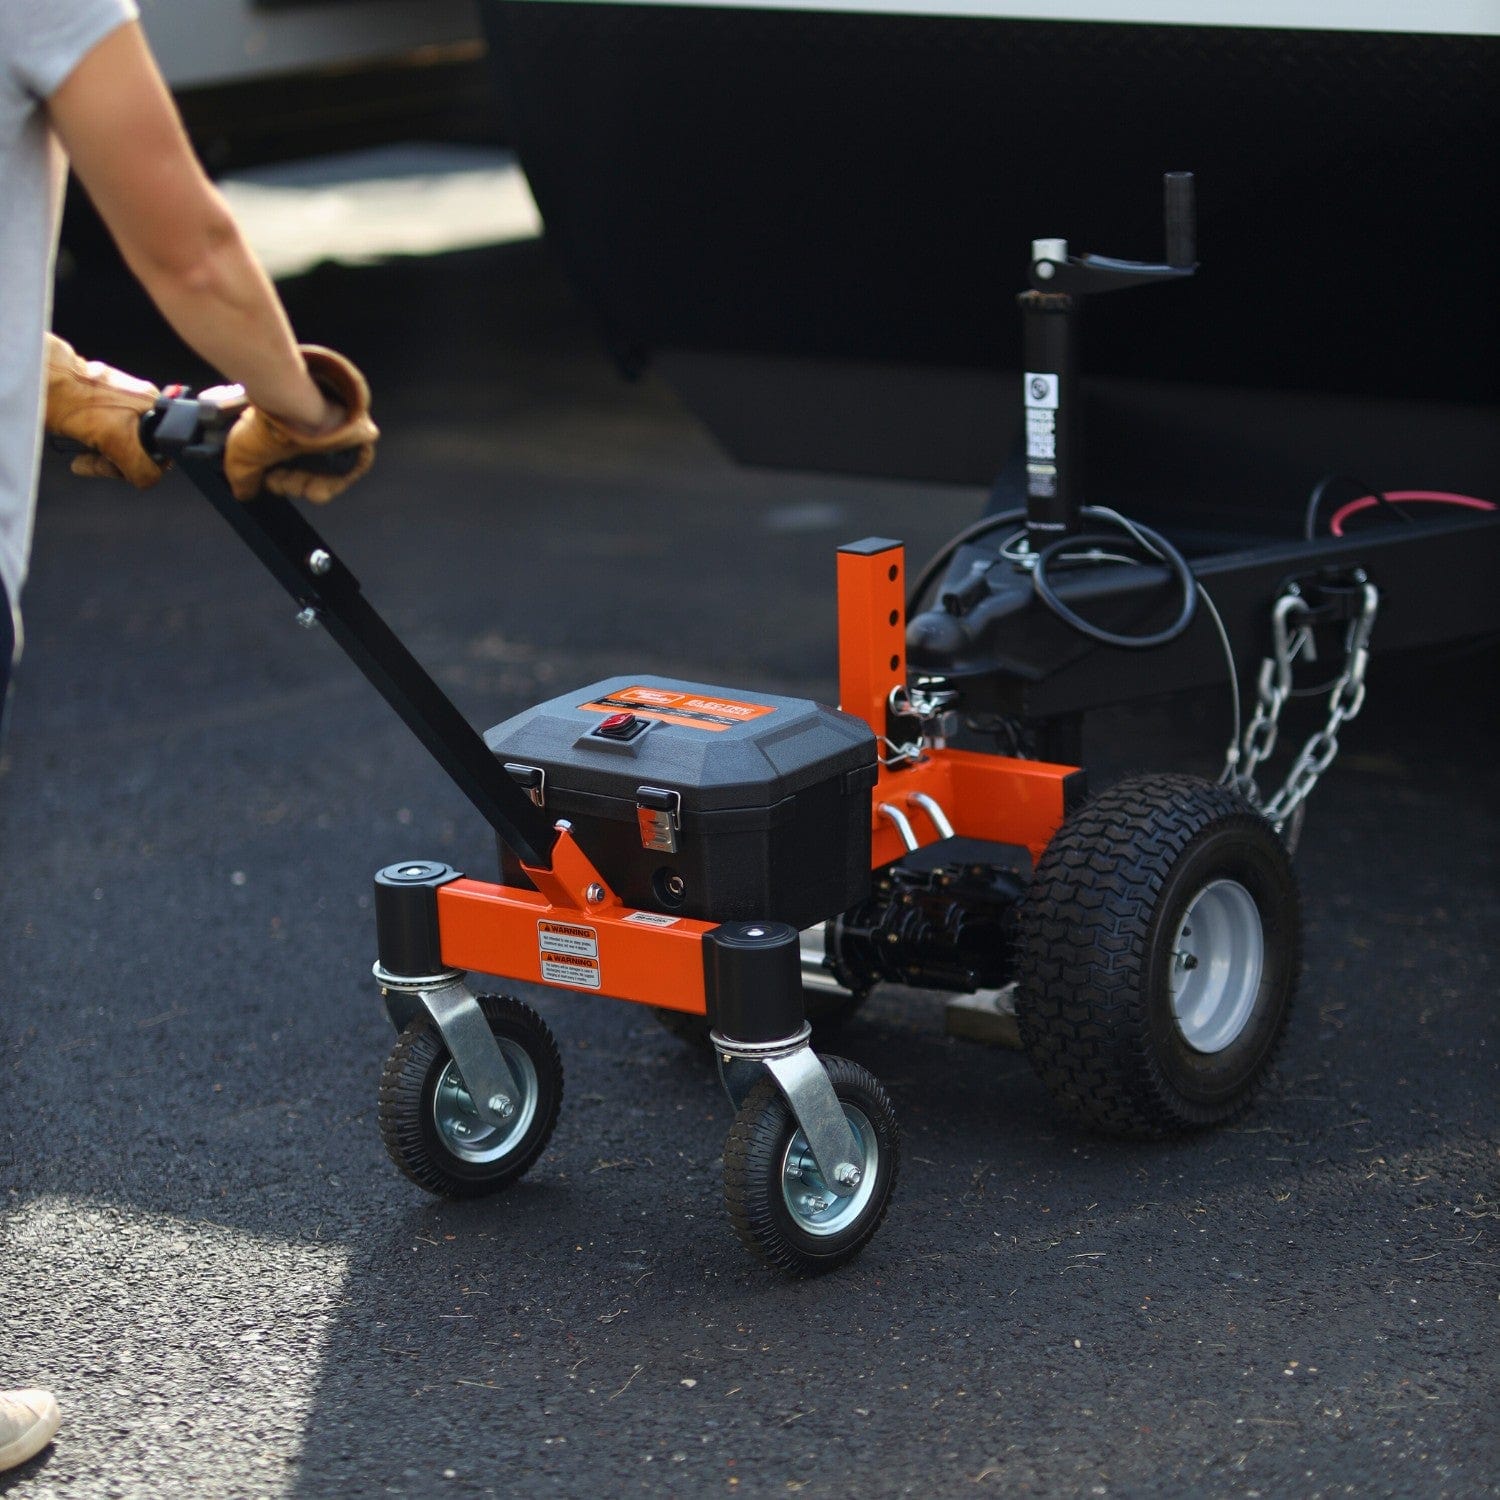
Caption: A tow-behind chipper is hooked up to an ATV, ready to be moved to a clearing site on the farmstead.
They chose a powerful gas-powered model that could be easily towed by their ATV, allowing them to access even the most remote parts of their property. Their primary goal was to find a machine that could handle the 3- to 4-inch diameter trees that were taking over the pasture. For their specific needs, a robust unit like a heavy-duty 15HP chipper with a 5-inch capacity represented the kind of power required to reclaim their land effectively.
The transformation began on the first weekend. Working together, Sarah would use a chainsaw to fell the smaller trees and limb the larger ones, while Mark towed the chipper into position and fed the branches. What was once an insurmountable jungle of wood became a manageable, two-person task. The roar of the chipper was the sound of progress, turning a problem into a resource.
Within a few months, the results were dramatic.
- Reclaimed Pasture: The fencerows were clear, making them easy to inspect and repair. The back five acres were completely cleared of saplings, opening up valuable grazing land for their small flock of sheep.
- No More Brush Piles: The unsightly and hazardous brush piles were gone. Storm cleanup became a simple, one-day task instead of a lingering eyesore.
- A Mountain of Mulch: Best of all, they turned tons of waste into "farmstead gold." The fresh wood chips were used to create beautiful, mud-free paths between garden beds, provide deep bedding in the chicken coop that improved compost, and mulch their newly planted fruit trees, suppressing weeds and retaining moisture.
For Mark and Sarah, the tow-behind chipper wasn't just a tool for cleaning up; it was an investment that fundamentally changed how they managed their land. It empowered them to take control of their property, increase its productivity, and create a more beautiful, functional, and self-sufficient farmstead.
Frequently Asked Questions About Tow-Behind Chippers for Farmsteads
What’s the difference between a wood chipper, a chipper shredder, and a garden shredder?
These terms are often used interchangeably, but there are key differences. A dedicated wood chipper is designed to handle larger, woody branches, using sharp knives to slice them into uniform chips. A shredder, sometimes called a garden shredder, uses blunt hammers or flails to pulverize softer, leafy green waste and small twigs. Many tow-behind units are combination chipper shredder models, featuring a side chute for chipping large branches and a top-loading hopper for shredding lighter vegetation, giving you the best of both worlds for farmstead cleanup.
Can I put wet or green wood through my chipper?
Yes, you can. In fact, chipping green wood (freshly cut) is often easier on the machine's blades than chipping hard, dry, seasoned wood. The moisture in green wood acts as a lubricant. However, be aware that very "whippy" or stringy green branches can sometimes wrap around the rotor. For best results, feed a mix of materials or allow extremely flexible branches to wilt for a day before chipping.
How do I know what chipping capacity I need for my farm?
The right capacity depends on the typical diameter of the branches you need to clear. Walk your property and measure the thickest branches you'll be processing regularly. For general pasture maintenance and clearing saplings or storm debris, a machine with a 4-inch capacity is often sufficient. For more demanding jobs involving larger, more mature trees, investing in a unit with a 5-inch chipping capacity provides more power and versatility, reducing the need for extensive pre-cutting with a chainsaw. A robust 4-inch tow-behind chipper is a great starting point for many small farmsteads.
Is a tow-behind chipper difficult to move around a property?
Not at all. That’s their main advantage! These chippers are specifically designed for mobility over uneven terrain. Equipped with rugged tires and a standard tow bar, they can be easily hitched to an ATV, UTV, or small tractor. This allows you to bring the machine directly to the work site, whether it's a distant fence line or a newly cleared section of pasture, saving you the immense effort of hauling branches across your property.
Maximizing Your Farmstead's Potential: The Long-Term Impact of Branch Management
Effective branch management is more than just a cleanup chore; it's a long-term investment in the health, productivity, and safety of your farmstead. By transforming overgrown branches from a liability into a valuable resource, a tow-behind wood chipper unlocks your property's true potential.
Imagine turning tangled, impassable thickets into open, healthy pasture for your livestock. Think of the reduced fire risk that comes from eliminating piles of dry brush along your wood lines. The impact is immediate and lasting. Every pile of branches you chip becomes a source of nutrient-rich mulch for your gardens, natural bedding for animal stalls, or a weed-suppressing layer for pathways.
This cyclical process—clearing land to improve its use while creating a byproduct that enriches the soil—is the essence of sustainable farmstead management. Over time, this practice leads to healthier soil, more productive animals, increased property value, and a farm that is not only more beautiful but also more efficient and resilient. Taking control of branch management is a powerful step toward building the thriving, self-sufficient farmstead you envision.
Related Products

Leave a comment
All comments are moderated before being published.
This site is protected by hCaptcha and the hCaptcha Privacy Policy and Terms of Service apply.