










Why Winter Storage is Crucial for Your Chipper Shredder
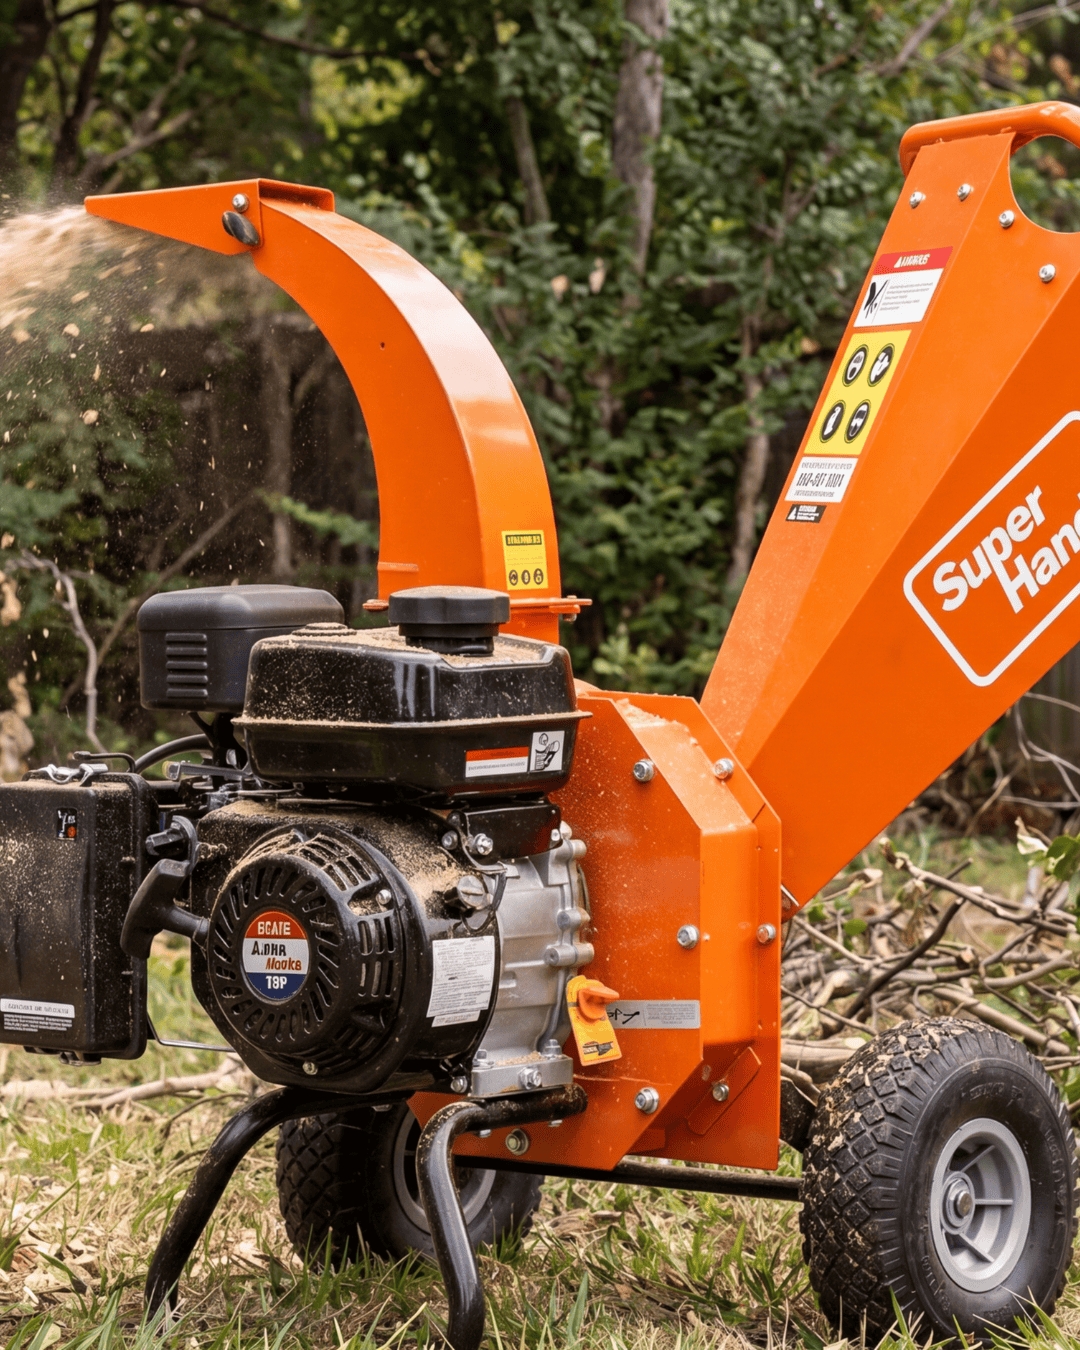
Winter brings a trio of threats to your outdoor power equipment: cold temperatures, moisture, and long periods of inactivity. When left unprotected, your Wood Chipper is vulnerable to significant damage. Moisture from rain, snow, and condensation is the primary enemy, leading to rust on the steel housing, bearings, and, most critically, the cutting blades.
Beyond rust, stagnant fuel left in the tank can degrade, forming gummy deposits that clog the carburetor and fuel lines. This is a leading cause of start-up failure in the spring. The battery can slowly lose its charge in the cold, and small pests may see the engine housing or hopper as a perfect winter home, chewing through wires and building nests. A few simple storage steps now will prevent these headaches, protect your investment, and guarantee a quick, powerful start next season.
Assessing Your Chipper Shredder's Condition Before Storage
Before you clean and store your machine, give it a thorough once-over. This pre-storage inspection helps you spot any existing issues so you can address them now rather than being surprised by a breakdown in the spring.
Start with a visual check. Look for any cracks in the frame, loose nuts and bolts, or signs of excessive wear on belts and tires. Next, carefully inspect the cutting blades for dullness, chips, or cracks. Dull blades tear wood instead of chipping it, putting unnecessary strain on the engine. Finally, check the engine oil. If it's dark, gritty, or below the recommended level, make a note to change it. Identifying the need for a new belt or a replacement blade now gives you plenty of time to order parts for your Wood Chipper before the spring rush.

Step-by-Step Guide: Cleaning Your Chipper Shredder for Winter
Leaving caked-on sap, dirt, and plant matter on your machine is an open invitation for rust and corrosion. As experts from the University of Florida note, because most garden tools are exposed to dirt and water, "keeping them clean and dry is the first step to good maintenance." A clean machine is a protected machine.
- Safety First: Before starting, disconnect the spark plug wire to prevent any chance of an accidental start.
- Clear Out Debris: Use a shop vac or compressed air to blow out all the leftover wood chips, leaves, and dust from the hopper, chipping chamber, and discharge chute. A stiff brush can help dislodge stubborn material.
- Wash the Exterior: According to the University of Vermont Extension, a quick spray with a garden hose is often enough to "get rid of the loose stuff." This will remove the surface layer of dirt and dust.
- Scrub and Dry: For stubborn sap or grime, use a brush with a mild degreaser and water. Once clean, the most important step is to dry your Wood Chipper completely. Use an old towel or a leaf blower to ensure no moisture is left in crevices or around bolts.
Lubrication: The Key to Preventing Rust and Seized Parts
With your chipper shredder clean and bone-dry, the final step in preventing corrosion is lubrication. A thin layer of oil creates a protective barrier that repels moisture and stops rust from forming on bare metal surfaces.
Use a light, multi-purpose oil or a fogging oil and apply a thin coat to all unpainted metal parts, including the cutting blades (if you've removed them for sharpening) and the interior of the chipping chamber. Pay special attention to any scratches or chips in the paint where raw steel is exposed. Don’t forget to lubricate moving parts like hinges, levers, and wheel axles to keep them from seizing up over the winter. Gently wipe away any excess oil with a clean rag; too much can attract dust and dirt during storage.
Fuel System Preparation: Preventing Gumming and Contamination
Leaving untreated gasoline in your wood chipper for several months is a recipe for a no-start situation in the spring. As fuel ages, it can degrade, leaving behind gummy varnish deposits that clog carburetors and fuel lines. You have two primary options to prevent this:
- Run the Engine Dry: This is the simplest and most effective method. With the fuel tank nearly empty, start your chipper shredder and let it run until it stops on its own. This ensures the entire fuel system, including the carburetor bowl and fuel lines, is completely empty.
- Use a Fuel Stabilizer: If you prefer to leave fuel in the tank, a high-quality fuel stabilizer is essential. Fill the tank almost to the top (this reduces air space and moisture condensation), add the correct amount of stabilizer according to the product's instructions, and then run the engine for 5-10 minutes. This circulates the treated fuel through the entire system, protecting it from degradation.
Battery Care: Ensuring a Quick Start in Spring
For chipper shredders with an electric start, battery maintenance is non-negotiable. Cold temperatures can drain a battery's charge and even cause permanent damage if it's left to completely discharge.
To protect your battery, disconnect the negative terminal first, then the positive. Remove the battery from the machine and store it in a cool, dry place away from temperature extremes and off concrete floors (which can accelerate discharge). For optimal health, connect the battery to a battery tender or trickle charger. These smart devices provide a low, steady charge that keeps the battery topped off and ready for action without overcharging it.

Protecting the Cutting Blades: Sharpness and Safety
Moisture is the enemy of your chipper shredder’s cutting blades. After a thorough cleaning, it's crucial to protect them from rust and corrosion. Once the blades and the entire drum or rotor assembly are completely dry, apply a light coat of multi-purpose oil or fogging oil directly onto the metal surfaces. This thin film acts as a barrier, repelling moisture that can cause rust to form.
This is also the perfect time to inspect the blades for any nicks, chips, or dullness. A sharp Wood Chipper is not only more efficient but also safer to operate. Make a note to have them sharpened or replaced before your first use in the spring.
Choosing the Right Storage Location: Indoor vs. Outdoor Considerations
Where you store your chipper shredder has a major impact on its condition come springtime.
-
Indoor Storage (Ideal): A garage, barn, or dry shed is the best option. It provides complete protection from rain, snow, ice, and harsh UV rays. It also shields the machine from drastic temperature fluctuations and keeps it safe from pests that might chew on wiring or build nests in the engine housing.
-
Outdoor Storage (If Necessary): If you must store your machine outside, take extra precautions. Never leave it sitting directly on the ground. Place your Wood Chipper on a pallet or wooden blocks to allow for air circulation and prevent contact with ground moisture. Most importantly, invest in a heavy-duty, waterproof cover that fits snugly. This is your primary line of defense against the elements.
Covering Your Chipper Shredder: Essential Protection from the Elements
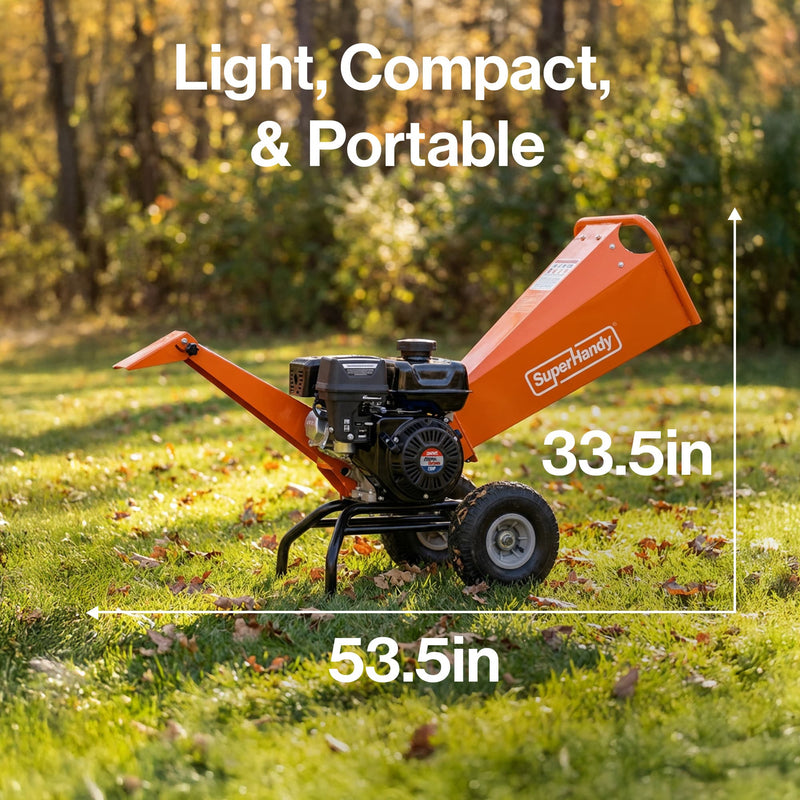
Even if you store your chipper shredder indoors, a good cover is your first line of defense. It shields your machine from dust, debris, moisture, and even nesting pests. While a basic tarp is better than nothing, it can trap condensation against the metal, potentially causing more rust than it prevents.
For optimal protection, invest in a heavy-duty, form-fitting cover made from a waterproof yet breathable material. This allows any trapped moisture to escape while keeping water, snow, and dust out. A snug fit prevents the cover from blowing off in a drafty barn or shed and offers better protection for your Wood Chipper than a loose, generic tarp.
Securing Your Chipper Shredder During Storage
A chipper shredder is a valuable piece of equipment, making it a potential target for theft. Always store your machine in a locked space like a garage or shed. For added security, especially in a shared or less-secure space, use a heavy-gauge chain and a quality padlock to secure the chipper’s frame to an immovable object. Beyond theft prevention, ensure the machine is stored on a level surface where it cannot be accidentally tipped over. If your model has wheels, chock them securely to prevent it from rolling.
Preparing for Spring: Reawakening Your Chipper Shredder
When the final frost thaws and yard work beckons, it’s time to wake your chipper from its winter slumber. Follow this simple checklist to ensure a smooth, safe start-up:
- Initial Inspection: Remove the cover and give your Wood Chipper a thorough visual inspection. Look for any signs of nesting pests, rust, or damage that may have occurred during storage.
- Tires and Battery: Check the tire pressure and inflate to the recommended PSI. Reconnect your fully charged battery, ensuring the terminals are clean and tight.
- Fluids Check: Check the engine oil level and top it off if necessary. Fill the fuel tank with fresh, high-quality gasoline.
- Final Safety Check: Re-check the cutting blades for any surface rust and ensure all nuts, bolts, and safety guards are secure before attempting to start the engine.
Common Winter Storage Mistakes to Avoid
A few simple oversights can lead to costly repairs and a frustrating start to your spring cleanup. Be sure to avoid these common winter storage mistakes:
- Leaving Old Fuel in the Tank: Untreated gasoline can go stale in as little as 30 days, leaving behind gummy deposits that clog carburetors and fuel lines. Always drain the fuel or use a quality fuel stabilizer.
- Storing it Dirty: Caked-on dirt, sap, and wood pulp trap moisture directly against the metal and painted surfaces of your Wood Chipper, creating a perfect recipe for rust and corrosion.
- Forgetting the Battery: Leaving a battery connected in the cold or storing it without a trickle charger will likely result in a dead battery by spring.
- Using a Plastic Tarp: Non-breathable plastic sheets trap humidity, effectively wrapping your machine in a damp blanket all winter long and promoting rust.
- Skipping Lubrication: Failing to lubricate moving parts, pivot points, and the engine cylinder can cause components to seize up from corrosion, leading to difficult start-ups and potential damage.
Troubleshooting Potential Storage-Related Issues
You followed all the steps for winterizing your machine, but come spring, it’s not cooperating. Don't worry—most post-storage problems are common and fixable. Even with careful preparation, a long, cold, and damp winter can take its toll. Here’s how to diagnose and resolve the most frequent issues you might encounter when waking your Wood Chipper from its long nap.
Problem: The Engine Won't Start
This is the number one complaint after winter storage. The cause is usually related to fuel, the battery, or the spark plug.
-
Stale Fuel: If you forgot to add a fuel stabilizer or didn't drain the tank and carburetor, old gasoline has likely turned to varnish. This gummy substance clogs the tiny jets in the carburetor, preventing fuel from reaching the engine.
- Solution: Safely drain all the old fuel from the tank and carburetor bowl. You may need to remove and thoroughly clean the carburetor with a specialized carb cleaner spray. Once clean and reassembled, fill the tank with fresh gasoline.
-
Dead Battery (Electric Start Models): A battery that wasn't disconnected or placed on a trickle charger will naturally lose its charge over several months.
- Solution: Use a multimeter to test the battery's voltage. If it's low, try recharging it with a battery charger. If it fails to hold a charge after several hours, the battery has likely reached the end of its life and will need to be replaced.
-
Fouled Spark Plug: Condensation inside the cylinder or old fuel residue can foul the spark plug, preventing a strong spark.
- Solution: Remove the spark plug. If it's wet with fuel or covered in black carbon, clean it with a wire brush and check the gap. A heavily fouled or corroded plug is best replaced—it's an inexpensive part that's crucial for reliable starting.

Problem: The Engine Starts but Runs Poorly or Stalls
If the engine sputters to life but won't run smoothly, you're likely dealing with a partial fuel restriction or water contamination.
- Cause: Even with a stabilizer, condensation can introduce water into the fuel system. Alternatively, a small piece of debris might be partially blocking the fuel filter or a carburetor jet.
- Solution: First, check and replace the fuel filter if it looks dirty. Ensure the choke is opening fully as the engine warms up. If the problem persists, adding a measure of fuel system cleaner or isopropyl alcohol-based fuel dryer to the fresh tank of gas can help clear out minor clogs and absorb water.
Problem: You've Found Rust on Blades, the Hopper, or the Body
Discovering orange spots on your chipper shredder is disappointing but often just a surface-level issue.
- Cause: This happens when the machine wasn't lubricated properly or was exposed to moisture due to a torn cover or humid storage location.
- Solution: For light surface rust, use a wire brush or steel wool to scrub it away. Afterward, wipe the area with a cloth and apply a light coating of rust-inhibiting oil. For rust on the cutting blades, removing it is a natural part of the sharpening process. If you find deep, pitted rust, especially on the blades or flywheel, the structural integrity may be compromised, and the part should be inspected for potential replacement to ensure safe operation.
Problem: A Part is Seized or Stiff
Are the wheels stuck? Is the discharge chute difficult to pivot?
- Cause: Moisture and a lack of lubrication have caused corrosion to "weld" metal parts together.
- Solution: Do not use brute force. Instead, generously apply a penetrating oil to the stuck joint. Let it soak in for at least 15-30 minutes (or longer for severely seized parts). Gently try to work the component back and forth until it moves freely. Once it's loose, clean off the penetrating oil and apply the proper lubricant (like grease or heavy oil) to prevent it from happening again. A little patience here will prevent you from breaking a handle or bending a bracket on your Wood Chipper.
Frequently Asked Questions About Winter Chipper Shredder Storage
Do I really have to drain the fuel from my chipper shredder?
Yes, this is one of the most critical steps. Over several months, the volatile compounds in gasoline can evaporate, leaving behind a thick, gummy varnish. This residue can clog your carburetor, fuel lines, and filter, leading to starting problems or requiring a costly professional cleaning in the spring. Your two options are to either run the engine until the tank is completely empty or to fill the tank and add a quality fuel stabilizer, running the engine for a few minutes to circulate the treated fuel through the entire system.
Can I store my wood chipper outside for the winter?
While indoor storage in a dry garage or shed is always the best option, outdoor storage is possible if you take the right precautions. Never leave your machine exposed directly to the elements. Use a heavy-duty, waterproof, and breathable cover to protect it from rain, snow, and ice. It’s also crucial to place the chipper shredder on a pallet or blocks to keep the tires and frame off the damp ground, which helps prevent rust and tire rot.
What happens if I don't follow any winter storage procedures?
Skipping winterization is a gamble that rarely pays off. Moisture can cause rust on the cutting blades, bearings, and engine components. Untreated fuel can gum up the carburetor. The battery will likely lose its charge and may be permanently damaged by the cold. In the spring, you’ll be faced with a machine that won’t start, performs poorly, or requires expensive repairs, defeating the purpose of having a reliable tool ready for yard work.
Invest in Longevity: The Value of Proper Chipper Shredder Maintenance
Thinking of winter storage as a chore is missing the bigger picture. Proper end-of-season maintenance isn't just about putting your machine away; it's a direct investment in its longevity, performance, and reliability. Each step—from cleaning away corrosive debris to lubricating moving parts and preparing the fuel system—is a deposit into the health of your equipment. A well-maintained Wood Chipper is one that will serve you efficiently for many years.
By taking an hour or two now, you are protecting your investment and preventing the most common (and frustrating) issues that plague neglected equipment. You're ensuring that when the first signs of spring appear, your Wood Chipper will start on the first or second pull. You won't be delayed by a dead battery, a clogged carburetor, or rust-seized parts.
Ultimately, the value of proper care is peace of mind. You can rest easy through the winter knowing your machine is protected and will be ready to tackle any cleanup job you throw at it. Following this guide ensures that every model in our Wood Chipper collection can provide maximum return on your investment, season after season.
Related Products


Leave a comment
All comments are moderated before being published.
This site is protected by hCaptcha and the hCaptcha Privacy Policy and Terms of Service apply.