


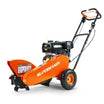


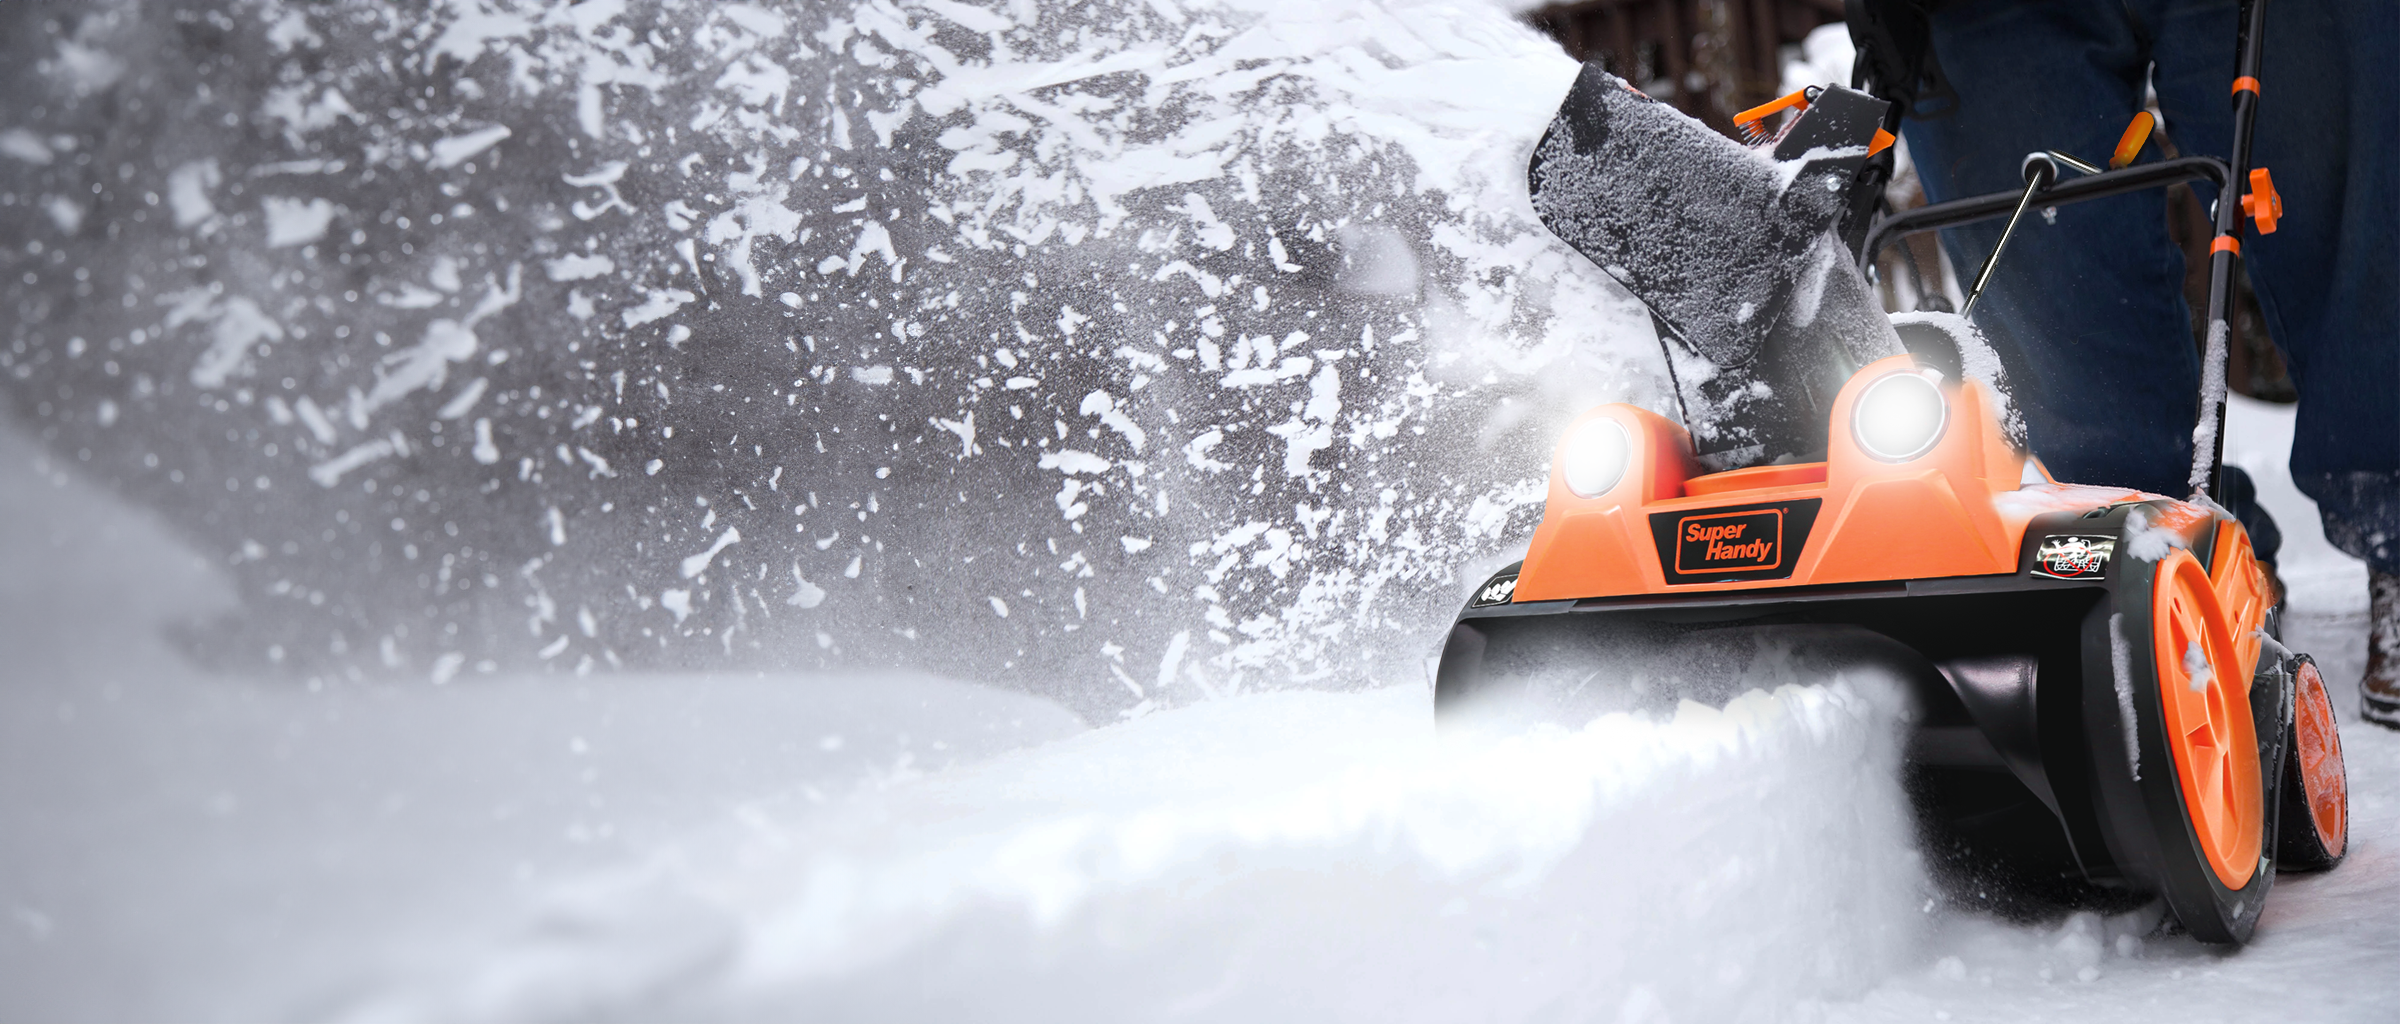
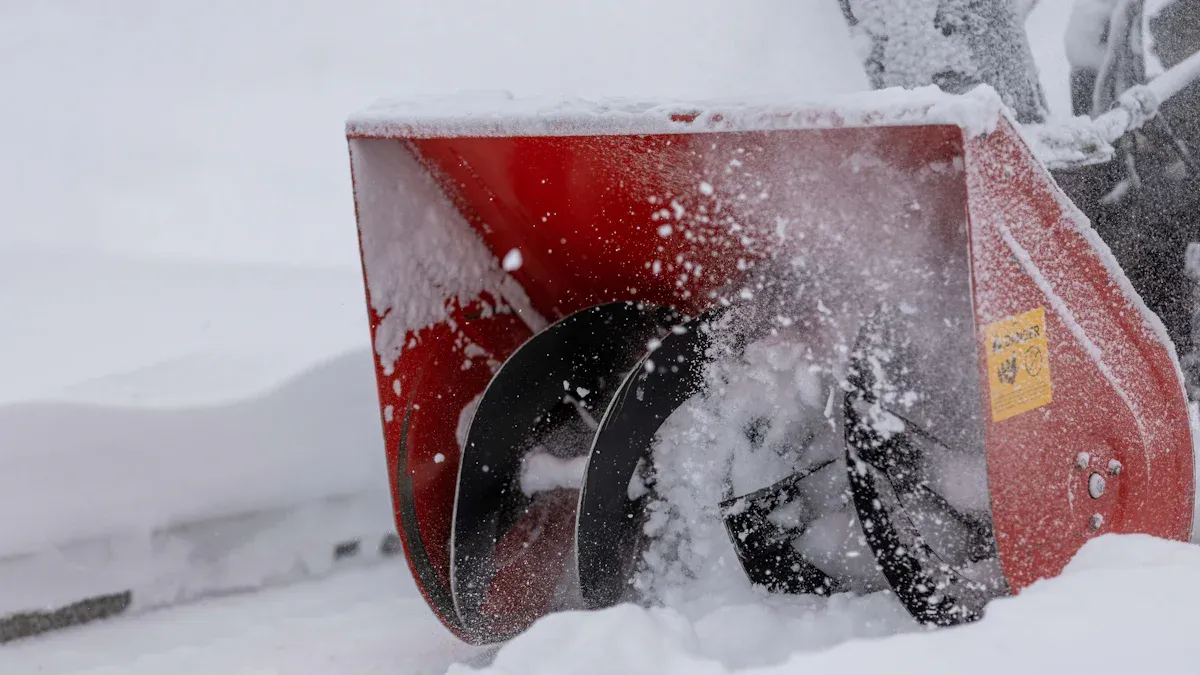
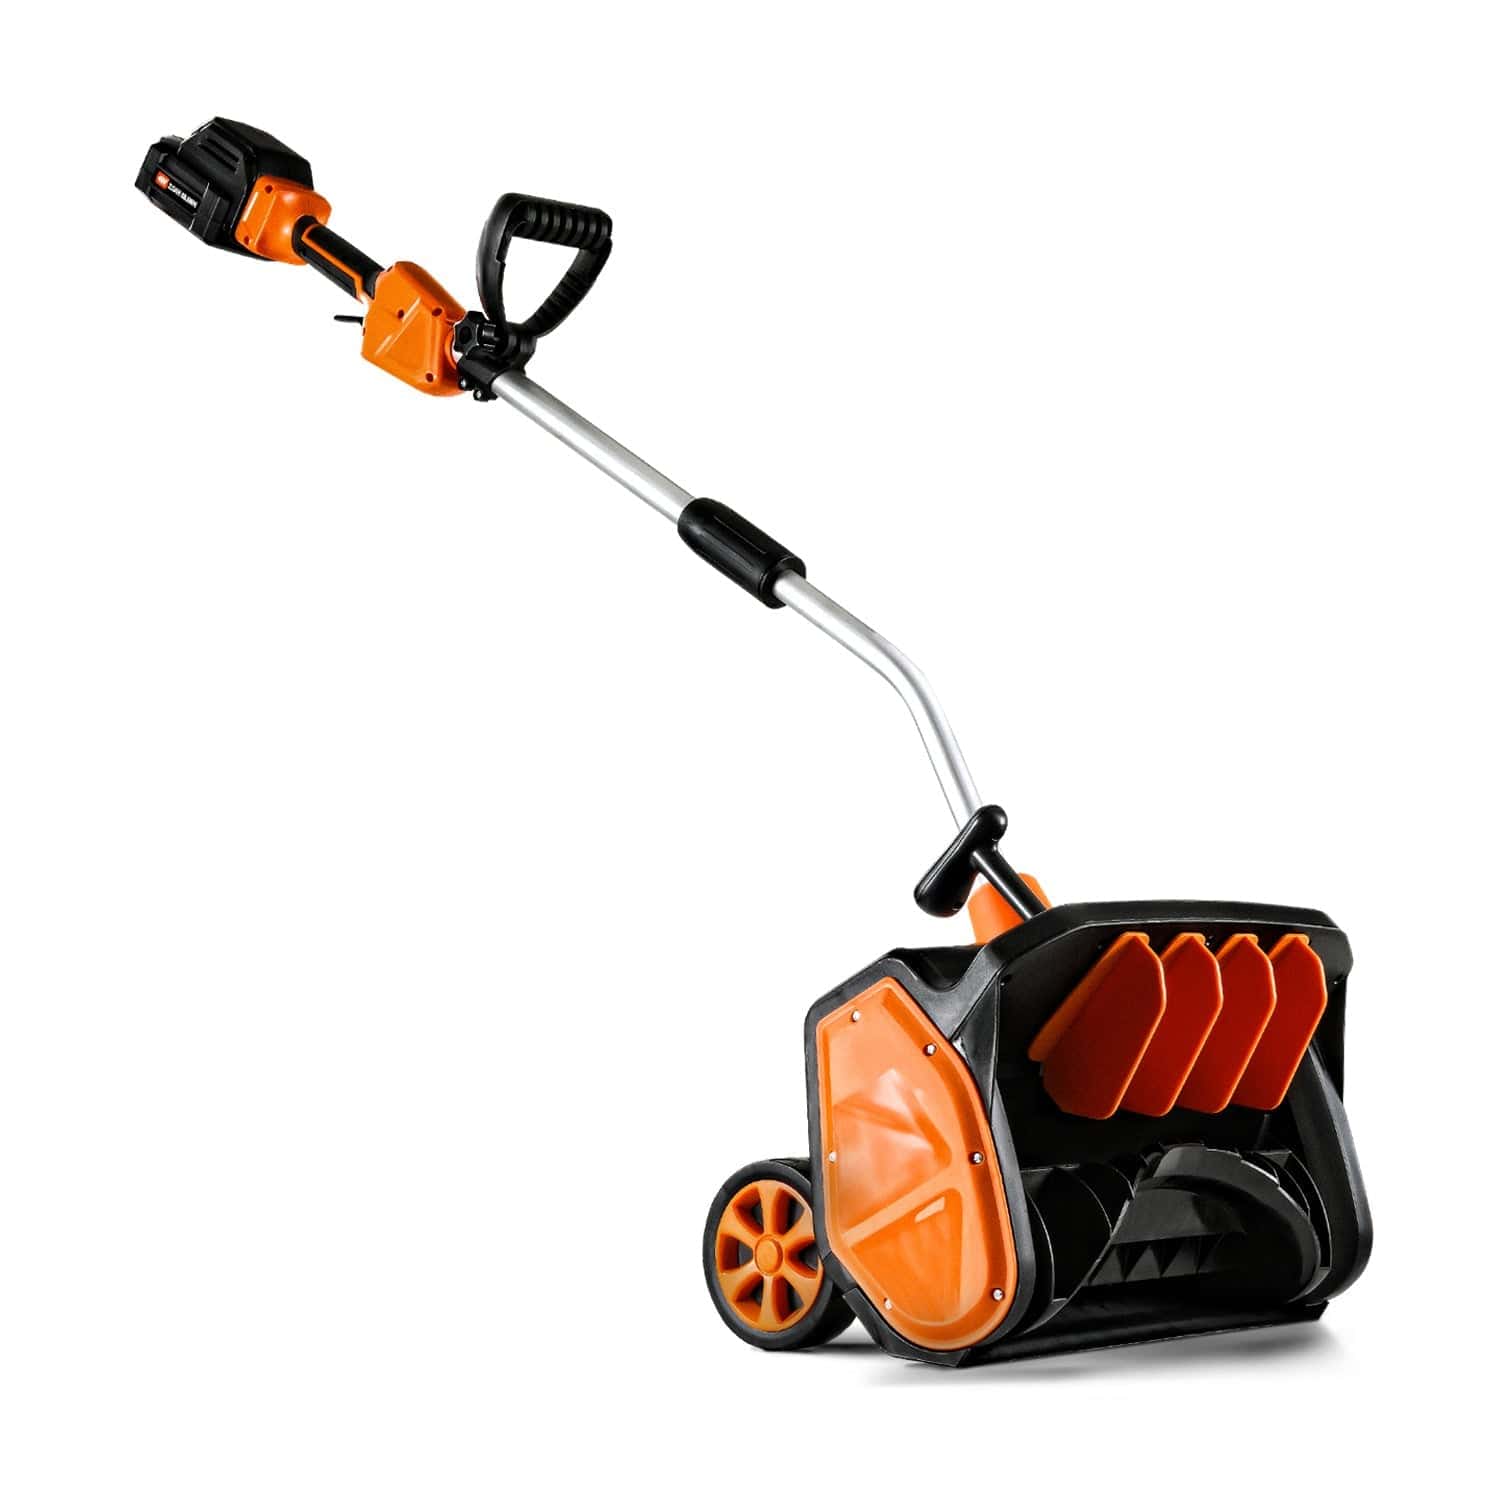
You know how tough it feels to clear a snowy driveway with just a shovel. A snow thrower changes everything. Most homeowners in snowy regions choose snow throwers, saving three to four hours every time it snows. Models like the Electric Snow Thrower - 20V 2Ah Battery or a Walk-Behind Electric Snow Thrower help you clear with less effort and greater safety.
Key Takeaways
Choose the right snow thrower type for your needs: single-stage for light snow, two-stage for medium snow, and three-stage for heavy snow.
Always perform safety checks before use. Keep children and pets away, and never clear jams with your hands.
Dress appropriately for winter work. Layer your clothing for warmth and wear sturdy boots for traction.
Choosing a snow thrower
Types: single-stage, two-stage, three-stage
You have three main types to pick from when shopping for a snow thrower. Each type works best for different snow depths and driveway sizes.
Type |
Pros |
Cons |
|---|---|---|
Single-Stage |
Lightest, easy to move, budget-friendly, great for light snow |
Handles less snow, less power |
Two-Stage |
More power, works on many surfaces, handles deeper snow |
Needs more care, can be noisy |
Three-Stage |
Clears heavy snow fast, throws snow far, best for big jobs |
Heavier, costs more, needs more upkeep |
Single-stage models work well for up to 6 inches of snow on small driveways.
Two-stage machines handle up to 12 inches and fit medium to large driveways.
Three-stage units tackle up to 18 inches or more, perfect for big properties or frequent heavy snow.
Key features: width, power, electric vs. gas
When you compare snow throwers, look at these features:
Feature |
Description |
|---|---|
Power Source |
Gas models give strong power for heavy snow. Electric ones are quieter and need less care. Battery models are cordless but need charging. |
Clearing Width |
Wider widths clear more snow in one pass—great for big driveways. |
Intake Height |
Higher intake means you can handle deeper snow. |
Drive System |
Self-propelled or track drive helps on slopes or uneven ground. |
Durability |
Metal parts and solid build last longer. |
Tip: Electric snow throwers are better for the environment. They use less energy and make less noise than gas models.
Match to driveway & snow
Think about your driveway and local weather before you buy. For small driveways and light snow, a single-stage snow thrower does the job. If you get lots of snow or have a big area, go for a two-stage or three-stage model. Track drive models work best on steep or uneven driveways. Battery-powered snow throwers are handy for quick jobs, but corded electric models run as long as you need. Always match the machine to your snow and driveway for the best results.
Preparing for use
Safety checks
Before you start, take a few minutes to make sure everything is safe. You want to keep yourself and others out of harm’s way. Here’s a quick checklist:
Keep the cord away from moving parts if you use an electric model.
Make sure children and pets stay far from the snow thrower.
Aim the discharge chute away from windows, cars, and people.
Never leave your machine running unattended.
Use the right fuel and handle it safely. Wait for the engine to cool before refueling.
Never refuel or run a gas-powered model indoors.
Always use a tool to clear jams—never your hands or feet.
Turn off the machine before clearing blockages.
Keep bystanders away from moving parts.
Tip: Over 4,700 people end up in the ER each year from snow blower injuries. Most of these happen when someone tries to clear a jam with their hands.
Clear obstacles
Walk your driveway before you begin. Remove anything that could get caught in the machine or cause damage. Look for:
Manhole covers
Speed bumps
Landscaping features
Mailboxes
Raised drainage structures
Parking lot islands
Unmarked edges
A clear path helps your snow thrower work better and keeps you safe.
Clothing & gear
Dress for warmth and safety. Layer up so you stay comfortable and dry:
Start with long underwear to wick away moisture.
Add an insulated sweatshirt for extra warmth.
Wear a high-visibility, insulated jacket.
Choose rugged, lined work pants.
Use insulated work gloves for grip and warmth.
Pick a hat that covers your ears.
Wear moisture-wicking, insulated socks.
Put on sturdy, waterproof boots with good traction.
Tip: Consider using a snow cab or chute cleaner for extra comfort and efficiency.
Clearing your driveway
Start the snow thrower
Getting your snow thrower started the right way keeps you safe and helps your machine last longer. Here’s a simple step-by-step guide for both gas and electric models:
Check the fuel and oil levels. Make sure your gas-powered snow thrower has fresh gasoline and enough oil.
Inspect the spark plug and ignition system. Clean the spark plug and check for any loose wires.
Prime the engine if your model needs it. Press the primer bulb three to five times for gas models.
Set the choke to "full" and the throttle to "fast." This makes starting easier.
For electric models, place the machine on a flat surface and plug it in.
Turn the key to "on," set the throttle and choke, and press the ignition button if your snow thrower has one.
If you have a manual start, grip the cord handle and pull it quickly while keeping your balance.
Once the engine starts, move the choke from "full" to "run."
Tip: Always start your snow thrower outside or in a well-ventilated area. Never run a gas-powered machine indoors.
Clearing patterns & tips
You can clear your driveway faster and easier if you use the right pattern. The way you move your snow thrower matters, especially when the wind blows or cars are parked nearby. Here’s a handy table to help you pick the best method:
Technique Description |
Key Points |
|---|---|
Park cars in the garage and work with the wind |
Use the wind to blow snow away from your driveway. Keep moving forward for the best results. |
Position cars on the upwind side |
Blow snow downwind. This keeps snow from piling up near the street or your cars. |
Clear one side at a time |
Park cars, clear one side, then move cars to the cleared side to finish the job. |
Want to avoid missed spots and wasted effort? Try these expert tips:
Start early and stay consistent. Begin clearing as soon as snow starts falling to keep it from packing down.
Use the right tools for your driveway. A snow thrower works best when matched to your driveway size and snow depth.
Apply de-icing solutions like calcium magnesium acetate to stop ice from building up.
Mark your driveway edges with snow markers. This helps you avoid damaging your lawn or driveway.
Keep your equipment in top shape with regular maintenance.
Use proper lifting and pushing techniques to protect your back and arms.
Note: Clearing snow in layers works better than trying to remove deep snow all at once.
Heavy or icy snow
Heavy or icy snow can slow you down, but you can handle it with a few smart moves:
Start early to keep snow from getting packed and icy.
Take smaller bites of snow. Don’t try to clear the full width of your snow thrower in one pass.
Adjust your speed. Go slower to let the machine do its job.
For deep snow, clear it in layers instead of all at once.
Always run your snow thrower at full speed, but walk at a slower pace for the best results.
Avoid throwing snow only partway off the driveway. This keeps the load light and prevents clogs.
Tip: If your snow thrower gets clogged, turn it off before clearing the chute. Use a clean-out tool, never your hands.
Common mistakes
Even experienced users make mistakes with a snow thrower. Here are some of the most common ones and how you can avoid them:
Doing maintenance while the blower is on. Always turn off the engine and wait for moving parts to stop before checking or fixing anything.
Skipping personal protective equipment. Wear eye protection and gloves to keep yourself safe from flying debris.
Using the snow thrower with loose fasteners. Check all bolts and screws before each use.
Leaving fuel in the tank for too long. Use up old fuel within 30 days to keep your engine running smoothly.
Forgetting to clear heavy or wet snow from the chute. Clean the chute often to prevent clogs and damage.
Storing batteries the wrong way. Keep lithium-ion batteries in a cool, dry place so they last longer.
Alert: Safety always comes first. Take your time and follow these steps to keep your snow thrower running well and your driveway clear.
Snow thrower maintenance
After each use
You want your snow thrower to last for years. A little care after each use goes a long way. Start by cleaning off all snow and debris from the auger and chute. Oil the auger drive system and chute controls so they move smoothly and don’t rust. Check the belts and chains for cracks or damage, and replace any broken parts right away. Clean the belts and chain before you put the machine away. If you notice any worn scraper blades or shear pins, swap them out before your next job. Lubricate the augers with a grease gun and spin them to spread the grease evenly.
Tip: Always check your owner’s manual for brand-specific care instructions.
Seasonal storage
When winter ends, you need to store your machine the right way. Drain all the fuel to stop sludge from building up. Change the engine oil so your snow thrower is ready for next season. Wipe off salt and dirt from the exterior to prevent rust. Look over all parts and replace anything that looks worn or damaged. Lubricate every moving part, including axles and cables. Cover your machine with a snowblower cover to keep dust and dirt away.
Troubleshooting
Sometimes things go wrong. Here’s a quick table to help you fix common problems:
Issue |
Cause |
Solution |
|---|---|---|
Won’t start |
Old fuel, weak battery |
Drain fuel, check battery, replace spark plug |
Engine stalls |
Clogged filter, frozen fuel |
Clean filter, use fresh fuel |
Poor throwing performance |
Worn belts, ice in chute |
Replace belts, clear ice, use spray |
Won’t move |
Loose cables, worn discs |
Tighten cables, inspect discs |
Electric start fails |
Loose wires, frozen switch |
Check connections, store in shelter |
Excessive vibration |
Bent augers, loose bolts |
Inspect, tighten, or replace parts |
Note: Regular checks and cleaning after each use help prevent most issues.
You can clear your driveway with less stress by following a few simple steps. Start early, use your snow thrower in a pattern, and check your equipment before each storm. Keep a checklist handy. Stay safe, work smart, and enjoy a quicker, easier winter routine!
FAQ
How do you store your SuperHandy snow thrower for summer?
You should drain the fuel, clean the machine, and cover it. Store your SuperHandy snow thrower in a dry place to prevent rust.
Can you use a SuperHandy snow thrower on gravel driveways?
Yes, you can. Just raise the skid shoes so the auger does not pick up rocks. This keeps your driveway and machine safe.
What should you do if your SuperHandy snow thrower will not start?
First, check the fuel and battery. Make sure everything is charged and fresh. If it still will not start, look at the spark plug or call support.
Related Products

Leave a comment
All comments are moderated before being published.
This site is protected by hCaptcha and the hCaptcha Privacy Policy and Terms of Service apply.