


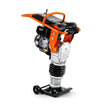


Here’s your quick maintenance checklist for snow thrower prep:
Look for any damage.
Put in new oil and spark plug.
Fill with new fuel.
Grease the moving parts.
Check the tires and controls.
Doing maintenance before winter keeps your equipment working. You can stop expensive repairs and winter problems. More than 6,000 people get hurt each year from not doing maintenance. Storing your machine right helps it work every winter.
Key Takeaways
Take care of your snow thrower often. This helps you avoid expensive repairs. It also keeps you safe when using it in winter.
Safety comes first. Turn off the machine before you work on it. Use the right tools to clear clogs or do maintenance.
Look at important parts like oil, spark plugs, and fuel. Change them if needed. This will help your snow thrower work well all season.
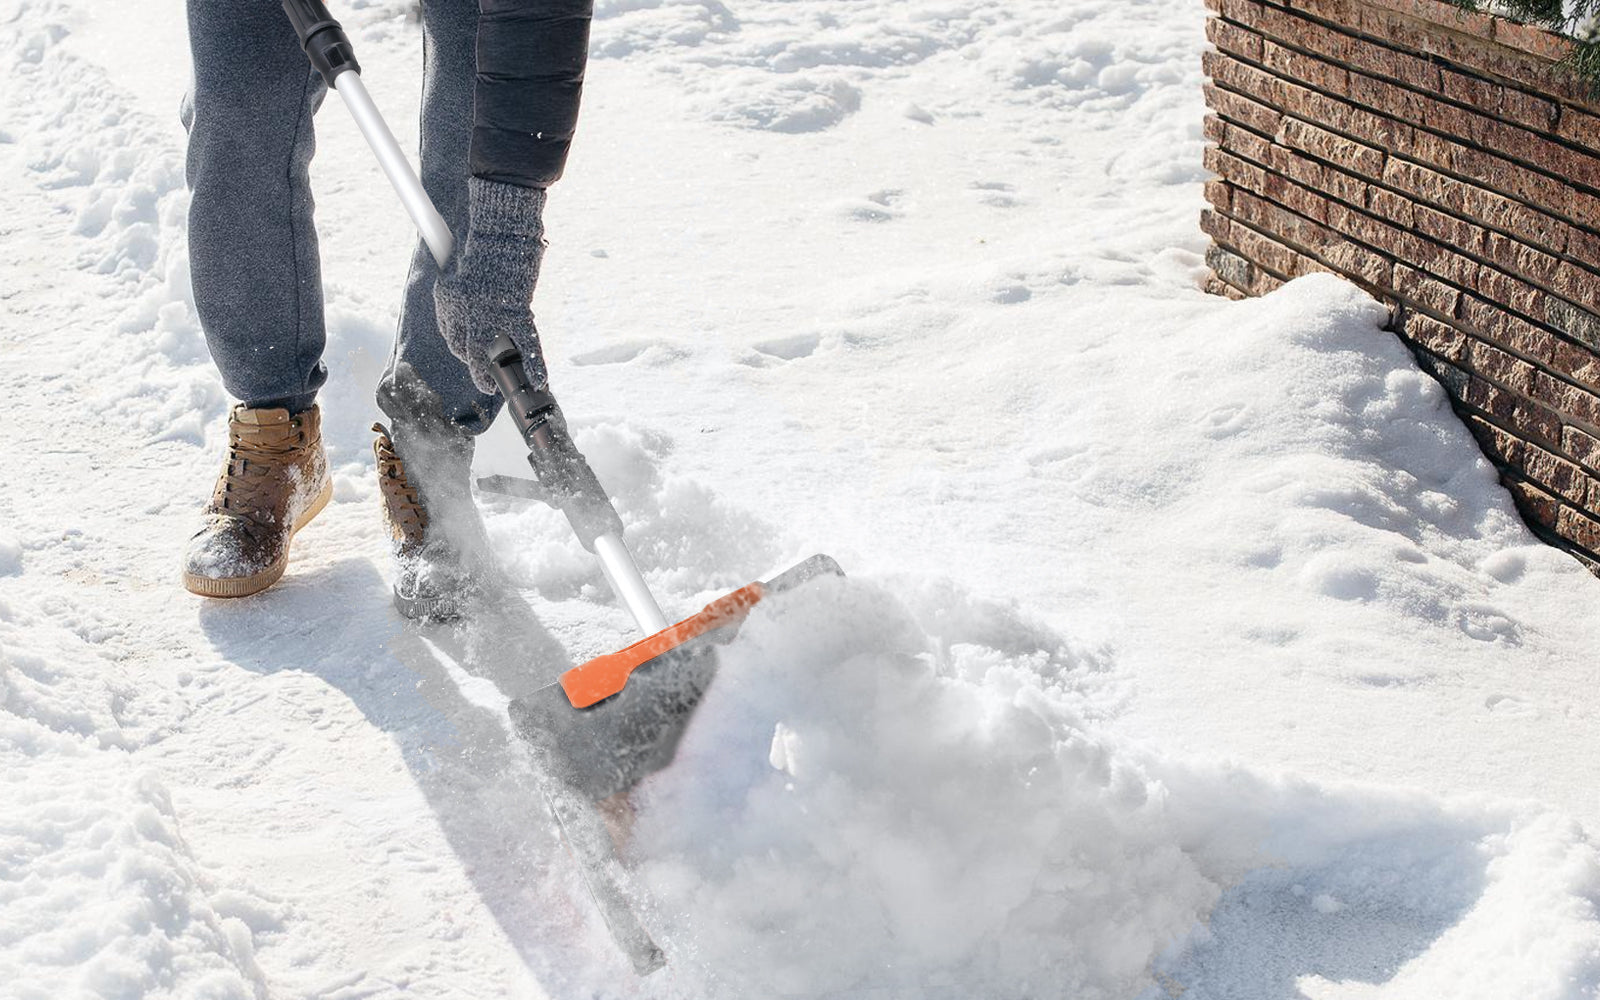
Snow Thrower Safety
Before you start any work on your snow thrower, you need to think about safety first. Every year, thousands of people get hurt using these machines. Many injuries happen when someone thinks the auger has stopped and tries to clear a clog with their hands. This can lead to serious hand or finger injuries, and sometimes even amputations. You can avoid these accidents by following a few simple safety tips.
Power Off and Unplug
Always turn off your snow thrower before you do any maintenance. If you have an electric model, unplug it from the outlet. For gas-powered machines, remove the key and wait for all moving parts to stop. Never try to clear a clog or check the auger while the engine is running. Use a clean-out tool or stick, not your hands, to remove any blockages.
Tip: Only add fuel when the engine is cool. Never refuel indoors or while the machine is running. This helps prevent fires and keeps you safe during winter.
Protective Gear and Workspace
Wear gloves and safety glasses when working on your snow thrower. Gloves protect your hands from sharp edges and cold metal. Safety glasses keep your eyes safe from flying debris. Make sure your workspace is clean and dry. Keep children and pets away from the area. Clear away any tools or clutter that could cause you to trip.
Read your operator’s manual before starting.
Never leave your snow thrower running unattended.
By following these snow thrower safety steps, you can protect yourself and others. Good safety habits help you enjoy a trouble-free winter.
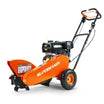
Pre-Season Snow Blower Inspection
Getting your snow blower ready before the first snow makes winter much easier. You want to catch problems early, so your machine works when you need it most. Let’s break down what you should look for during your pre-season check.
Check for Damage or Missing Parts
Start by giving your snow blower a good look. Walk around it and check for any dents, cracks, or missing bolts. Look at the handles, chute, and housing. If you see anything loose or broken, fix it now. Many people forget to check for missing shear pins or worn scraper bars. These small parts help your snow blower run smoothly and protect bigger parts from damage.
Tip: Place your snow blower on a flat surface before you start. This keeps it steady and safe while you work.
Don’t skip the spark plug. If it looks rusty or dirty, swap it out for a new one. A fresh spark plug helps your snow blower start quickly and run better.
Examine Belts and Cables
Belts and cables do a lot of work inside your snow blower. Check the belts for cracks, fraying, or signs of wear. If a belt feels loose or looks worn, replace it. Tight belts help the auger and drive system work right. Next, look at the cables. Make sure they move smoothly and aren’t kinked or broken.
A quick checklist for this step:
Check cable movement and tension.
Replace any damaged parts right away.
Many people forget this step and end up with a snow blower that won’t move or throw snow. Taking a few minutes now saves you from big headaches later.
Remember, a well-checked snow thrower means fewer surprises when the snow starts to fall.
Engine and Fuel Maintenance
Taking care of your snow blower’s engine and fuel system keeps it running strong all winter. If you follow a good maintenance checklist, you can avoid most problems before they start. Let’s break down the key steps for preseason maintenance.
Change Oil
Fresh oil helps your snow blower engine last longer and work better. Old oil gets dirty and thick, making it hard for the engine to move. You should check and change the oil before the first snowfall. Most snow blower engines need oil changes at certain times. Here’s a simple table to help you remember when to change the oil:
Change Interval |
Description |
|---|---|
After 1st 5 Hours of Use |
Initial oil change |
After Each Use (or Every 5 Hours) |
Frequent maintenance |
After Every Season or 25 Hours |
Seasonal maintenance |
After Every Season or 50 Hours |
Extended maintenance |
After every season or 100 Hours |
Long-term maintenance |
You can find the right oil type in your owner’s manual. Always warm up the engine for a few minutes before draining the oil. This helps the old oil flow out faster. Use a drain pan to catch the oil and wipe up any spills. Never pour old oil down the drain. Take it to a recycling center to protect the environment.
Tip: If you see dark or gritty oil, change it right away. Clean oil keeps your snow blower running smoothly.
Replace Spark Plug
A good spark plug makes starting your snow blower much easier. Over time, the spark plug can get dirty or damaged. You should check it every season. Look for these signs that you need a new spark plug:
Carbon buildup on the spark plug
Stubborn deposits that won’t come off
Cracked porcelain or burned electrodes
Any visible cracks or damage
If you spot any of these problems, replace the spark plug. Use a spark plug wrench to remove the old one. Make sure the new spark plug matches your snow blower’s engine. Tighten it just enough—don’t overdo it. A fresh spark plug helps your engine start fast and run strong.
Note: Always disconnect the spark plug wire before working on your snow blower. This keeps you safe during maintenance.
Use Fresh Fuel and Stabilizer
Fuel is one of the most important parts of snow blower care. Old fuel can cause big problems. Gasoline stays fresh for only about 30 days. After that, it starts to break down. When fuel gets old, it can turn sticky and clog the carburetor. This makes your snow blower hard to start or even damages the engine.
Here’s what can happen if you use old fuel:
Issue |
Description |
|---|---|
Fuel Freshness |
Gasoline is considered completely fresh for only 30 days. |
Performance Impact |
After 30 days, important parts of the gasoline evaporate, leading to poor performance and starting issues. |
Engine Damage |
Old fuel can turn gummy, clogging the carburetor and causing deposits on intake valves, potentially damaging the engine. |
Fuel lines and the metering needle may gum up from old fuel.
Aging fuel leads to evaporation of hydrocarbons, making it tacky or varnish-like.
This can cause deposits and blockages in the fuel system, requiring professional cleaning or carburetor rebuild.
If you leave fuel in the tank for too long, it can break down and create gum that blocks the carburetor. This is a main reason why snow blowers won’t start after sitting all summer. Always use fresh fuel at the start of the season. Add a fuel stabilizer to keep it from going bad. Fill the tank outside, and never overfill it.
Tip: Store leftover fuel in a sealed, approved container. Never dump fuel on the ground. Old fuel can leak into the soil and water, harming wildlife and the environment.
By following these engine and fuel steps, you keep your snow blower ready for action. Good maintenance means fewer headaches and more time enjoying winter.
Auger, Blades, and Lubrication
Auger & Blades Check
You want your snow thrower to clear snow fast and easy. Start by checking the auger and blades. Look for any signs of wear or damage. If you see chips, bends, or cracks, it’s time to fix or replace them. Worn auger blades can cause a lot of trouble. Here’s what can happen:
The blades might hit the scraper bar, which can damage both parts and slow you down.
The auger may not grab the snow well if it’s misaligned or worn out.
You might notice your machine leaves snow behind or struggles with heavy piles.
If you spot any of these problems, don’t wait. Fixing them now keeps your snow thrower working its best all season.
Tip: Always turn off the engine and remove the key before you check the auger or blades. Safety comes first!
Lubricate Auger Shaft
A smooth auger shaft helps your snow thrower run quietly and last longer. Lubrication stops rust and keeps everything moving. You should spray lubricant inside the shaft and around the spacers and flange bearings. Here are some good choices for lubricants:
30 weight oil (skip WD-40 for this job)
Copper anti-seize grease
Spray lithium lube (sticky grease in a can)
Fluid Film (just remember to reapply often)
If you can take the auger apart, use grease for the best results. Grease sticks better and gives longer protection. Regular lubrication means fewer breakdowns and a snow thrower that’s ready for winter’s worst.
Scraper Bar and Skid Shoes
Inspect and Replace as Needed
You might not think much about the scraper bar and skid shoes on your snow thrower, but they do a lot of work. The scraper bar sits at the bottom of your machine and helps clear snow right down to the pavement. Skid shoes lift the scraper bar just enough so it glides over the ground instead of digging in. If you want your snow thrower to work well, you need to check these parts often.
The scraper bar and skid shoes can wear out after just one or two seasons.
Friction with the pavement causes this wear, especially if you use your snow thrower a lot.
You should check both parts regularly to stop rust and corrosion from starting.
Manual adjustment of the scraper bar is important when you see too much wear.
If you keep using a worn scraper bar, you might notice your snow thrower leaves snow behind or scratches your driveway. A worn bar can mess up the weight balance of your machine. This makes it harder to push and can even damage other parts. You might end up fixing or replacing more than just the bar.
Tip: If you see the scraper bar or skid shoes look thin, bent, or rusty, swap them out before the next storm. Fresh parts help your snow thrower last longer and work better.
A quick check before each season saves you time and money. You get better snow clearing, and your machine stays in top shape. Don’t skip this step—your driveway will thank you!
Controls and Cables Maintenance
Test Controls and Levers
You want your snow thrower to respond quickly when you need it. Start by testing every control and lever. Squeeze the handles and move the levers back and forth. Each one should move smoothly without sticking or feeling loose. If you notice a lever that feels stiff or slow, that’s a sign it needs attention.
Engage the auger and drive controls. Make sure they snap back when you let go.
Rotate the chute and adjust the deflector. These should move easily.
Listen for any odd sounds or grinding. That means something might be out of place.
If you find a problem, don’t ignore it. Fixing a sticky lever now can save you from a breakdown during a snowstorm.
Tip: Always test the controls with the engine off for safety.
Lubricate Cables
Cables connect your controls to the parts that do the work. Over time, cables can get sticky or stiff, especially in cold weather. You can keep them working by adding the right lubricant. Some people try 3-in-1 oil, but it can thicken up and stop working well in freezing temperatures. Automatic transmission fluid (ATF) works better. It stays thin, even when it’s cold, and helps keep cables clean.
You might notice a sticky cable that makes your snow thrower hard to use.
ATF can loosen up the cable and make the controls feel new again.
Proper lubrication stops rust and keeps cables moving for years.
A little time spent on cable care means your snow thrower will last longer and work better. You’ll thank yourself when you’re out clearing snow and everything works just right.
Tires and Supplies Prep
Check Tire Pressure
You want your snow thrower to move easily, even in deep snow. Tires that are too soft can make your machine hard to push. Tires that are too hard might bounce or slip. Before winter hits, grab a tire gauge and check each tire. Most snow throwers work best with tire pressure between 12 and 18 psi. You can see the range in the table below:
Source |
Recommended Tire Pressure |
|---|---|
User 1 |
12 to 18 psi |
User 2 |
18 psi |
User 3 |
14 psi |
User 4 |
18 psi |
If you see a flat or low tire, add air until you reach the right number. Try to keep both tires at the same pressure. This helps your snow thrower drive straight and clear snow evenly.
Tip: Check tire pressure every few weeks during winter. Cold weather can make tires lose air faster.
Stock Up on Parts and Fluids
You never know when you might need a quick fix. Having the right parts and fluids on hand saves you time and stress. Here’s a handy table with the most common items you should keep in your garage:
Spare Parts/Fluids |
Description |
|---|---|
Oil |
Change the oil in your snowblower engine regularly |
Spark Plugs |
Replace spark plugs when necessary |
Fuel Stabilizer |
Prevent ethanol fuel damage and store equipment well |
Fuel Treatment |
Keeps fuel fresh for up to 24 months |
Keep these supplies in a safe spot. You’ll be ready for anything winter throws your way. A little prep now means fewer surprises when the snow starts to fall.
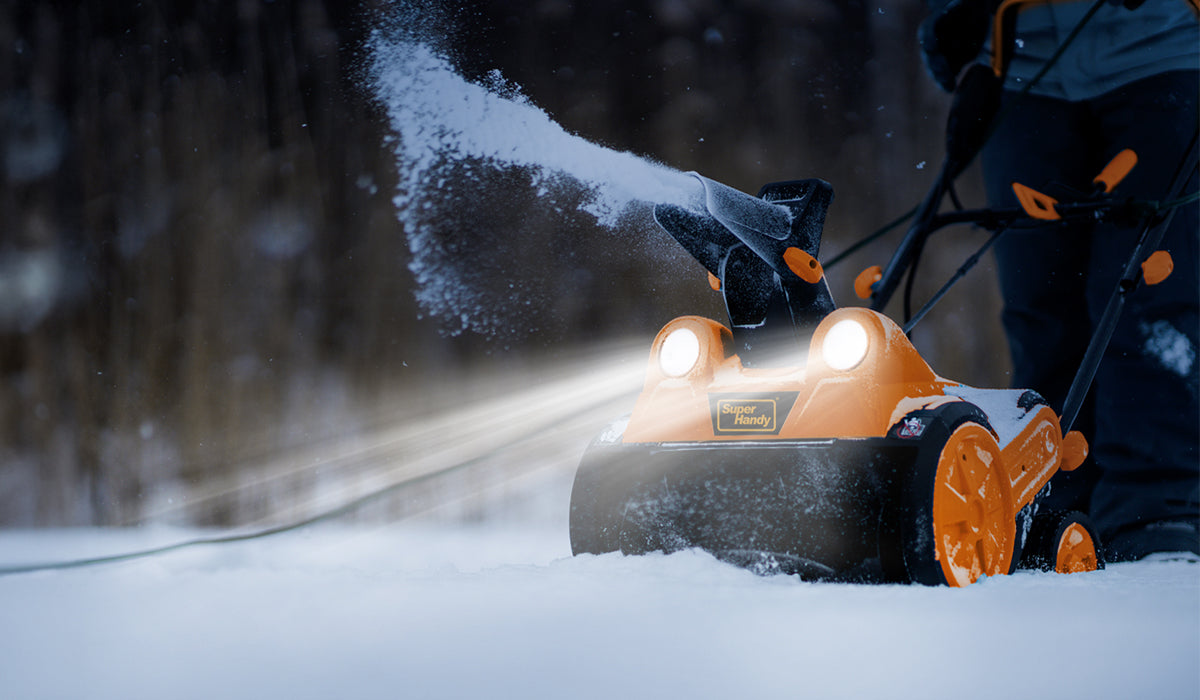
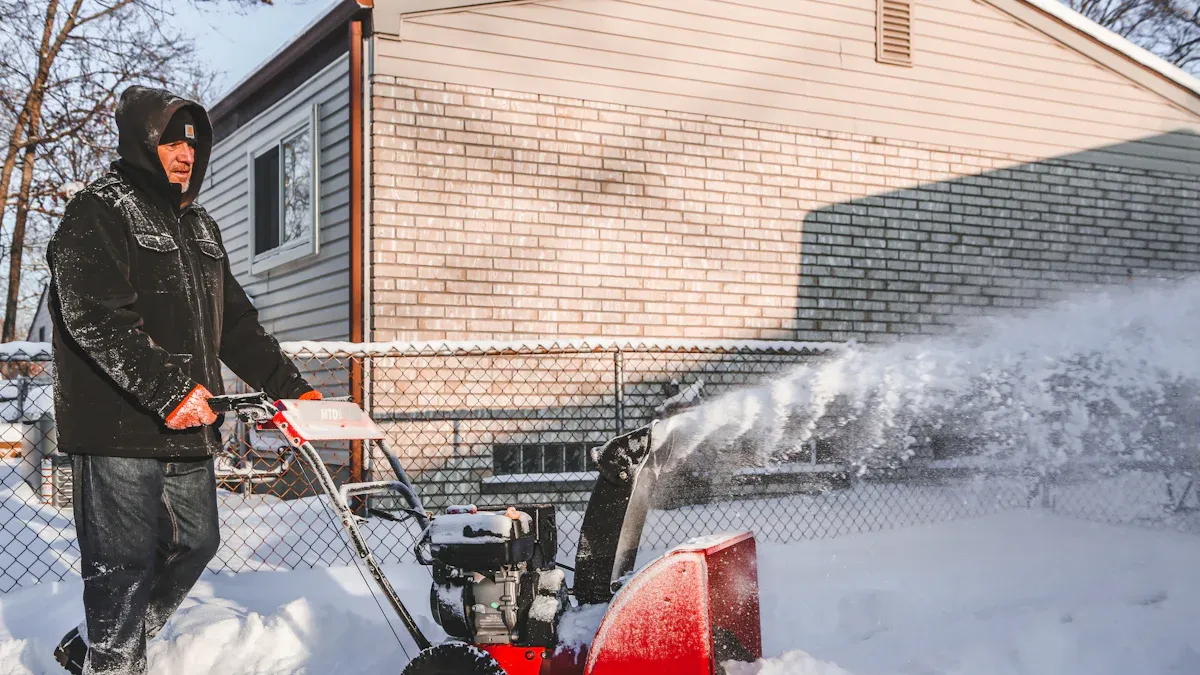
Test Run and Troubleshooting
Getting your snow blower ready is not just about checking parts. You need to see how it runs before the first big storm. This section will help you start up safely, check how your machine works, and fix common problems. Let’s make sure your snow thrower is ready for anything winter throws at you.
Safe Start-Up
You want to start your snow blower safely every time. Here’s a step-by-step guide to help you avoid accidents and keep your machine in top shape:
Clear the Chute: Always turn off the engine and wait for it to stop before you clear any clogs. Use a clean-out tool or a broom handle, never your hands.
Wear the Right Clothing: Dress in layers to stay warm. Make sure hats or hoods do not block your side vision.
Handle Gas with Care: Fill the fuel tank outside. Never add fuel while the snow blower is running. Store fuel in a safe place, away from your home.
Watch the Chute Direction: Check where the discharge chute is pointing. You do not want to hit people, cars, or windows with flying snow or debris.
Tip: Always use fresh fuel at the start of the season. Old fuel can cause hard starts and engine trouble.
Operation Check
Now that your snow blower is fueled up and ready, it’s time to see how it works. A quick check can save you from trouble when the snow starts falling.
Make sure you know where your owner’s manual is. You might need it for quick fixes.
Check that all safety gear is close by and in good shape.
Look over your snow blower for any old fuel, damage, or worn parts.
Check the oil and other fluids. Change them if they look dirty.
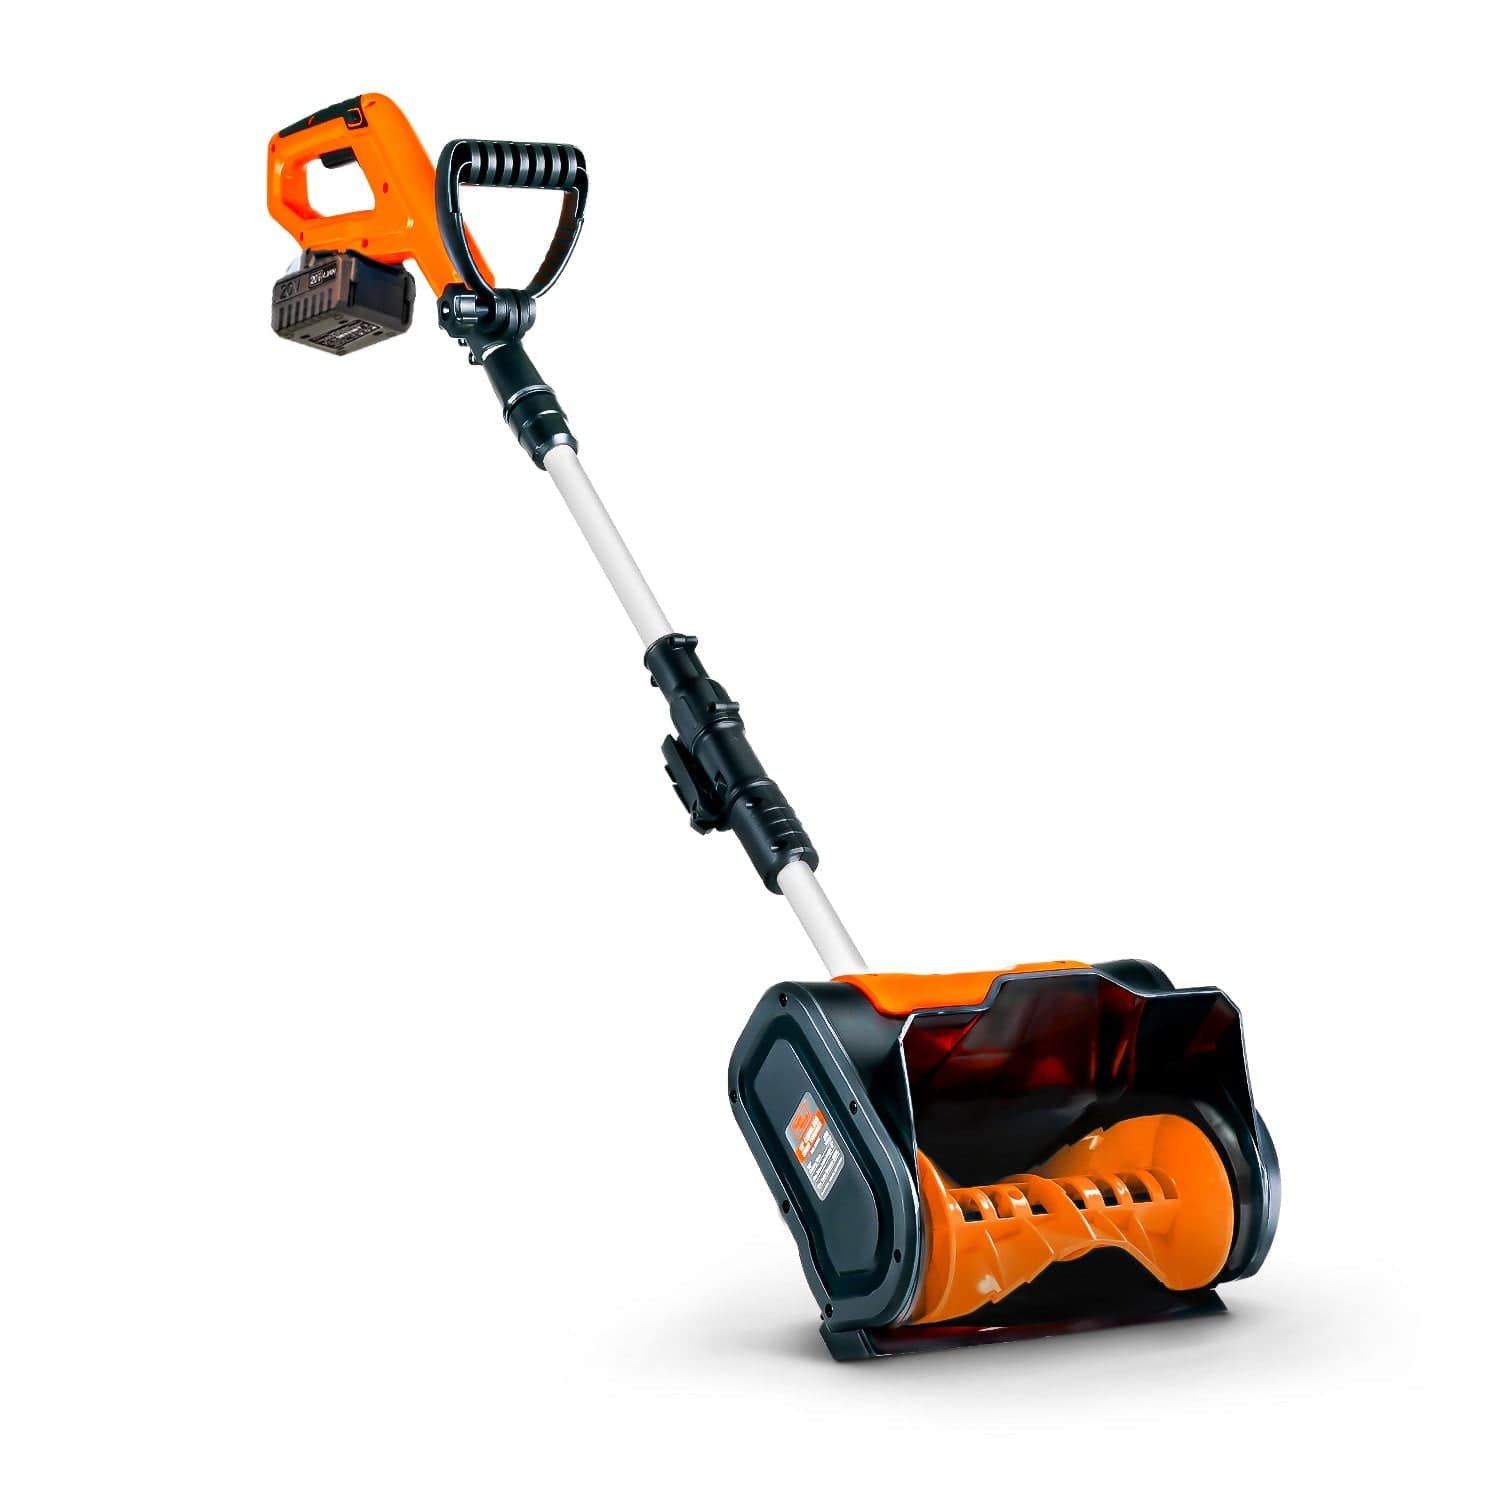
If you have an electric snow blower, charge the battery fully.
Start the engine and let it run for a few minutes. Listen for any strange sounds.
Walk around the area where you will use the snow blower. Pick up sticks, rocks, or anything that could get caught in the auger.
Test the controls and levers. Make sure everything moves smoothly.
Adjust the cables and inspect the auger while the machine is off.
Note: Always use a tool to clear clogs. Never put your hands inside the auger or chute.
Snow Thrower Troubleshooting
Sometimes, even after good maintenance, your snow blower might not work right. Here are some common problems and what you can do:
Problem |
What to Check or Do |
|---|---|
The blower won’t start |
Make sure there is fuel in the tank. Check if the electric starter is plugged in. |
The discharge chute is clogged |
Turn off the machine. Use a broom handle to clear the clog. |
The wheels aren’t turning |
Inspect the wheels and belts for damage. |
The snow blower lurches forward |
Adjust the cable line for the right tension. |
The blower isn’t blowing snow |
Check for a clogged chute or a damaged impeller. |
Look for debris. Check the shear pins. |
|
The snow blower is leaking gas |
Examine the carburetor gaskets for leaks. |
The machine leaves too much snow |
Replace the scraper bar if it is worn out. |
The belt breaks during use |
Check the belt for wear and replace if needed. |
The engine runs rough |
Inspect the fuel and spark plug for problems. |
If you run into a problem, your owner’s manual can help. Here are some things you can do with the manual:
Inspect and adjust the cables to remove slack.
Check and replace belts if they look worn or broken.
Look at the shear bolts. Replace them if the auger does not move.
Check the rubber friction wheel for wear and swap it out if needed.
Tip: If you cannot fix the problem, call a professional. Do not keep running a snow blower that is not working right.
A good test run and a little troubleshooting can keep your snow thrower running strong all season. You will feel ready for the first big snowfall, and you will know your machine is safe and reliable.
Keeping your snow blower in top shape means you get more years out of it and save money. Regular snow blower checks, like oil changes and spark plug swaps, boost performance and safety.
Grease the augers and adjust blades for better snow clearing.
-
Follow these tips every year for smooth snow blower operation.
Not sure about a repair? Your owner's manual or a dealer can help with snow blower questions.
FAQ
How often should you service your snow blower?
You should check your snow blower before each winter. A quick look after every big storm helps you spot problems early.
What fuel works best in a snow blower?
Use fresh, unleaded gasoline for your snow blower. Add a fuel stabilizer if you plan to store your snow blower for more than a month.
Why won’t my snow blower start after storage?
Old fuel can clog your snow blower’s carburetor. Try draining the tank and adding new gas. If it still won’t start, check the spark plug.
Related Products
Leave a comment
All comments are moderated before being published.
This site is protected by hCaptcha and the hCaptcha Privacy Policy and Terms of Service apply.