


Understanding Your 3" Wood Chipper: Key Components and Features
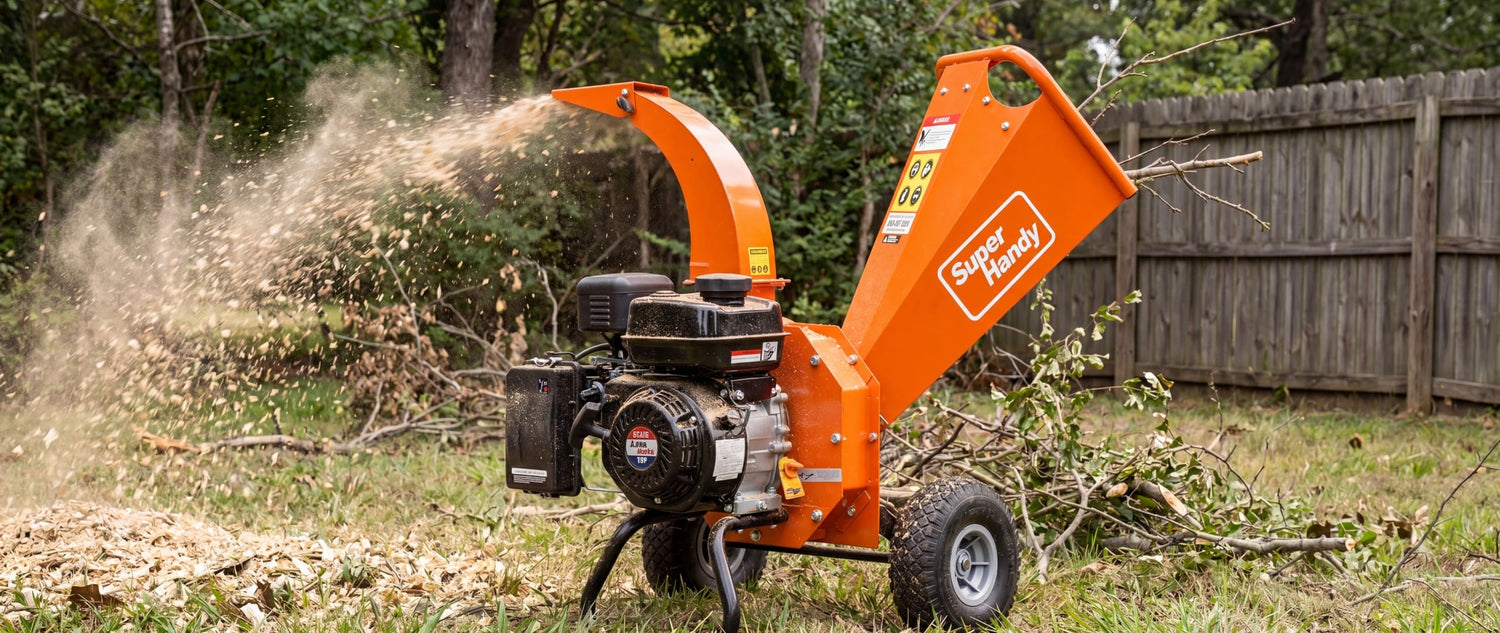
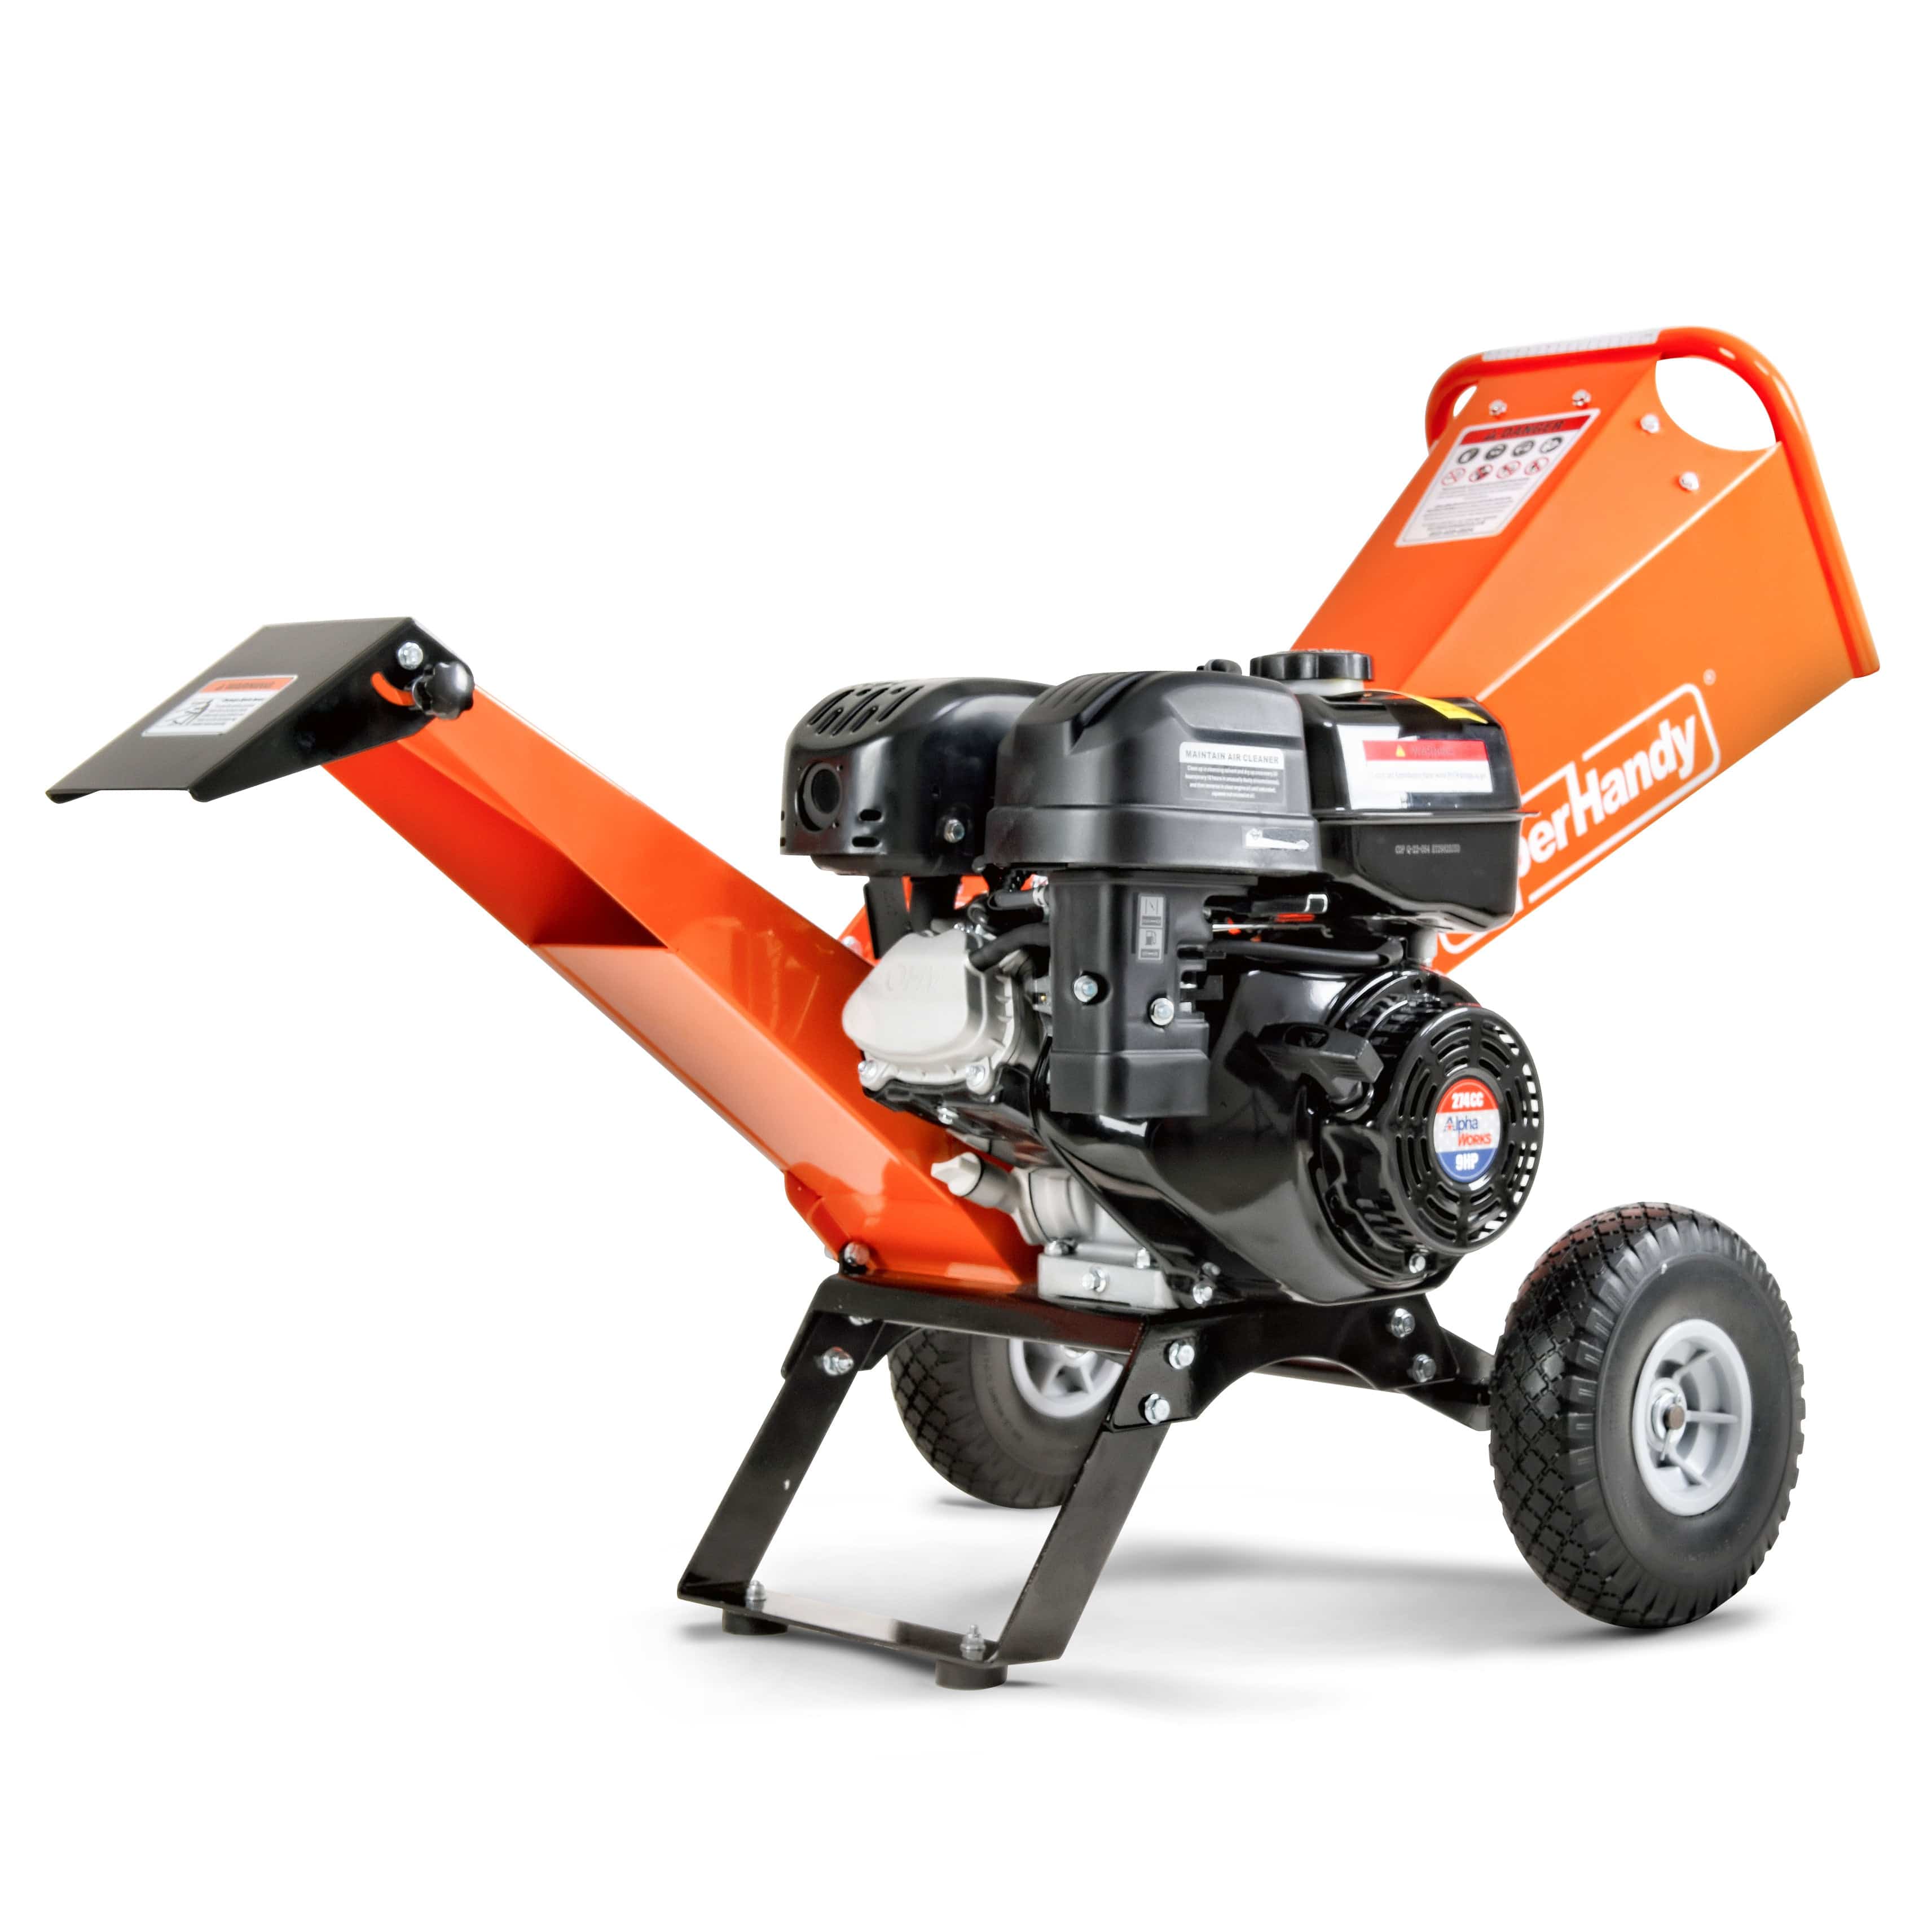
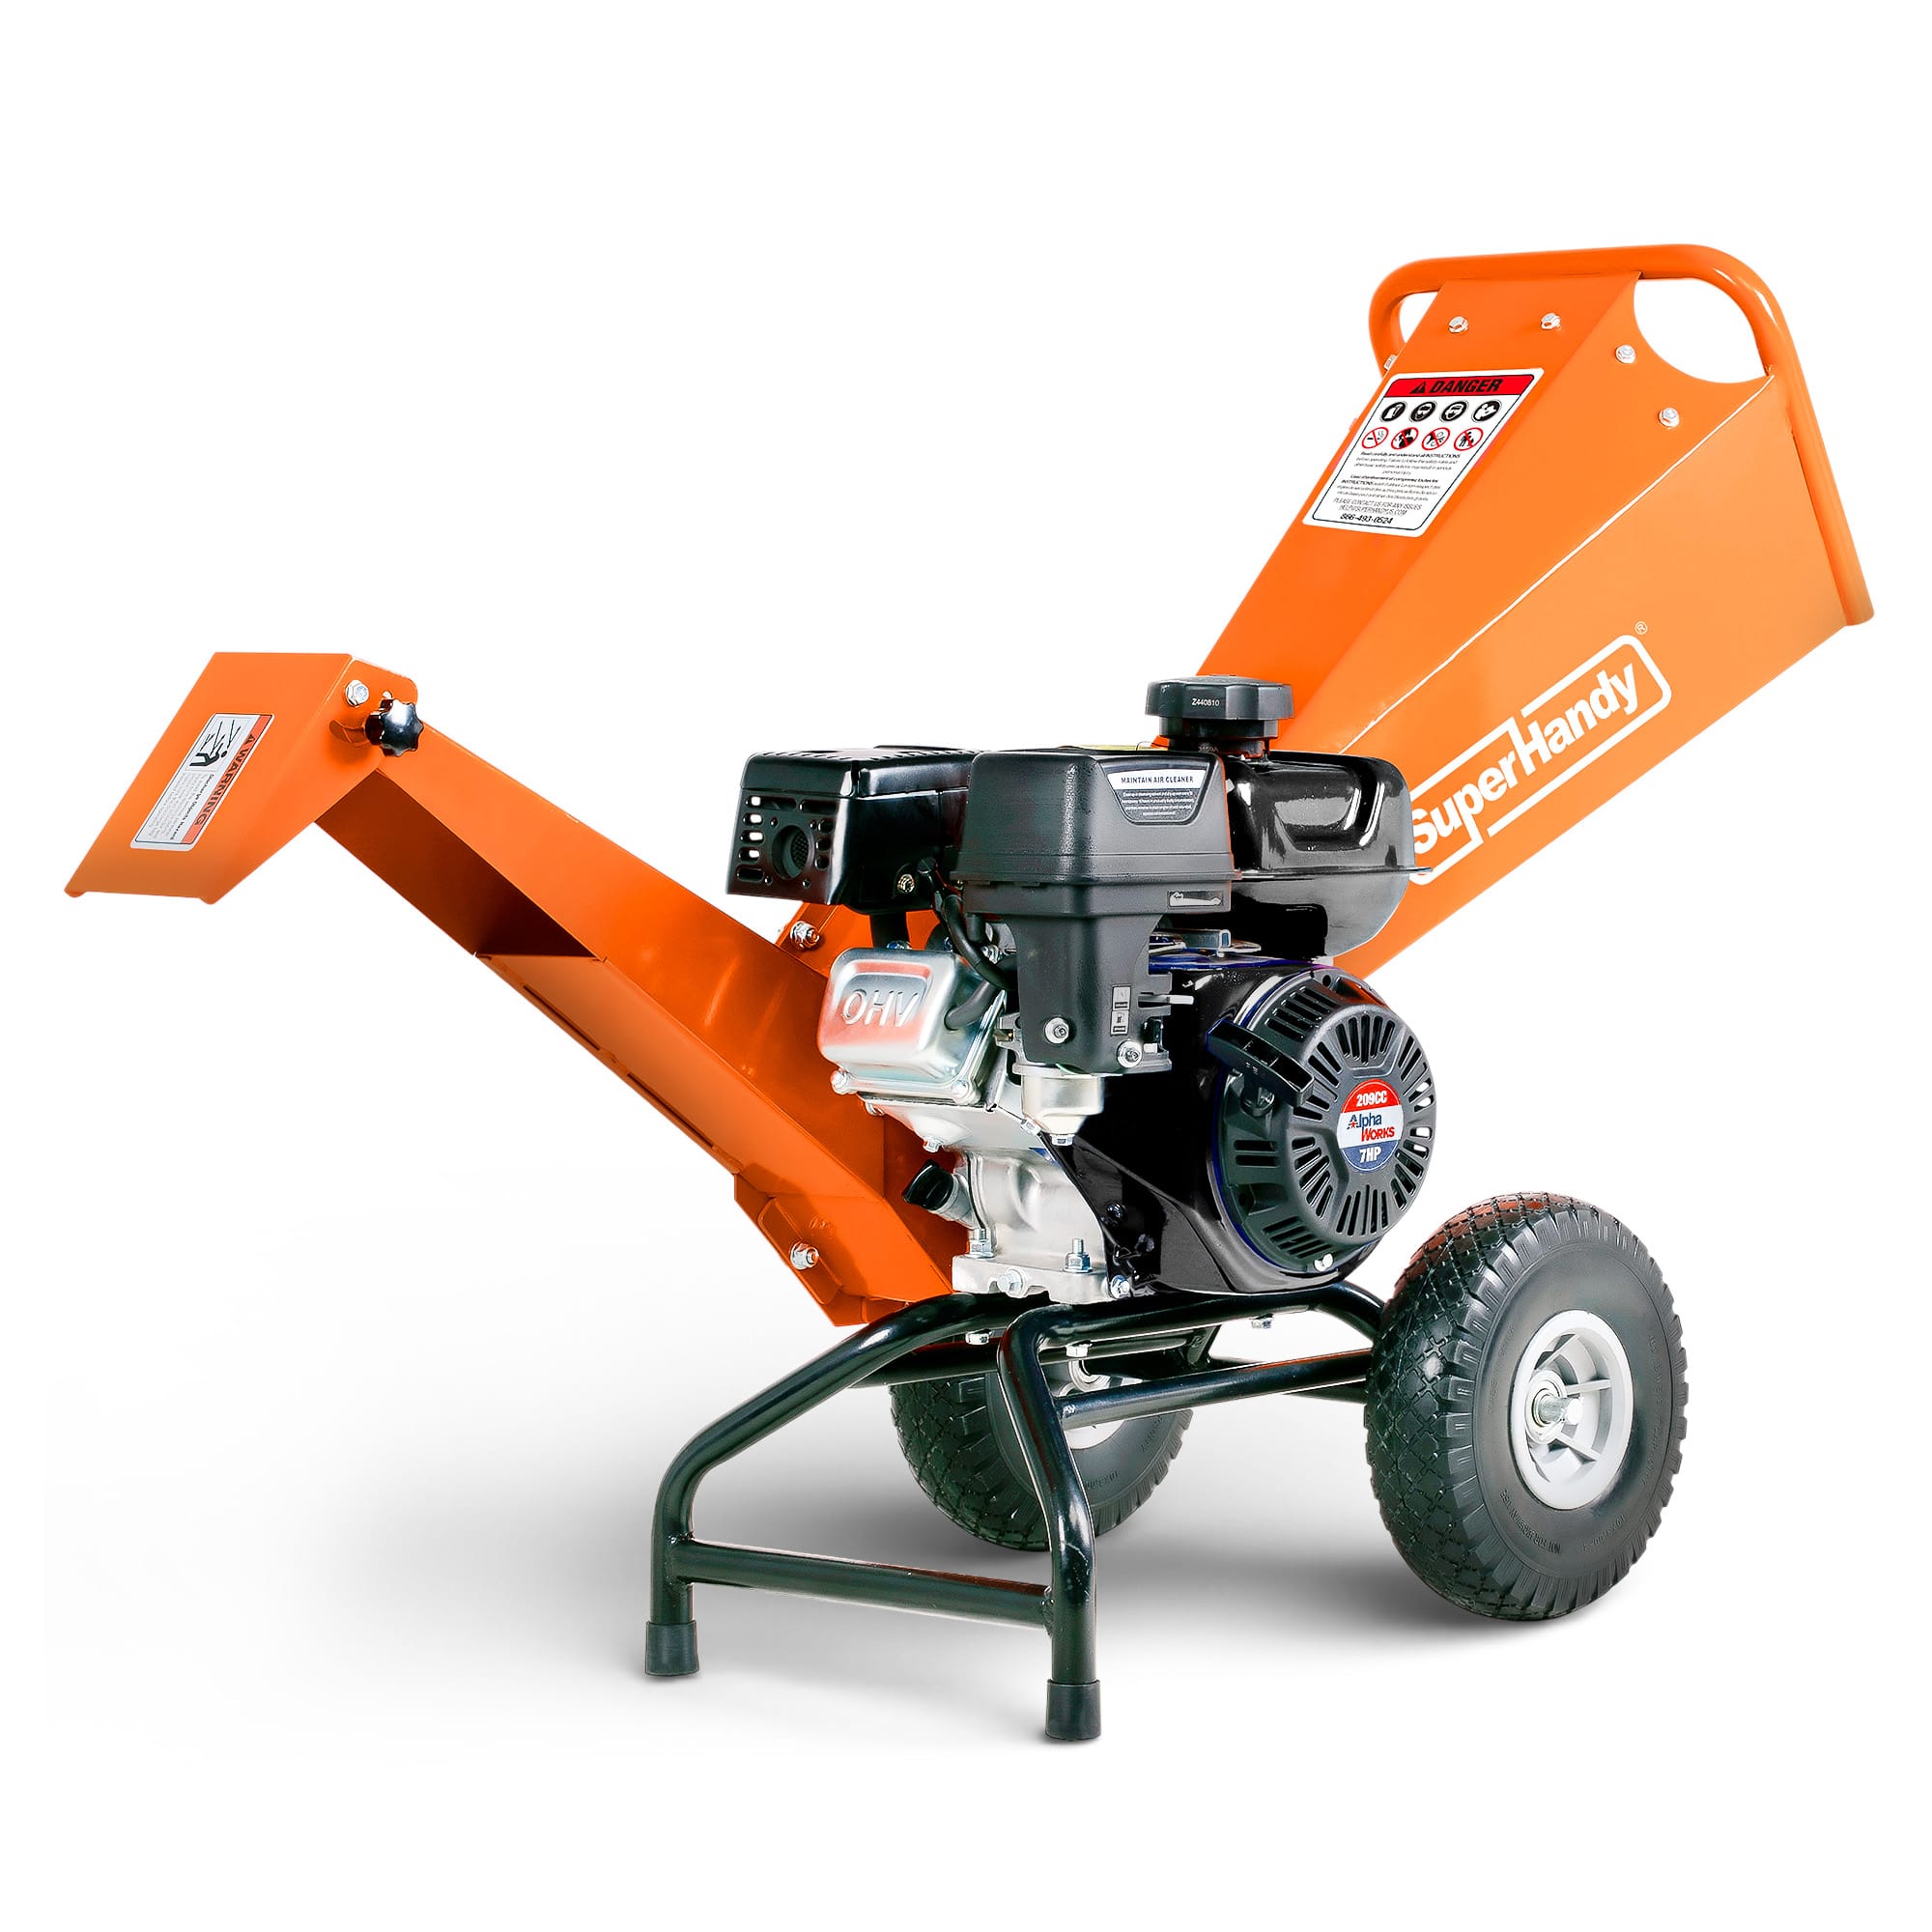
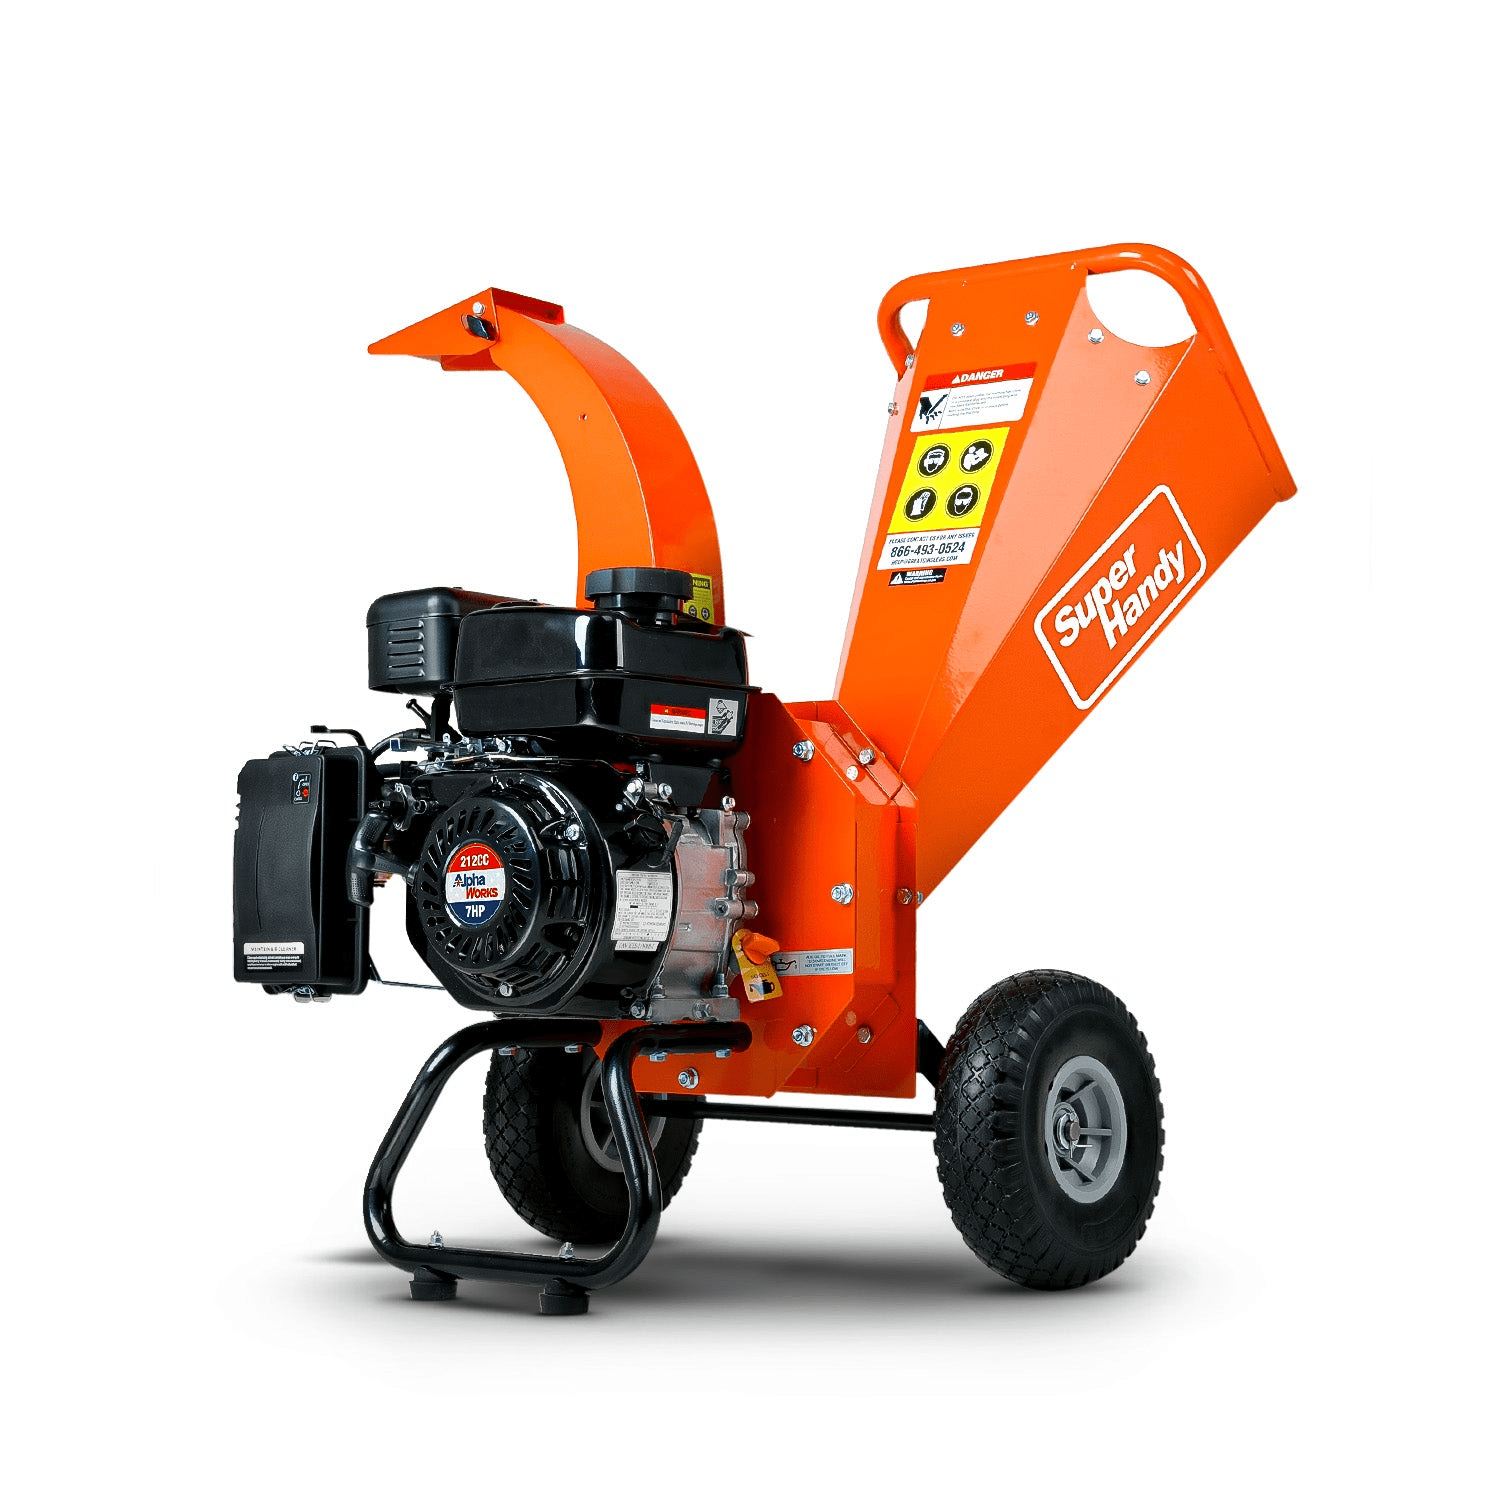
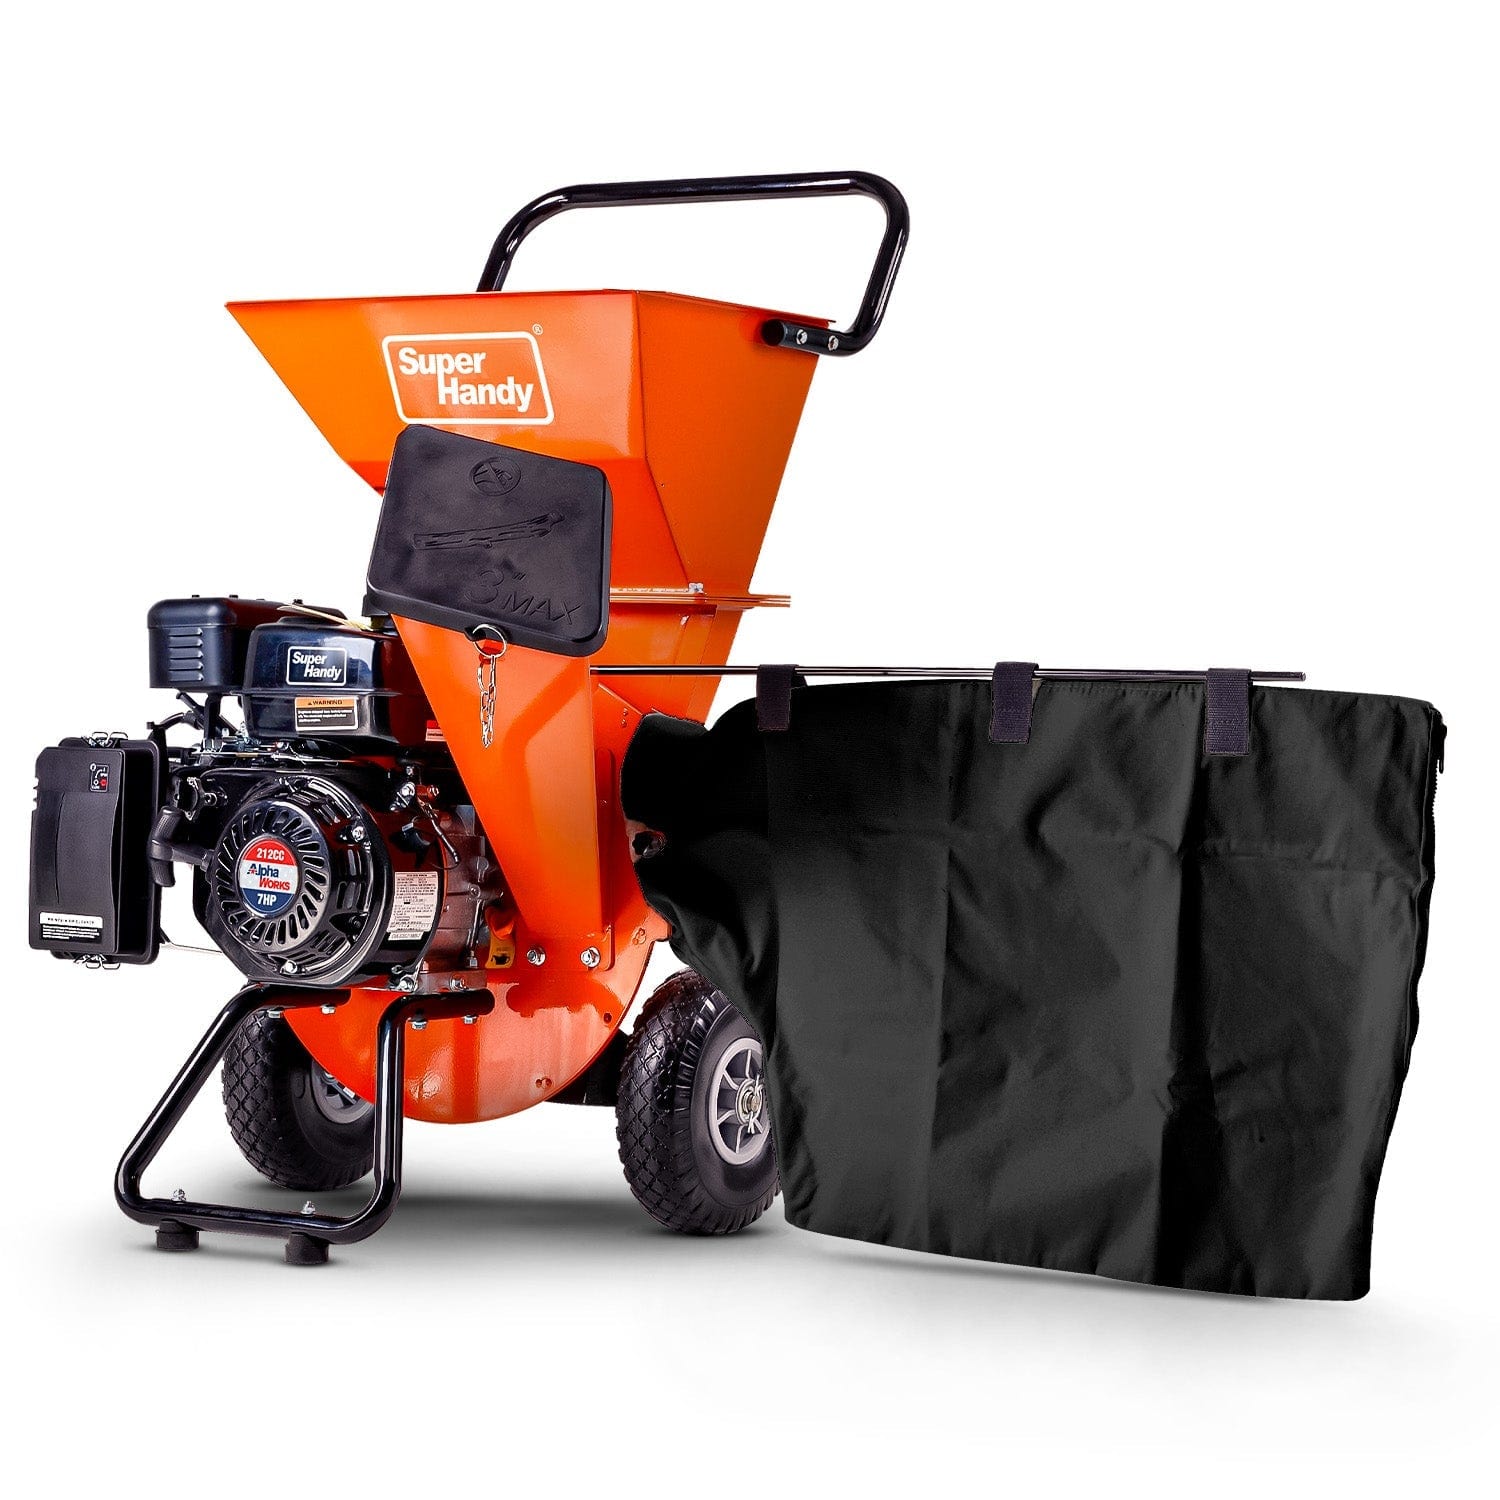
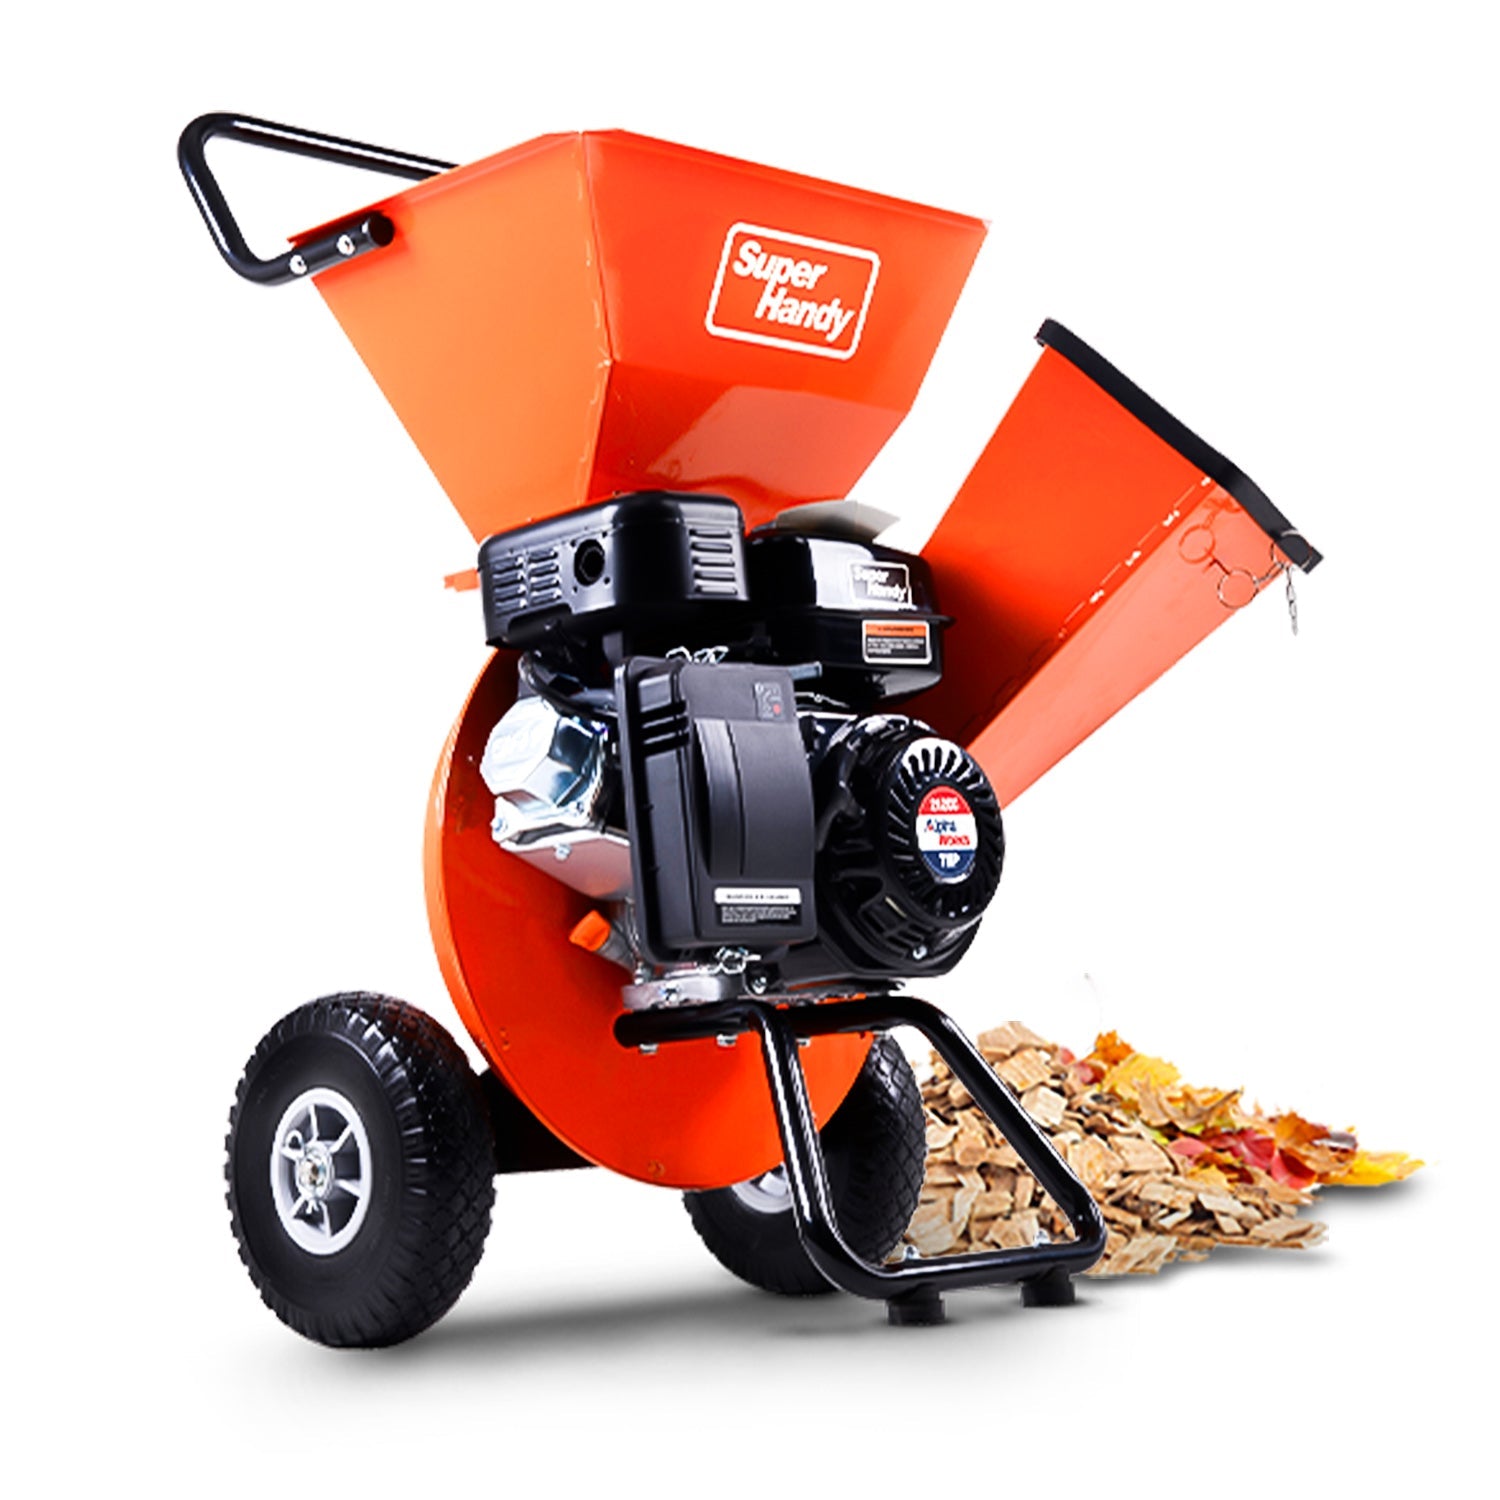
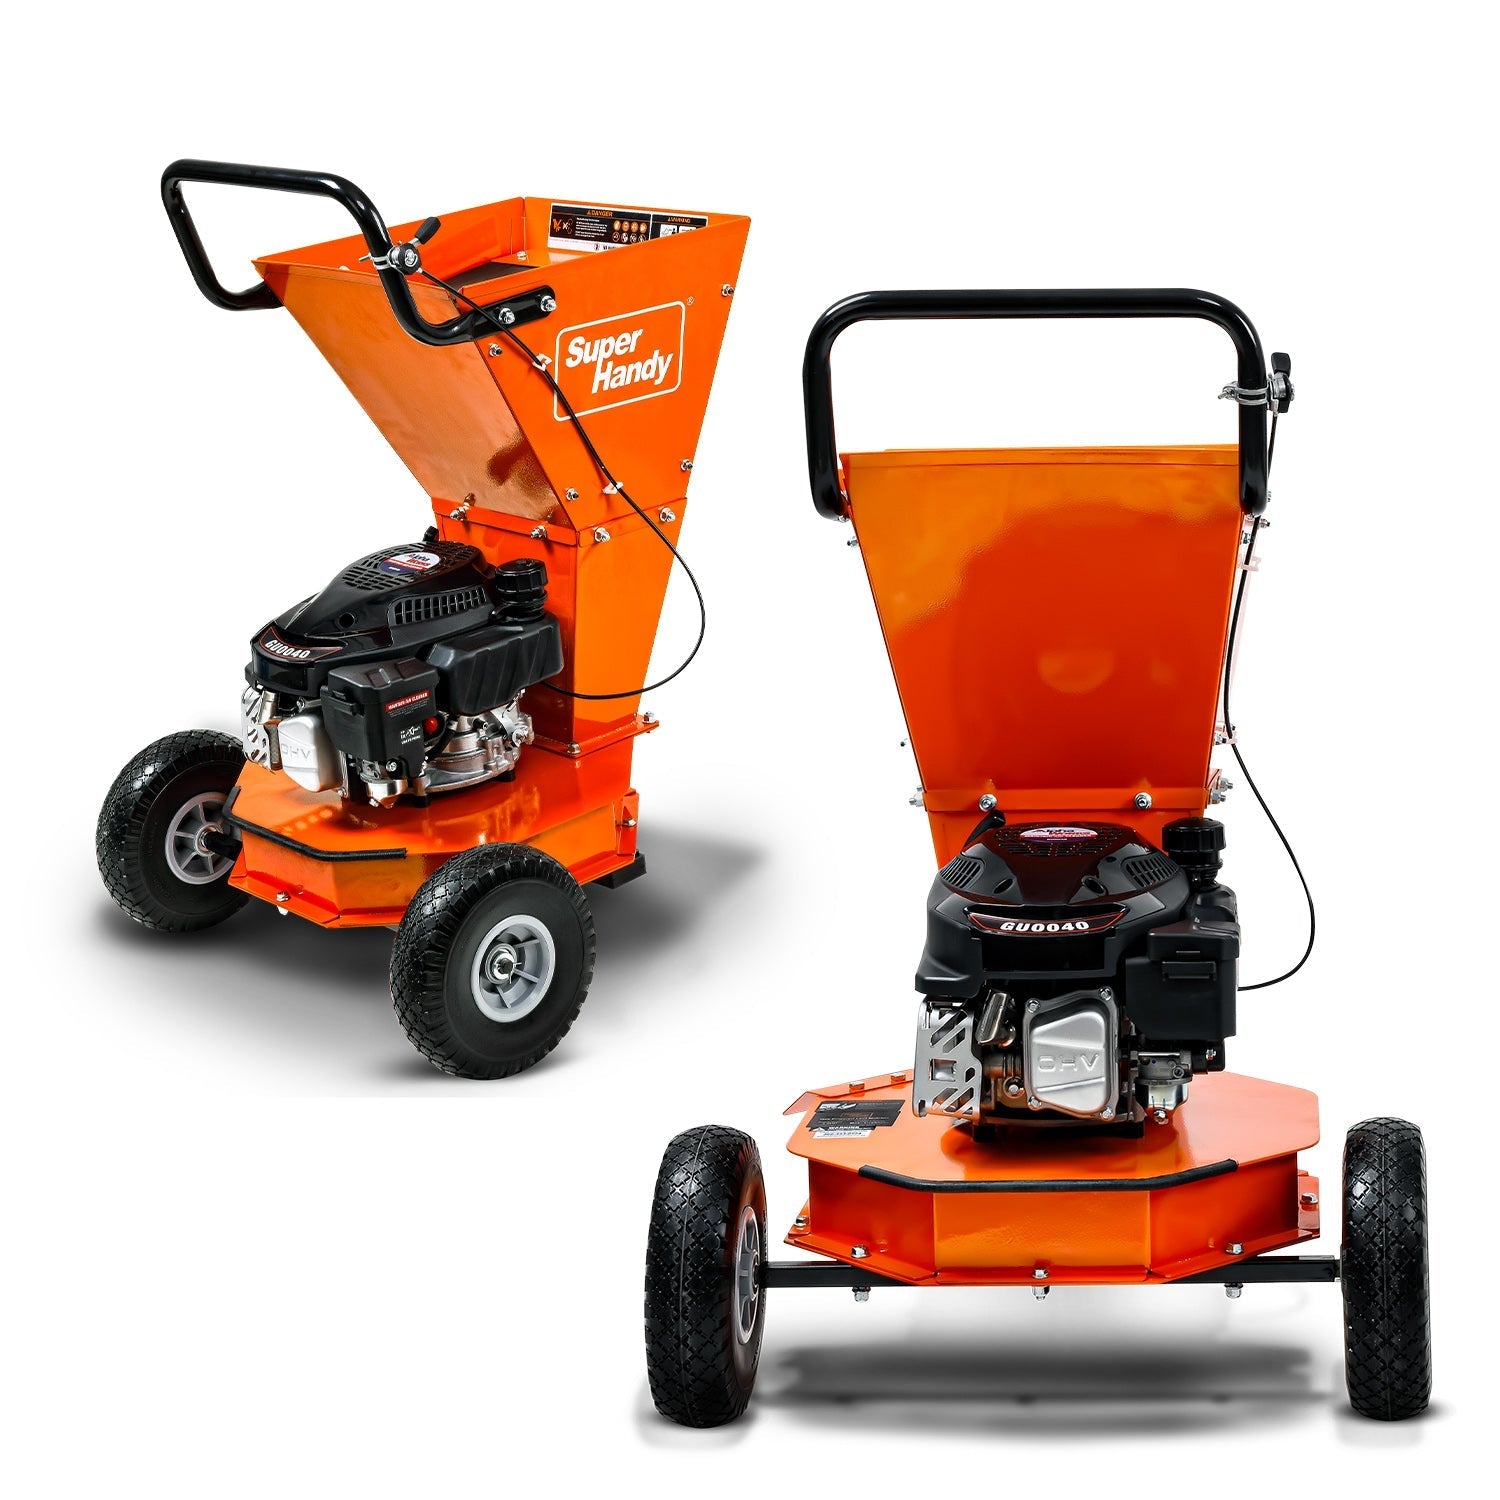
Before you pull the start cord, it’s crucial to familiarize yourself with the anatomy of your wood chipper. While designs vary slightly, most gas-powered models, like a SuperHandy 3" Wood Chipper, share the same core components that work together to turn branches into chips.
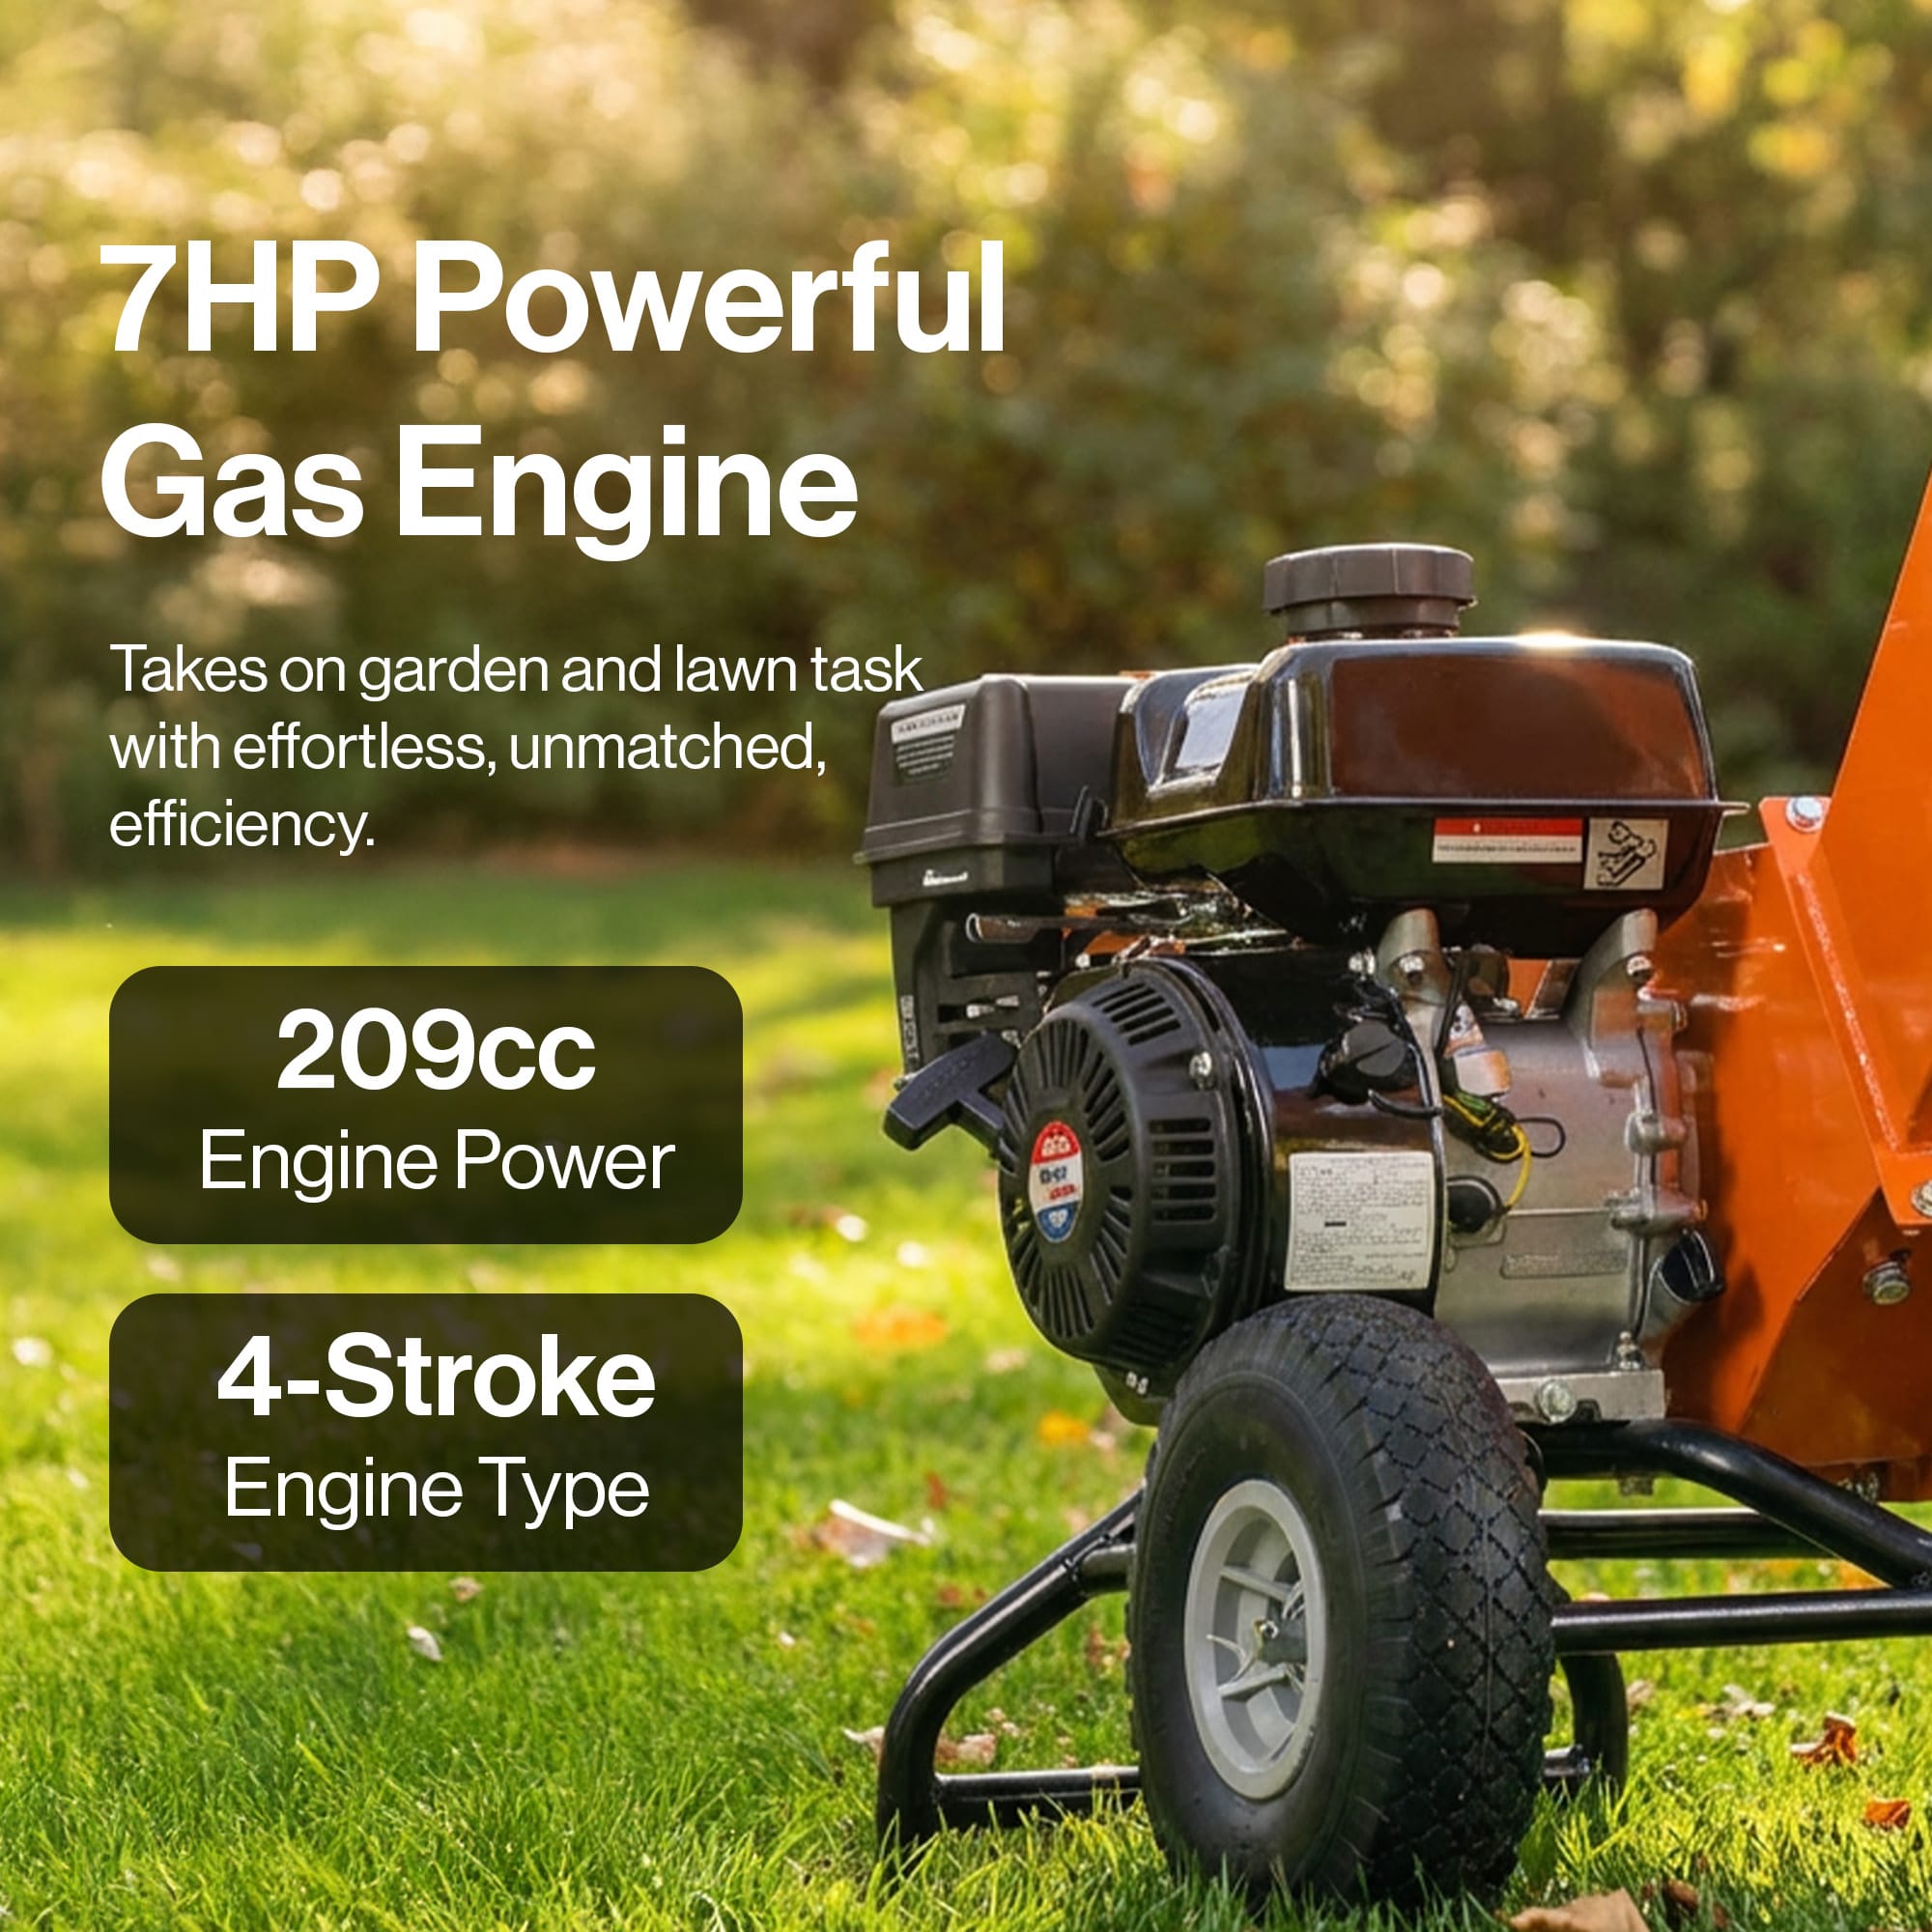
- Engine: This is the heart of your chipper, providing the power needed to spin the cutting mechanism. Most 3” chippers use a robust 6.5HP to 7HP gas engine.
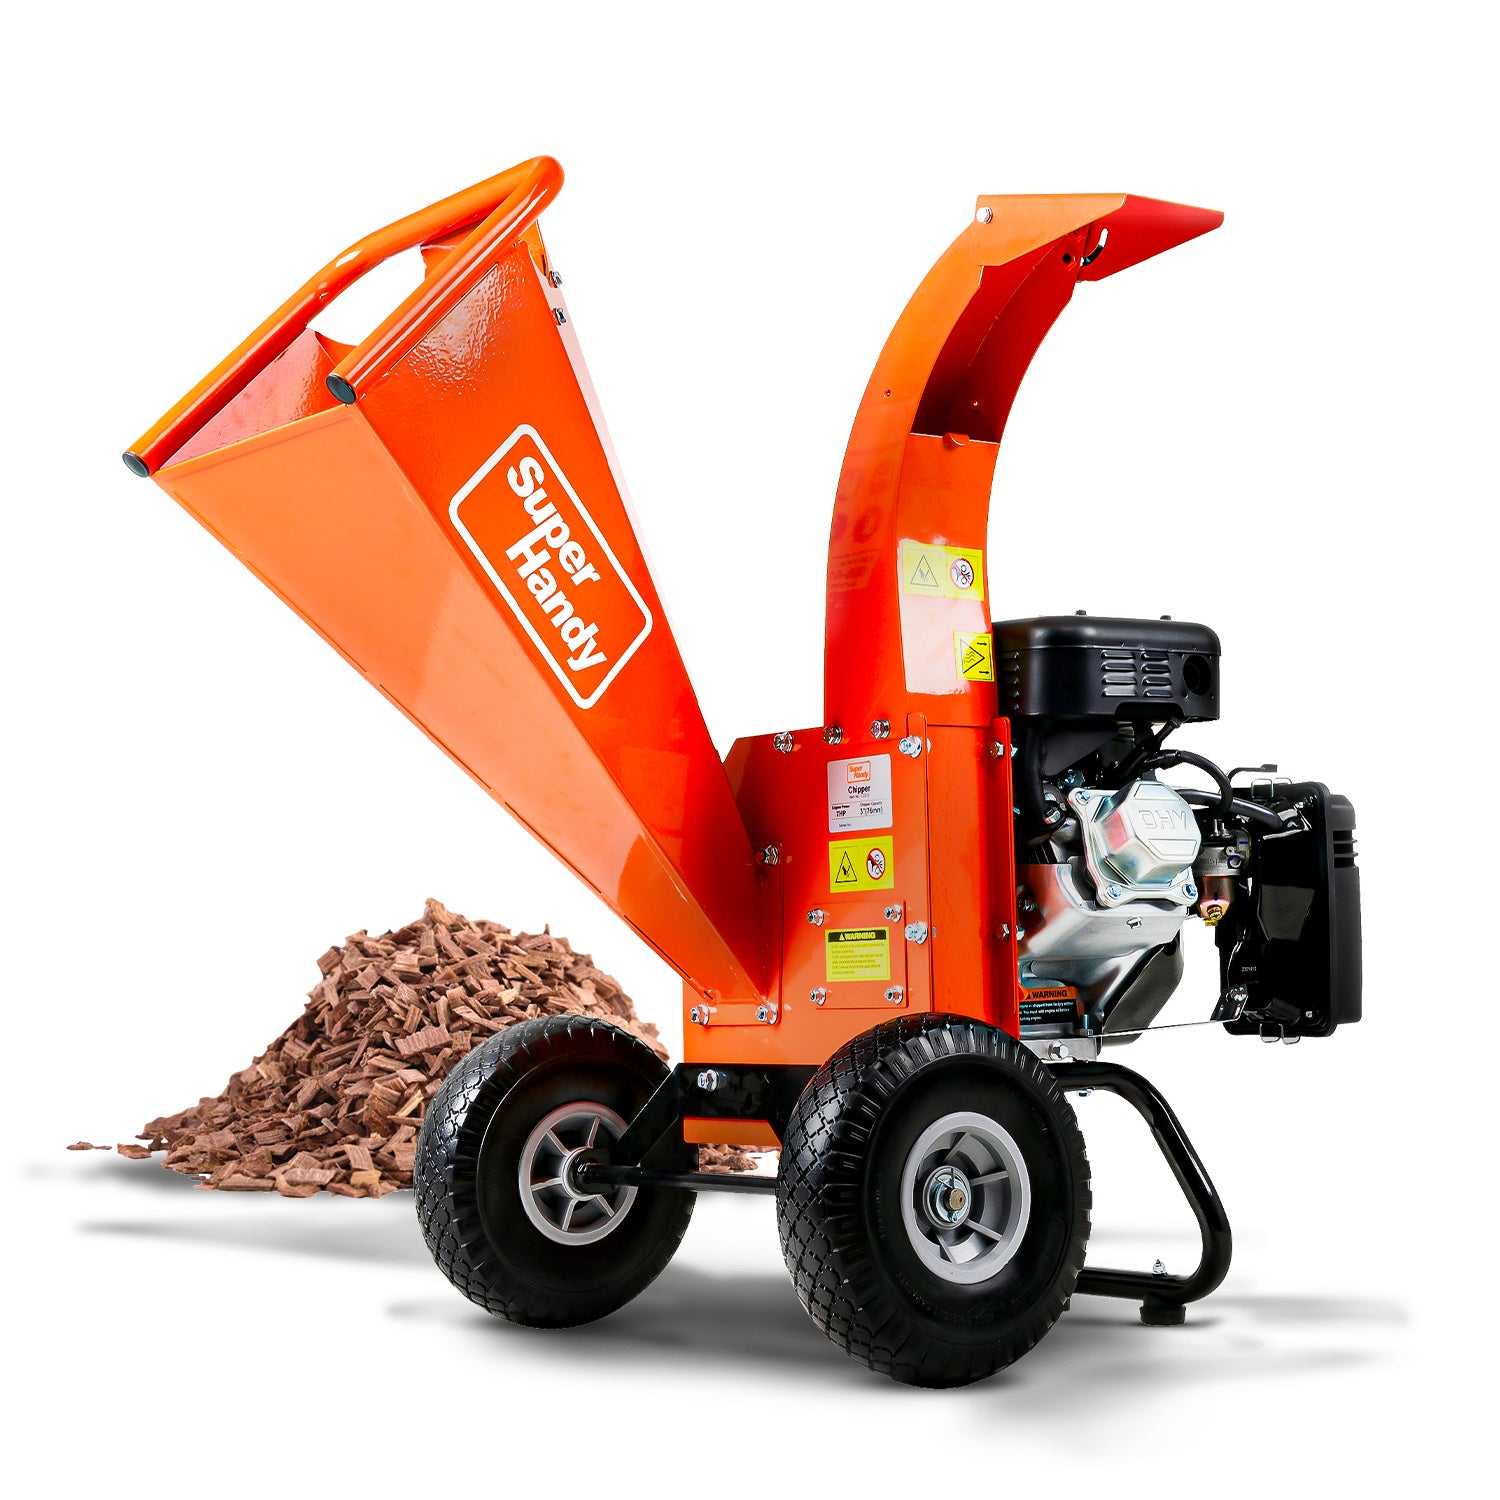
- Infeed Hopper/Chute: This is the large, funnel-shaped opening where you insert branches and other yard waste. Its design helps guide material toward the cutting blades while keeping your hands at a safe distance.
- Cutting/Chipping Mechanism: Housed inside the main body, this is where the action happens. A heavy, spinning drum or disc equipped with hardened steel blades rotates at high speed, grabbing and shredding wood as it’s fed through.
-
Discharge Chute: After the wood is chipped, this adjustable chute expels the finished wood chips away from the machine. You can typically aim it directly into a wheelbarrow, onto a tarp, or into a garden bed.

Essential Safety Gear: What You Must Wear Before You Start
-
Never operate a wood chipper without the proper Personal Protective Equipment (PPE). The high speeds, flying debris, and loud noise make this non-negotiable. According to the Occupational Safety and Health Administration's guidance on personal protective equipment, using the right gear is a primary defense against workplace hazards, a rule that absolutely applies to your yard.
- Eye Protection: A must. Always wear ANSI-rated safety glasses or, even better, a full-face shield to protect against flying wood chips, dust, and debris.
- Hearing Protection: Wood chippers are loud and can cause permanent hearing damage over time. Use over-ear muffs or disposable foam earplugs.
- Heavy-Duty Gloves: Wear well-fitting, non-slip gloves to protect your hands from splinters and improve your grip on branches. Avoid loose or gauntlet-style gloves that could get caught.
- Sturdy Footwear: Steel-toed boots are ideal for protecting your feet from falling branches or the machine itself. At a minimum, wear closed-toe, slip-resistant work boots.
- Proper Clothing: Do not wear loose clothing, hoodies with drawstrings, jewelry, or anything that could get snagged and pulled into the chipper. Opt for close-fitting long sleeves and pants.
Pre-Operation Checklist: Ensuring Your Chipper is Ready and Safe
A few minutes of inspection before each use can prevent hours of downtime and potential accidents. Run through this checklist every time you’re about to start work.
- Check Fluids: Ensure the engine has sufficient oil and fresh fuel. Check for any signs of leaks on the ground beneath the engine.
- Inspect Hardware: Visually check for any loose nuts, bolts, or screws, especially around the engine, cutting housing, and chutes. Vibration can cause them to loosen over time.
- Confirm Guards are in Place: All safety guards, especially around the infeed and discharge chutes and any belts, must be securely in place and in good condition.
- Examine the Work Area: Clear the area around the chipper of any tripping hazards like tools, rocks, or loose branches. Make sure you have stable footing and a clear path to move around the machine.
- Tire Pressure: If your chipper has pneumatic tires, check that they are properly inflated for easy and stable transport.
- Blade Condition: While you don’t need to remove the housing every time, be mindful of performance. If the chipper struggles to pull in branches or produces stringy chips, the blades are likely dull or damaged and need attention.
Safe Feeding Techniques: How to Properly Introduce Branches
How you feed the chipper is just as important as the preparation. The machine is designed to do the work for you; your job is to guide the material safely.
First, start the chipper and let it warm up to full operating speed before feeding any material. Begin with smaller branches to ensure everything is running smoothly. When feeding branches, insert the thick, cut end (the butt end) into the hopper first. This allows the machine's blades to get a solid grip and pull the branch in steadily. Stand to the side of the infeed hopper, not directly in front of it. This protects you from any potential kickback, which can occur if a branch is ejected unexpectedly from the hopper.
Let the chipper pull the branch in on its own. Never use your hands or feet to force material into the hopper. If a branch is crooked or has many limbs, trim it down to a more manageable size before feeding. Use longer branches whenever possible, as this allows you to keep your hands far away from the hopper opening. Once a branch is nearly fed through, simply let it go and grab the next one. Never reach into the hopper to push the last few inches of a branch in.
What NOT to Feed Your 3" Wood Chipper: Avoiding Costly Damage
A powerful 3" wood chipper is a fantastic tool, but it’s not invincible. Knowing its limitations is key to preventing jams, dull blades, and serious damage. To keep your machine running smoothly, never attempt to feed it the following materials:
- Oversized Wood: The "3-inch" rating is a maximum, not a target. Forcing branches larger than this diameter will strain the engine and can cause a dangerous kickback or a severe jam.
- Treated, Painted, or Stained Wood: Lumber from old decks, fences, or furniture contains chemicals. Chipping this wood can damage your blades and, more importantly, release toxic dust and fumes into the air.
- Non-Wood Materials: This is the fastest way to destroy your chipper. Never feed it rocks, soil, metal, plastic, glass, or rope. Even a small stone can chip or shatter a blade, leading to an expensive repair and creating an unbalanced, dangerously vibrating machine.
- Construction Debris: Scrap wood from a construction site is often riddled with hidden nails, screws, or staples. These metal objects will ruin your blades instantly.
- Wet, Stringy Greenery: While a chipper handles woody branches, it can struggle with large quantities of wet leaves, vines, or palm fronds. These materials are pulpy and can wrap around the rotor, causing a stubborn clog instead of chipping cleanly.
Operating Your Chipper: Step-by-Step Instructions for Optimal Performance
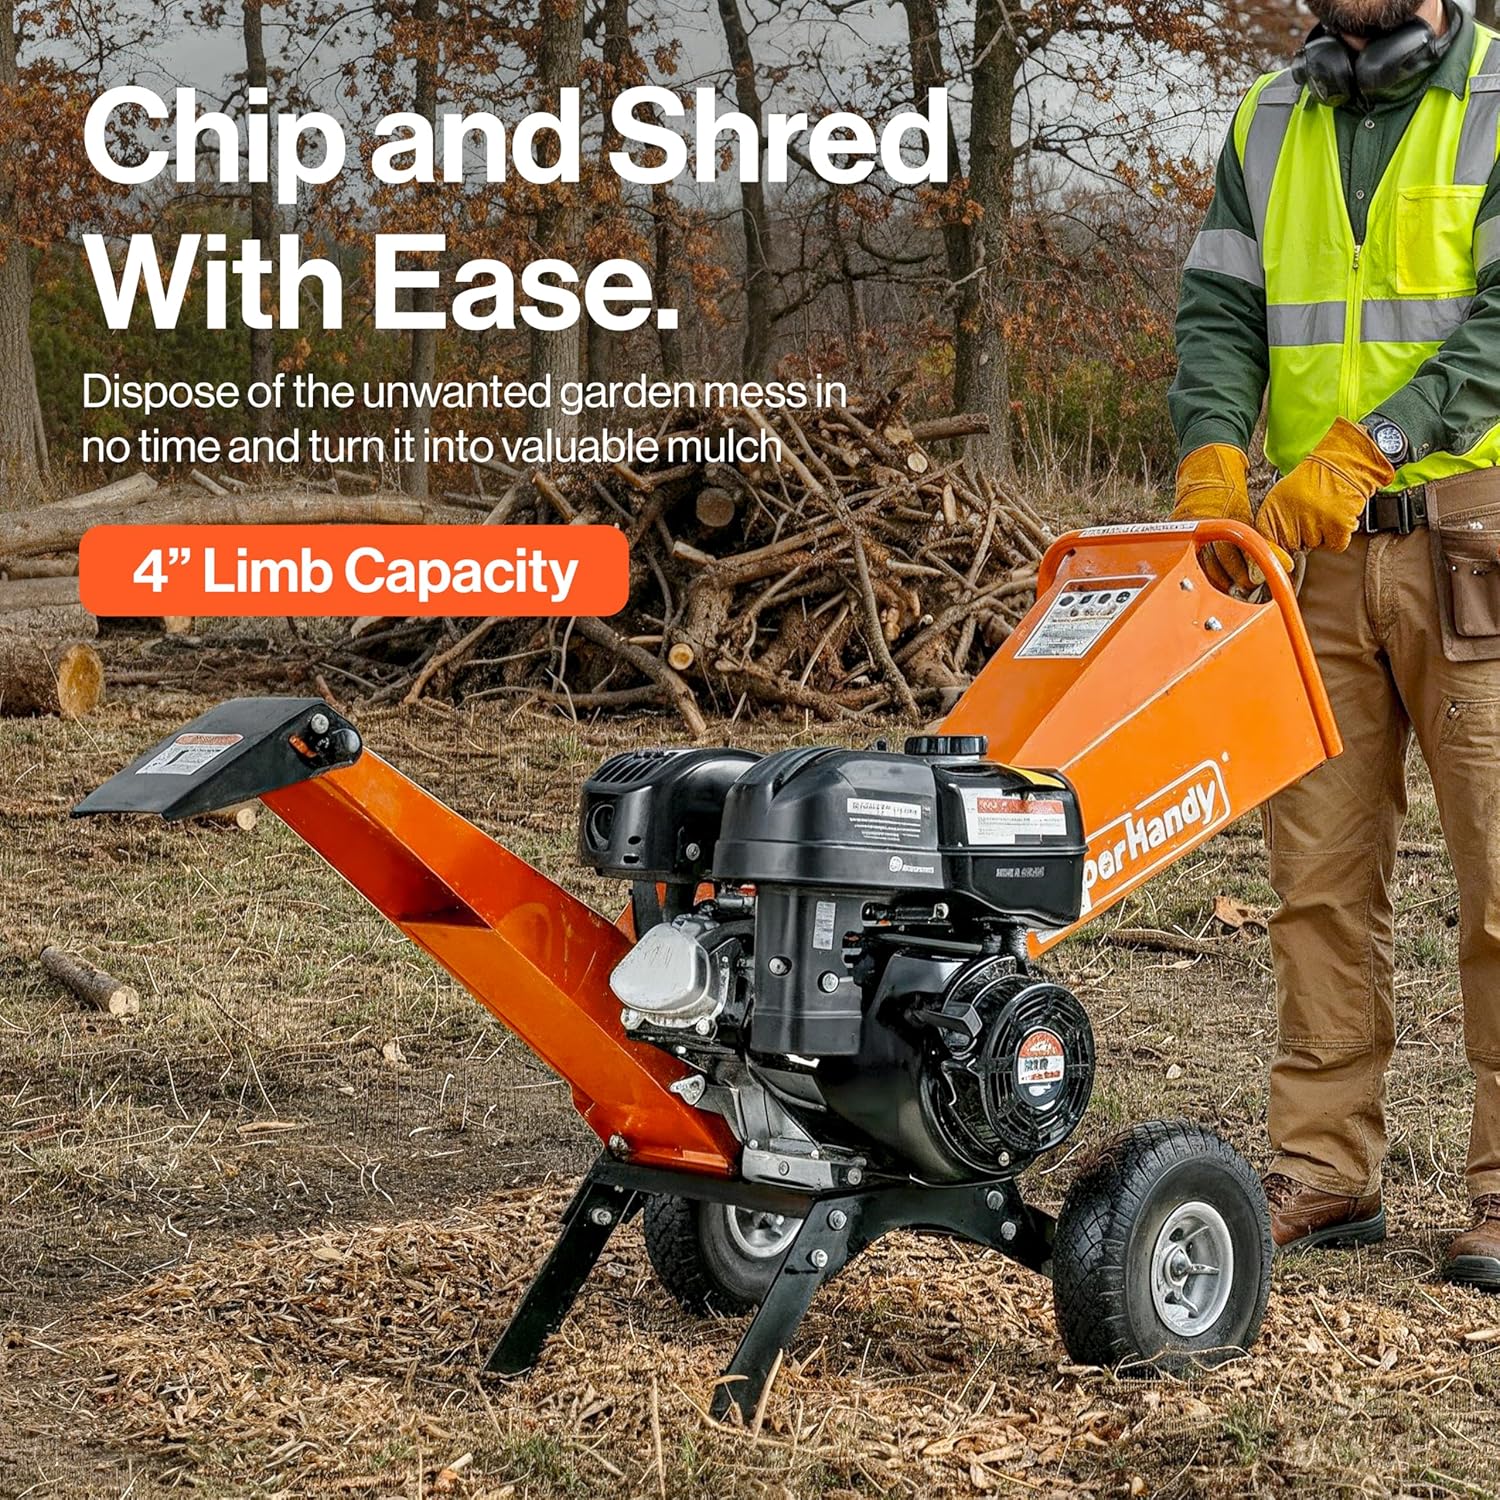
Once you’ve completed your pre-operation checklist and donned your safety gear, you’re ready to start chipping. Follow these steps for safe and efficient operation. For those with consistently larger jobs, upgrading to a more powerful 4-inch chipper might be a consideration for better performance.
- Position the Chipper: Place the machine on a flat, level, and stable surface. Ensure the discharge chute is pointed in a safe direction, away from people, windows, and vehicles.
- Start the Engine: Follow your owner’s manual to start the engine. Allow it to warm up for a few minutes before putting it under load.
- Engage Full Throttle: Before you feed any material, bring the engine to full speed. A wood chipper is designed to operate at maximum RPM for the best performance and to create the momentum needed to eject chips properly.
- Feed Material Steadily: Insert branches butt-end first into the infeed chute. Let the machine’s self-feeding mechanism pull the branch in at its own pace. Do not force or shove material into the hopper.
- Alternate Materials: If you have a mix of dry branches and greener limbs, alternate feeding them. This helps keep the blades clean and prevents the buildup of sap.
- Use a Push Stick: For short pieces that you can’t safely control, use a wooden push stick or another branch to guide them into the chute. Never use your hands or feet to push material into the hopper.
- Cool Down: After you’ve finished chipping, let the engine run for a minute or two to clear any remaining debris from the cutting chamber. Then, shut down the engine according to the manufacturer's instructions.
Understanding Chipper Noise and Vibration: What's Normal and What's Not
Your wood chipper will be loud and will vibrate during use, but it’s important to distinguish between normal operational sounds and indicators of a problem.
Normal Sounds & Vibrations:
- A loud, steady roar from the engine running at full throttle.
- A rhythmic, chopping or thumping sound as wood makes contact with the blades.
- A consistent, manageable level of vibration through the frame of the machine.
Abnormal—Shut Down Immediately:
- Loud Bangs or Clanks: This almost always means you’ve hit a foreign object like a rock or piece of metal.
- High-Pitched Squealing or Grinding: This can indicate a failing bearing or metal-on-metal contact where it shouldn’t be.
- Excessive or Violent Vibration: A sudden increase in shaking suggests an unbalanced cutting drum, likely from a chipped, broken, or loose blade. Continuing to run the chipper in this state can cause catastrophic failure.
- Engine Bogging Down Excessively: If the engine struggles and nearly stalls with appropriately sized wood, your blades are likely dull and need sharpening or replacement.
Clearing Jams Safely: A Step-by-Step Guide to Unblocking Your Chipper
A jam can happen to even the most careful operator. How you respond is critical to your safety. Following proper procedures is essential for consumer product safety and injury prevention.
- SHUT IT DOWN: The instant you suspect a jam, turn off the engine immediately.
- WAIT: Do not proceed to the next step until the engine is off and the internal flywheel and cutting blades have come to a complete and total stop. This can take several minutes. You must wait until all sounds and movement have ceased.
- DISCONNECT THE SPARK PLUG: This is the most crucial step to prevent an accidental restart while you are working. Do not skip this.
- Assess the Blockage: Look into the infeed chute and discharge chute to see where the material is clogged. Do not reach into either opening.
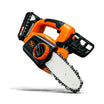
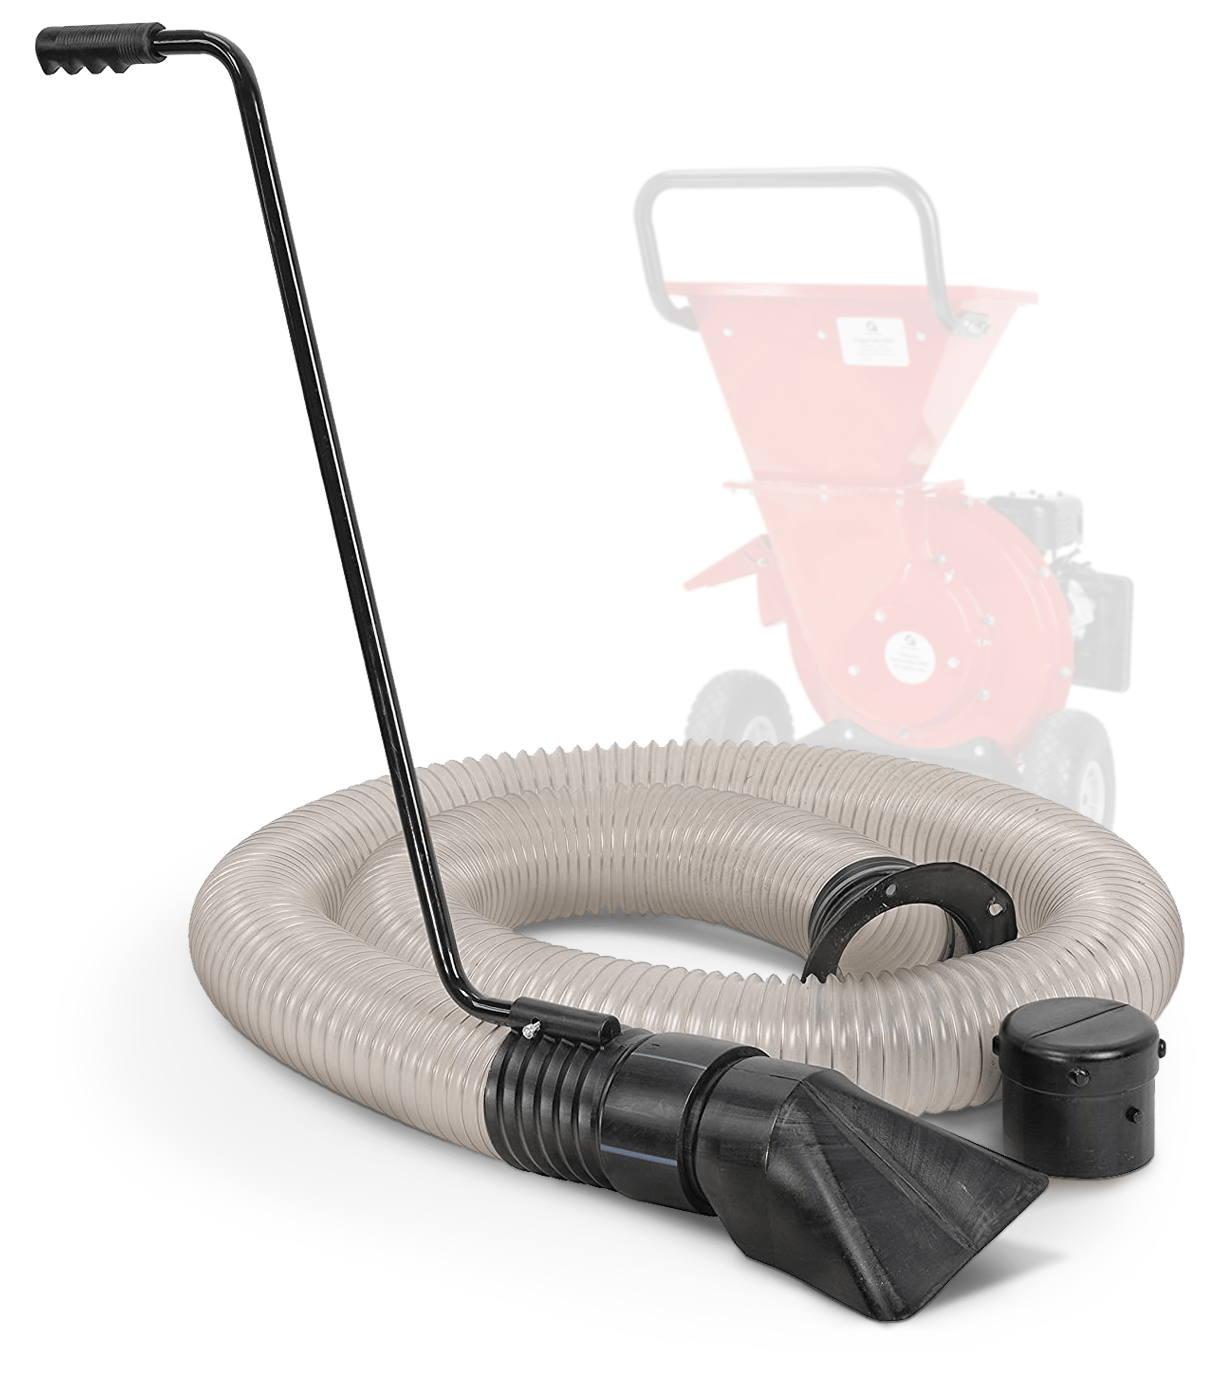
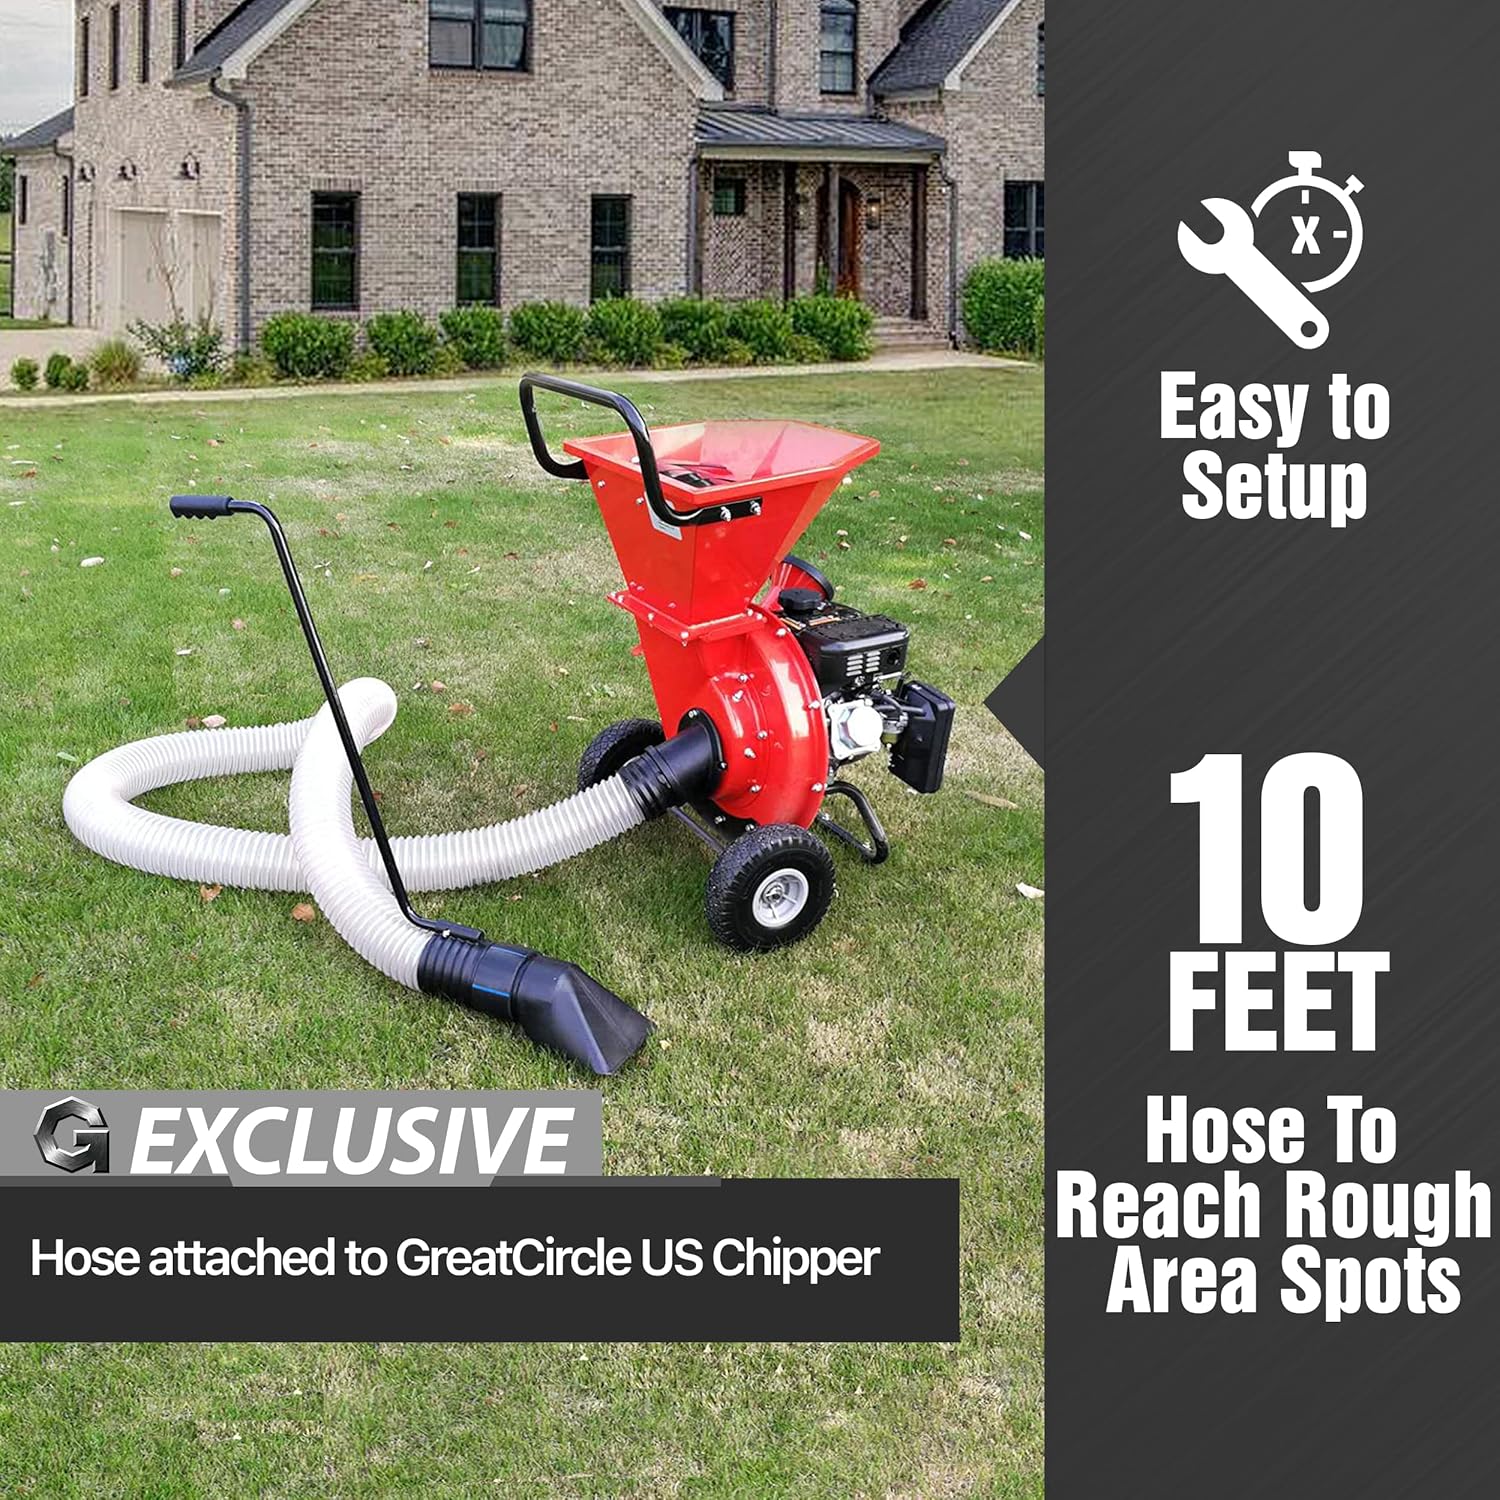
- Remove from the Infeed: Using a long hook or sturdy branch, try to pull the jammed material back out the way it went in. Pulling from the infeed chute is always safer than reaching toward the blades. Different models, like this compact wood chipper, may have slightly different chute designs, but the principle is the same.
- Access the Blade Housing (If Necessary): If you cannot clear the jam through the chute, you may need to unbolt and remove the infeed or discharge chute to get better access, as described in your owner’s manual. This will expose the cutting drum. Again, never work in this area without first disconnecting the spark plug. Carefully remove the obstructing material with pliers or by hand, watching for sharp blade edges.
- Reassemble and Restart: Securely reattach any components you removed. Reconnect the spark plug, move away from the machine, and restart it. Let it run for a moment to ensure it’s clear before resuming chipping.
Routine Maintenance: Keeping Your Chipper in Top Working Condition
A wood chipper is a powerful machine, and like any high-performance tool, it requires regular attention to operate safely and effectively. Neglecting routine maintenance not only shortens the life of your investment but can also lead to dangerous operating conditions. Creating a simple maintenance schedule is the best way to ensure your 3" wood chipper is always ready for the job. Following a regular maintenance schedule is a core principle of safe power tool operation, as highlighted by OSHA hand and power tool safety guidance. Before and after each use, perform these quick checks:
- Inspect Hardware: The vibration from the engine and chipping action can loosen nuts and bolts over time. Walk around the machine and visually inspect all hardware, tightening anything that feels loose.
- Check Tires: If your model has pneumatic tires, ensure they are inflated to the pressure recommended in your user manual. This makes the unit easier to move and more stable during operation.
- Clean Debris: Clear away any caked-on sawdust, dirt, or grease, especially from the engine's cooling fins and the discharge chute. A clean machine runs cooler and is easier to inspect for potential issues.
- Examine Belts: Check the drive belt(s) for signs of cracking, fraying, or excessive wear. Ensure it has the proper tension as specified by the manufacturer.
Blade Maintenance: Sharpening and Replacing Your Chipper Blades
The performance of your wood chipper is directly tied to the condition of its blades. Sharp blades cut cleanly, produce uniform chips, and pull branches in with minimal effort. Dull blades, on the other hand, will smash and tear wood, leading to stringy output, slow performance, and significant strain on the engine.
You’ll know it’s time for blade maintenance when you notice:
- The chipper struggles to pull in branches.
- The engine bogs down more than usual.
- The resulting wood chips are bruised and stringy instead of clean-cut.
Many high-quality models, like the SuperHandy 3" Wood Chipper, feature reversible blades. This allows you to simply unbolt them, flip them over to a fresh, sharp edge, and reinstall them, effectively doubling their lifespan before sharpening is required.
When it's time to service the blades, always begin by disconnecting the spark plug to prevent any chance of an accidental start. Access the rotor housing, carefully remove the bolts securing a blade, and take it out. You can have them professionally sharpened or do it yourself with a wet grinder or belt sander, ensuring you maintain the factory angle. When reinstalling, tighten the bolts to the torque specified in your manual to ensure they are secure.
Engine Care: Essential Maintenance for Longevity
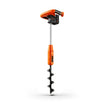
The gas engine is the heart of your 3" wood chipper, and its longevity depends entirely on consistent, simple maintenance. Whether you have a compact 3" Mini Wood Chipper or a larger machine, a few key tasks will keep the engine running strong for years.
- Oil is Critical: Check the oil level before every single use. Most chipper engines have a low-oil sensor that will shut the unit down, but you should never rely on it. Change the oil after the first 5 hours of break-in operation, and then every 25-50 hours of use thereafter (check your manual for the exact interval).
- Keep the Air Filter Clean: The air filter prevents dust and debris from entering the engine. In the dusty environment of wood chipping, it can get clogged quickly. Check it frequently and clean or replace it as needed. A clogged filter will reduce engine power and increase fuel consumption.
- Use Fresh Fuel: Use gasoline that is less than 30 days old. For fuel that will sit longer, add a fuel stabilizer to prevent it from gumming up the carburetor. If you plan to store the chipper for more than a few months, it's best to run the engine dry or drain the tank and carburetor completely.
- Spark Plug Service: Once a season, remove the spark plug to inspect it. Clean off any deposits and check that the gap is set to the manufacturer's specification. Replace it if the electrode is worn or it's heavily fouled.
Troubleshooting Common 3" Wood Chipper Issues
Even with perfect maintenance, you may occasionally run into issues. Here’s a quick guide to diagnosing the most common problems.
-
Problem: The engine won't start.
-
Solution: Go through a simple checklist. Is the engine switch in the "ON" position? Is the fuel tank full? Is the choke in the correct position for a cold or warm start? Is the spark plug wire firmly connected? Is the oil level sufficient?
-
Problem: The chipper is bogging down or stalling.
-
Solution: This is typically caused by overloading the machine. You may be feeding branches too quickly, or the material might be too green, wet, or large in diameter. Slow your feed rate. If the problem persists, your blades are likely dull and need to be flipped or sharpened. A loose drive belt can also cause a loss of power to the rotor.
-
Problem: The discharge chute is clogging.
-
Solution: This is often caused by chipping very wet, leafy material which doesn't have the mass to be thrown clear. Try mixing green material with dry, woody branches. Also, ensure the engine is running at full throttle to provide maximum discharge force. If it's already clogged, shut down the engine completely and wait for the rotor to stop before clearing it.
-
Problem: The machine is vibrating excessively.
-
Solution: Shut down the engine immediately. A sudden increase in vibration can indicate a serious issue. Check for loose bolts on the housing or engine mounts. Most importantly, inspect the blades. A chipped, broken, or improperly installed blade can throw the rotor assembly out of balance, creating dangerous vibrations. Do not operate the chipper until the cause is found and fixed.
Storing Your Wood Chipper: Protecting Your Investment
Once the yard work is done, properly storing your 3" wood chipper is crucial for ensuring it's ready for the next job and protecting your investment from damage. Neglecting storage can lead to rust, engine problems, and a shortened lifespan. Follow these steps for safe and effective long-term or off-season storage.
First, give your chipper a thorough cleaning. Remove all wood chips, leaves, and dirt from the hopper, chipping chamber, and discharge chute. Compressed air is excellent for this task. Leftover organic material can hold moisture, promoting rust on metal components and potentially attracting pests. Next, address the fuel system. For storage longer than 30 days, it's best to either use a fuel stabilizer or run the engine until it's out of gas. This prevents the fuel from degrading and gumming up the carburetor, which is a common cause of starting issues.
Store the machine in a dry, covered location like a garage or shed to protect it from rain, snow, and sun. If you must store it outdoors, use a heavy-duty, waterproof cover. For models with an electric start powered by a lithium-ion battery, proper battery care is essential. According to tips for extending the lifetime of lithium-ion batteries, you should avoid storing the battery at a full 100% or 0% charge. For best results, aim for a partial charge of around 40-50% and keep it in a cool, dry place. A well-maintained and properly stored SuperHandy 3" Wood Chipper will provide reliable performance for years to come.
Frequently Asked Questions About 3" Wood Chipper Operation and Maintenance
Here are answers to some of the most common questions we receive about using and caring for a 3" wood chipper.
How often should I sharpen or replace my chipper blades?
The frequency depends on how much you use the chipper and the type of wood you're processing. As a general rule, inspect your blades after every 10 hours of use. You'll know they're getting dull when the machine produces stringy wood instead of clean chips or when you feel you have to force branches in. Most blades can be sharpened a few times before they need to be replaced.
Can I chip wet or green wood?
Yes, most 3" wood chippers handle green wood (freshly cut branches) very well. The moisture in green wood can actually help lubricate the blades and produce clean chips. However, be cautious with very leafy or sappy branches, as they can sometimes lead to clogs in the discharge chute. Dry, brittle hardwood is often tougher on the blades and engine than green wood.
What is the correct way to clear a jam?
Safety is the number one priority. If your chipper gets jammed, immediately shut off the engine and wait for the flywheel to come to a complete stop. Then, disconnect the spark plug wire to prevent any chance of an accidental startup. Only then should you access the chipping chamber according to your owner's manual instructions to safely remove the blockage. Never, ever reach into the hopper or discharge chute while the engine is running or still warm. This simple safety protocol is essential for any wood chipper operator.
Can I feed lumber or wood with nails into the chipper?
No. Never feed treated lumber, plywood, particleboard, or any wood containing nails, screws, or other metal into your chipper. These materials can instantly destroy the blades, damage the drum, and create a serious hazard by turning metal fragments into high-speed projectiles. Only feed clean, natural wood and branches.
When to Call a Professional: Recognizing When Maintenance is Beyond DIY
While routine maintenance like oil changes and blade sharpening is well within the reach of most owners, some issues are best left to a qualified professional. Knowing your limits is key to staying safe and avoiding more costly damage.
Call a small engine mechanic for complex engine problems. If you've performed basic troubleshooting—checking the fuel, cleaning the air filter, and replacing the spark plug—and the engine still won't start or runs poorly, it may have a deeper issue like a clogged carburetor jet or a timing problem. Attempting advanced engine repairs without the right tools and knowledge can make the problem worse.
You should also seek professional help for any structural damage or severe vibration. If you notice a crack in the housing, a bent axle, or a damaged rotor, stop using the machine immediately. Likewise, a sudden increase in vibration can signal an unbalanced or broken blade assembly, which is extremely dangerous. These are not DIY fixes; they require specialized equipment and expertise to repair safely. Even the most heavy-duty chipper needs professional attention for major structural or mechanical failures. Finally, if your electric-start model has persistent electrical faults beyond a dead battery, a technician can diagnose the wiring, starter, or solenoid to get it running again.
Related Products

Leave a comment
All comments are moderated before being published.
This site is protected by hCaptcha and the hCaptcha Privacy Policy and Terms of Service apply.