

















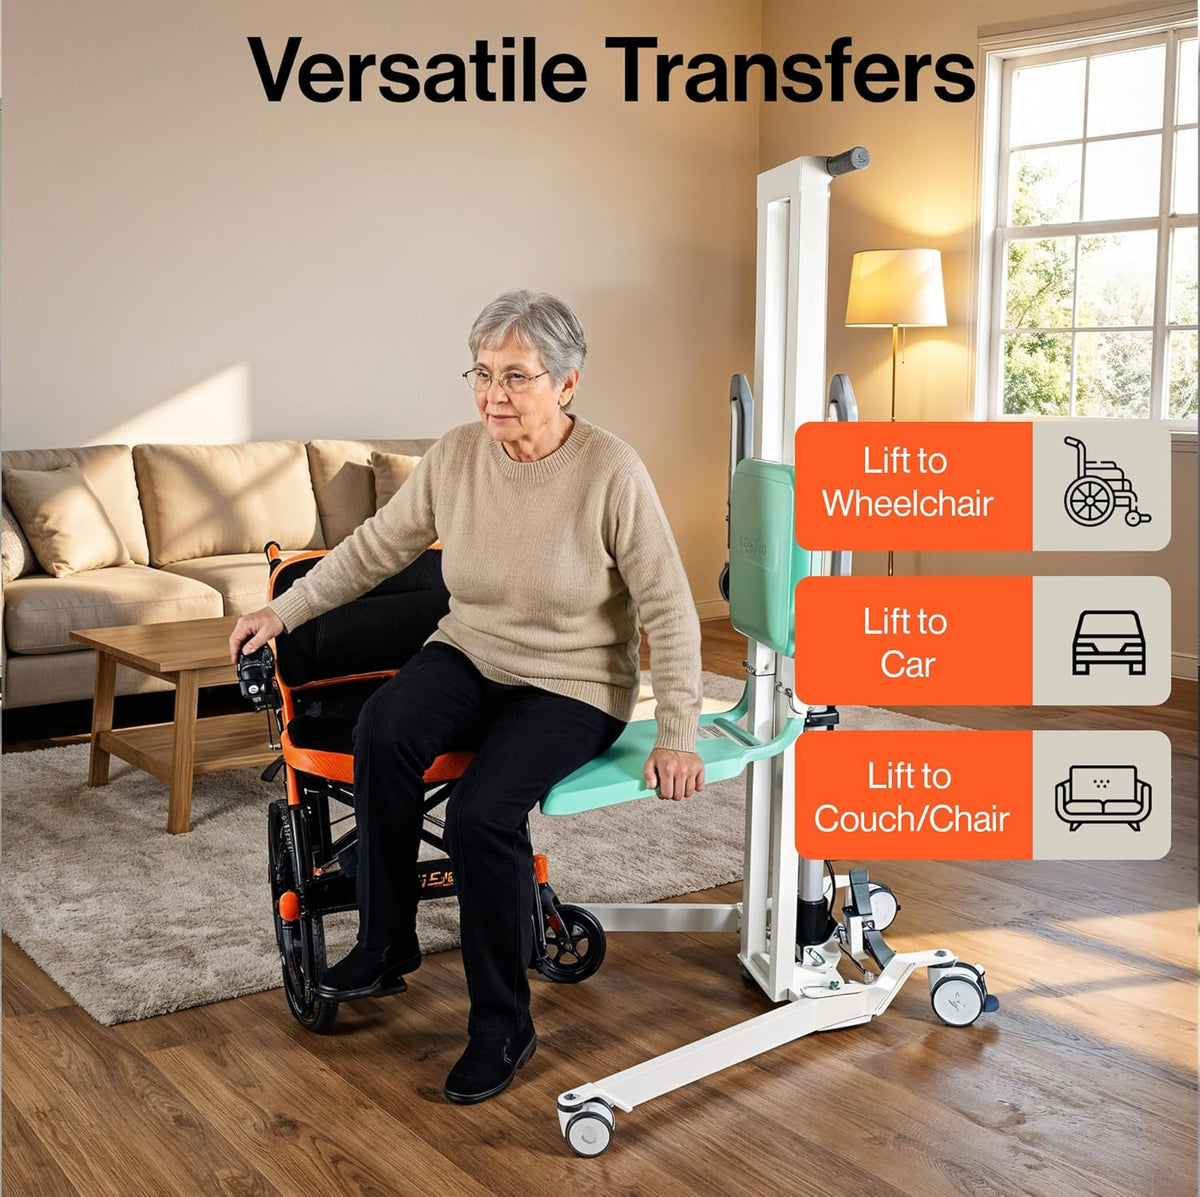
Understanding Patient Floor Lifts: Your Essential Guide
A patient floor lift is a crucial piece of assistive technology that provides a safe and dignified way to move a person with limited mobility. As defined by the U.S. Food & Drug Administration, patient lifts are designed to lift and transfer patients from one place to another, such as from bed to bath or chair to stretcher. These devices significantly reduce the physical strain on caregivers and minimize the risk of injury for both the caregiver and the loved one.
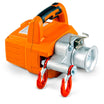
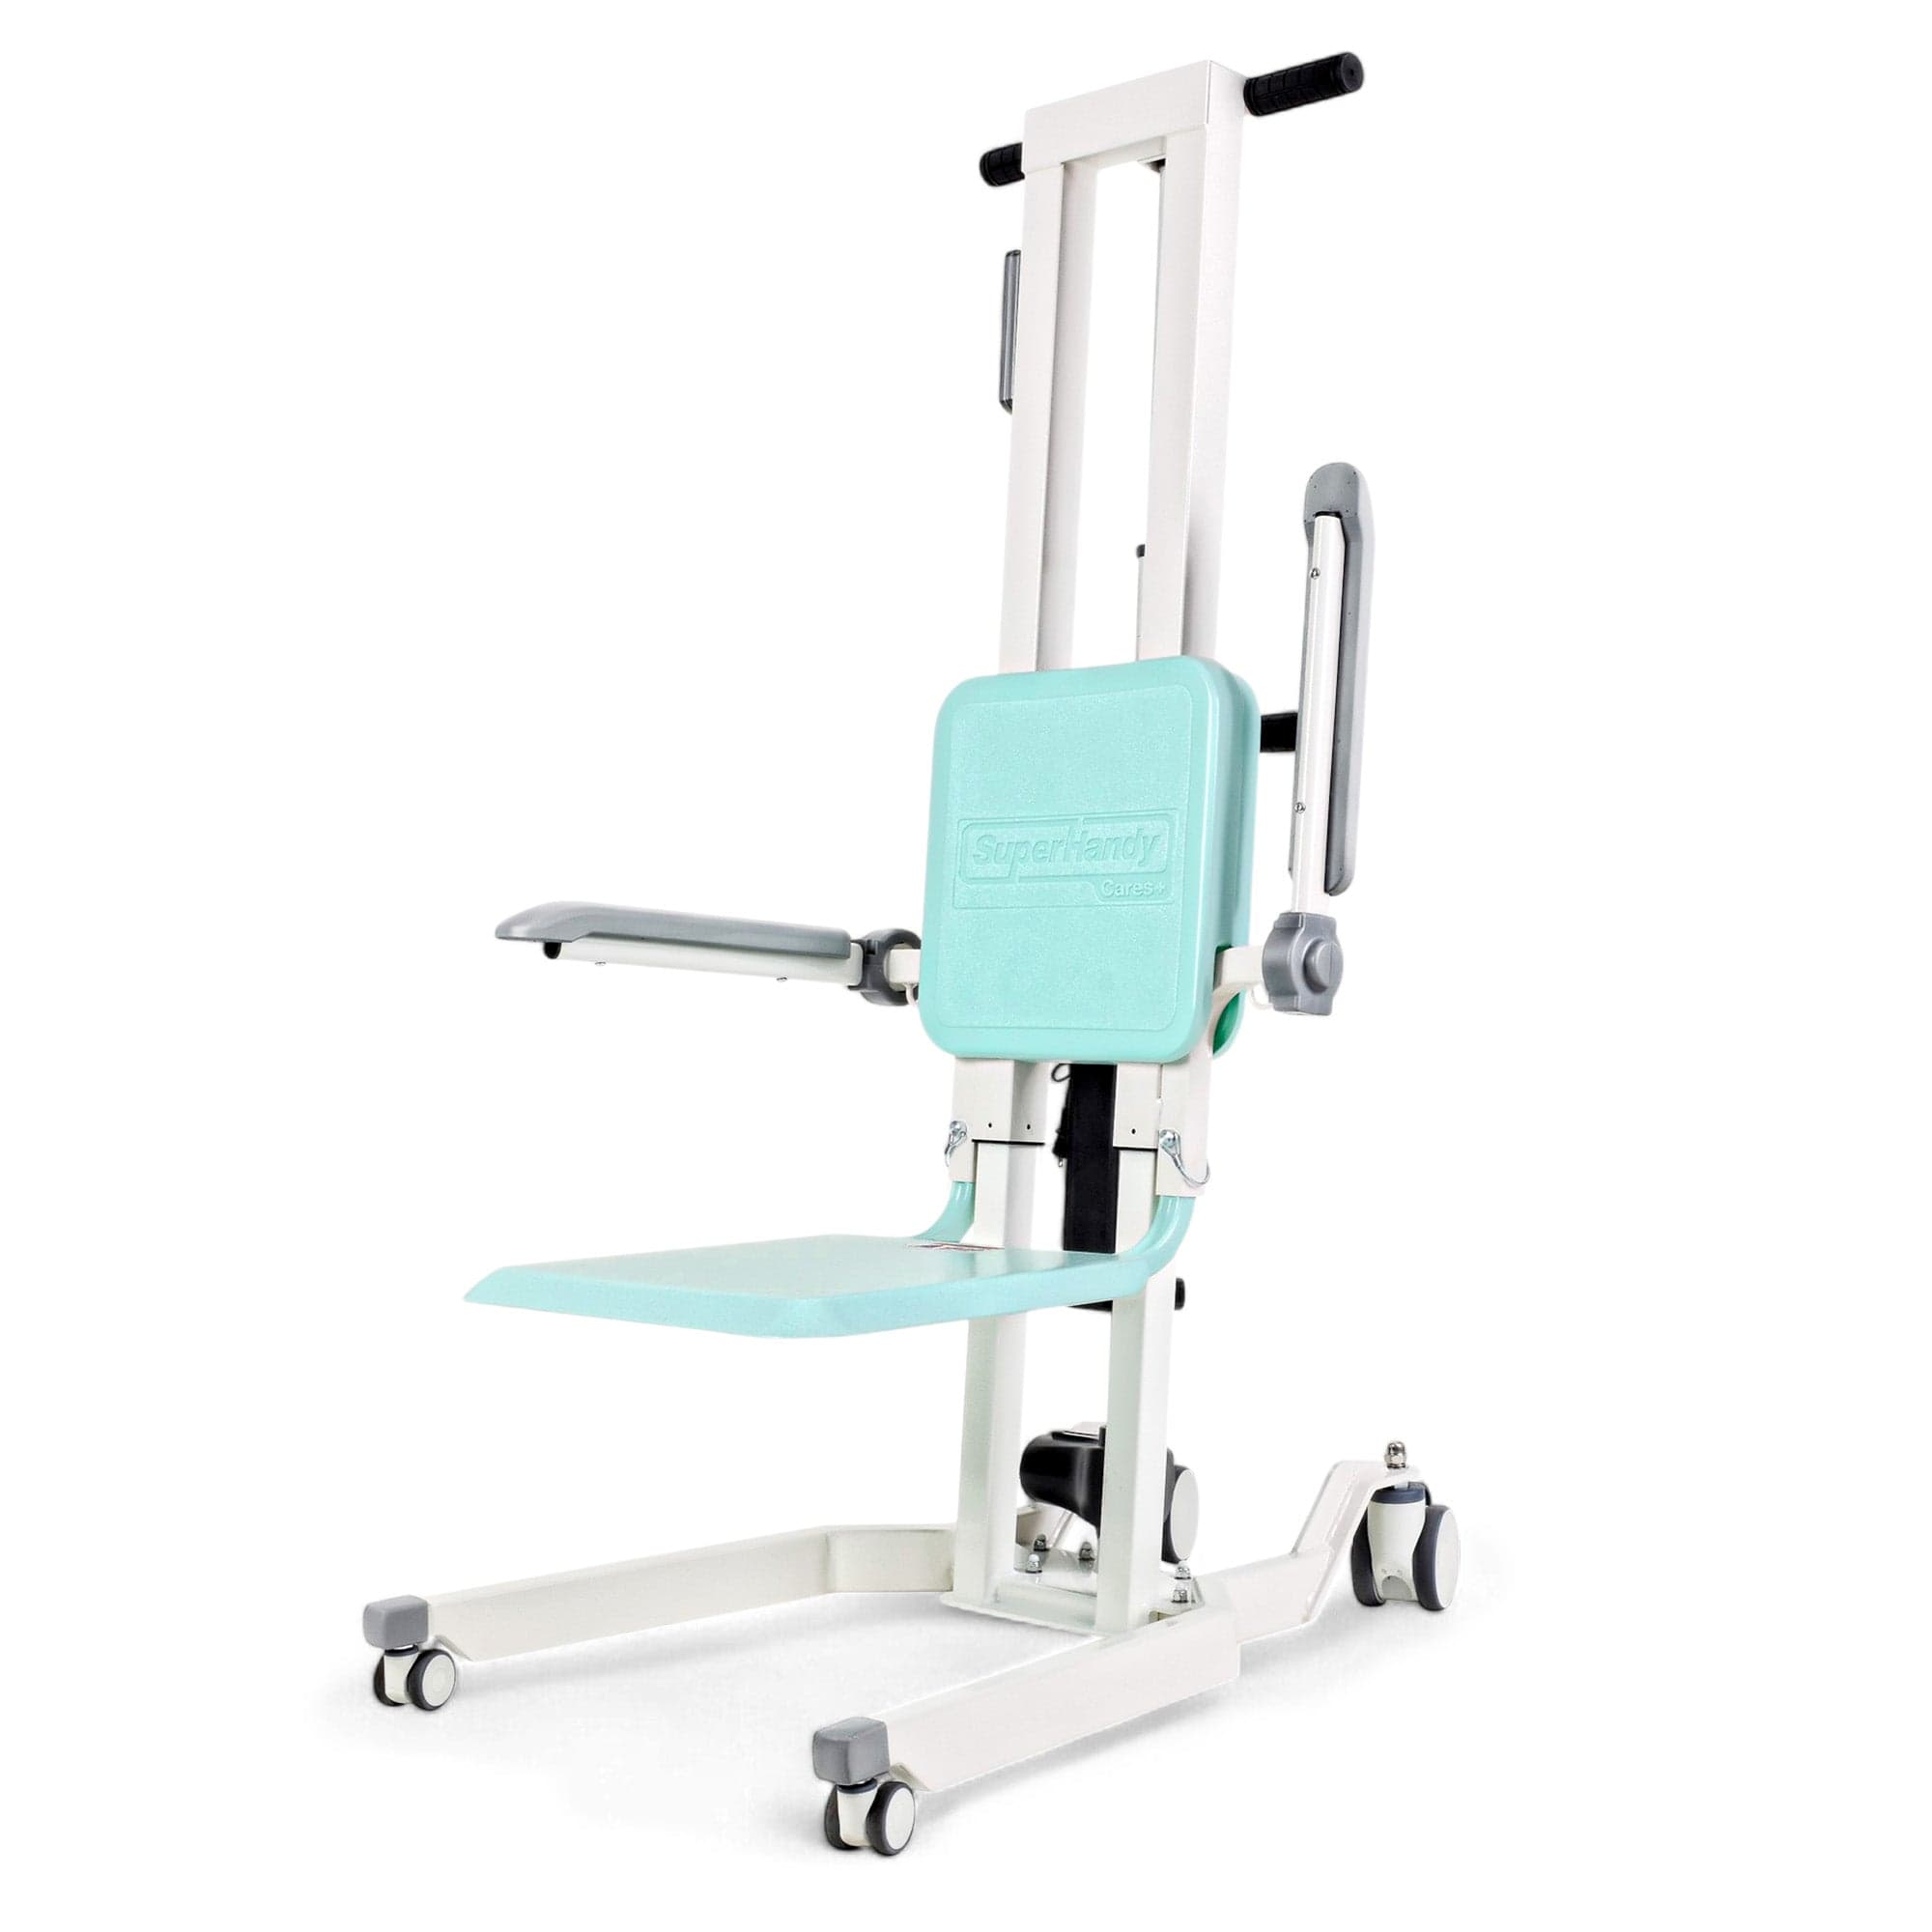
Lifts come in two primary operational styles. Patient lifts may be operated using a power source or manually, with powered models generally requiring a rechargeable battery and manual models operating via hydraulics. Electric lifts, like this powerful
Step-by-Step Guide: Safely Transferring from Bed to Wheelchair Using a Floor Lift
Moving a loved one requires a calm, methodical approach. Before you begin, explain each step to the person being transferred to reduce anxiety and encourage their cooperation.
- Prepare the Area: Position the wheelchair next to the bed, facing the same direction as the person in bed. Ensure the wheelchair brakes are securely locked and swing the footrests out of the way. Lock the bed's wheels to prevent it from moving.
- Position the Lift: Roll the patient floor lift into place. Widen the base legs for maximum stability and slide them under the bed. The lift’s boom (the arm) should be centered over your loved one.
- Apply and Attach the Sling: Carefully apply the transfer sling, ensuring it is smooth and correctly positioned under the person (more on this in the next section). Lower the lift’s boom and attach the sling’s loops to the hooks on the spreader bar. Double-check that all attachments are secure.
- Perform the Lift: Using the lift's controls, slowly and smoothly raise the person just high enough to clear the surface of the bed. A few inches is all you need. Keep your hands on the person or the sling for gentle guidance and reassurance.
- Maneuver and Position: Once clear of the bed, carefully maneuver the lift away from the bed and position it directly over the wheelchair.
- Lower and Seat: Gently begin lowering the person into the wheelchair. You may need to guide their body to ensure they are seated far back and centered in the chair. Continue lowering until their weight is fully supported by the wheelchair.
- Detach and Secure: Once they are safely seated, unhook the sling loops from the spreader bar and move the lift away. Adjust your loved one’s position for comfort, secure their feet on the footrests, and ensure they are comfortable.

Mastering the Sling: Choosing and Applying the Correct Type for Comfort and Security
The sling is just as important as the lift itself. It provides the support and security your loved one needs during the transfer. Using the wrong size or type can be uncomfortable and unsafe.
Choosing the Right Sling:
- Universal Sling (U-Sling): This is the most common type for general transfers. Its open-bottom design makes it easier to apply and remove while the person is seated, making it ideal for bed-to-wheelchair moves.
- Full Body Sling: For individuals with limited head, neck, or trunk control, a full-body sling offers superior support. It cradles the entire body, providing a greater sense of security.
- Sit-to-Stand Sling: This type is specifically designed for use with a sit-to-stand lift. It supports the upper body, requiring the user to have some weight-bearing capacity in their legs.
Applying the Sling in Bed:
- Gently roll your loved one onto their side, away from you.
- Fold the sling in half lengthwise and place it on the bed, tucking the folded edge against their back. The bottom of the sling should be aligned with their tailbone, and the leg straps should be flat.
- Gently roll them back onto the sling and then onto their other side.
- Pull the rest of the sling through so it lies flat beneath them.
- Bring the leg straps up and between their legs. Depending on the sling style, you may cross the straps for a more secure fit. Ensure there are no wrinkles or folds that could cause skin irritation.
Operating the Patient Floor Lift: Controls, Limits, and Best Practices
Modern electric floor lifts are designed for intuitive use, but following best practices is crucial for safety.
- Know Your Controls: Familiarize yourself with the hand-held remote. It typically has simple "up" and "down" buttons to raise and lower the boom. Some lifts also have a control to widen or narrow the base legs. Always ensure the battery is charged before starting a transfer.
- Respect the Limits: Every lift and sling has a maximum weight capacity. Know this limit and never exceed it.
- Move Smoothly: Avoid sudden starts and stops. Gentle, fluid movements are more comfortable for the patient and safer for everyone. Push the lift; don't pull it.
- Widen the Base: Always spread the lift’s base legs to their widest setting before lifting. This creates the most stable foundation and prevents tipping.
- Communicate Constantly: Talk your loved one through the entire process. Let them know when you are about to lift, move, and lower them.
Post-Transfer Checklist: Ensuring a Smooth Transition into the Wheelchair
The transfer isn’t complete until your loved one is safe, secure, and comfortable in the wheelchair. Run through this quick checklist every time.
- [✓] Seating Position: Is the person seated all the way back in the chair, not on the edge? Is their weight distributed evenly?
- [✓] Sling Status: Have you unhooked the sling from the lift? The sling can often be left in place under the person for comfort and to make the next transfer easier, but ensure it is smooth and not bunched up.
- [✓] Comfort and Safety: Are their clothes and the sling free of any folds that could cause pressure sores? Are their feet placed securely on the footrests? Are the wheelchair brakes still locked?
- [✓] Environment Clear: Has the patient lift been moved to a safe storage spot where it won’t be a tripping hazard?
- [✓] Needs Met: Is the person comfortable? Do they have their call bell, phone, water, or anything else they might need within easy reach?
Troubleshooting Common Challenges During Bed-to-Wheelchair Transfers
Even with the best preparation, you might encounter a few hiccups during a transfer. Staying calm and knowing how to respond is key. Here are solutions to some common challenges:
- The person expresses anxiety or fear: This is very common. Pause the transfer, lower them back to a safe position if necessary, and offer reassurance. Speak calmly, explaining each step before you do it. Ensure the sling is smooth and comfortable, as bunching fabric can cause discomfort and anxiety. For individuals who can bear some weight, a Sit-to-Stand Lift can feel more secure and participatory, helping to build their confidence.
- The sling shifts or bunches up: If you notice the sling is uneven or digging into your loved one's skin, it’s best to stop. Lower them back onto the bed, readjust the sling to ensure it is flat and correctly positioned under their body, and then restart the lift. A poorly fitted sling is a safety risk and a source of discomfort.
- The lift seems jerky or won't move: First, check that the lift's path is completely clear of obstacles like rugs or furniture legs. If it's an electric model, ensure the battery is fully charged. Jerky movements can sometimes be caused by a low battery or by trying to move the lift too quickly. Operate the controls with a smooth, steady hand.
Maintaining Your Patient Floor Lift: Cleaning, Inspection, and Storage
Proper maintenance is crucial for the safety and longevity of your patient floor lift. A few minutes of care before and after use can prevent accidents and costly repairs.
- Cleaning: After each use, wipe down the frame and hand controls with a soft cloth and a mild disinfectant or soap-and-water solution. Avoid abrasive cleaners that could damage the finish. Slings should be laundered according to the manufacturer’s instructions—some may be machine washable, while others require hand washing. Always ensure the sling is completely dry before storing it to prevent mildew.
- Inspection: Before every single transfer, perform a quick visual inspection. Check the sling and straps for any frays, tears, or worn stitching. Examine the lift's frame for cracks or loose bolts. Test the casters to ensure they roll and swivel freely. For an electric Transfer Floor Lift, verify the battery is charged and test the lift and lower functions before positioning it for the transfer.
- Storage: Store the lift in a clean, dry area where it won't be a tripping hazard. Lower the boom to its lowest position to improve stability and reduce its footprint. If you have an electric model, this is the perfect time to plug it in so it’s fully charged and ready for the next transfer.
When to Seek Professional Assistance for Patient Transfers
While a patient floor lift is an incredible tool, there are times when it’s wise to seek professional help. Your safety and your loved one's safety are the top priorities. Consider consulting a professional if:
- Your loved one's condition changes: If they have had recent surgery, have a new source of pain, or experience a significant change in their mobility or cognitive status, their transfer needs may have changed.
- You are consistently unsure or uncomfortable: If you feel anxious or lack confidence in performing the transfer, it's a sign to get help. An occupational or physical therapist can provide hands-on training, offer tips specific to your situation, and ensure you are using the equipment correctly.
- The transfer is consistently difficult: If the person resists, cries out in pain, or if you struggle to position them correctly every time, a professional can help troubleshoot the issue. They might recommend a different sling type or even a more specialized device like a Portable Floor Lift or an Electric Chair Lift to better suit their needs.
Empowering Caregivers: Building Confidence and Reducing Strain
Using a patient floor lift isn't just about protecting the person being moved; it's also about protecting you, the caregiver. Manual lifting day after day can lead to chronic back pain, shoulder injuries, and debilitating fatigue.
Embracing a floor lift is a proactive step toward sustainable caregiving. It dramatically reduces the physical strain on your body, preserving your health and energy for the many other tasks your role demands. This isn't a shortcut—it's the smart, professional way to provide safe patient handling at home.
Confidence comes with practice. Your first few transfers may feel slow and methodical, and that’s perfectly fine. With each successful transfer, your confidence will grow. You'll move from worrying about the mechanics to focusing on your loved one, turning a stressful task into a smooth, calm routine. By reducing the physical and mental strain of transfers, you empower yourself to be a more present, patient, and effective caregiver for the long haul.
Frequently Asked Questions About Using Patient Floor Lifts for Bed Transfers
Navigating the world of mobility aids can bring up many questions. Here, we address some of the most common inquiries caregivers have when considering a patient floor lift for bed-to-wheelchair transfers.
What are the different types of patient floor lifts available?
Choosing the right type of patient floor lift is crucial and depends almost entirely on the mobility level and physical capabilities of the person you are caring for. Understanding the primary categories will help you make an informed decision that prioritizes both safety and comfort.
1. Full-Body Patient Floor Lifts (Hoyer-Style Lifts)
This is what most people picture when they hear "patient lift." These devices are designed for individuals with significant mobility limitations who cannot bear their own weight or have limited control over their body.
- How they work: A full-body lift uses a supportive sling that cradles the person's entire body. A boom arm, either manually operated with a hydraulic pump or powered by an electric motor, lifts the person completely off the bed. The caregiver then maneuvers the lift to position the person over the wheelchair before gently lowering them.
- Best for: Individuals who are fully dependent on a caregiver for transfers.
- Examples: Models can range from robust, high-capacity transfer floor lifts for everyday use to more compact, portable floor lifts that are easier to store or transport.
2. Sit-to-Stand Lifts
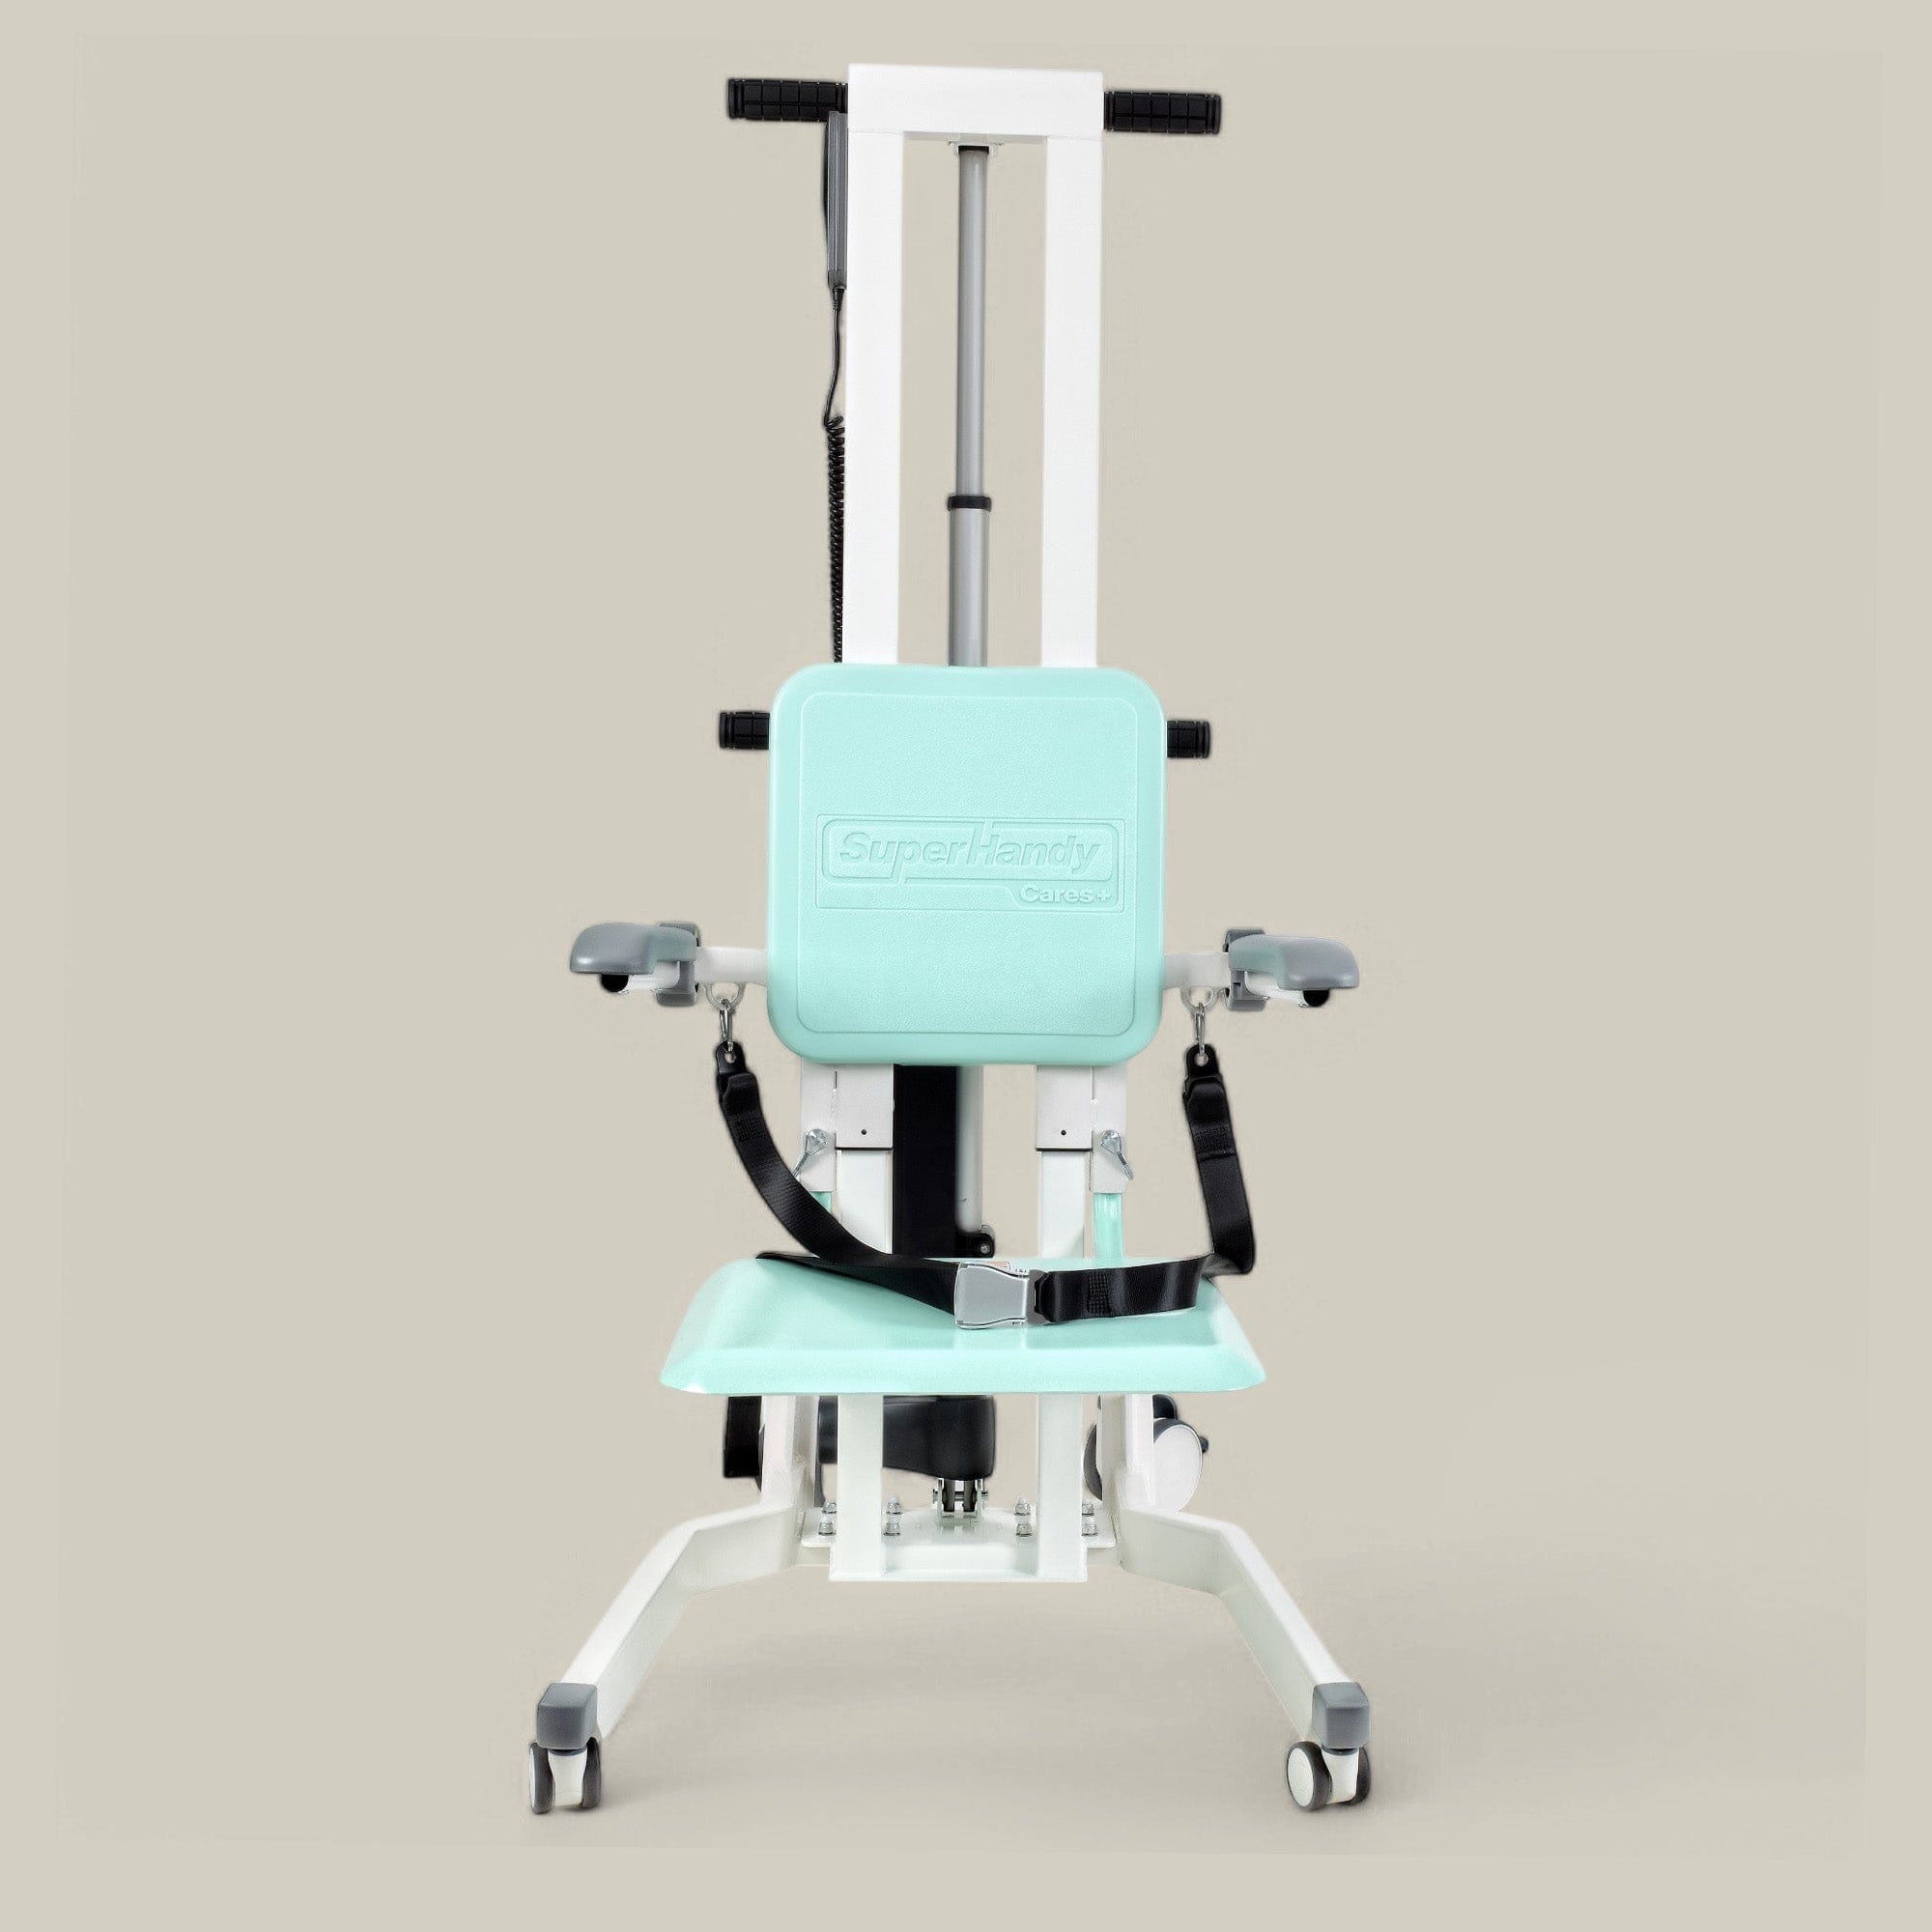
A Sit-to-Stand Lift is an active-assistance device, meaning the user participates in the transfer. It’s an excellent choice for encouraging mobility and maintaining muscle tone.
- How they work: The individual places their feet on a stable platform and rests their shins against padded supports. A specialized sling goes around their back or under their arms. The lift then helps pull them into a standing position, allowing the caregiver to pivot and lower them into a wheelchair or onto a commode.
- Best for: Individuals who can bear some weight on their legs, have good head and neck control, and can grip the lift's handles for support. They must be able to cooperate with the transfer. An electric standing lift can make this process smooth and effortless.
While not a floor lift, other assistive devices like an electric chair lift can also be part of a comprehensive mobility solution, helping a person rise from a seated position in their favorite armchair.
How often should a patient floor lift be inspected and maintained?
Regular inspection and maintenance are not just recommended—they are essential for the safe operation of any Patient Floor Lift. A malfunctioning lift can lead to serious injury. Always refer to the manufacturer's user manual for specific guidelines, but a general maintenance schedule should look like this:
Before Every Use: A Quick Visual Check This takes less than a minute and is your first line of defense against accidents.
- Sling: Inspect for any fraying, tears, or weakened stitching.
- Frame: Look for cracks, dents, or bent components.
- Casters: Ensure the wheels roll freely and that the locking brakes engage securely.
- Hooks and Latches: Check that the sling attachment points are not bent or damaged.
Weekly or Monthly: A More Thorough Inspection
- Cleanliness: Wipe down the lift frame with a mild, non-abrasive cleaner to prevent the buildup of dirt and grime.
- Battery (for electric models): Check the battery indicator to ensure it has sufficient charge for the transfers you plan to perform. Follow the manufacturer's charging instructions.
- Controls: Test the hand pendant, ensuring the "up" and "down" functions work smoothly. Test the emergency stop and manual lowering functions as well.
- Hardware: Check that all nuts, bolts, and fasteners are tight.
Annually: Professional Service and Inspection Most manufacturers recommend having a qualified technician inspect the lift at least once a year. This professional service typically includes:
- A load test to ensure the lift can still safely handle its maximum weight capacity.
- Detailed inspection of all welds, the hydraulic or electric motor system, and all moving parts.
- Lubrication of joints and pivot points as needed.
A consistent maintenance routine ensures your floor lift remains a reliable and safe tool, providing peace of mind and protecting both you and your loved one from harm.
Related Products






Leave a comment
All comments are moderated before being published.
This site is protected by hCaptcha and the hCaptcha Privacy Policy and Terms of Service apply.