








Understanding Your Chipper's Feed Chute: The Heart of the Operation
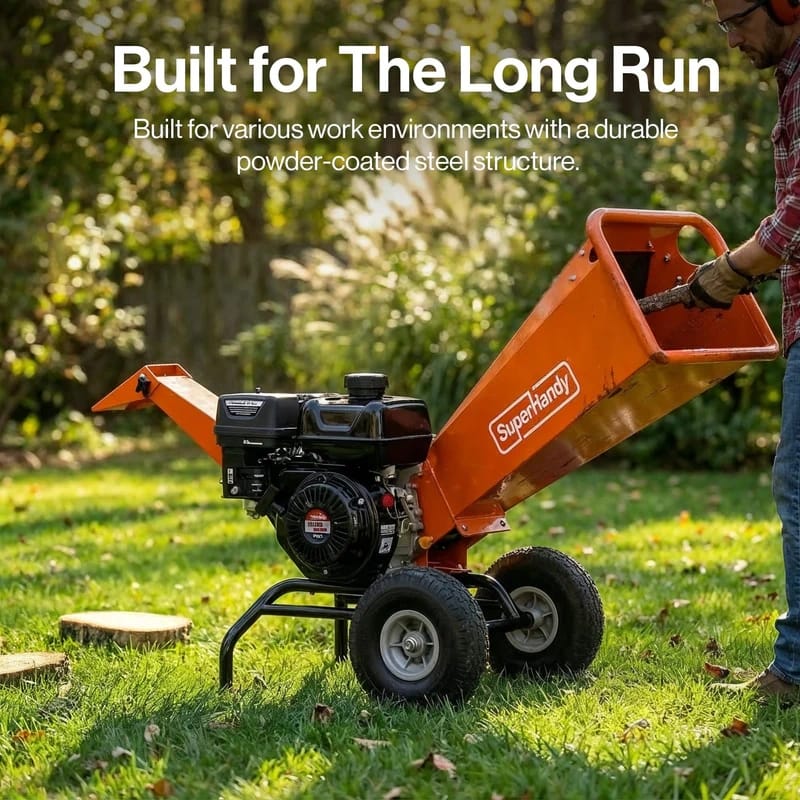
Think of the feed chute as the starting point for the entire chipping process. It’s the specially designed funnel that guides branches, twigs, and other yard waste safely toward the internal cutting blades or hammers. Its primary functions are to provide a safe distance between you and the cutting mechanism and to channel material at the correct angle for efficient processing. A well-designed chute helps the machine "bite" into the wood and pull it in, a process known as self-feeding. Understanding how to work with your chute, not against it, is the first step toward becoming a chipping pro.
Why Feed Chute Design Matters for Different Branch Sizes
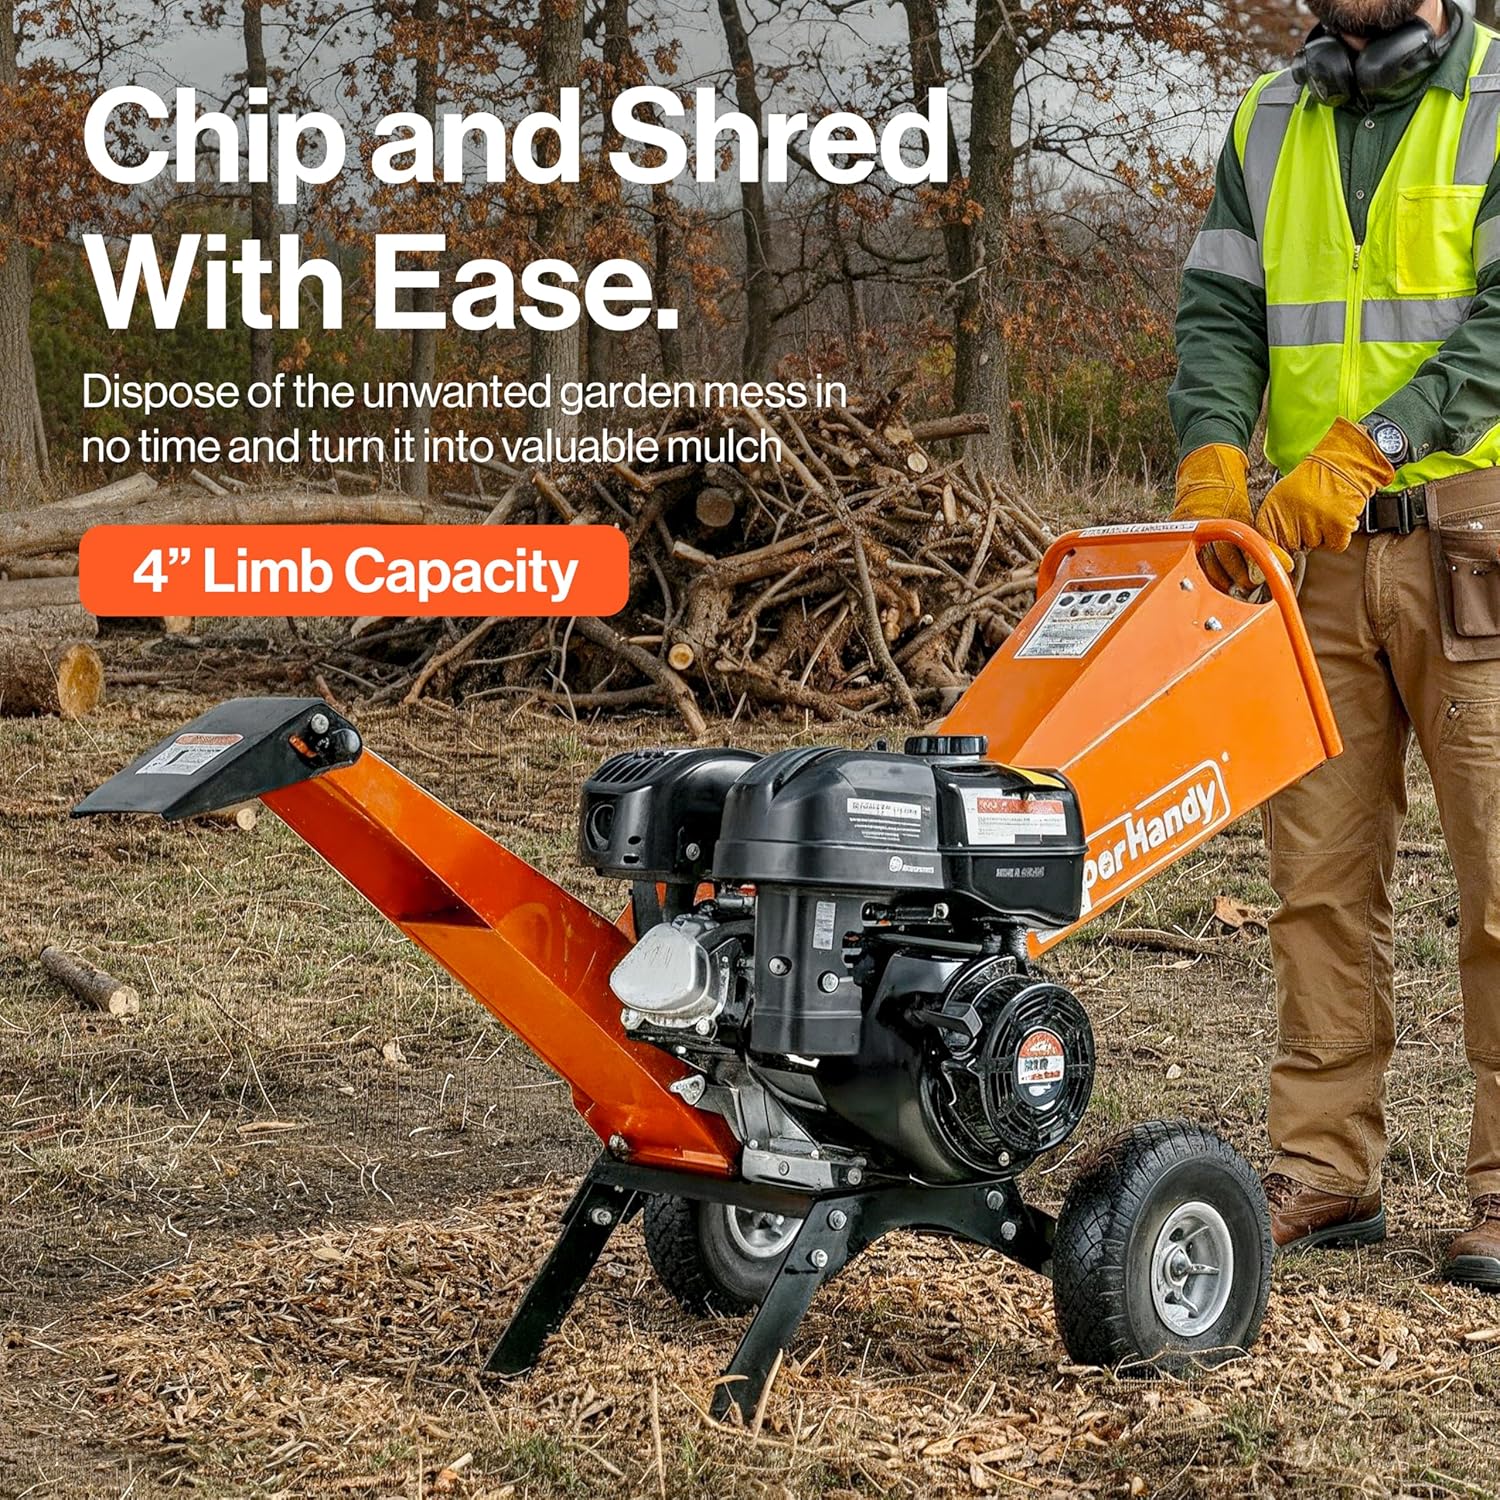
Not all feed chutes are created equal, and their design directly impacts how you'll handle different materials. The most obvious feature is the opening size, which dictates the maximum diameter of the branches you can process. A heavy-duty 4 inch wood chipper is built with a wide throat specifically for substantial limbs.
Furthermore, many models feature multiple intake points. A versatile 3 IN 1 wood chipper, for example, will have a large side chute for branches and a separate top-mounted hopper for lighter materials like leaves and twigs. The chute's design works in tandem with the internal mechanism, whether it's a high-speed Rotor wood chipper or a drum-style unit, to pull material in effectively.

Pre-Chipping Preparation: Optimizing Your Material for the Feed Chute
A few minutes of preparation can save you hours of frustration. Before you even start your wood chipper, organize your debris pile.
- Sort by Size: Create separate piles for small twigs, medium branches, and larger limbs that are close to your chipper's maximum capacity. This allows you to get into a rhythm and feed the machine consistently.
- Trim Awkward Growth: Long, straight branches are ideal. Use a pair of loppers or a saw to trim off wide, V-shaped side branches. This prevents them from getting wedged in the chute opening and causing a jam.
- Inspect for Debris: Always give your branches a quick look-over for any non-organic material. Rocks, wire, nails, and even excessive mud can damage your chipper's blades and create dangerous projectiles.

Techniques for Feeding Smaller Branches: Efficiency and Safety
Feeding thin twigs and leafy greens one by one is slow and ineffective. The key to chipping small material is to bundle it.
Grab a handful of twigs and feed them into the chute butt-end first. This gives the machine's rollers or blades a solid mass to grab onto, allowing it to self-feed the entire bundle efficiently. For very light debris like leaves and pine needles, a model with a dedicated hopper or a combo unit like a leaf vacuum is far more effective. Even a compact Mini wood chipper can make quick work of small branches when they are bundled properly. Most importantly, always let go of the material once the chipper begins to pull it in. Never force your hands past the outer edge of the feed chute.
Handling Medium-Sized Branches: The Sweet Spot for Most Chippers
Medium-sized branches, typically between 1 to 3 inches in diameter, are what most gas wood chippers are born to handle. This is the sweet spot where the machine operates at peak efficiency. The weight and rigidity of these branches are often perfect for the chipper's self-feeding mechanism to grab hold and pull the material in at a steady, controlled pace.
For the smoothest operation, feed these branches butt-end first. This allows the chipper to process the thickest part while the engine is under the least amount of load, gradually working its way to the thinner, leafier ends. There's no need to force them; simply guide the branch into the feed chute and let the machine do the work. You’ll quickly find a rhythm that makes processing a large pile of brush feel almost effortless. A versatile 3 IN 1 wood chipper excels with this kind of varied, mid-range material.
Tackling Larger Branches: When to Use Caution and Special Techniques
Pushing your wood chipper to its maximum capacity requires more attention and technique. Before you even start, know the absolute maximum diameter your machine can handle. A heavy-duty 4 inch wood chipper, for example, is built for this task, but trying to feed a 4-inch branch into a 3-inch capacity chipper will only lead to jams and potential damage.
When feeding large-diameter branches:
- Don't Force It: Shoving a branch can stall the engine or cause a serious jam.
- Listen to the Engine: If you hear the engine bogging down, slightly pull back on the branch for a second or two. This allows the flywheel to regain speed and momentum before you continue feeding.
- Trim Awkward Forks: Prune any Y-shaped forks or side branches that are too wide to fit comfortably into the chute opening.
- Feed Straight: Introduce the branch as straight as possible to prevent it from twisting and getting wedged inside the chute.
Identifying and Preventing Feed Chute Jams: Proactive Measures
The best way to deal with a jam is to prevent it from ever happening. Jams are almost always caused by improper feeding techniques or poor material preparation.
Common Causes of Jams:
- Overfeeding: Trying to chip too much material at once.
- Wet, Stringy Material: Excessive green leaves or vines can wrap around the rotor instead of chipping cleanly.
- Wide Forks: Awkwardly shaped branches that get wedged in the chute.
- Dull Blades: Worn blades shred wood into stringy fibers that clog the machine, rather than cutting it into clean chips.
Prevention Strategies:
- Feed at a Steady Pace: Don't overload the chute. Give the machine time to process each branch before introducing the next.
- Alternate Materials: Mix green, leafy material with dry, woody branches. The dry branches help clear out the stringy residue from the green ones.
- Prepare Your Pile: Pre-cut any branches with wide, V-shaped forks before they get near the chipper.
- Maintain Your Blades: Sharp blades are crucial for clean chipping and jam prevention. Check them regularly for nicks and wear.
Troubleshooting Common Feed Chute Issues: Clearing Blockages Safely
Even with the best preventative measures, a jam can occasionally occur. When it does, your absolute first priority is safety. Never, ever put your hands or feet inside the feed chute.
Follow these steps to clear a blockage safely:
- SHUT DOWN THE ENGINE IMMEDIATELY. Turn the machine completely off.
- Wait for all moving parts to come to a complete stop. The internal flywheel can spin for a minute or more after the engine is off.
- Disconnect the spark plug wire. This is the most critical step to prevent an accidental restart while you are working.
- Inspect the jam. Look into both the feed chute and the discharge chute to identify the blockage.
- Use a tool, not your hands. Use a long, sturdy piece of wood or a designated clearing tool to carefully poke and prod at the blockage from the outside. Do not reach into the chute.
- Access the housing if necessary. For severe clogs wrapped around the rotor, you may need to open the blade housing according to your owner's manual. Once open, you can safely cut away the wrapped material.
- Reassemble and restart. Once the blockage is cleared, securely reassemble any parts you opened, reconnect the spark plug wire, and restart the chipper. Feed a very small branch first to ensure everything is operating correctly.
Chipper Maintenance for Optimal Feed Chute Performance
A smooth-running feed chute is a direct result of a well-maintained machine. Neglecting basic upkeep is the fastest way to invite clogs, poor performance, and frustration. To keep your wood chipper feeding flawlessly, integrate these maintenance steps into your routine:
- Keep it Clean: After each use, and once the machine is completely cool and disconnected from power, clear any lingering debris from the feed chute, hopper, and discharge area. Caked-on sawdust and resin can snag fresh material and create a bottleneck.
- Sharpen or Replace Blades: Dull blades don't cut; they smash. This requires more engine power and, crucially, affects the self-feeding mechanism. Instead of pulling branches in smoothly, dull blades can cause them to bounce or stall in the chute, leading to jams. Check your blades regularly for nicks and wear.
- Inspect the Chute: Look for any dents, cracks, or warping inside the feed chute. A damaged surface can easily catch branches and disrupt the flow of material.
- Check Belts and Engine: The feed chute’s performance is directly tied to the power turning the blades. A loose or worn drive belt will reduce cutting power, making it harder for the chipper to process material efficiently. Ensure your engine is running well with clean oil and a clean air filter for maximum power delivery.
Safety First: Essential Precautions When Working with Feed Chutes
A wood chipper is a powerful tool, and the feed chute is the primary point of interaction. Never become complacent. Adhering to strict safety protocols is non-negotiable.
- Wear Proper PPE: Always wear heavy-duty gloves, safety glasses or goggles to protect against flying debris, and hearing protection. A gas wood chipper is loud, and prolonged exposure can damage your hearing.
- Never Reach Inside: This is the most critical rule. Never, under any circumstances, place your hands or feet inside the feed chute while the machine is running.
- Use a Push Paddle: If material needs a nudge, use a wooden push paddle or another long, sturdy branch. Never use a metal rod, which can damage the blades, or your hands.
- Stand to the Side: Position yourself to the side of the feed chute opening, not directly in front of it. This protects you from the rare but possible danger of "kickback," where a branch is violently ejected back out of the chute.
- Shut Down for Jams: If the chute becomes clogged, immediately turn off the engine. Wait for the flywheel and all moving parts to come to a complete stop before attempting to clear the blockage.
Choosing the Right Chipper for Your Branch Size Needs
Your success in chipping starts long before you feed the first branch. It begins with selecting a machine that matches the job. Mismatching your chipper to your debris is a recipe for inefficiency and potential damage.
For light yard work consisting mainly of leaves, twigs, and small garden waste, a multi-function 3 IN 1 wood chipper or a unit with a dedicated leaf vacuum and hopper is ideal. For all-purpose property cleanup involving branches up to a few inches in diameter, a versatile Mini wood chipper offers a great balance of power and maneuverability.
When tackling larger, more demanding jobs like clearing overgrown woodlots or storm damage, you need to step up your equipment. A heavy-duty 4 inch wood chipper provides the necessary horsepower and capacity to handle substantial limbs without struggling. Specialized designs, such as a rotor wood chipper, can also offer unique advantages for specific types of wood.
Understanding Chipper Specifications: Feed Chute Opening and Capacity
When comparing models, two key specifications directly relate to the feed chute: opening size and chipping capacity. It is vital to understand the difference.
- Feed Chute Opening: This is the physical dimension of the mouth of the chute (e.g., 6" x 5"). It determines how bulky of a branch you can fit in. A wider opening is beneficial for feeding branches with many side shoots without excessive pre-trimming.
- Chipping Capacity: This refers to the maximum diameter of a single, solid piece of wood the chipper can process (e.g., 3 inches). This rating is determined by the engine's horsepower and the strength of the cutting mechanism.
Confusing these two is a common mistake. A chipper might have a large 6-inch opening, but if its chipping capacity is only 3 inches, you cannot feed it a 4-inch solid log. The large opening simply allows you to feed a complex 3-inch branch with its leaves and twigs still attached. Always respect the chipping capacity to avoid stalling the engine and creating dangerous jams.
Maximizing Chipper Lifespan Through Proper Feed Chute Usage
Your gas wood chipper is a powerful investment, and its longevity is directly tied to how you operate it. While regular engine maintenance and blade care are essential, the single most influential factor in your machine's long-term health is how you use the feed chute. Proper feeding technique isn't just about efficiency; it's about protecting your investment by preventing unnecessary wear and tear on every critical component.
Reduce Engine and Drivetrain Strain Every time you force an oversized branch or jam the chute with too much material at once, you put immense, sudden strain on the engine and drivetrain. A wood chipper engine is engineered to work under a consistent load. Abruptly stopping the rotor by jamming it overloads the belts, clutch, and engine itself. By feeding material at a steady pace that allows the engine to maintain its RPMs, you prevent these power spikes. Respecting your machine's stated capacity, such as the maximum diameter for a heavy-duty 4 inch wood chipper, is the first rule of preventing engine-killing stress.
Preserve Blade Sharpness and Integrity The cutting blades are the business end of your chipper. Feeding branches caked in mud, sand, or gravel is like grinding them with sandpaper—it will dull your blades with astonishing speed. Dull blades require significantly more engine power to do the same job, increasing fuel consumption and overall strain. Furthermore, forcing material or having foreign objects hit the blades can cause them to nick, crack, or break. By feeding clean wood and letting the machine's self-feeding mechanism pull it in naturally, you will keep your blades sharper for much longer, saving you time and money on sharpening and replacements.
Protect the Rotor, Bearings, and Housing The heart of the chipping mechanism is the heavy rotor assembly. Sudden jams and hard impacts send shockwaves through this entire system. These violent jolts can stress the rotor shaft and, most critically, the bearings that allow it to spin at thousands of revolutions per minute. A smooth, consistent flow of material minimizes vibration and shock loading, protecting the core of your machine. This is especially vital for a high-performance Rotor wood chipper, where the integrity of the rotating assembly is paramount for both performance and safety.
Use the Right Chute for the Right Material Many versatile machines, like a 3 IN 1 wood chipper or a chipper that includes a leaf vacuum function, feature multiple input points. The main side chute is for woody branches, while a larger top hopper is designed for light, leafy material and small twigs. Attempting to stuff large branches into a top hopper or feeding wet, stringy vegetation into the side chute is a recipe for clogs, poor performance, and potential damage. Likewise, trying to make a Mini wood chipper do the work of a larger model will inevitably shorten its lifespan. Always match the material to the correct chute to ensure the machine operates as designed. By working with your chipper instead of against it, you ensure it remains a reliable partner for years of yard work.

Frequently Asked Questions About Mastering the Feed Chute
What is the best way to feed small twigs and leaves into the chipper?
Loose twigs, leaves, and other small debris can be tricky. If fed alone, they may not have enough mass to be pulled through the chipping mechanism efficiently, potentially causing a minor clog or simply passing through un-chipped. The best method is to mix them with larger branches. A great technique is to create a "carrier" by feeding a medium-sized branch and then adding handfuls of smaller material on top of it as it's pulled into the chute. Alternatively, some models like a 3 IN 1 wood chipper or a dedicated leaf vacuum mulcher feature a separate, larger hopper designed specifically for this type of yard waste.
Can I chip wet or green wood?
There's a key difference between "green" and "wet" wood. Green wood, which is freshly cut and still has a high moisture content, is often ideal for chipping. It's softer than dry, seasoned wood, which can be brittle and hard on the blades. However, wood that is "wet"—meaning it's been soaked by rain—is another story. Excess surface water can mix with the fine wood particles to create a paste-like pulp, which is a primary cause of clogs in the feed chute, blade housing, and discharge chute. If your brush pile gets rained on, it's best to let it dry for a day or two before chipping.
Why does my feed chute keep jamming?
Feed chute jams are frustrating but usually preventable. The most common reasons include:
- Feeding too fast: Overloading the chute prevents the blades from keeping up, causing a bottleneck. Feed material at a steady pace, allowing the machine's engine to recover between branches.
- Oversized material: Forcing a branch that exceeds your chipper's maximum capacity is a guaranteed way to cause a jam and potentially damage the machine.
- Improper material: Stringy materials like vines or palm fronds can wrap around the rotor instead of chipping. Cut them into shorter, more manageable lengths before feeding.
- Dull blades: Worn blades don't cut cleanly; they shred and tear. This creates larger, stringier pieces that are more likely to clog the chute. Regular blade maintenance is key for any rotor wood chipper.
How do I know if a branch is too big for my wood chipper?
Always refer to your chipper's manual for its maximum rated branch diameter. It's crucial to understand that the size of the feed chute opening is often larger than the machine's actual chipping capacity. This is a safety design feature, not an invitation to force in oversized logs. If a branch doesn't feed easily, don't try to shove it through. If you consistently find yourself with material that is too large, it might be time to consider a more powerful model, such as a 4 inch wood chipper, to match your needs.
Should I feed branches butt-end first?
Yes, absolutely. Always feed branches into the chute with the thickest end (the butt-end) first. This allows the chipper's self-feeding mechanism to get a solid grip on the wood, pulling it in at a steady and controlled rate. Feeding tip-first can cause the smaller, leafy end to thrash around, and the machine may struggle to properly grab and process the branch once it reaches the thicker portion. Feeding butt-end first is safer, more efficient, and puts less strain on your gas wood chipper.
Related Products



Leave a comment
All comments are moderated before being published.
This site is protected by hCaptcha and the hCaptcha Privacy Policy and Terms of Service apply.