


Why Pre-Operation Safety Checks for Wood Chippers Are Non-Negotiable
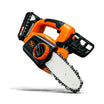
A Wood Chipper is an incredibly powerful and efficient tool for managing yard waste, but that power demands respect. Treating it like any other piece of lawn equipment is a mistake that can lead to poor performance, damage to the machine, or serious injury. A consistent pre-operation inspection routine is your first and most important line of defense. By taking just five to ten minutes before you start the engine, you can identify potential hazards before they become accidents. This isn't just about following rules; it's about creating a safe working environment for yourself and anyone nearby. According to OSHA hand and power tool safety guidance, keeping tools in good condition with regular maintenance is a fundamental step in preventing workplace accidents, a principle that applies directly to using a chipper at home. This simple habit ensures your machine operates as intended, prolongs its life, and provides you with essential peace of mind.
Check 1: Inspecting the Wood Chipper's Blades for Damage and Sharpness
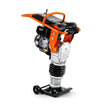
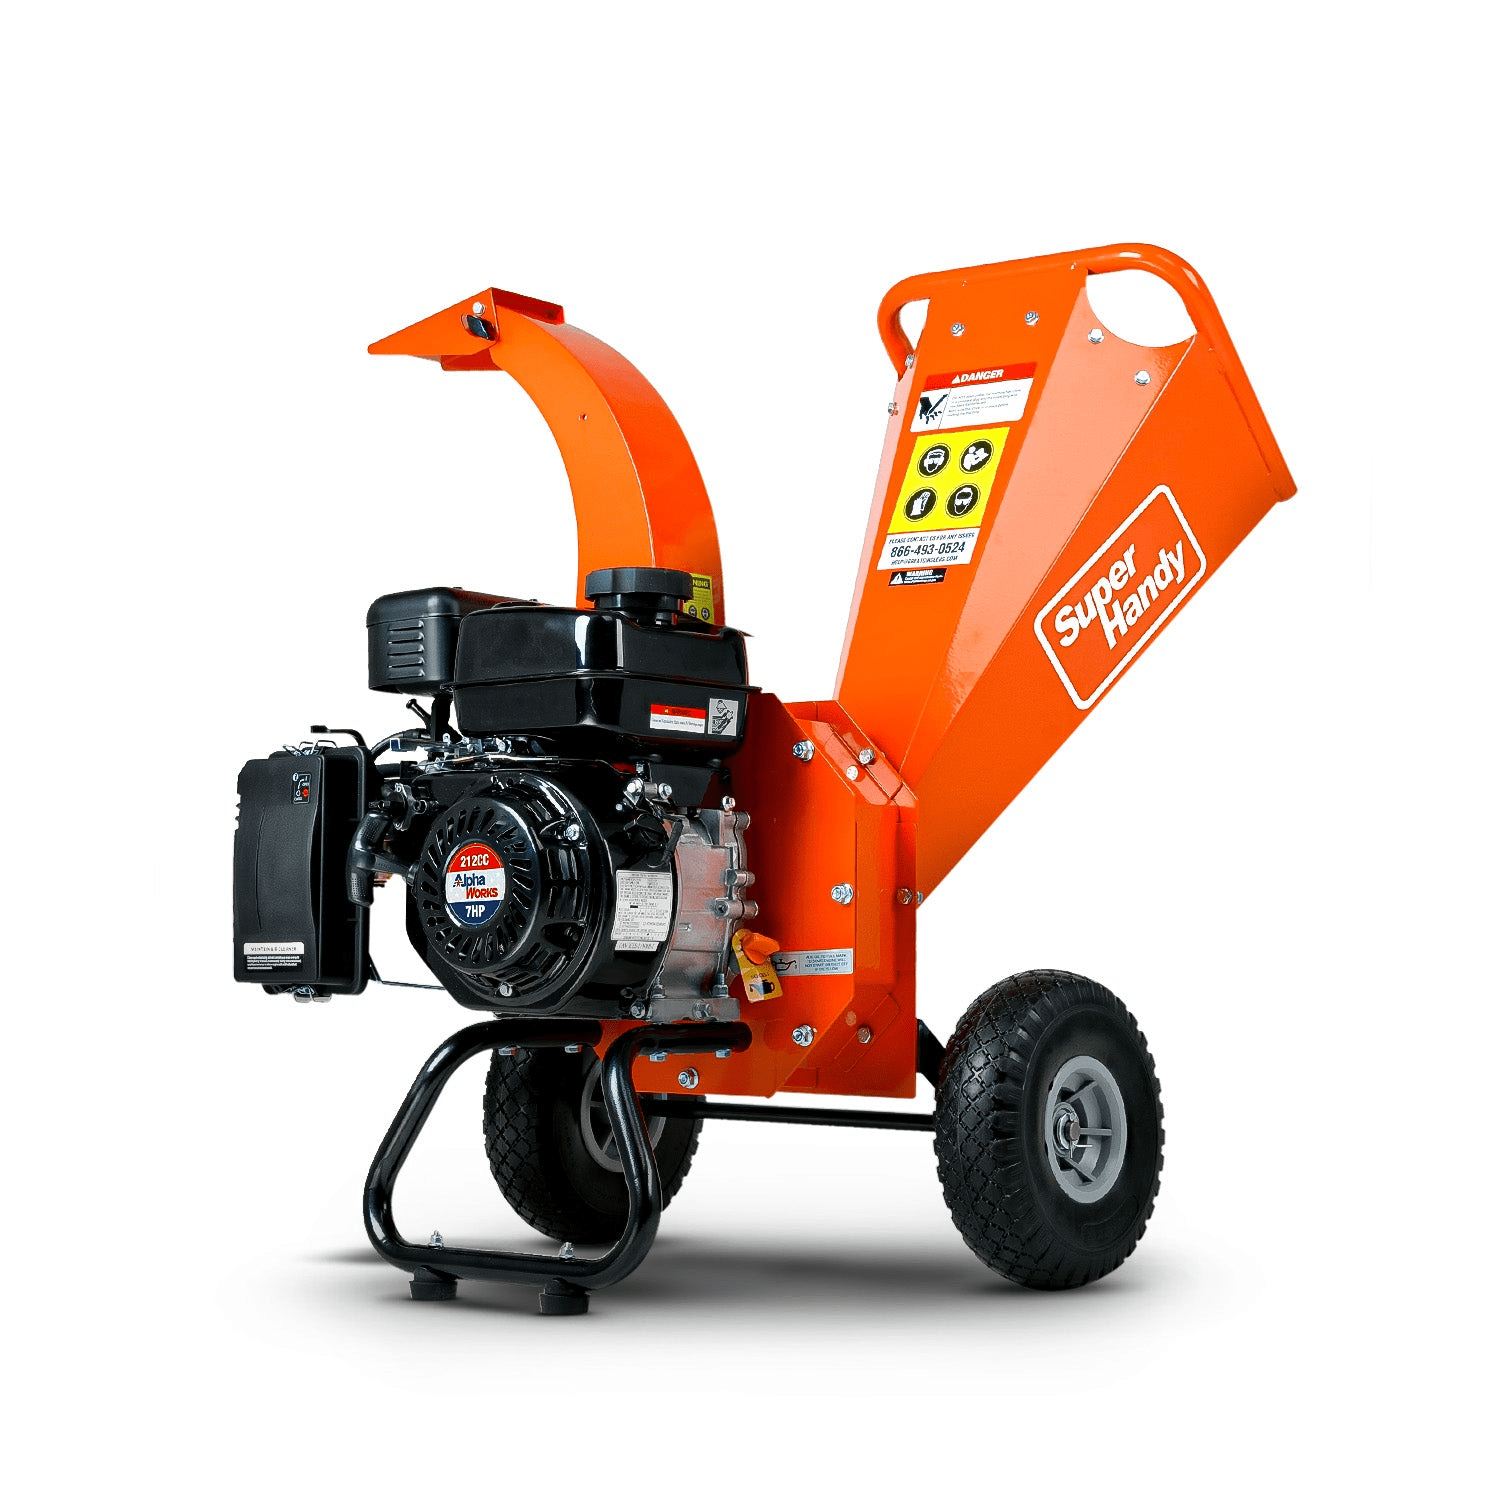
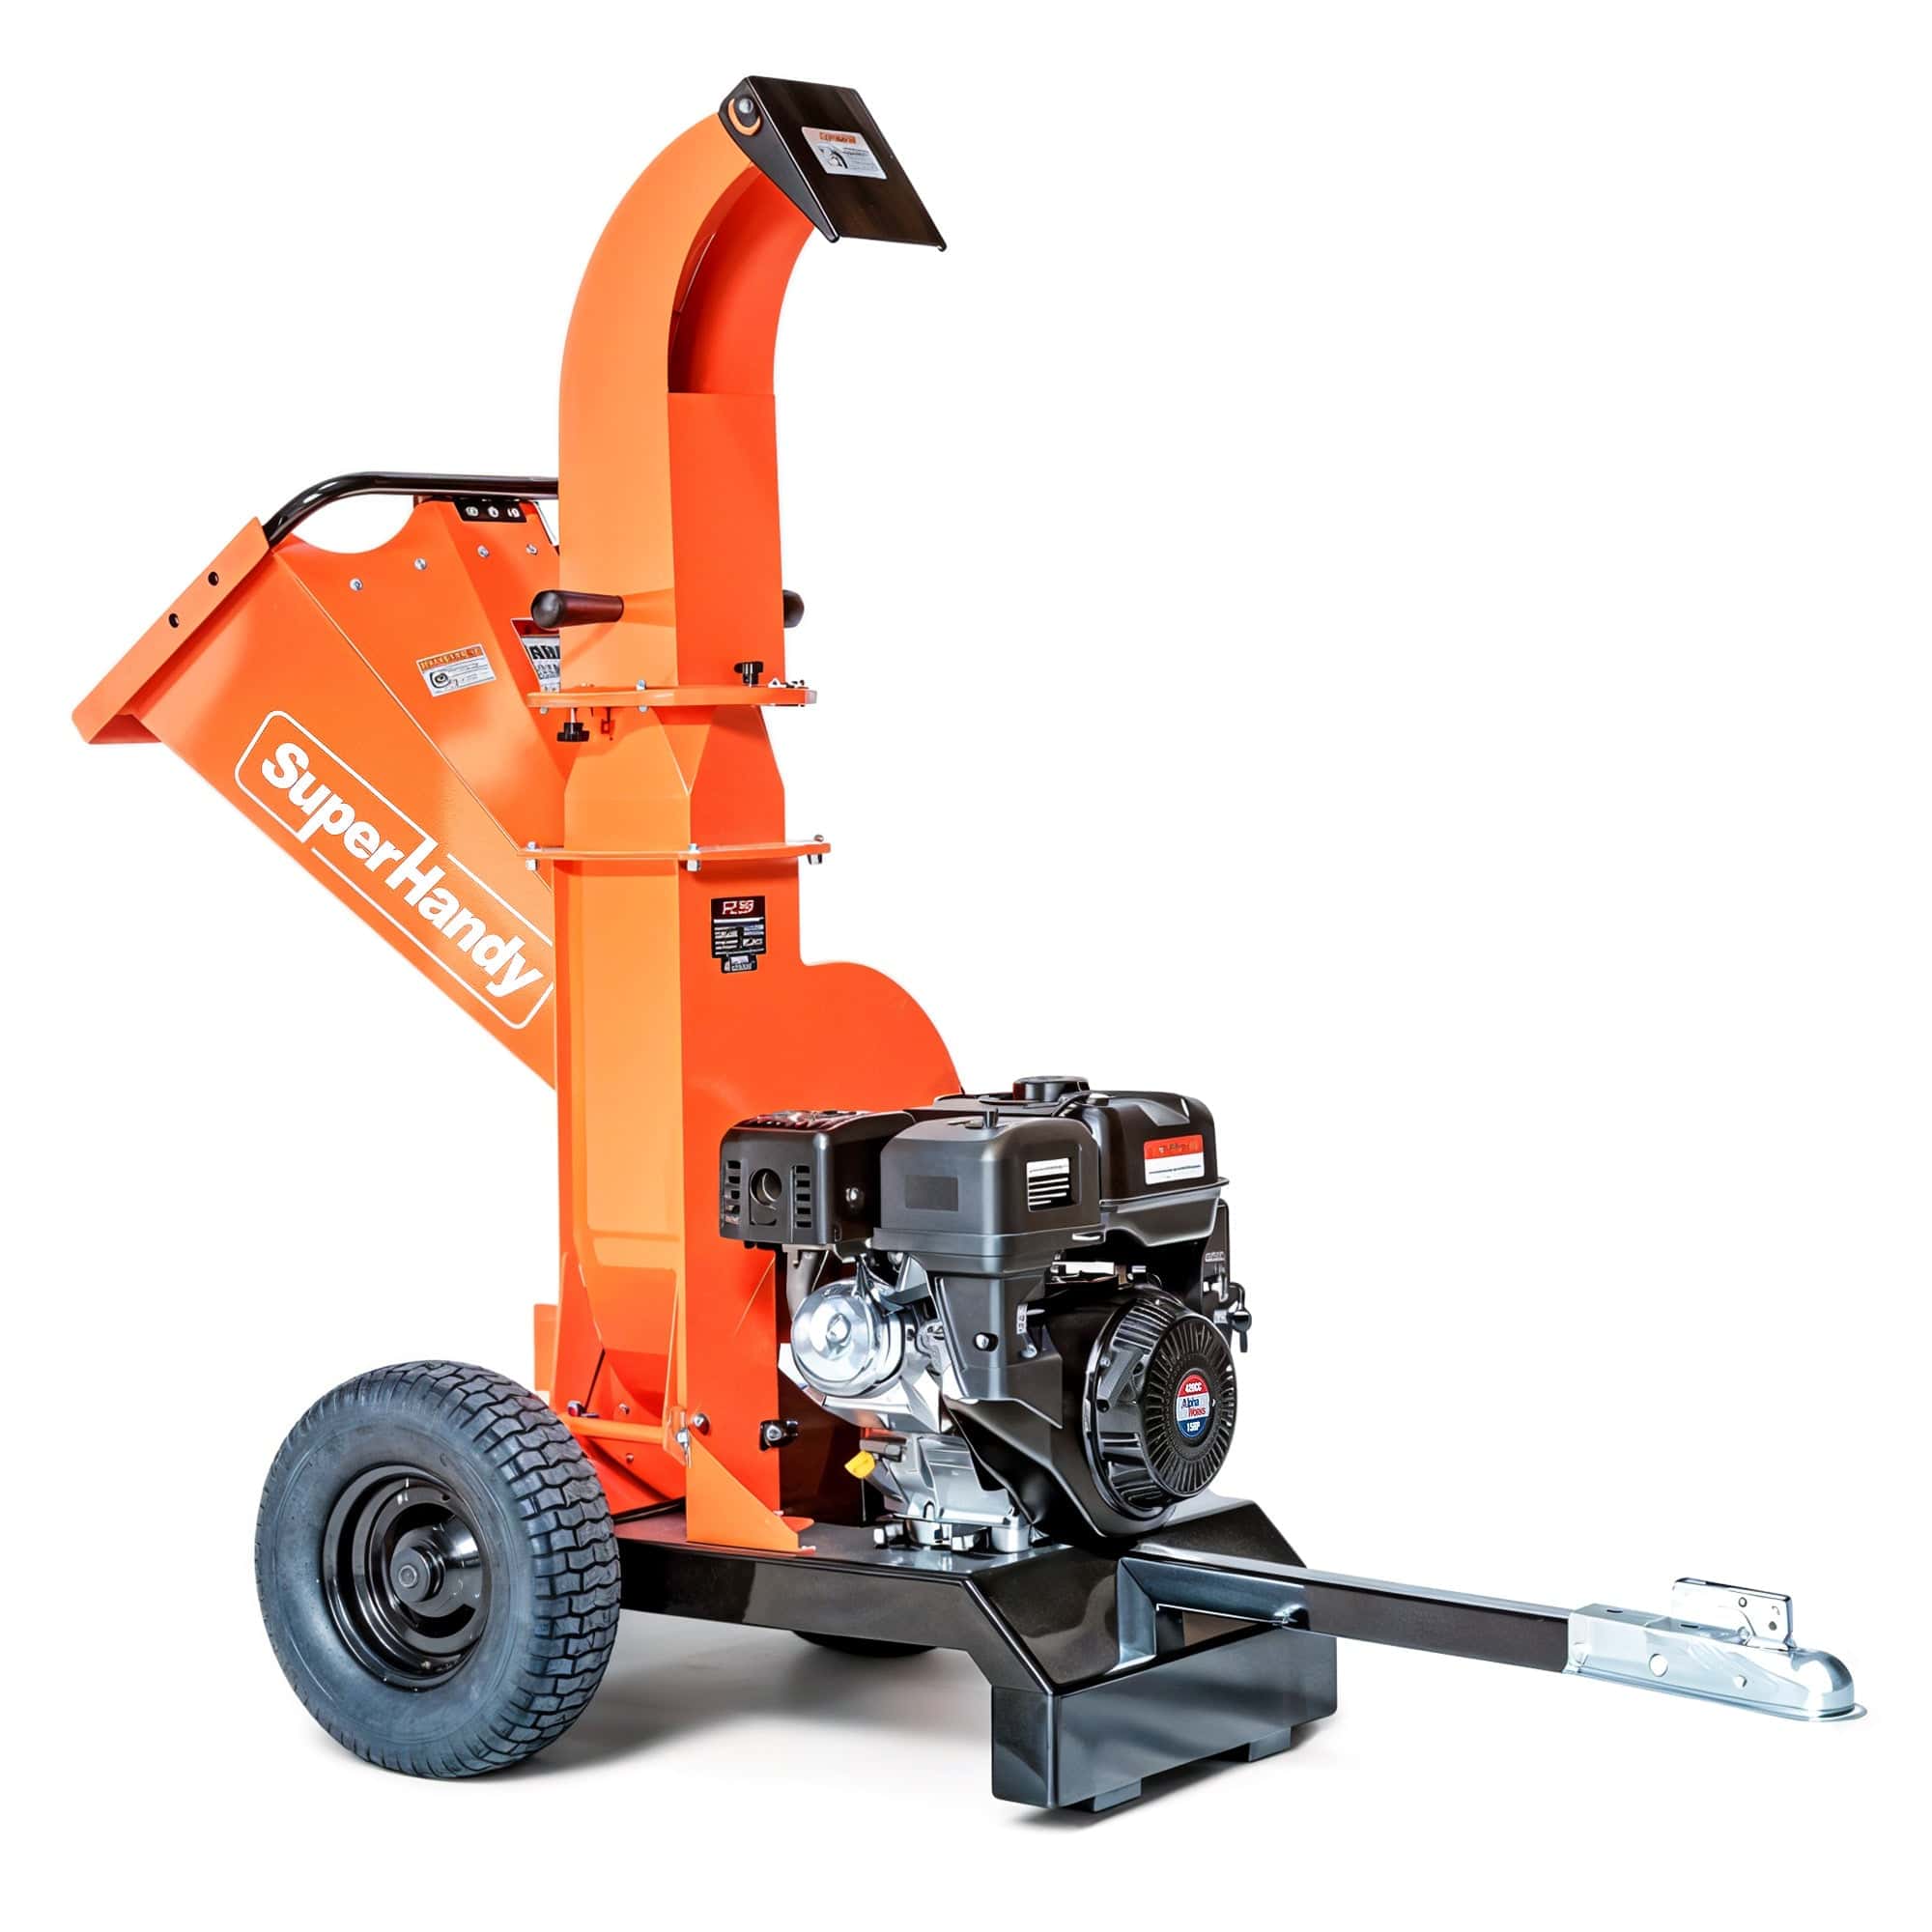
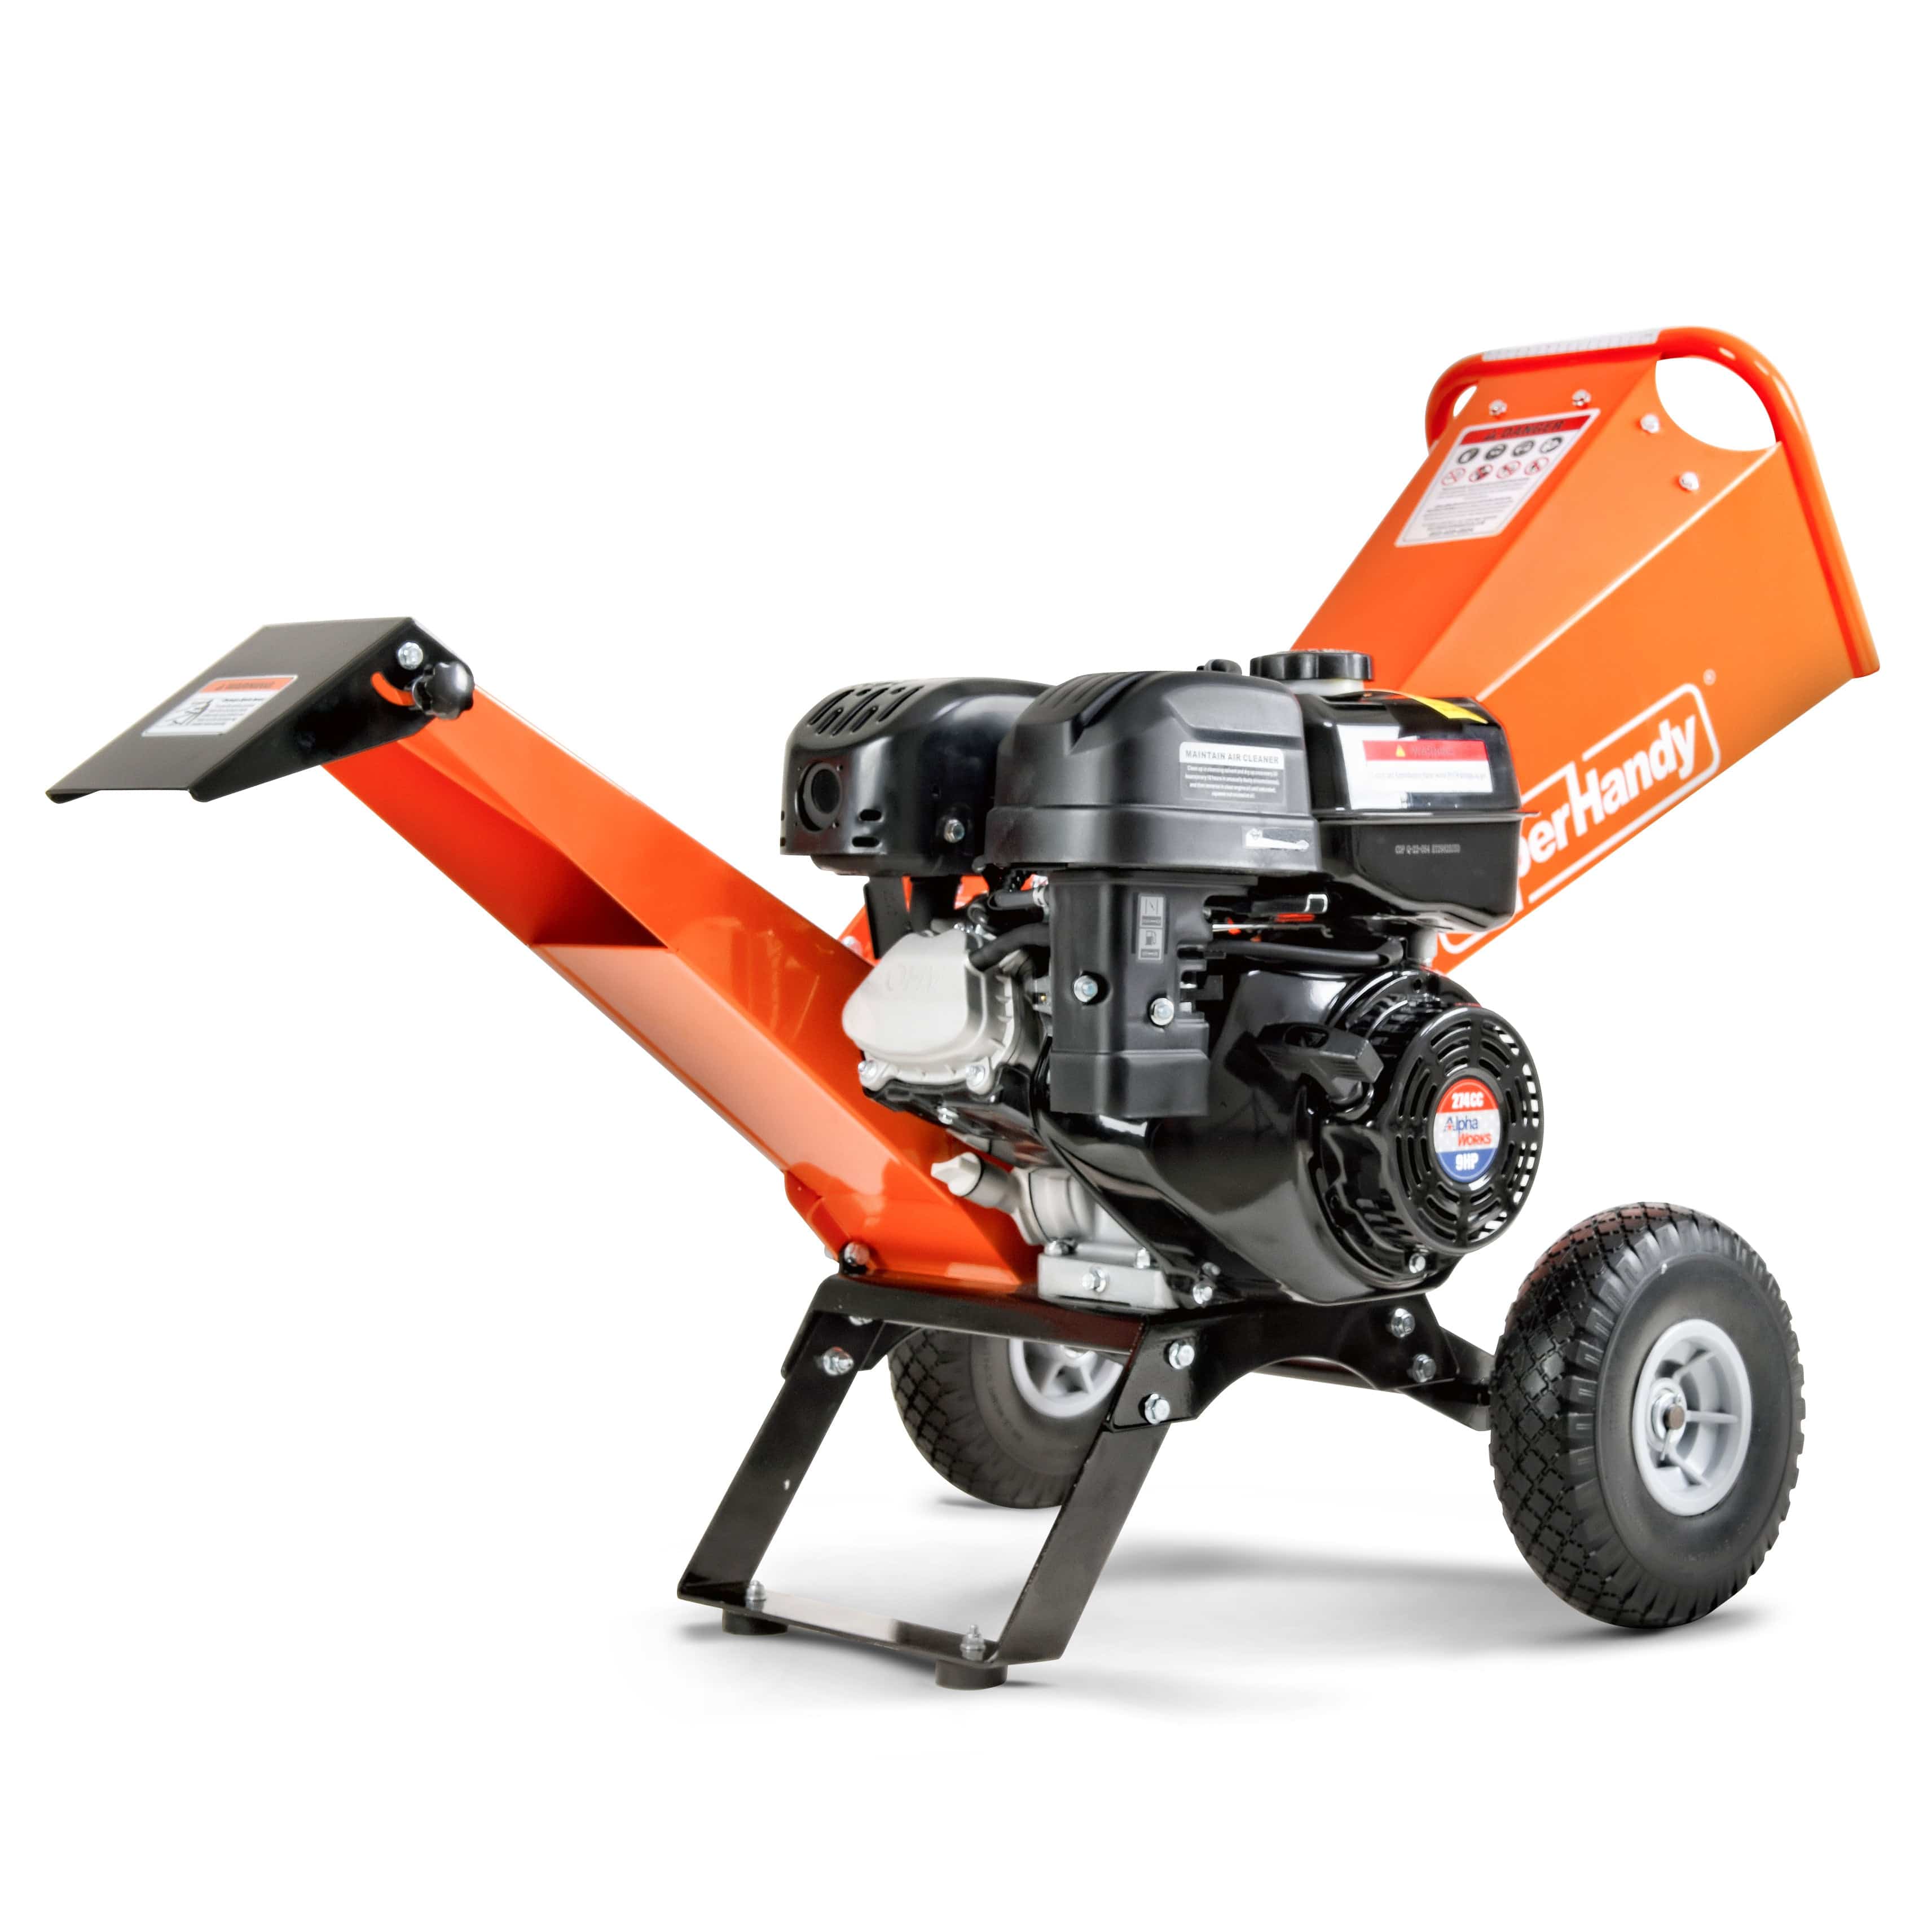
The heart of any wood chipper, whether it’s a compact electric wood chipper or a heavy-duty gas-powered model, is its set of blades. These components do the hard work of slicing through branches and brush at high speeds. When the blades are sharp and in good condition, the machine works smoothly and efficiently, pulling material in and ejecting uniform chips. However, if they are dull, nicked, or cracked, the entire operation becomes more difficult and dangerous. Dull blades don't cut; they smash and tear wood. This puts immense strain on the engine, increases the risk of clogs, and can cause excessive vibration that loosens other parts of the machine over time. A quick visual inspection of the blades is the most critical performance and safety check you can make.
Understanding Blade Wear: Signs Your Chipper Blades Need Attention
Your chipper will give you clear signals when its blades are ready for maintenance. Ignoring these signs means you’re working harder than you need to and putting unnecessary stress on your equipment. Be on the lookout for these common indicators of dull or damaged blades:
- Ragged or Stringy Output: Sharp blades produce clean, consistent chips. If you’re getting splintered, stringy, or uneven pieces, your blades are likely tearing the wood instead of cutting it.
- Reduced Self-Feeding: A chipper with sharp blades will eagerly pull branches in. If you find yourself having to push or force material into the infeed chute, the blades are too dull to grab and process it effectively.
- Increased Vibration or Loud Noise: While all chippers produce noise and vibration, a noticeable increase can signal that the blades are unbalanced from damage or are struggling to get through the material, causing the whole machine to shudder.
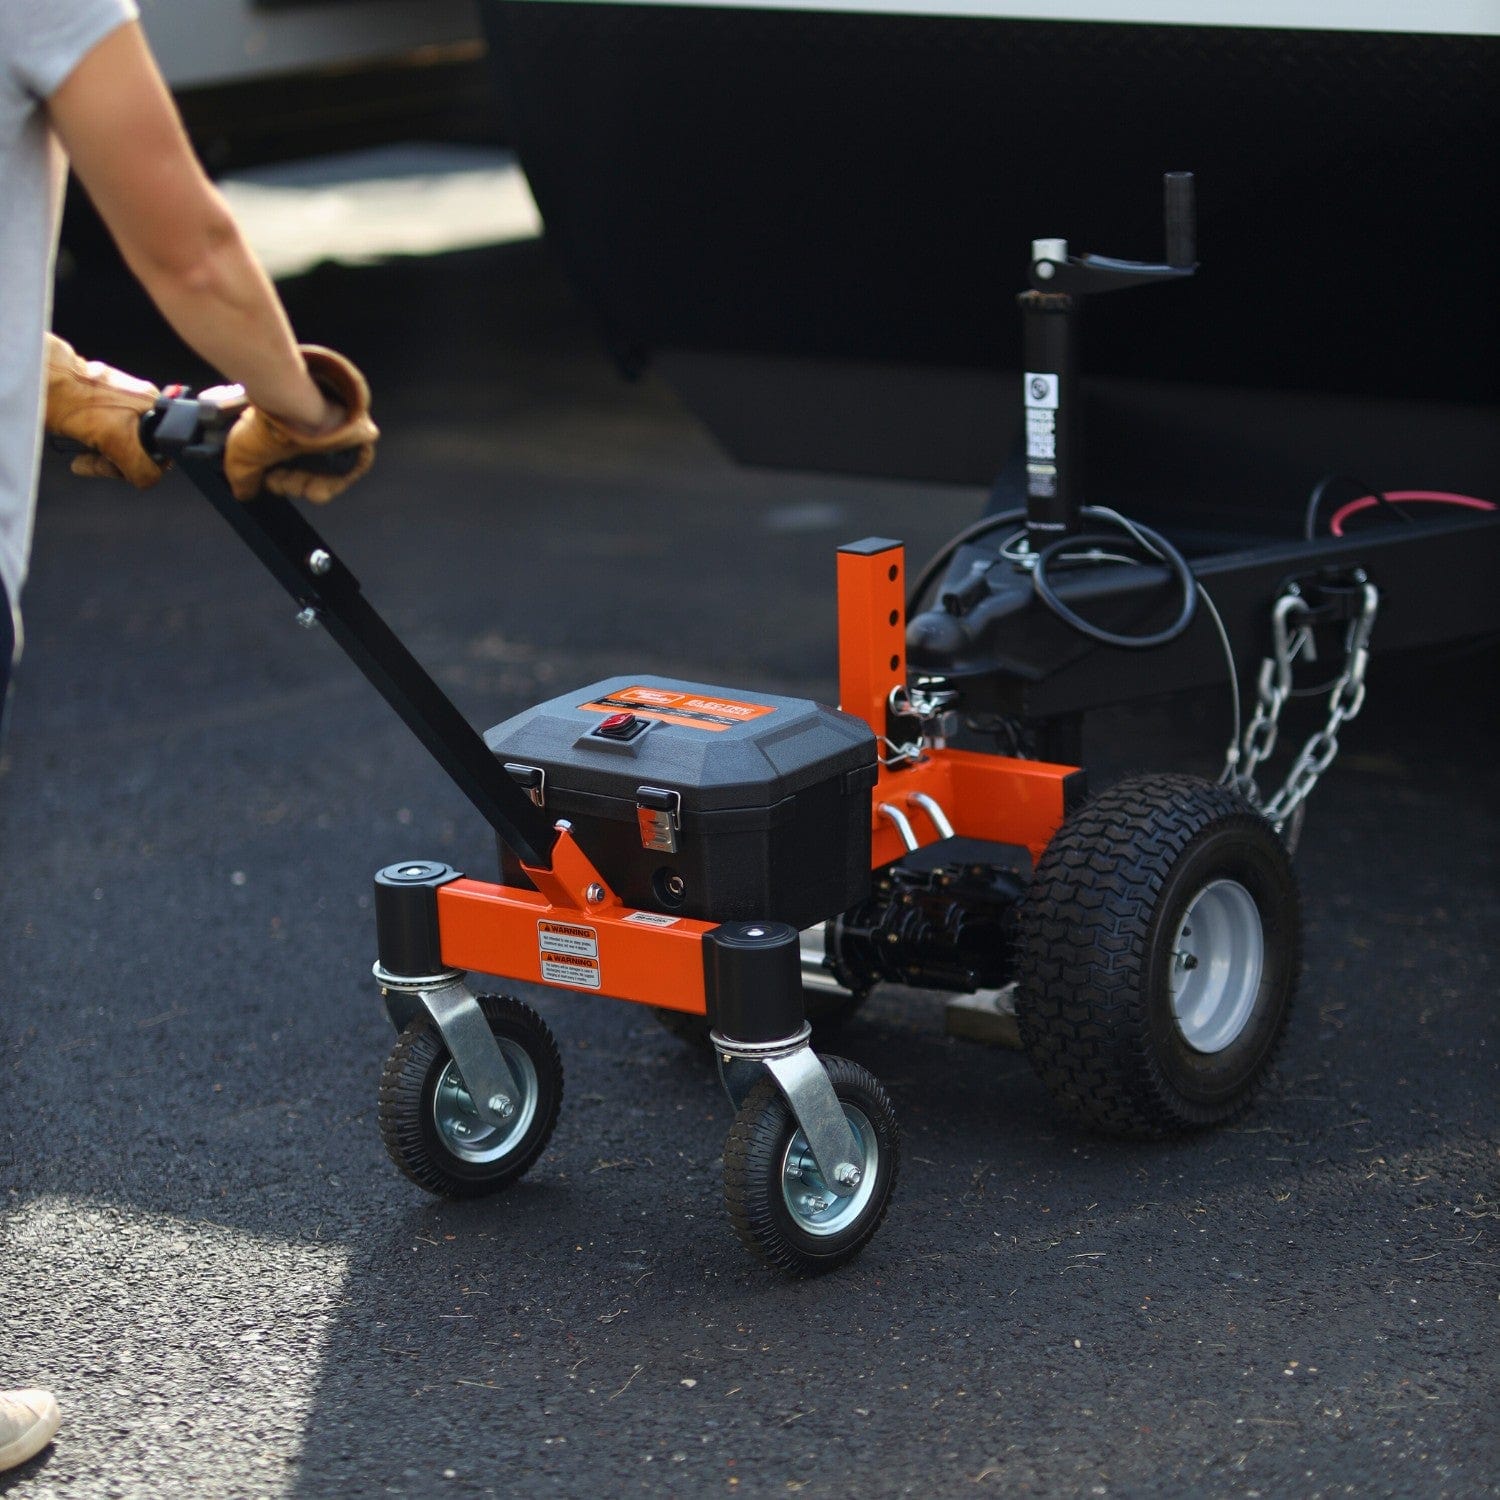
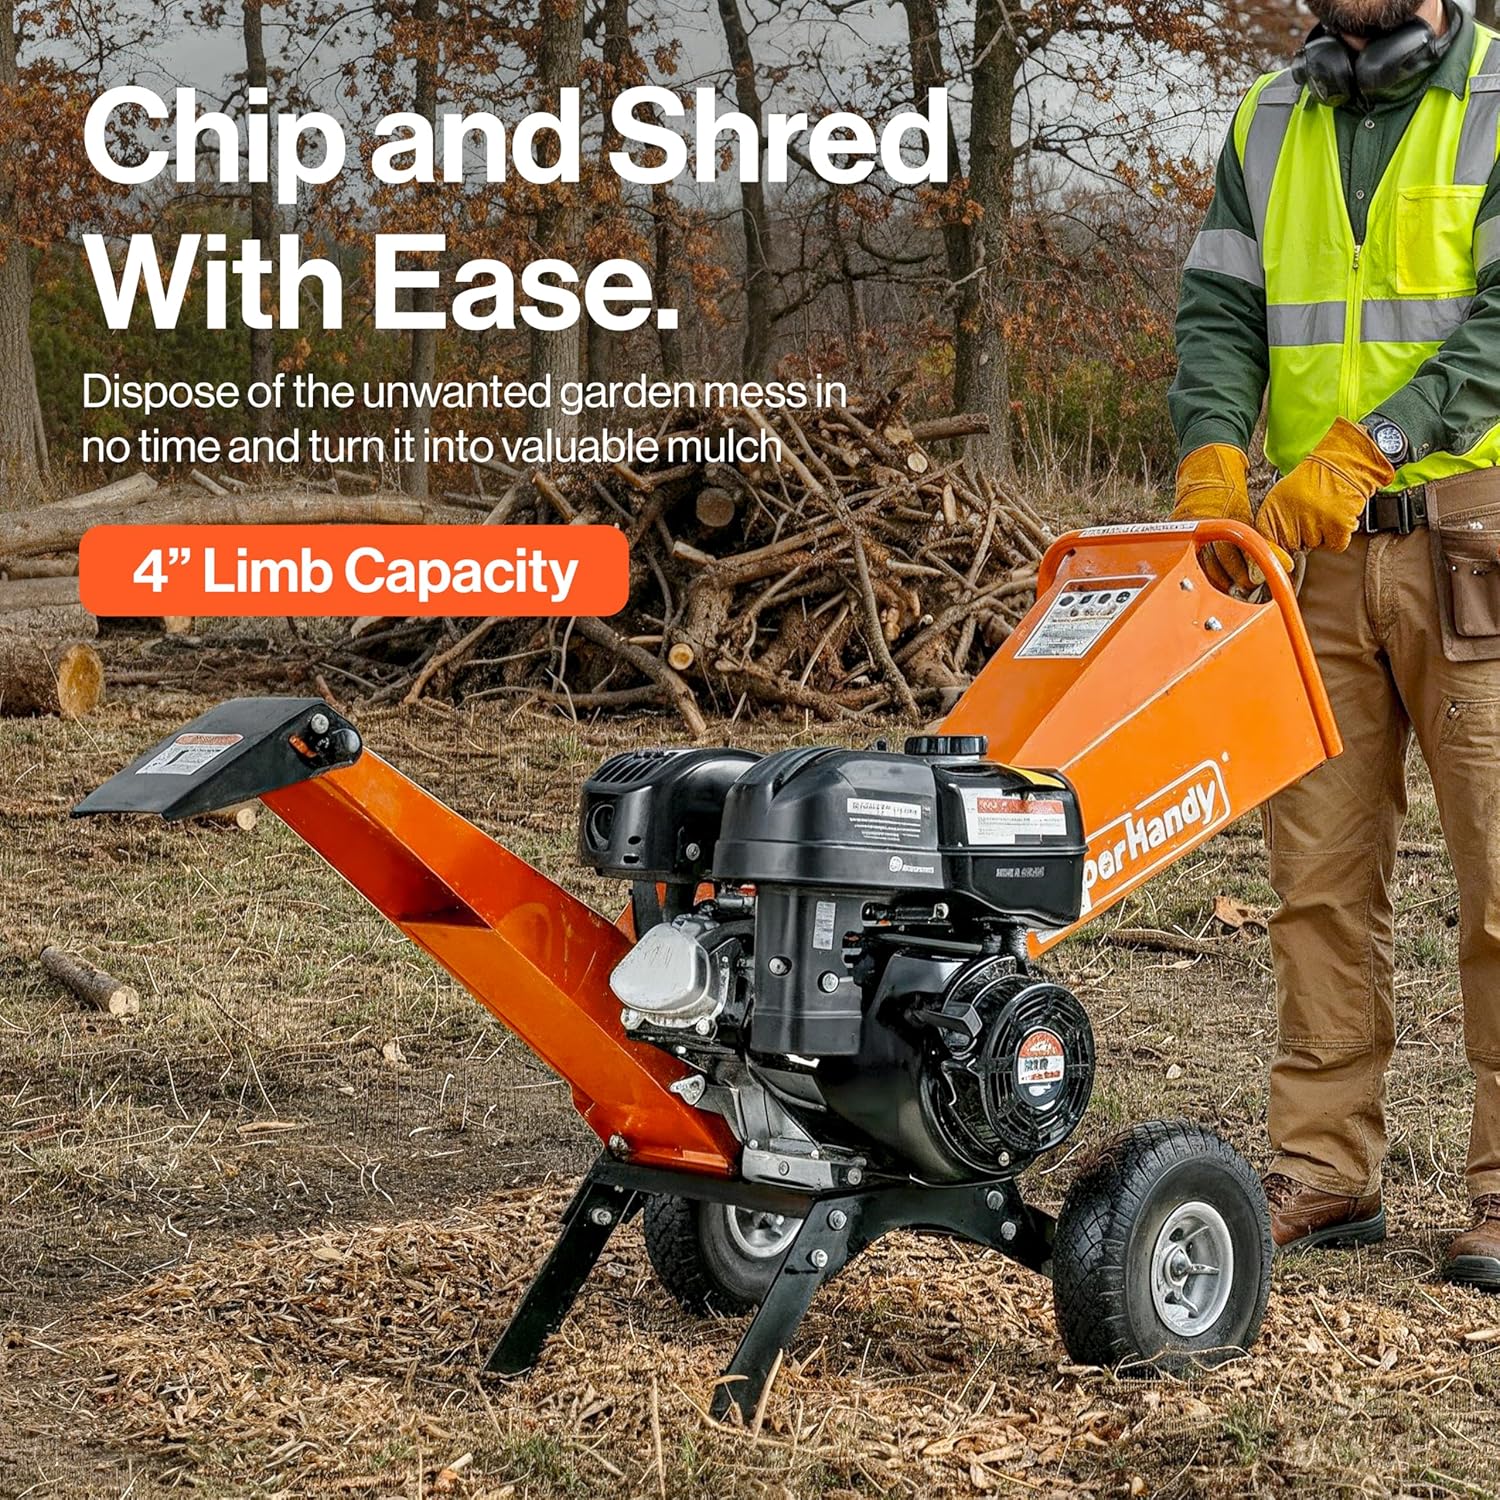
- Slower Processing Speed: If a job that used to take an hour now takes two, and the machine seems to bog down on branches it once handled easily, worn-out blades are the most likely culprit. This is especially noticeable on a powerful Towable Wood Chipper that suddenly feels underpowered.
How to Safely Access and Inspect Chipper Blades
Inspecting the blades requires direct interaction with the most dangerous part of the machine, so following a strict safety procedure is essential. Always consult your owner’s manual for instructions specific to your model.
- Disconnect All Power: This is the most important step. For an electric wood chipper, unplug it from the power source. For a gas-powered model, turn off the engine, wait for it to cool, and disconnect the spark plug wire to prevent any chance of an accidental start.
- Wear Protective Gloves: Chipper blades, even when dull, can be extremely sharp and cause severe cuts. Always wear a pair of heavy-duty work gloves before touching any part of the cutting assembly.
- Open the Blade Housing: Following your manual’s instructions, open the housing that covers the blade drum or flywheel. This may involve removing a few bolts or undoing latches.
- Perform a Visual and Tactile Inspection: Carefully and slowly rotate the cutting mechanism. Look for obvious cracks, large nicks, or chips missing from the cutting edge. Run a gloved finger carefully along the edge (moving from the back of the blade to the edge, never along it) to feel for dullness or rolling. A sharp blade will have a distinct, clean edge.
- Secure and Close: Once your inspection is complete, ensure the blades are properly seated and all bolts are torqued to the manufacturer's specifications. Securely close and fasten the housing before ever thinking about reconnecting the spark plug or power cord for your Wood Chipper.
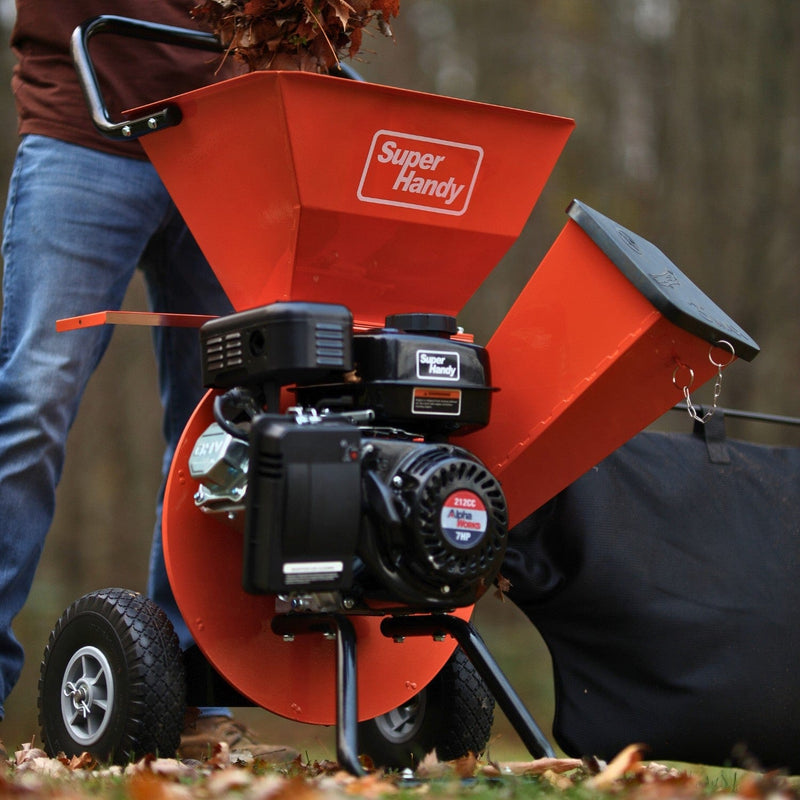
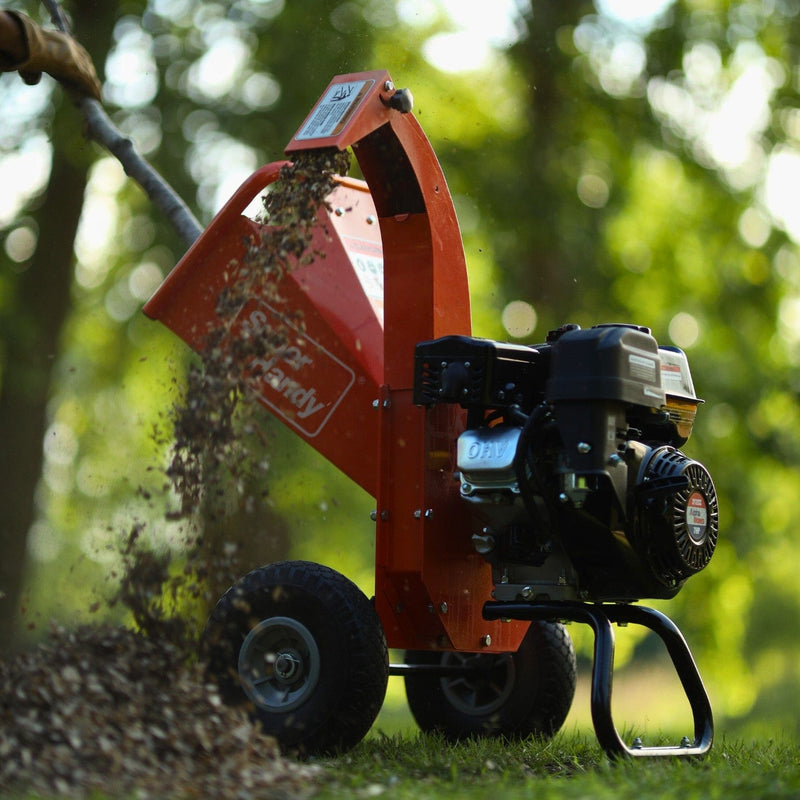
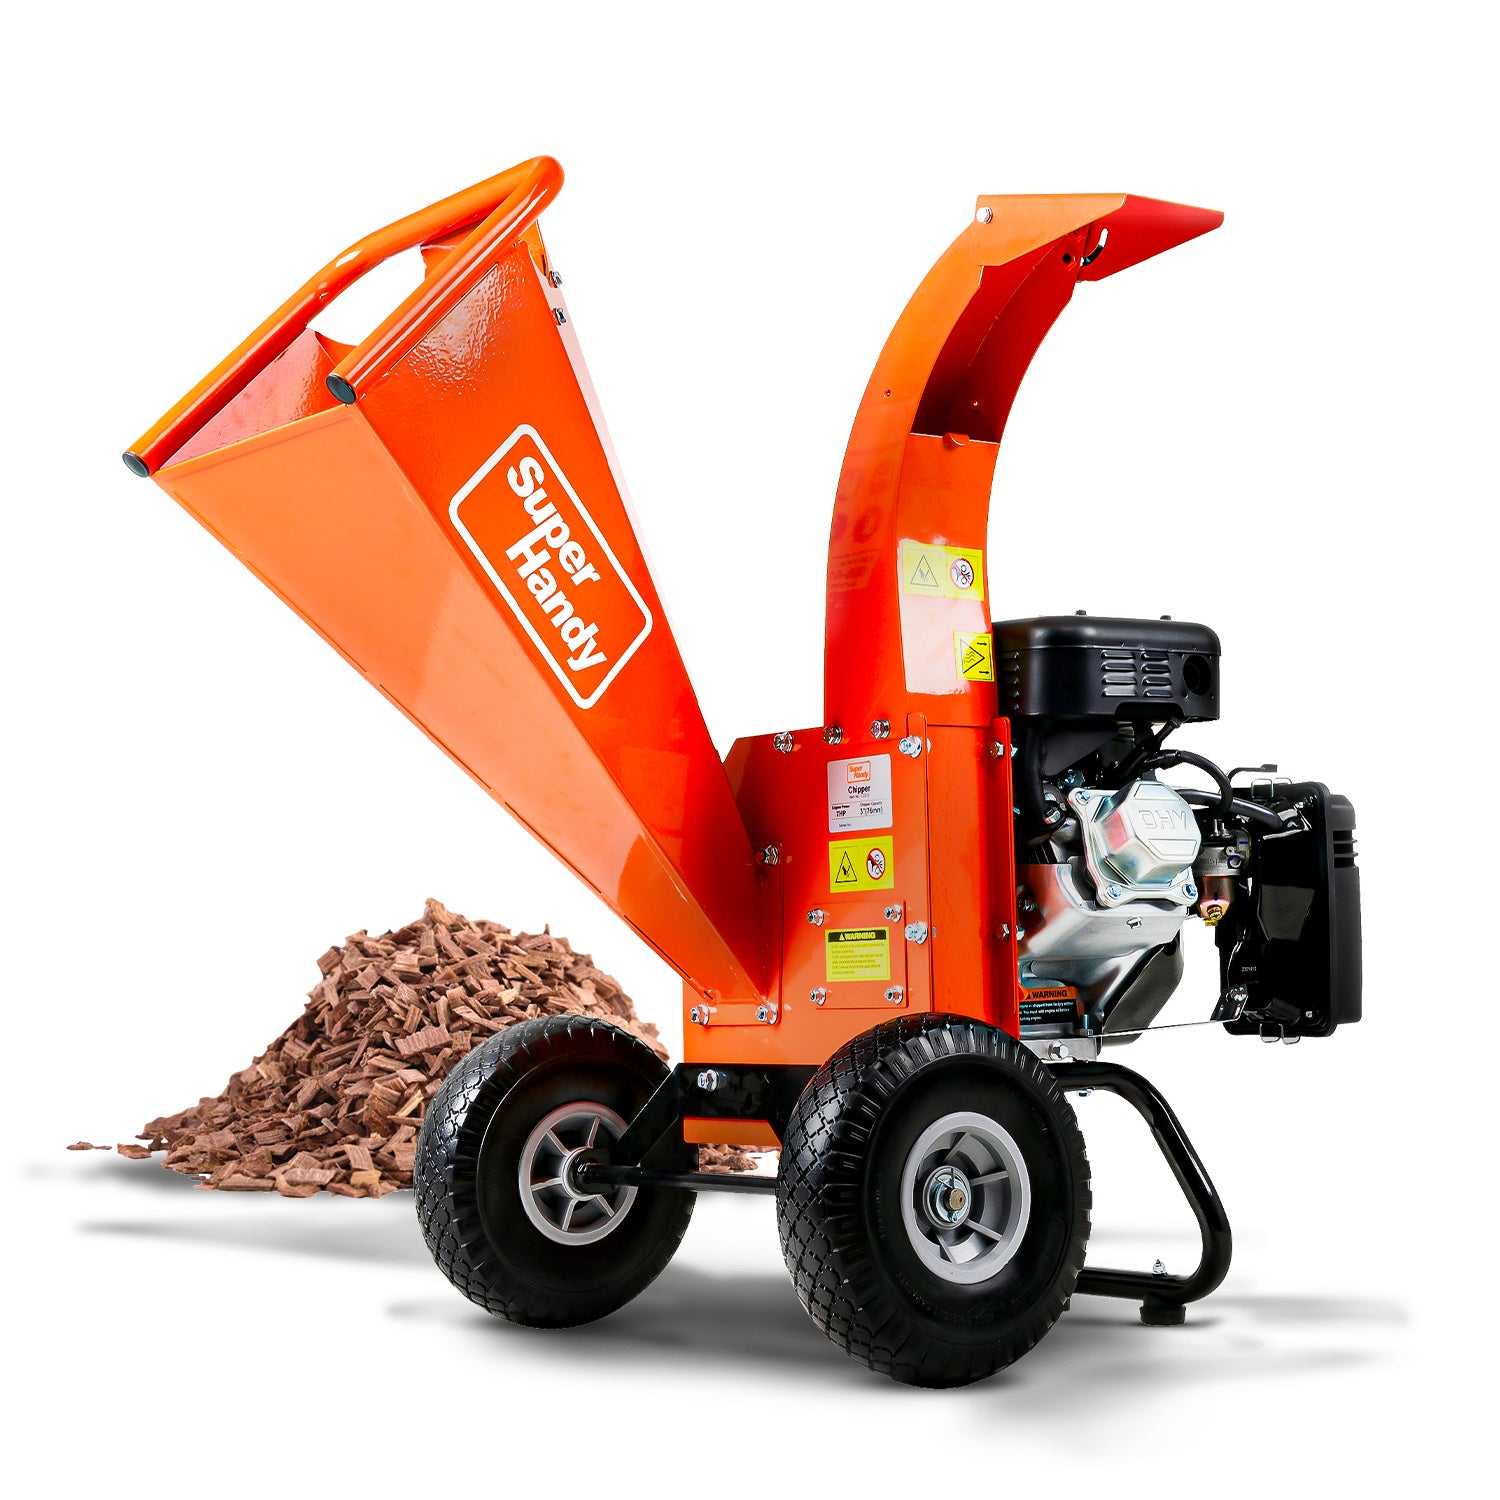
Check 2: Verifying the Integrity of the Infeed and Outfeed Chutes
The infeed and outfeed chutes on your Wood Chipper serve two critical functions. Their primary job is to guide branches into the cutting chamber and direct the processed chips away from the machine. However, they are also a fundamental safety feature. The long, narrow design of the infeed chute, or hopper, is engineered specifically to keep your hands and arms at a safe distance from the spinning blades inside. Before every use, give both chutes a thorough visual inspection. Look for any signs of structural damage, such as cracks, significant dents, or rust that could compromise their integrity. Check that all bolts and fasteners securing the chutes to the main body of the chipper are tight and in place. A loose chute can vibrate dangerously during operation and potentially detach.
Ensuring Clear Pathways: What to Look For in the Chutes
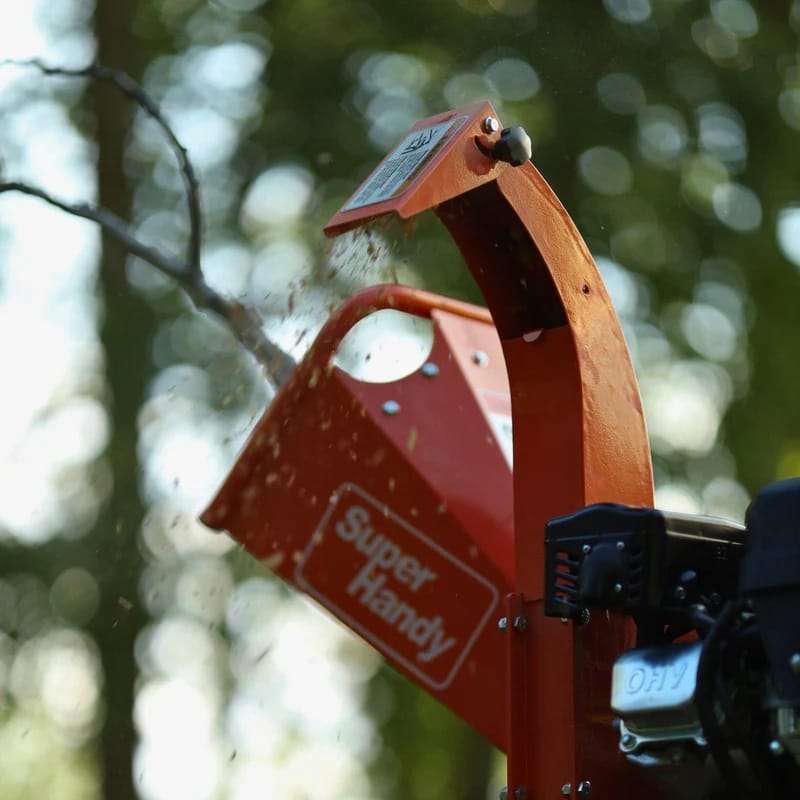
A clear path for material is essential for both performance and safety. Before starting the engine or connecting an electric wood chipper to power, you must inspect the full length of both the infeed and outfeed chutes for obstructions. Crucially, ensure the machine is completely powered off, with the key removed and spark plug disconnected on gas models, or unplugged for electric models. Shine a flashlight into the infeed hopper to look for any leftover debris from a previous job, like a partially chipped branch, packed leaves, or dirt. Do the same for the discharge chute, which can become clogged with moist wood chips that bind together. Also, be on the lookout for foreign objects like rocks, tools, or even small animal nests that may have appeared between uses. If you find a blockage, use a long, sturdy stick or a designated clearing tool to dislodge it—never use your hands.

Potential Hazards Lurking in Blocked Chutes
Operating a wood chipper with a blocked chute is an invitation for disaster. If the infeed hopper is obstructed, the new material you feed in has nowhere to go. This can cause the powerful blades to violently grab and eject the branch back toward you, a dangerous phenomenon known as kickback. A blocked outfeed chute is just as hazardous. When processed chips cannot exit the machine, they will quickly back up into the blade housing. This creates a severe clog that can stall the engine or motor, cause it to overheat, and place immense strain on the blades and drivetrain. In a worst-case scenario, this can lead to catastrophic mechanical failure. Trying to clear a jam while the machine is running is one of the leading causes of wood chipper-related injuries, so ensuring the path is clear from the start is a non-negotiable safety step.
Check 3: Confirming All Safety Guards and Shields Are Securely in Place
Every Wood Chipper is equipped with guards, shields, and covers for one reason: to protect you from its most dangerous moving parts. These guards cover components like the drive belts, pulleys, and the blade housing itself. Their importance cannot be overstated. According to the Occupational Safety and Health Administration's hand and power tool safety guidance, guards must be in place and in good working order to protect operators from preventable injuries, including amputations and lacerations. Removing or operating a machine with a damaged guard is a serious risk that should never be taken.
Before you start your chipper, walk around the entire unit and physically verify that every safety shield is present and securely fastened. Wiggle each guard to ensure it doesn't move and that all its mounting bolts are tight. Visually inspect them for cracks, breaks, or deformation that could reduce their effectiveness. On a gas-powered Towable Wood Chipper, this includes the large belt guard that encloses the system transferring power from the engine to the cutting drum. If you discover that a guard is missing, broken, or cannot be securely attached, do not use the machine. The chipper must be taken out of service until the guard can be properly repaired or replaced with an original manufacturer's part.
The Critical Role of Guards in Preventing Accidents
Safety guards on your Wood Chipper are the first line of defense against serious injury. These guards, covers, and shields are specifically engineered to create a physical barrier between you and the machine's most dangerous components—the belts, pulleys, and rotating blades. Operating a powerful piece of equipment like a wood chipper means dealing with parts moving at incredibly high speeds. According to the Occupational Safety and Health Administration, moving machine parts can cause severe injuries, and safety guards are essential for protecting operators from these preventable hazards. Never assume a guard is merely cosmetic or that you can work more efficiently without it. These components are critical for keeping your hands, clothing, and body safe from being pulled into the mechanism. Before every use, walk around your chipper and physically check that every guard is present and securely fastened.
What to Do if a Safety Guard is Damaged or Missing
If your pre-operation inspection reveals a safety guard that is cracked, broken, loose, or missing entirely, the rule is simple and absolute: do not start the wood chipper. The risk of a life-altering accident is far too great. Attempting to operate the machine in this condition exposes you to the full force of its internal mechanics, a hazard that no amount of caution can overcome.
Instead of taking a chance, take the machine out of service immediately. Your next step is to identify the specific part that needs replacement and contact the manufacturer for an authorized replacement. Avoid the temptation to fabricate a makeshift guard, as it will not have the same structural integrity or design specifications as the original. Once the correct part arrives, install it according to the instructions in your user manual. Only after a new, properly installed guard is in place should you consider your Wood Chipper safe to use again.
Check 4: Examining the Engine and Fuel System for Leaks or Damage
Whether your chipper is gas-powered or electric, its power system requires a thorough inspection before you begin work. A compromised engine or power source is not just a performance issue; it’s a significant safety risk.

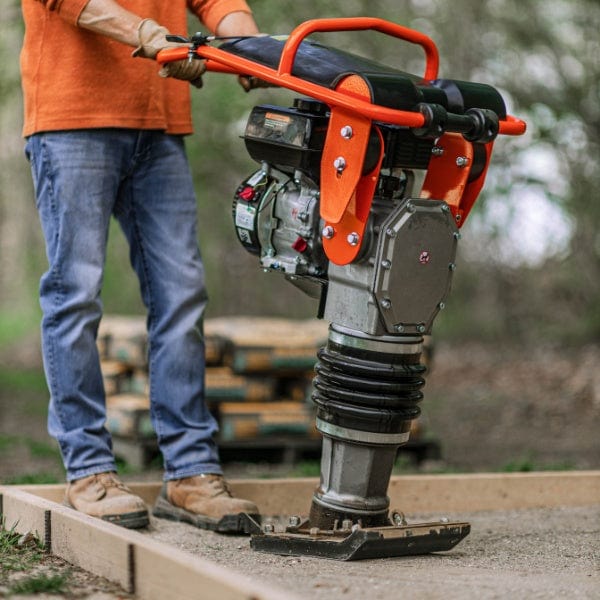
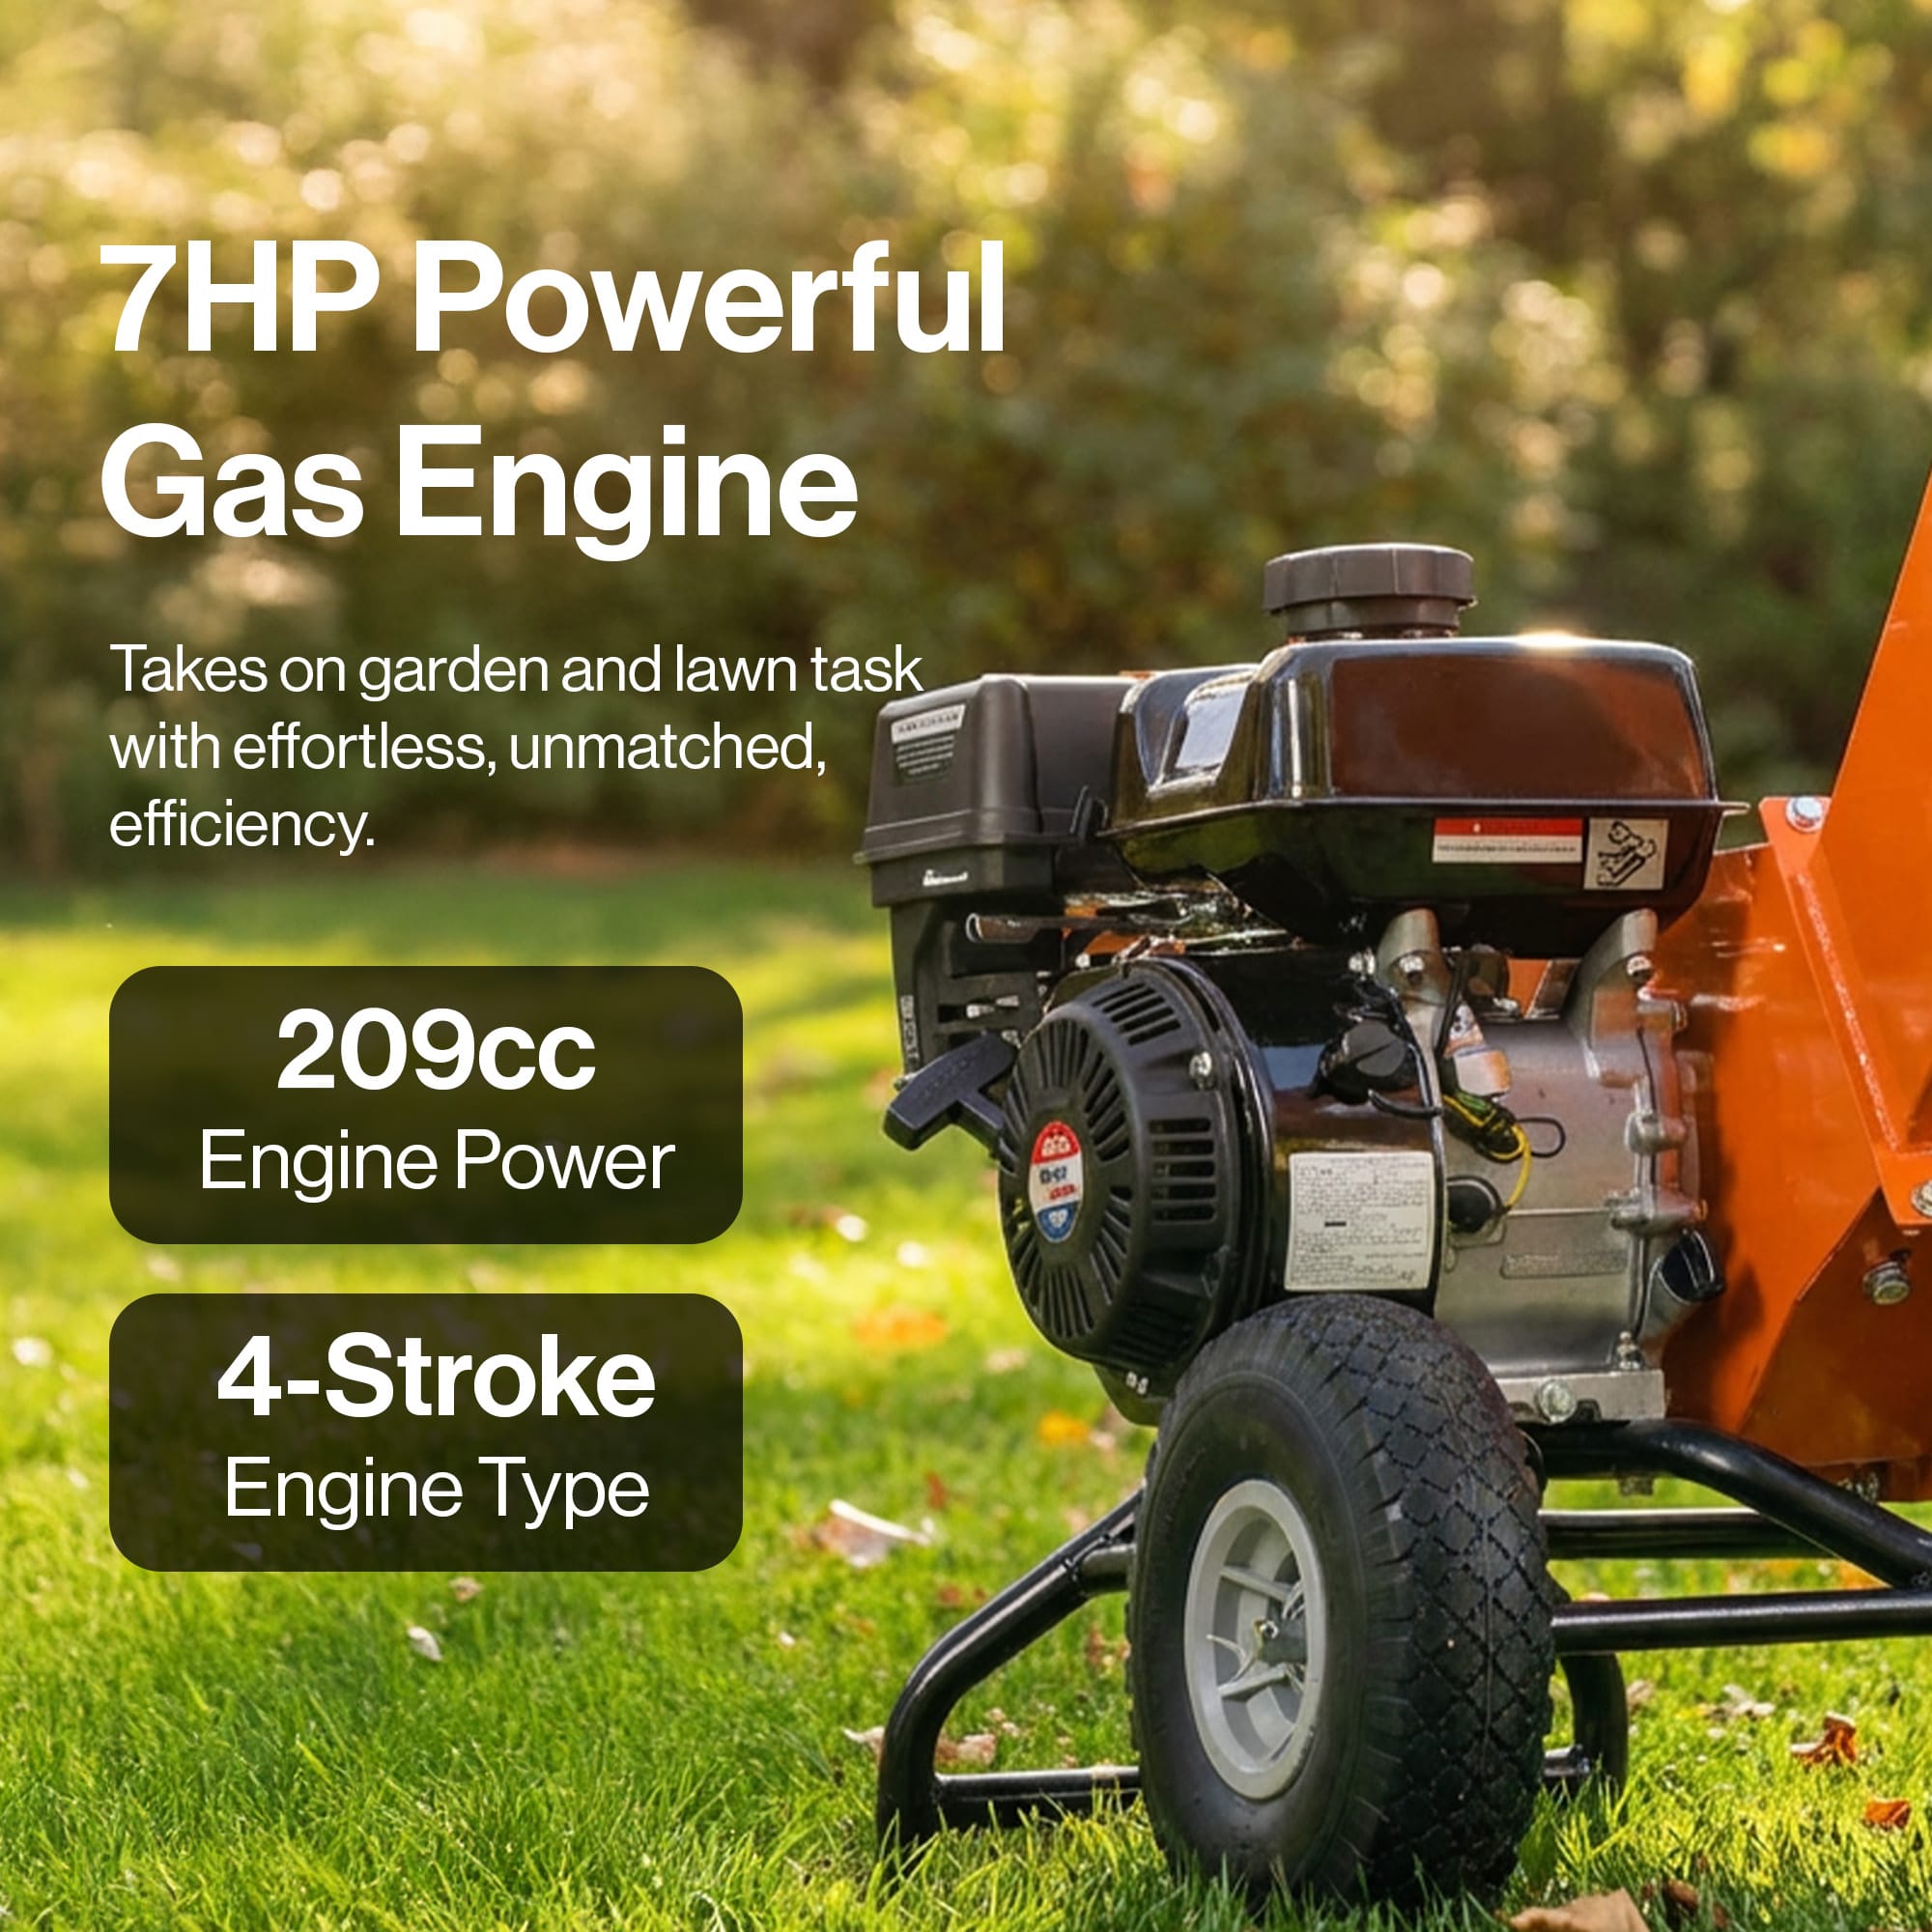
For a gas-powered model, like a heavy-duty Towable Wood Chipper, your inspection should focus on the fuel system. Carefully trace the fuel lines from the tank to the engine, looking for any signs of cracking, brittleness, or wetness that could indicate a leak. Check that the fuel cap creates a tight seal and that the tank itself has no visible damage. While you're there, check the engine oil level and look for any oil drips on or below the engine block.
For an electric wood chipper, the focus is on the power cord and plug. Run your hands carefully along the entire length of the cord (while it's unplugged) to feel for any cuts, abrasions, or exposed wires. A damaged cord can present a serious shock hazard. Also, inspect the prongs on the plug to ensure they are straight and solid, not bent or loose.
Fuel Safety First: Identifying Potential Fire Hazards
With any gas-powered equipment, fire prevention is paramount. The combination of gasoline, a hot engine, and flying wood chips creates a high-risk environment if not managed properly. The most critical rule is to never refuel your Wood Chipper while the engine is hot or running. The heat from the muffler alone is enough to ignite gasoline vapors, leading to a dangerous flash fire.
Always move the chipper to a flat, open area away from any potential ignition sources before refueling. If you spill any fuel on the engine or housing, wipe it up completely with a rag and allow the fumes to dissipate before attempting to start the machine. Use only the fuel type recommended in your owner's manual and store it in an approved, clearly labeled safety can. By making these fuel safety habits a non-negotiable part of your routine, you can significantly reduce the risk of fire and ensure your work session is both productive and safe.
Basic Engine Maintenance Checks Before Each Use
The engine is the heart of your Wood Chipper, and a quick inspection before every use is crucial for both performance and safety. Whether you have a gas-powered or an electric model, these checks take only a few minutes and can prevent major malfunctions or hazardous situations.
For gas-powered chippers:
- Check the Oil Level: Just like a car, your chipper's engine needs the right amount of oil to stay lubricated and cool. Remove the dipstick, wipe it clean, re-insert it fully, and then pull it out again to check the level. If it's low, top it off with the manufacturer-recommended oil type. Running the engine with low oil can cause it to seize, leading to costly repairs.
- Inspect the Fuel: Make sure you have enough fuel for the job. More importantly, use fresh, clean gasoline. Stale fuel can clog the carburetor and cause starting issues. Never refuel a hot engine; wait for it to cool down completely to prevent a fire.
- Examine the Air Filter: A clogged air filter starves the engine of air, reducing its power and efficiency. Briefly check that it's free from excessive wood dust and debris.
For an electric wood chipper:
- Inspect the Power Cord: Before plugging it in, carefully examine the entire length of the power cord for any cuts, frays, or exposed wires. A damaged cord is a serious electrocution hazard and must be replaced immediately.
- Check the Battery (for cordless models): Ensure your battery is fully charged to avoid having it die mid-job. Inspect the battery and the chipper's contacts for any dirt or corrosion that could interfere with the connection.
Check 5: Testing the Emergency Stop Mechanism and Controls
This final check is your most important personal safety drill. Your wood chipper’s emergency stop mechanism is your lifeline in a worst-case scenario. It is designed to shut down the machine instantly, and you must have complete confidence that it works perfectly every single time. Before you ever feed a single branch into the machine, you must know exactly where the emergency stop is and how to activate it without a moment's hesitation.
On many models, this is a large, obvious red button or a safety bar located around the infeed chute. For a large, powerful machine like a Towable Wood Chipper, this feature is prominent and easily accessible. Familiarize yourself with its location until you can find and activate it by feel alone. This muscle memory could be critical in a real emergency where you don't have time to look. Testing this control confirms that you have ultimate authority over the machine’s operation.
Ensuring Immediate Control: How to Test Your Chipper's Kill Switch
Testing the emergency stop, or "kill switch," is a simple but non-negotiable process. It validates that the most critical safety feature on your equipment is functional. Think of it as checking the brakes on your car before driving down a steep hill—you do it because you need to know it will work when it matters most.
Follow these steps to safely test the mechanism:
- Start the Chipper: In a clear, open area away from people and obstacles, start the chipper according to the manufacturer’s instructions. Let the engine idle. Do not begin feeding any material into it.
- Activate the Emergency Stop: Firmly and deliberately press the emergency stop button or hit the safety bar. The action should be quick and decisive, just as it would be in an actual emergency.
- Confirm Shutdown: The engine should shut off immediately. There should be no delay, sputtering, or hesitation. The power to the cutting mechanism must cease instantly.
If the engine does not stop immediately, your chipper is unsafe to operate. Do not use it under any circumstances. The machine requires immediate service from a qualified technician to repair the safety circuit. According to OSHA hand and power tool safety guidance, all tools must be maintained in a safe condition, and this includes ensuring that all safety features are fully operational. Never take a chance with a faulty kill switch. A reliable emergency stop is a fundamental requirement for the safe operation of any Wood Chipper, and confirming it works gives you the peace of mind to work safely and efficiently.
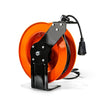
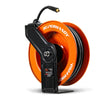
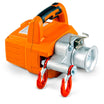
Related Products

Leave a comment
All comments are moderated before being published.
This site is protected by hCaptcha and the hCaptcha Privacy Policy and Terms of Service apply.