


















Understanding the Benefits of Using Wood Chipper Debris for Garden Pathways
Transforming yard waste into functional, beautiful garden pathways is one of the smartest projects a suburban homeowner can undertake. Instead of bagging branches and leaves for disposal, a wood chipper turns them into a valuable resource: wood chip mulch. These chips are perfect for creating natural, low-cost walkways through your garden beds and lawn.
The benefits are numerous. According to university extension programs, wood chips are an excellent mulch because they decompose slowly, suppress weeds, help retain soil moisture, and provide long-lasting benefits to the landscape. This means less watering and weeding for you. Furthermore, research from Washington State University Extension confirms that arborist wood chips provide substantial weed control in ornamental landscapes, creating a low-maintenance and attractive walkway. Beyond the practical advantages, wood chip paths offer a soft, rustic aesthetic that complements any garden design, blending seamlessly with the natural environment.
Assessing Your Suburban Property's Needs for Pathway Materials
Before you fire up your chipper shredder, take a moment to walk your property and plan your pathways. Consider the primary purpose of each path. Will it be a high-traffic route from the patio to the vegetable garden, or a meandering, decorative path through a flower bed? The amount of foot traffic will influence the necessary depth and width of your path.
Measure the intended length and width of each proposed walkway. This calculation will help you estimate the volume of wood chips you'll need to produce. A little planning goes a long way in ensuring you have enough material to complete the job without creating a massive, unused surplus of chips.
Identifying the Best Types of Wood for Chipping and Pathway Use
The type of wood you chip directly impacts the longevity and quality of your pathway. For the most durable and long-lasting paths, hardwoods like oak, maple, and hickory are ideal. Their dense structure causes them to decompose very slowly. Softwoods such as pine and fir are also perfectly acceptable; they simply break down faster and will require replenishment more frequently.
Equally important is knowing which woods to avoid. Never run pressure-treated, painted, or stained lumber through your chipper, as it can release harmful chemicals into your garden soil. Also, steer clear of woods known to cause skin irritation, like poison ivy, poison oak, or poison sumac.
Step-by-Step Guide: Preparing Wood Chipper Debris for Pathways
Creating pathway-ready mulch is a simple, four-step process.
- Gather Your Material: Collect fallen branches, pruned limbs, and other woody debris from your yard. Inspect the material to ensure it is free of rocks, soil, and non-organic materials that could damage your equipment.
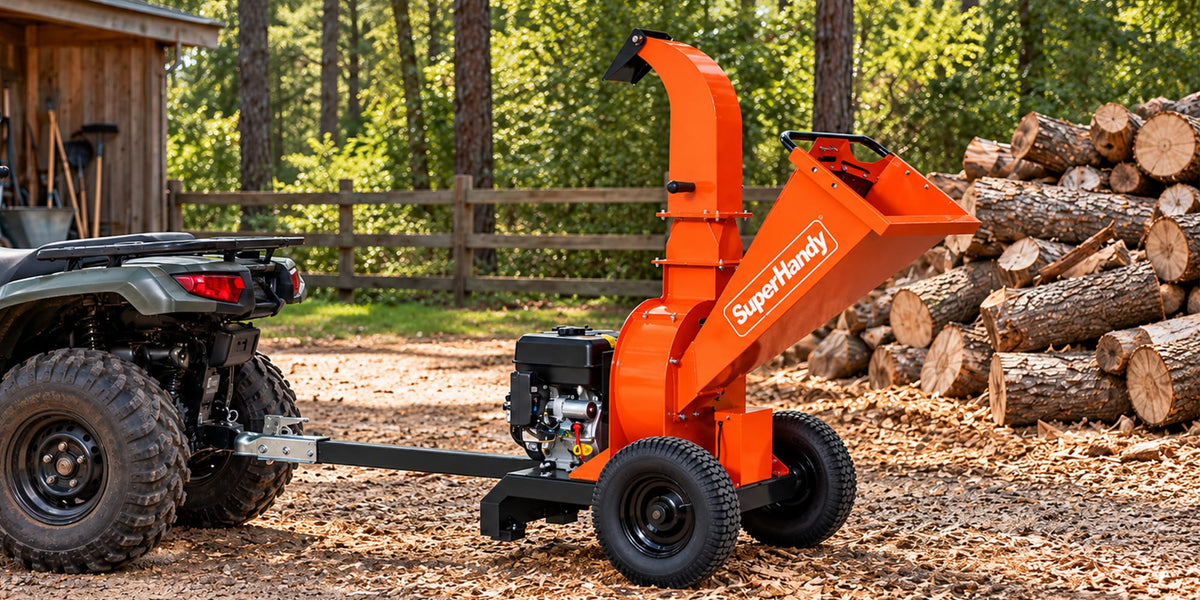
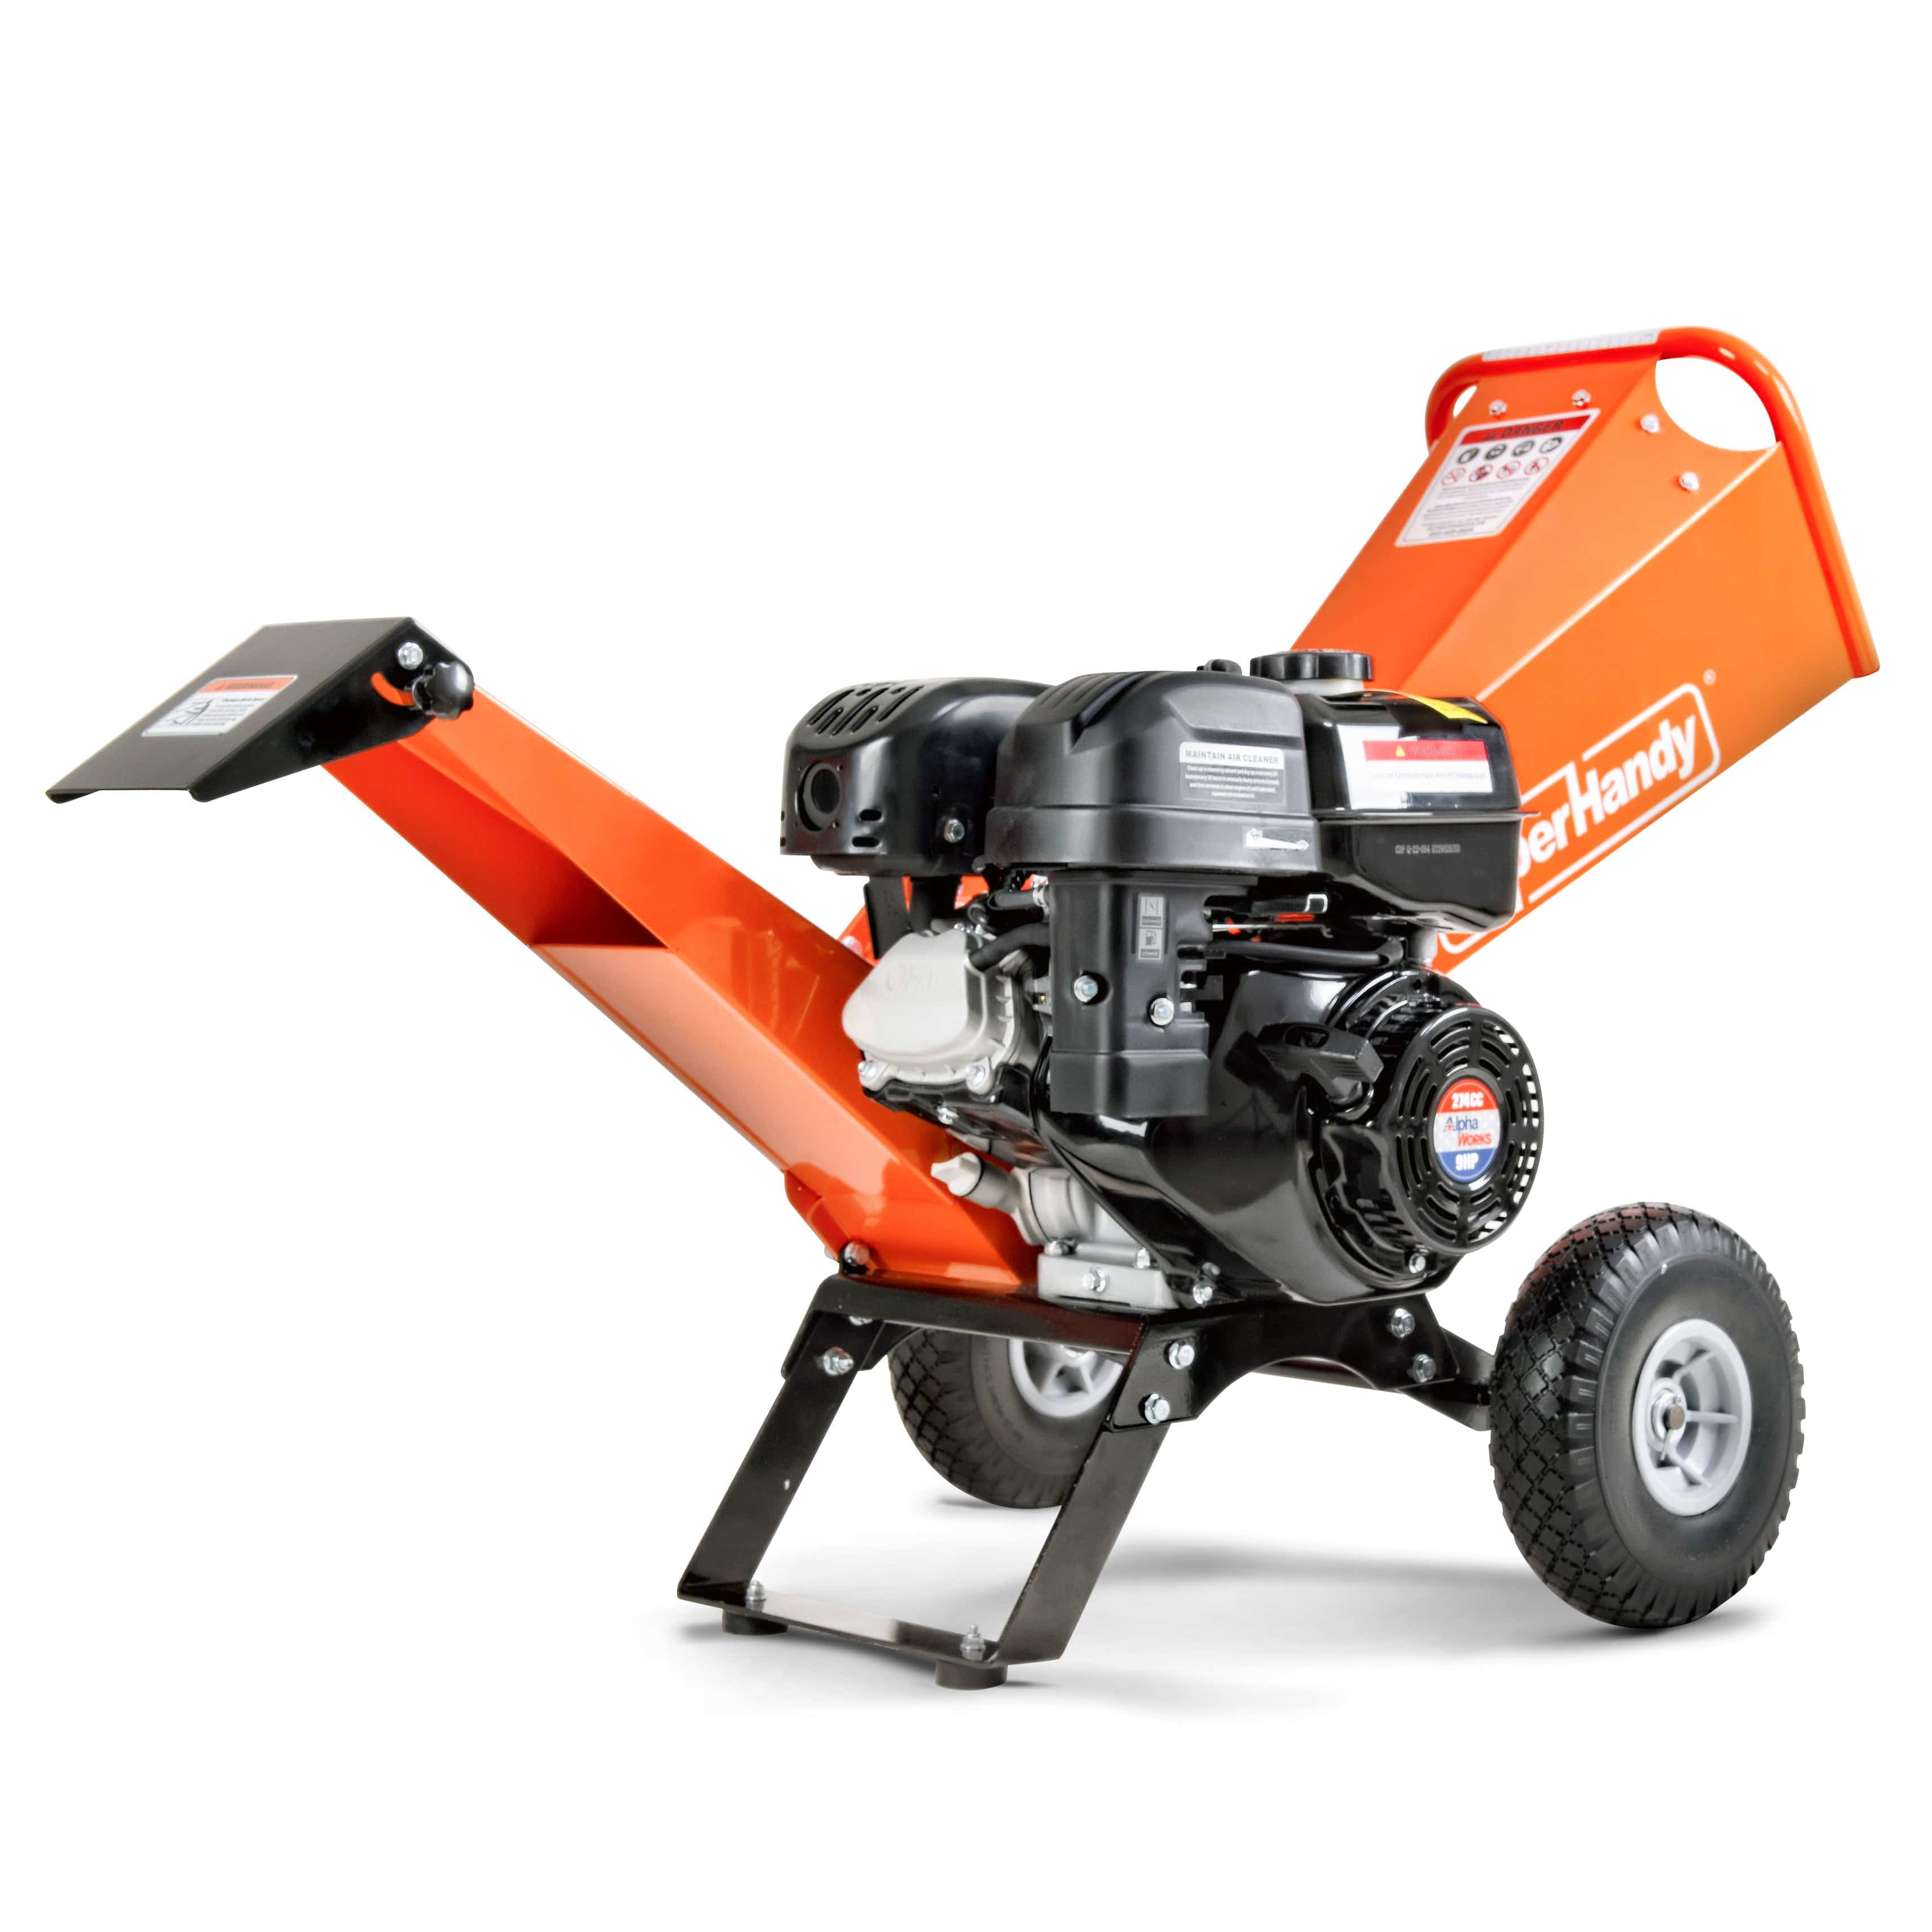
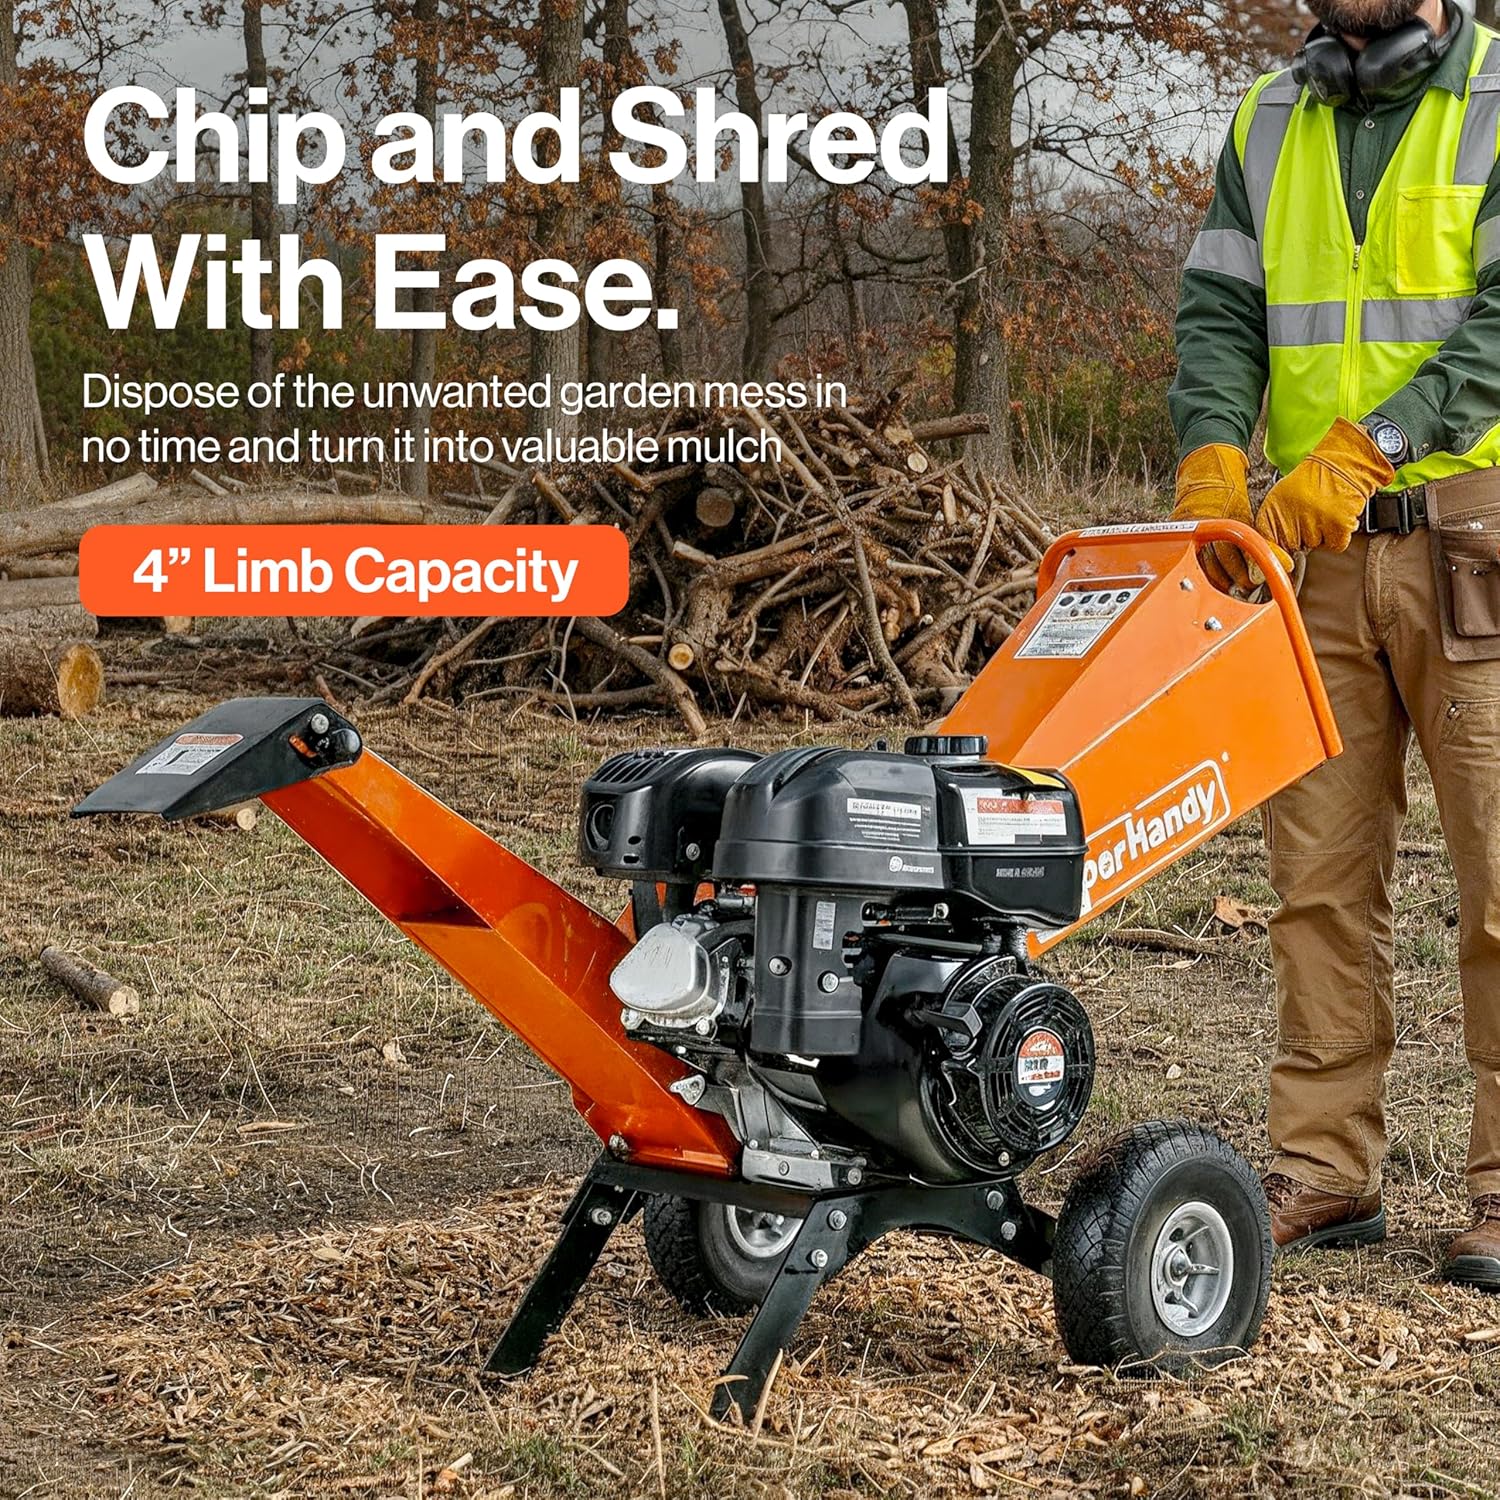
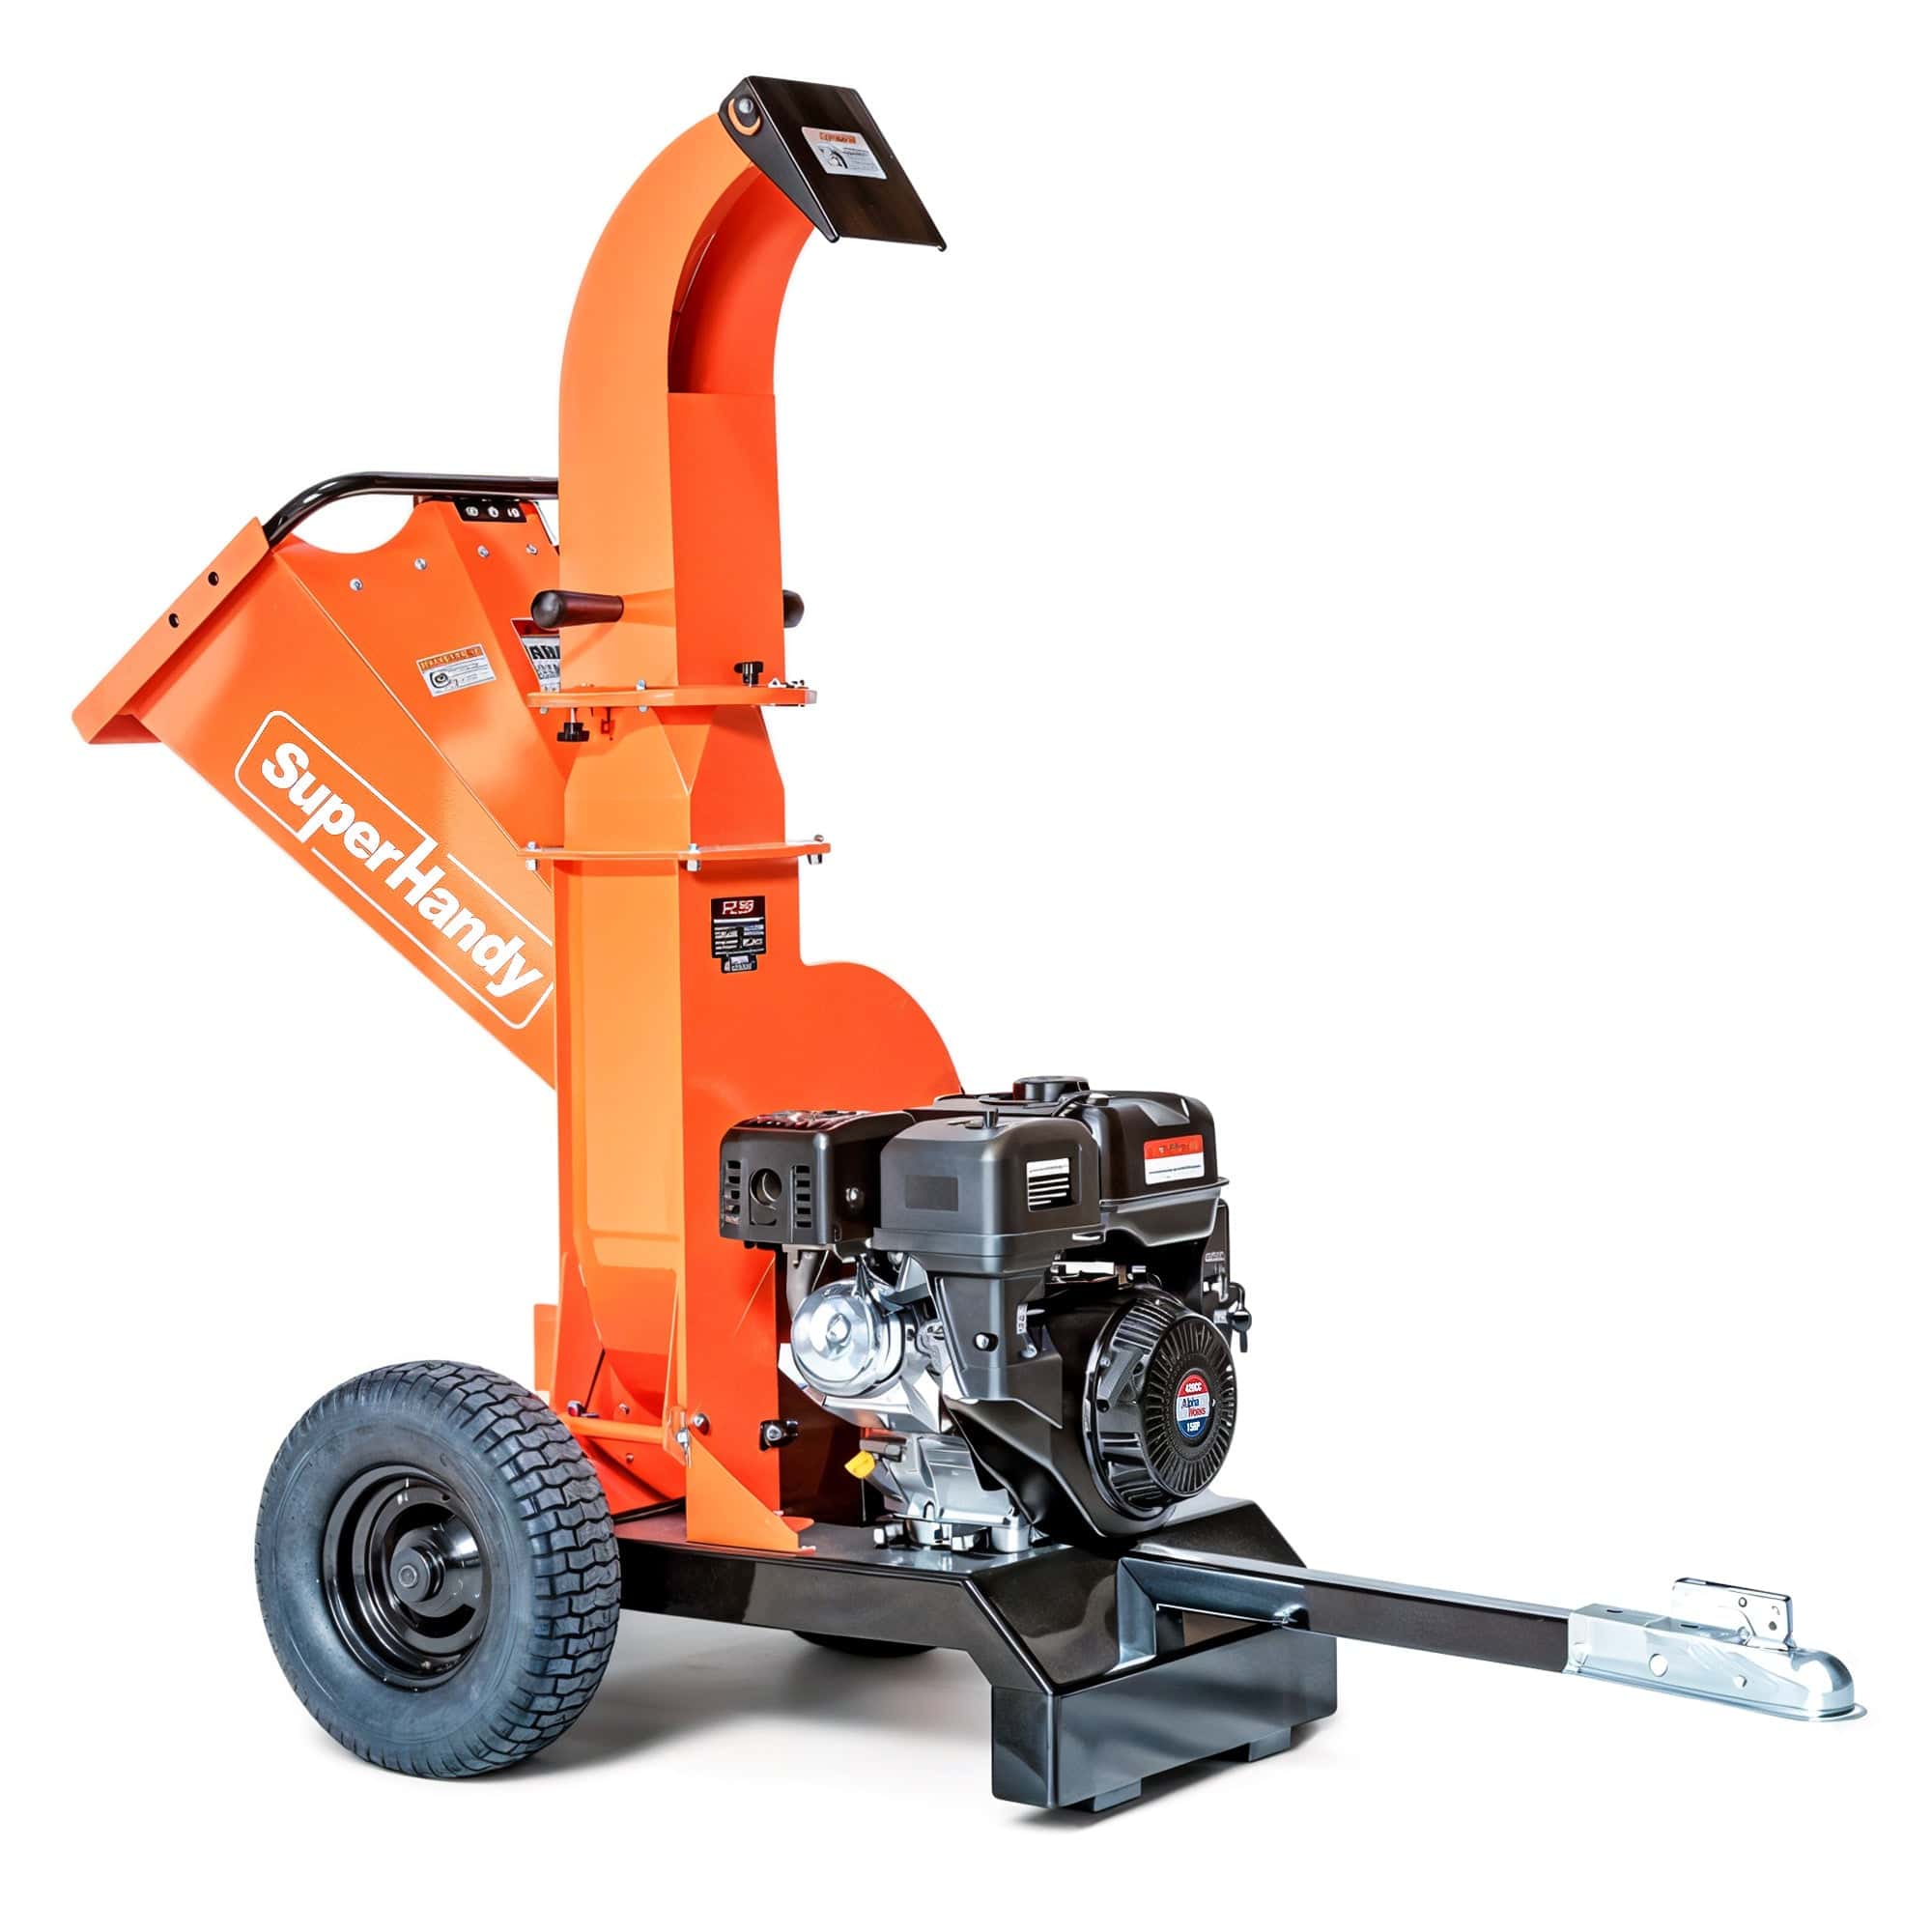
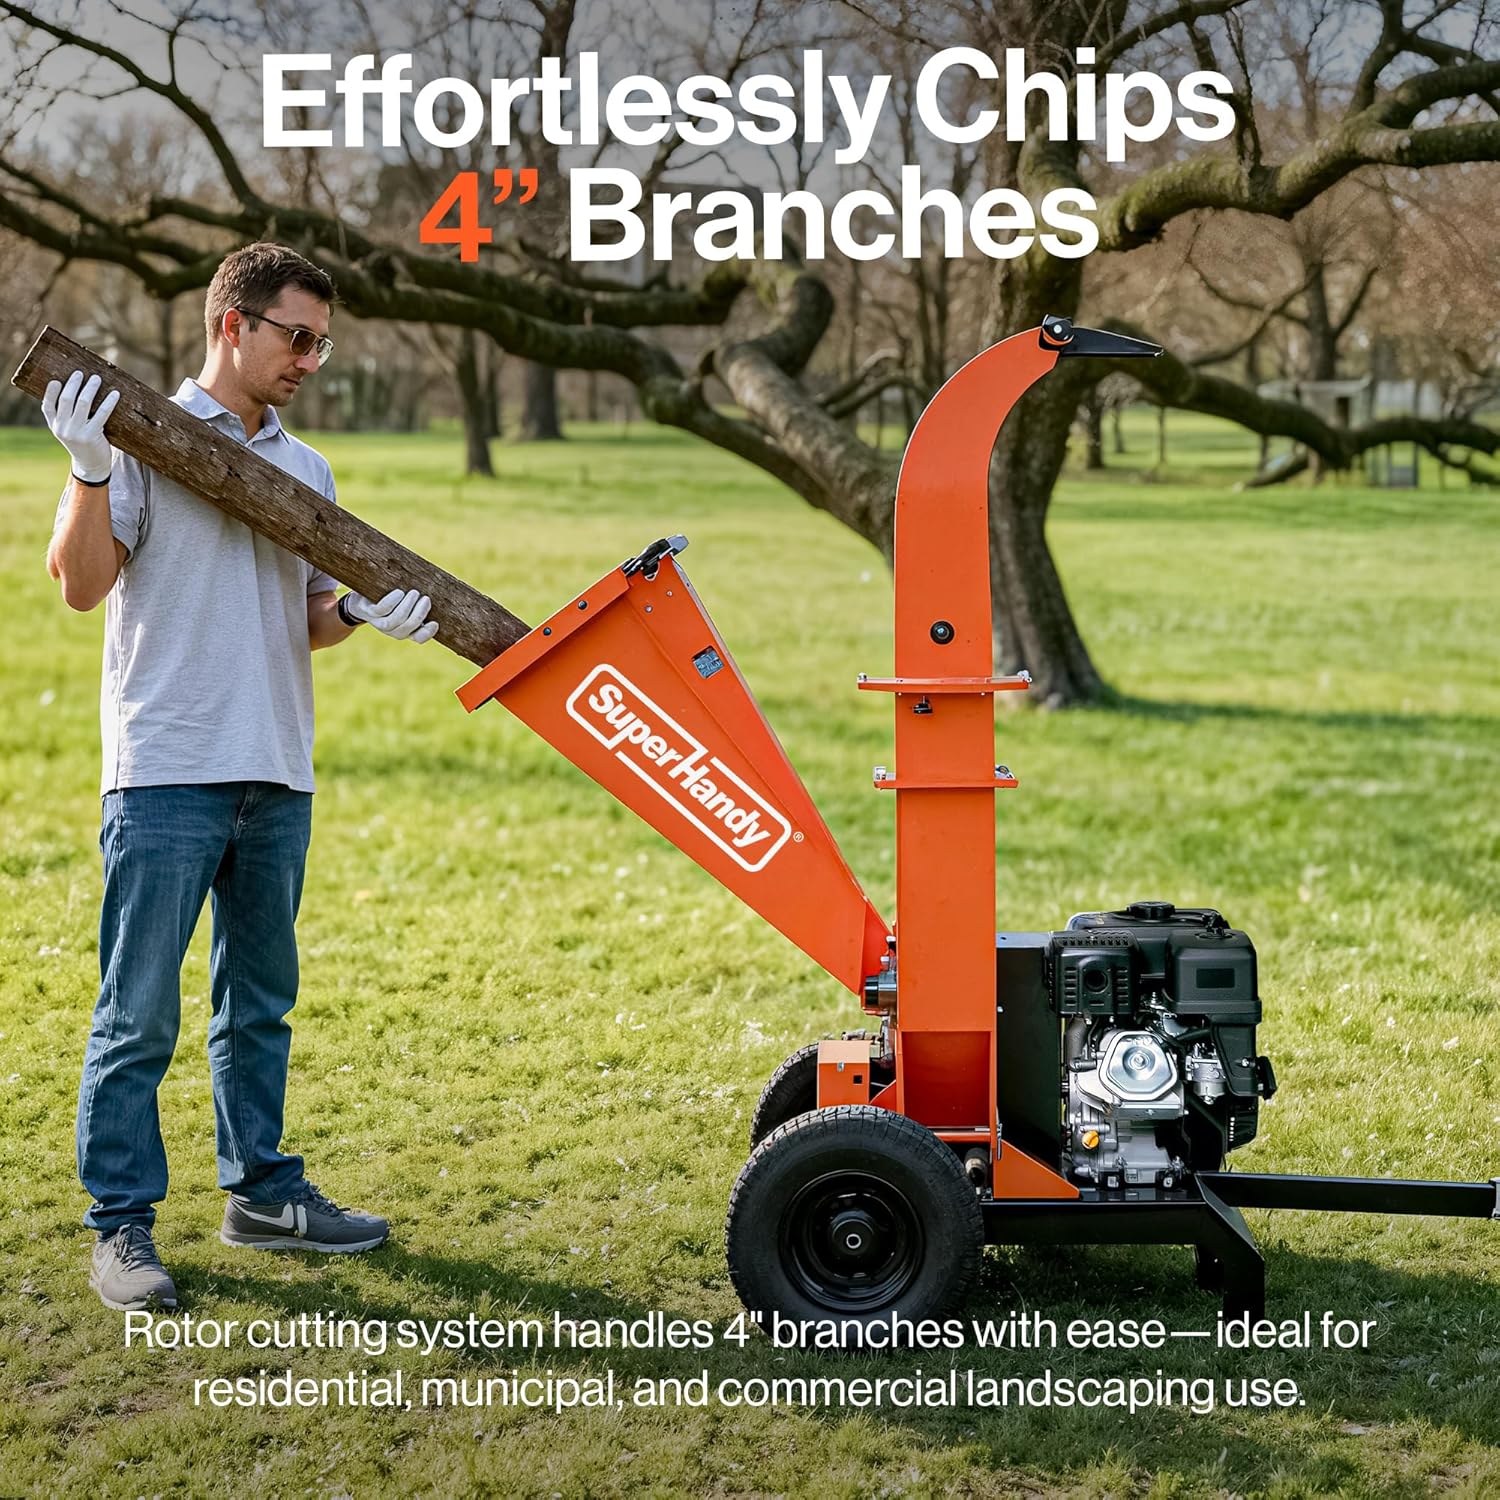
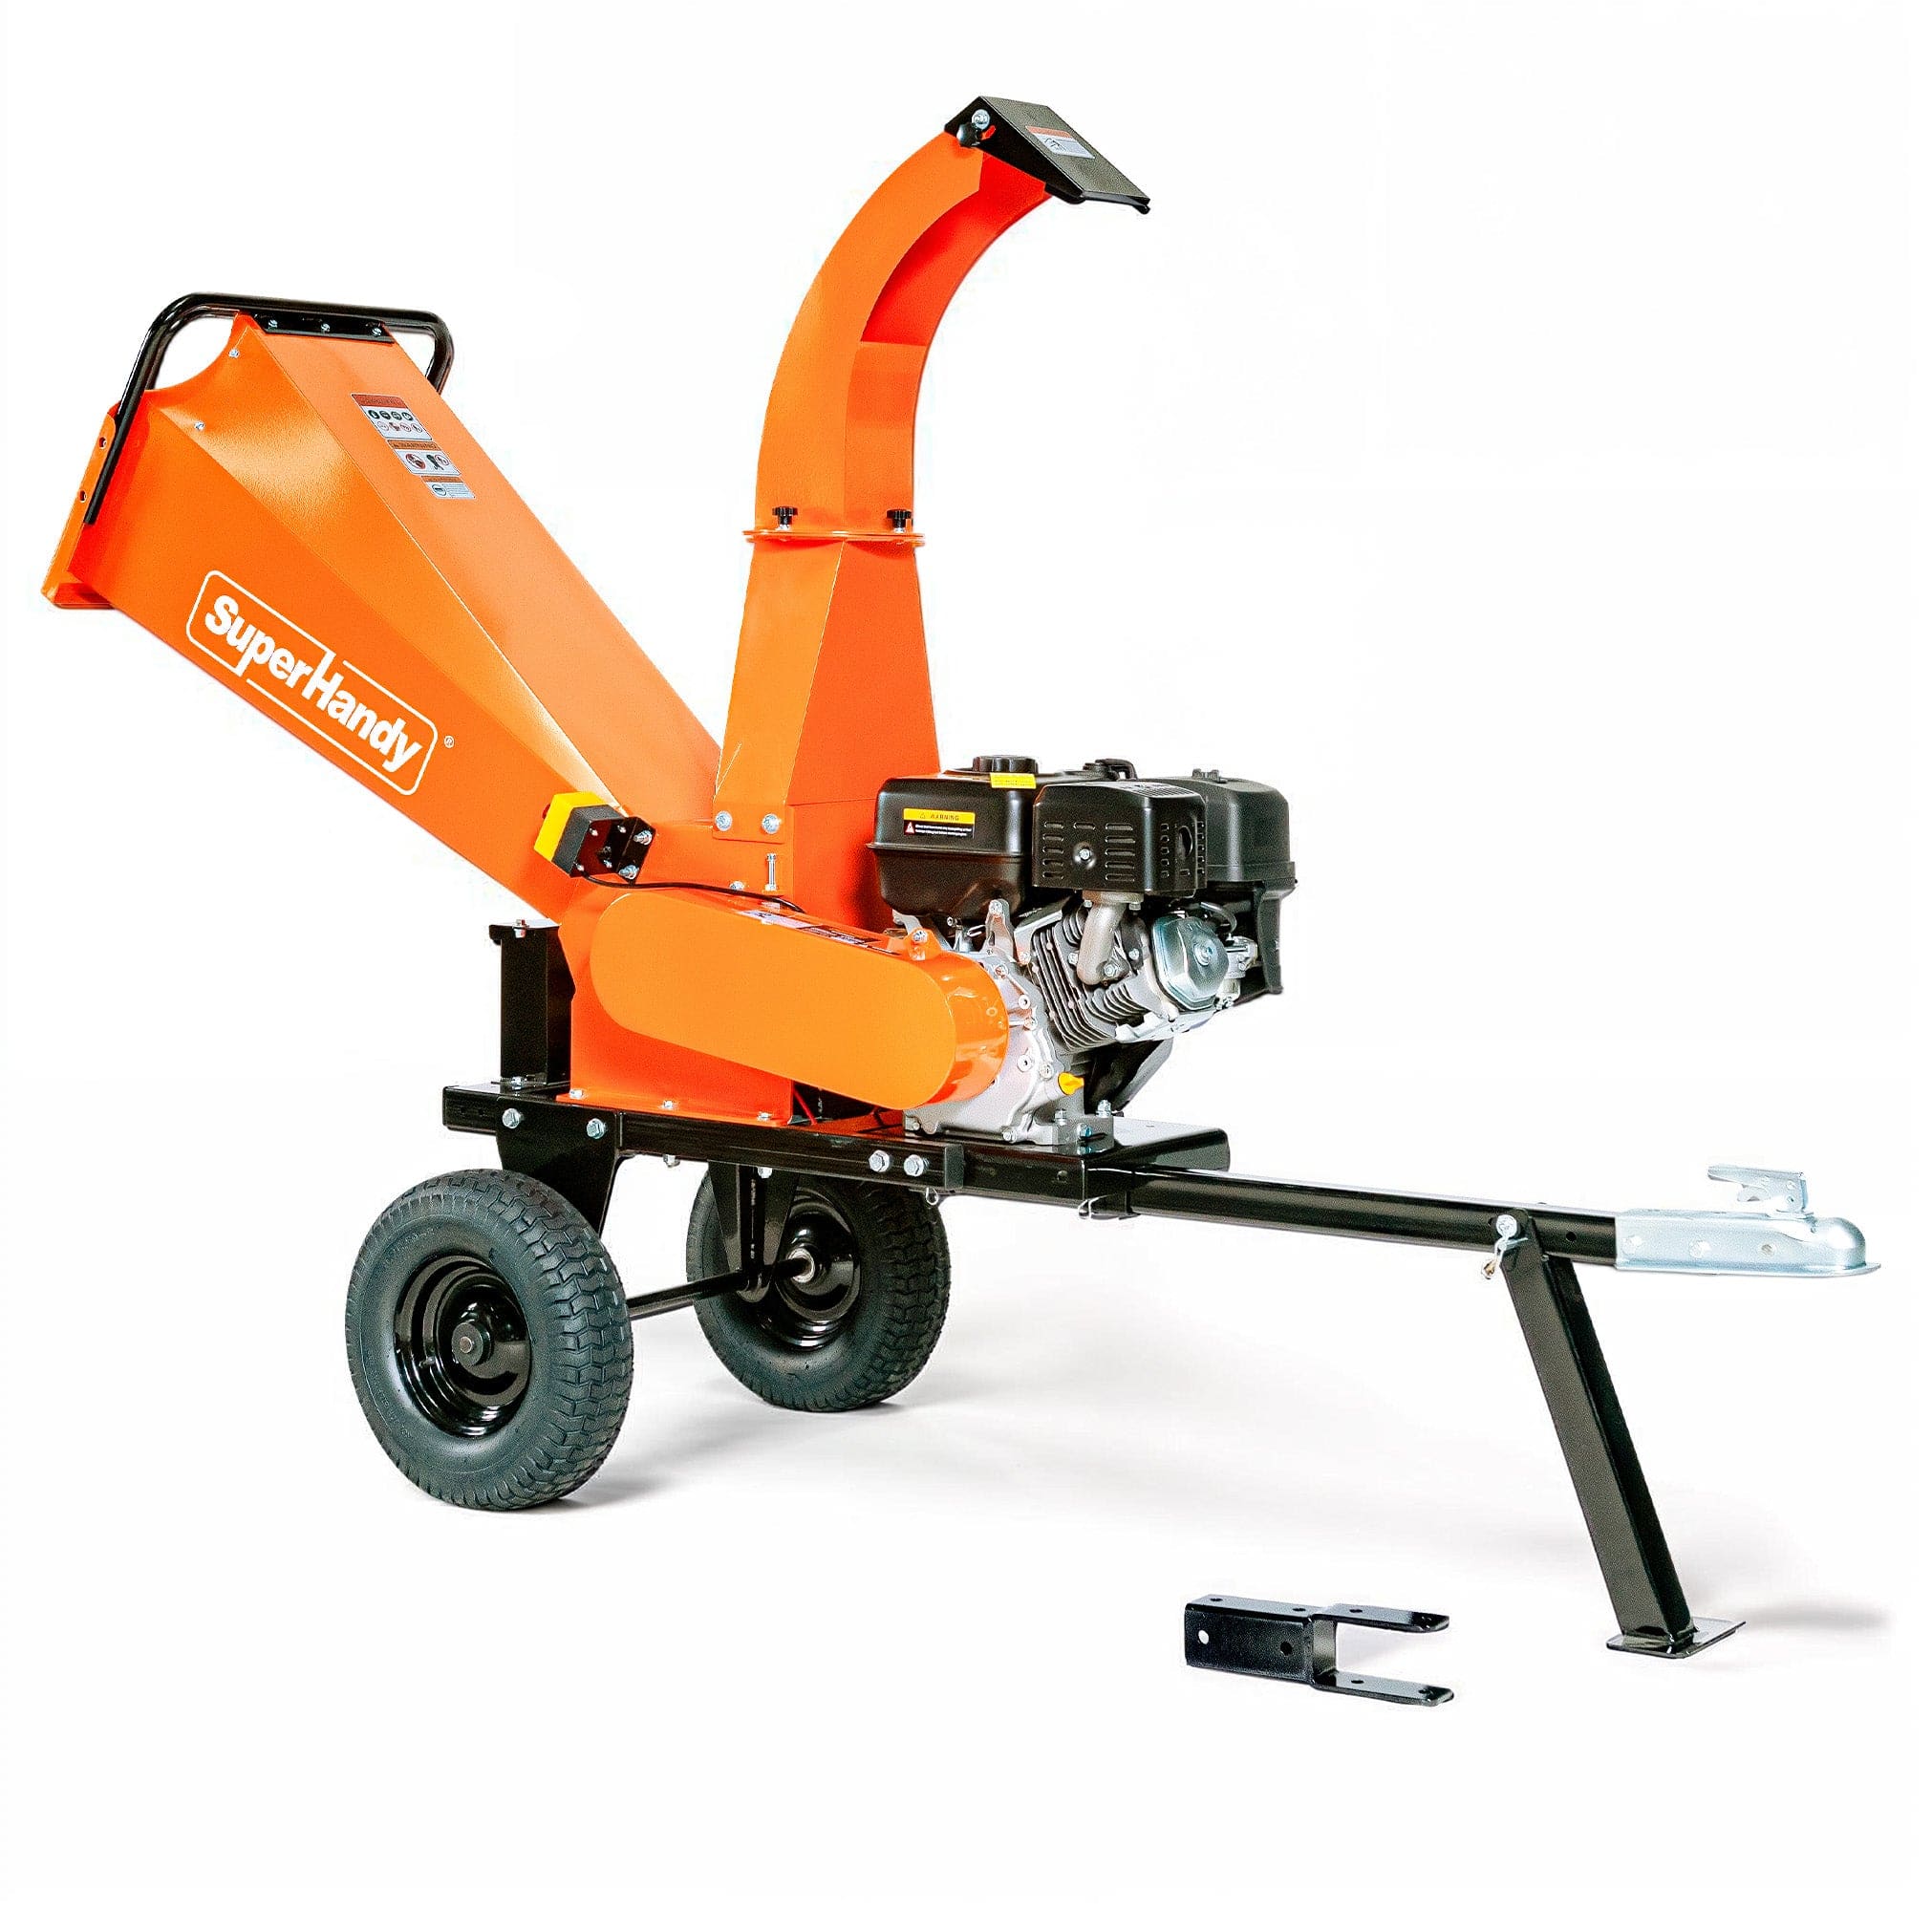
- Chip the Wood: Safely operate your machine to process the branches into uniform chips. A reliable unit from our collection of Wood Chippers & Leaf Mulchers makes quick work of large debris piles.
- Age the Chips: For best results, let the fresh wood chips sit in a pile for a few weeks to a couple of months before use. This "curing" period allows the initial, most intense phase of decomposition to pass, preventing the chips from temporarily depleting nitrogen from the soil surface.
- Prepare for Application: Once aged, your homemade wood chips are the perfect material for building a beautiful and sustainable garden path.
How to Safely Operate and Maintain a Wood Chipper
Safety is paramount when turning branches into valuable pathway material. Before starting your engine, always wear personal protective equipment (PPE), including safety glasses, heavy-duty gloves, and hearing protection. It's crucial to understand the specific operational guidelines for your machine. Whether you have a gas or electric model from our collection of Wood Chippers & Leaf Mulchers , thoroughly read the user manual first.
Feed branches into the hopper butt-end first, allowing the machine to pull them in naturally. Never force materials or put your hands inside the hopper. Regular maintenance ensures your chipper shredder runs efficiently and safely. After each use, clear any remaining debris. Periodically check that the blades are sharp and secure, and follow the manufacturer's schedule for oil changes and engine service.
Determining the Ideal Thickness and Depth for Your Wood Chip Pathways
For a durable and effective garden path, aim for an initial depth of 4 to 6 inches of wood chips. This generous layer serves several purposes: it provides a soft, comfortable walking surface, effectively suppresses weeds, and helps retain soil moisture in adjacent garden beds. Over time and with foot traffic, this layer will naturally compact to a stable depth of about 3 to 4 inches. Starting with a thicker layer ensures that even after settling, the pathway remains substantial enough to prevent weed growth and provide long-lasting coverage.
Techniques for Laying and Compacting Wood Chip Pathways
Once you have your pile of fresh wood chips, laying the pathway is straightforward. First, clear the intended path of all grass and weeds, and rake the soil level. For extra weed control, you can lay down a layer of cardboard before adding the chips; it will decompose over time and enrich the soil.
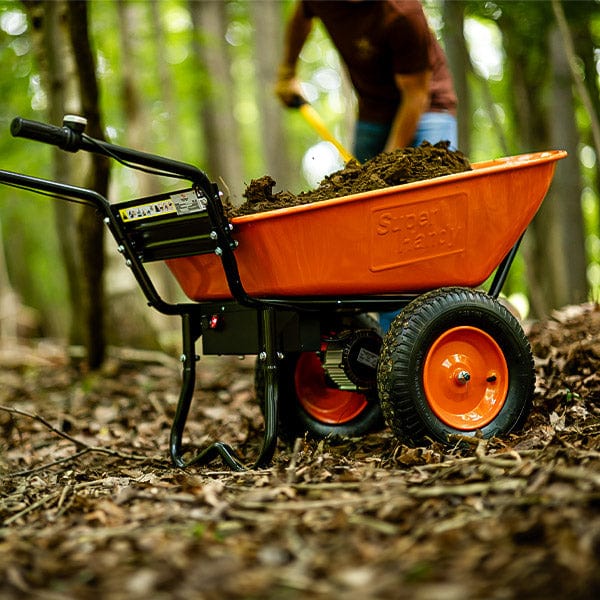
Use a wheelbarrow to transport the chips and a sturdy garden rake to spread them evenly to your desired depth.
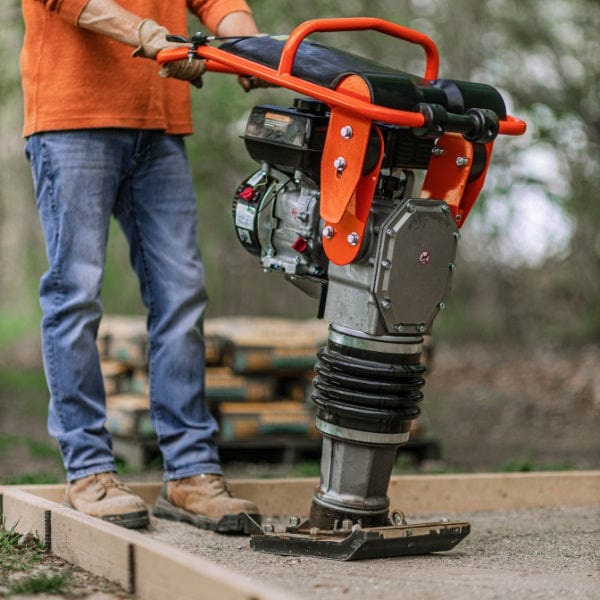
After the chips are spread, compact them to create a firm, stable surface. The easiest method is to simply walk up and down the path several times. For a more uniform and professionally compacted finish, you can use a hand tamper or go over the area with a lawn roller.
Integrating Wood Chip Pathways with Existing Garden Features
To give your new pathways a clean, professional look and prevent chips from scattering into your lawn or garden beds, consider installing edging. Materials like natural stone, bricks, bender board, or simple metal edging create a crisp, defined border. This not only enhances the visual appeal but also makes maintenance easier. Plan your pathways to curve gracefully around existing trees, shrubs, and garden beds. This creates a more organic and flowing design that seamlessly integrates the functional paths into the natural beauty of your suburban landscape.
Long-Term Maintenance: Keeping Your Wood Chip Pathways Looking Great
Wood chip pathways are wonderfully low-maintenance, but a little upkeep goes a long way. As the chips settle and decompose, your primary task will be topping them off. Plan on adding a fresh 1-2 inch layer every one to two years to maintain depth, suppress weeds, and keep the path looking fresh. Periodically rake the path to level out any high spots or fill in areas that have become compacted. While a thick layer of mulch is an excellent weed suppressant, a few persistent weeds may still pop through. These are typically easy to pull by hand from the loose material.
Troubleshooting Common Issues with Wood Chip Pathways
- Weeds: If you find more weeds than you’d like, your chip layer might be too thin. The simplest solution is to add more debris from your wood chipper to increase the depth to at least 4-6 inches.
- Washout: On sloped areas or in regions with heavy rain, chips can sometimes wash away. Installing a simple edge barrier using stones, logs, or flexible garden edging can effectively hold your pathway material in place.
- Fungus or Mushrooms: Don’t be alarmed if you see mushrooms or fungal growth. This is a natural and often beneficial part of the decomposition process, indicating healthy soil life. If you dislike the look, simply rake the area to break them up and improve air circulation.
Cost-Effectiveness: Comparing Wood Chip Pathways to Other Materials
When it comes to budget, wood chip pathways are a clear winner. The primary material—your own yard debris—is free. The main investment is the equipment. While there's an upfront cost for a quality chipper shredder, it quickly pays for itself. Compare this to the ongoing expense of purchasing gravel, pavers, or concrete, which also involve significant transportation and labor costs. A single investment in one of our Wood Chippers & Leaf Mulchers provides you with an endless supply of pathway material, mulch, and compost for years to come, making it an incredibly cost-effective solution for any property owner.
Environmental Impact: The Sustainability of Using Wood Chipper Debris
Creating pathways from your own wood chipper debris is one of the most sustainable choices you can make for your landscape. You are actively diverting green waste from landfills, where it would otherwise decompose and release methane, a potent greenhouse gas. This "closed-loop" system utilizes a resource from your own property, eliminating the carbon footprint associated with manufacturing, packaging, and transporting commercial pathway materials. As the wood chips slowly break down, they enrich the soil beneath, improving its structure and water retention, and contributing positively to your local ecosystem.
Frequently Asked Questions About Wood Chipper Debris Pathways
Q1: How long do wood chip pathways typically last?
The longevity of a wood chip pathway depends on several key factors, but you can generally expect them to last between 1 to 5 years before needing a significant top-up. The most influential factors include the type of wood used, the initial depth of the chips, your local climate, and the amount of foot traffic the path receives.
Pathways made from hardwood chips, such as oak or maple, will decompose much more slowly and last longer than those made from softwoods like pine or fir. A thicker initial layer, ideally between 4 to 6 inches, also extends the path's life, as the bottom layers slowly break down while the top remains functional. In wet, humid climates, decomposition happens faster. Similarly, high-traffic areas will see chips break down and compact more quickly.
Plan on refreshing your pathways by adding a new 1- to 2-inch layer of fresh chips every couple of years. This simple maintenance task keeps them looking neat, suppresses weeds, and continues the beneficial process of adding rich organic matter to the soil below.
Q2: Can I use treated lumber in my wood chipper for pathways?
No, you should never run pressure-treated, painted, or stained lumber through your wood chipper for any purpose, especially for creating garden pathways. This type of wood is infused with chemicals designed to prevent rot and repel insects.
When you process treated wood in a chipper shredder, these toxic chemicals can be aerosolized into fine dust, creating a serious inhalation hazard for you and anyone nearby. Furthermore, if you use these contaminated chips on your pathways, the chemicals will leach into the soil over time with rain and watering. This can harm or kill beneficial soil microorganisms, contaminate groundwater, and potentially be absorbed by nearby plants, which is particularly dangerous in or near a vegetable garden.
For the health of your garden and your own safety, only use clean, natural, and untreated wood from pruned branches and fallen limbs. Using the right material is essential for getting the best results from high-quality Wood Chippers & Leaf Mulchers and creating a truly organic garden feature.
Related Products



Leave a comment
All comments are moderated before being published.
This site is protected by hCaptcha and the hCaptcha Privacy Policy and Terms of Service apply.