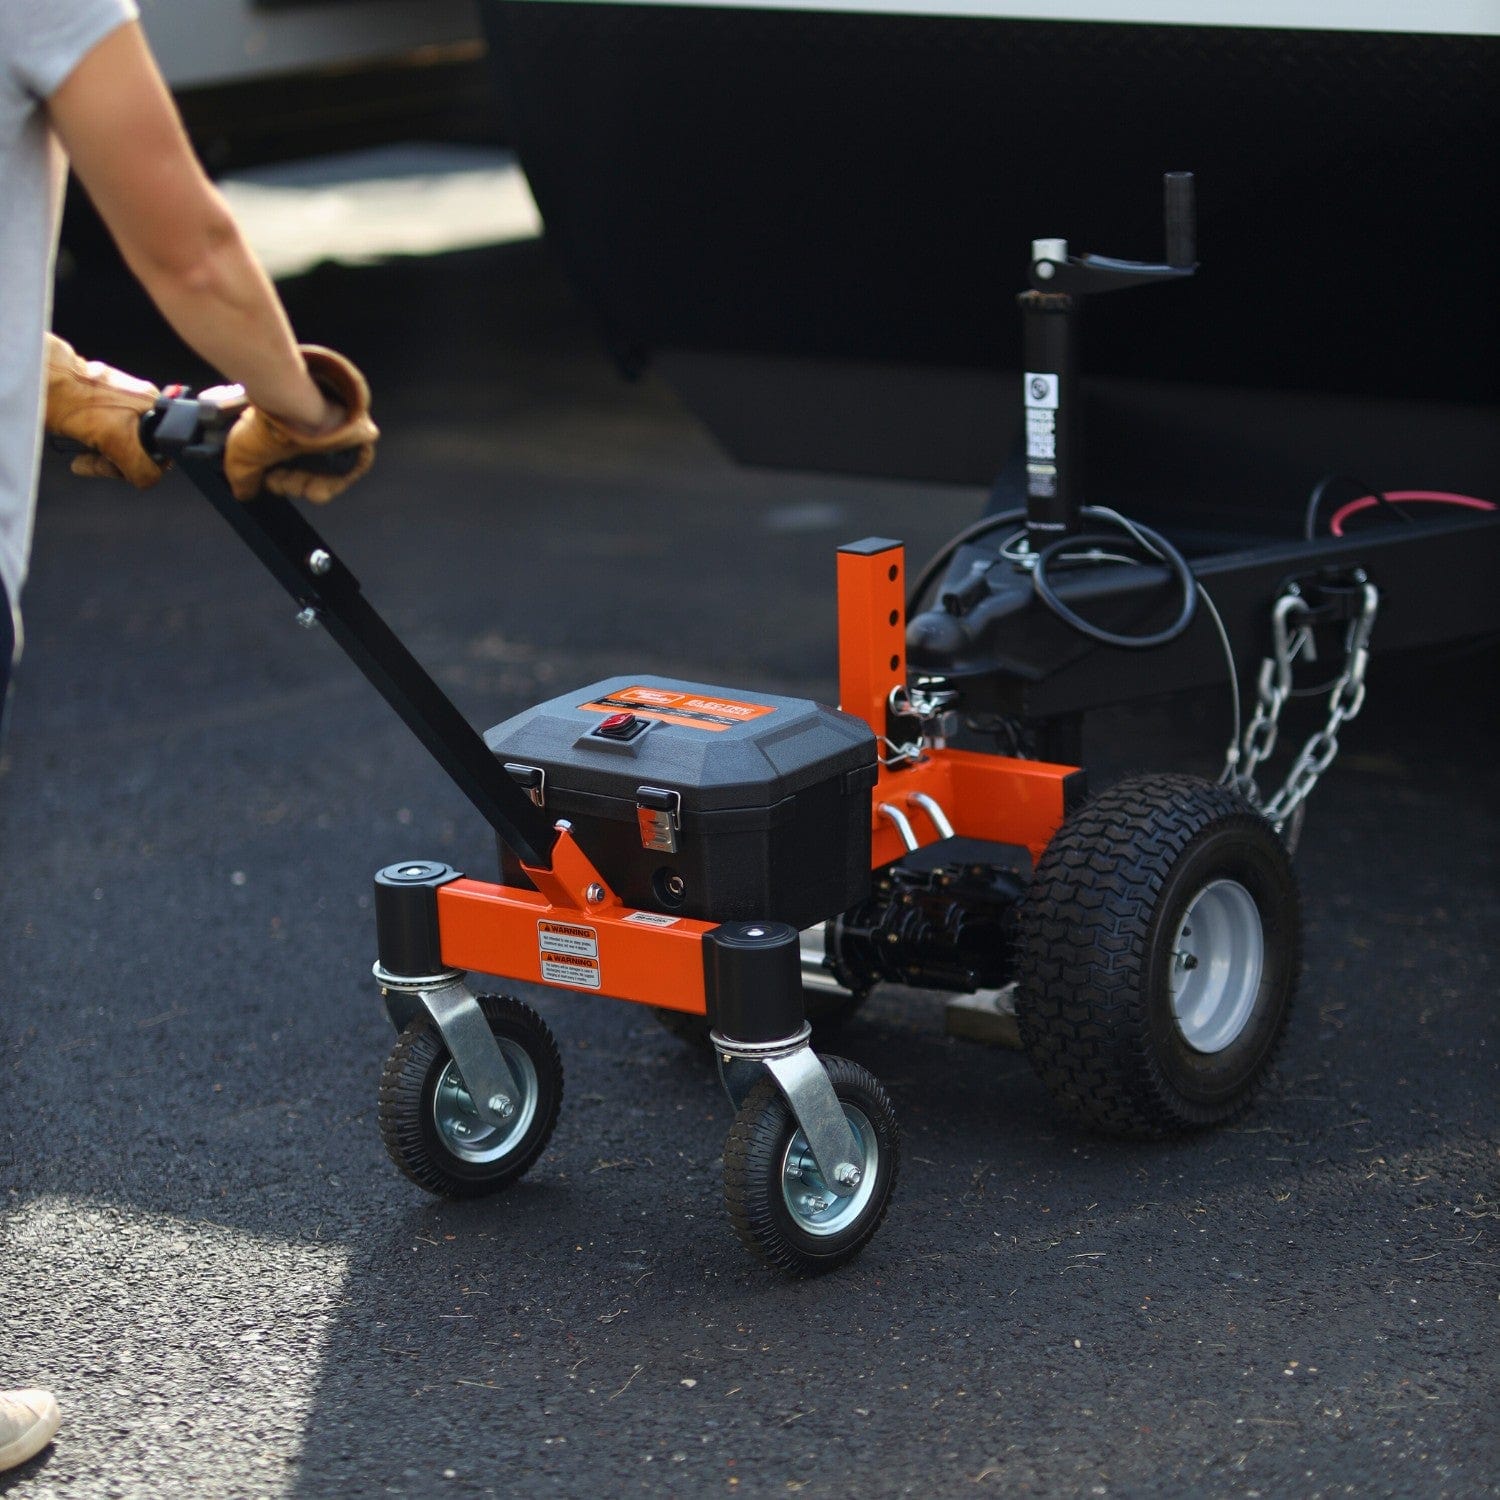
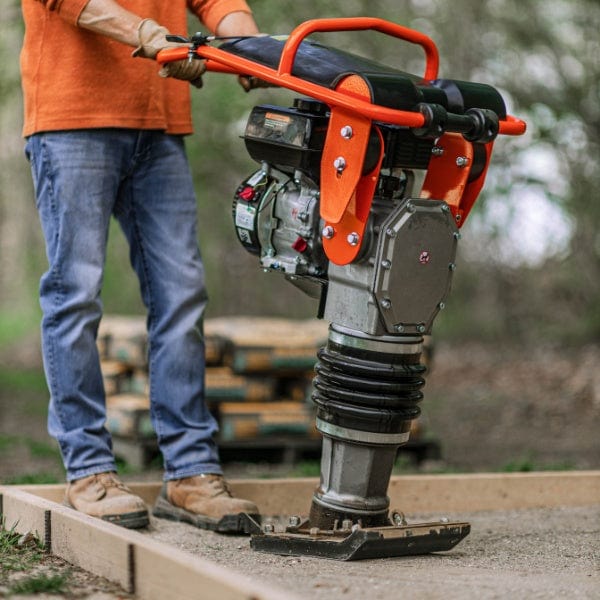
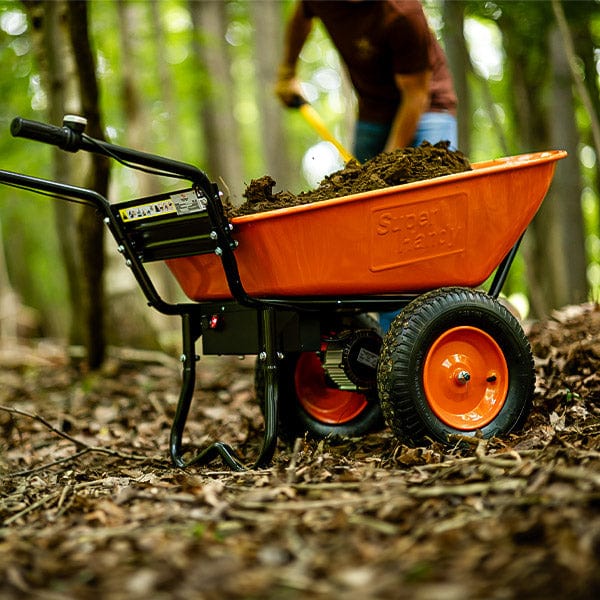


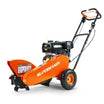


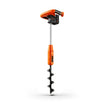


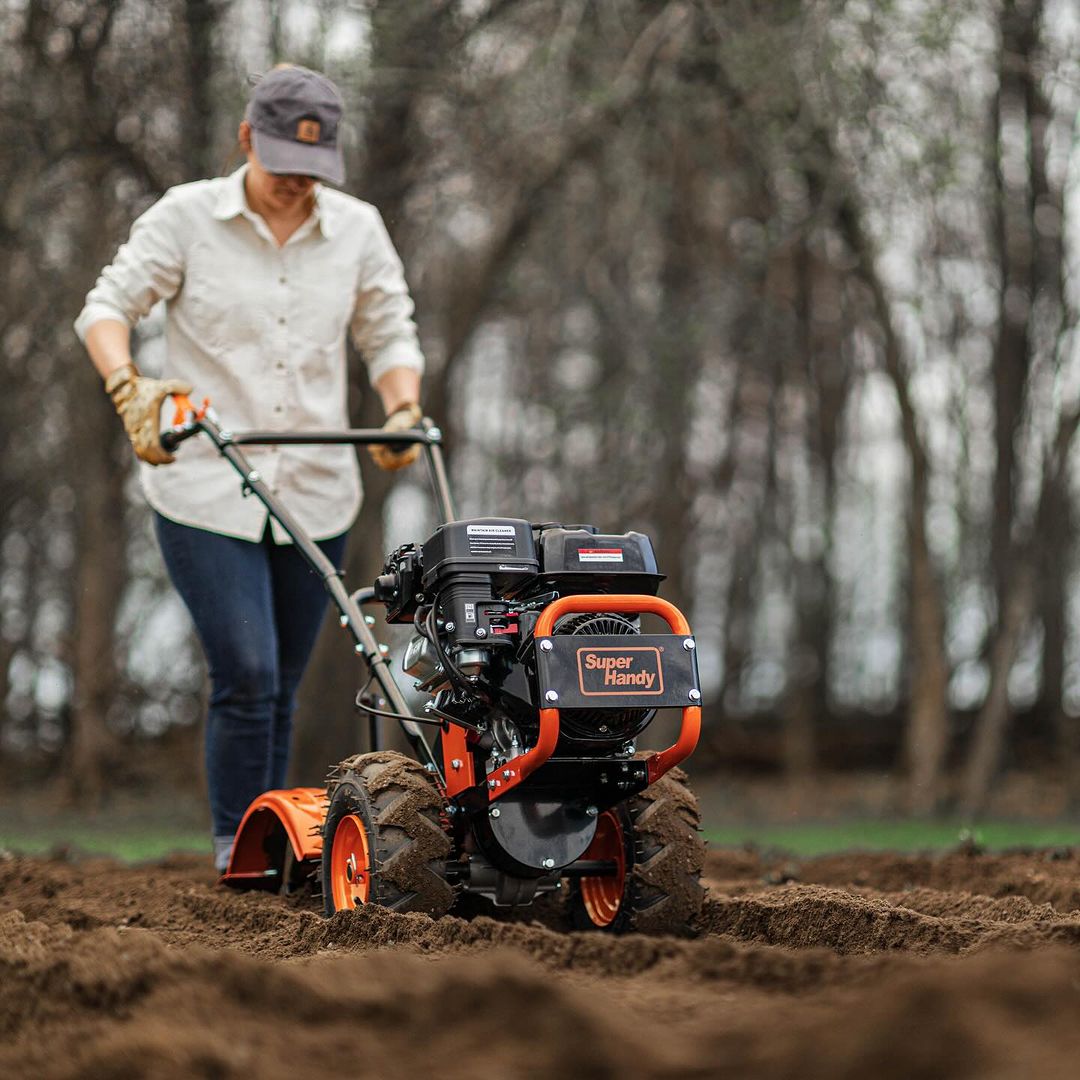
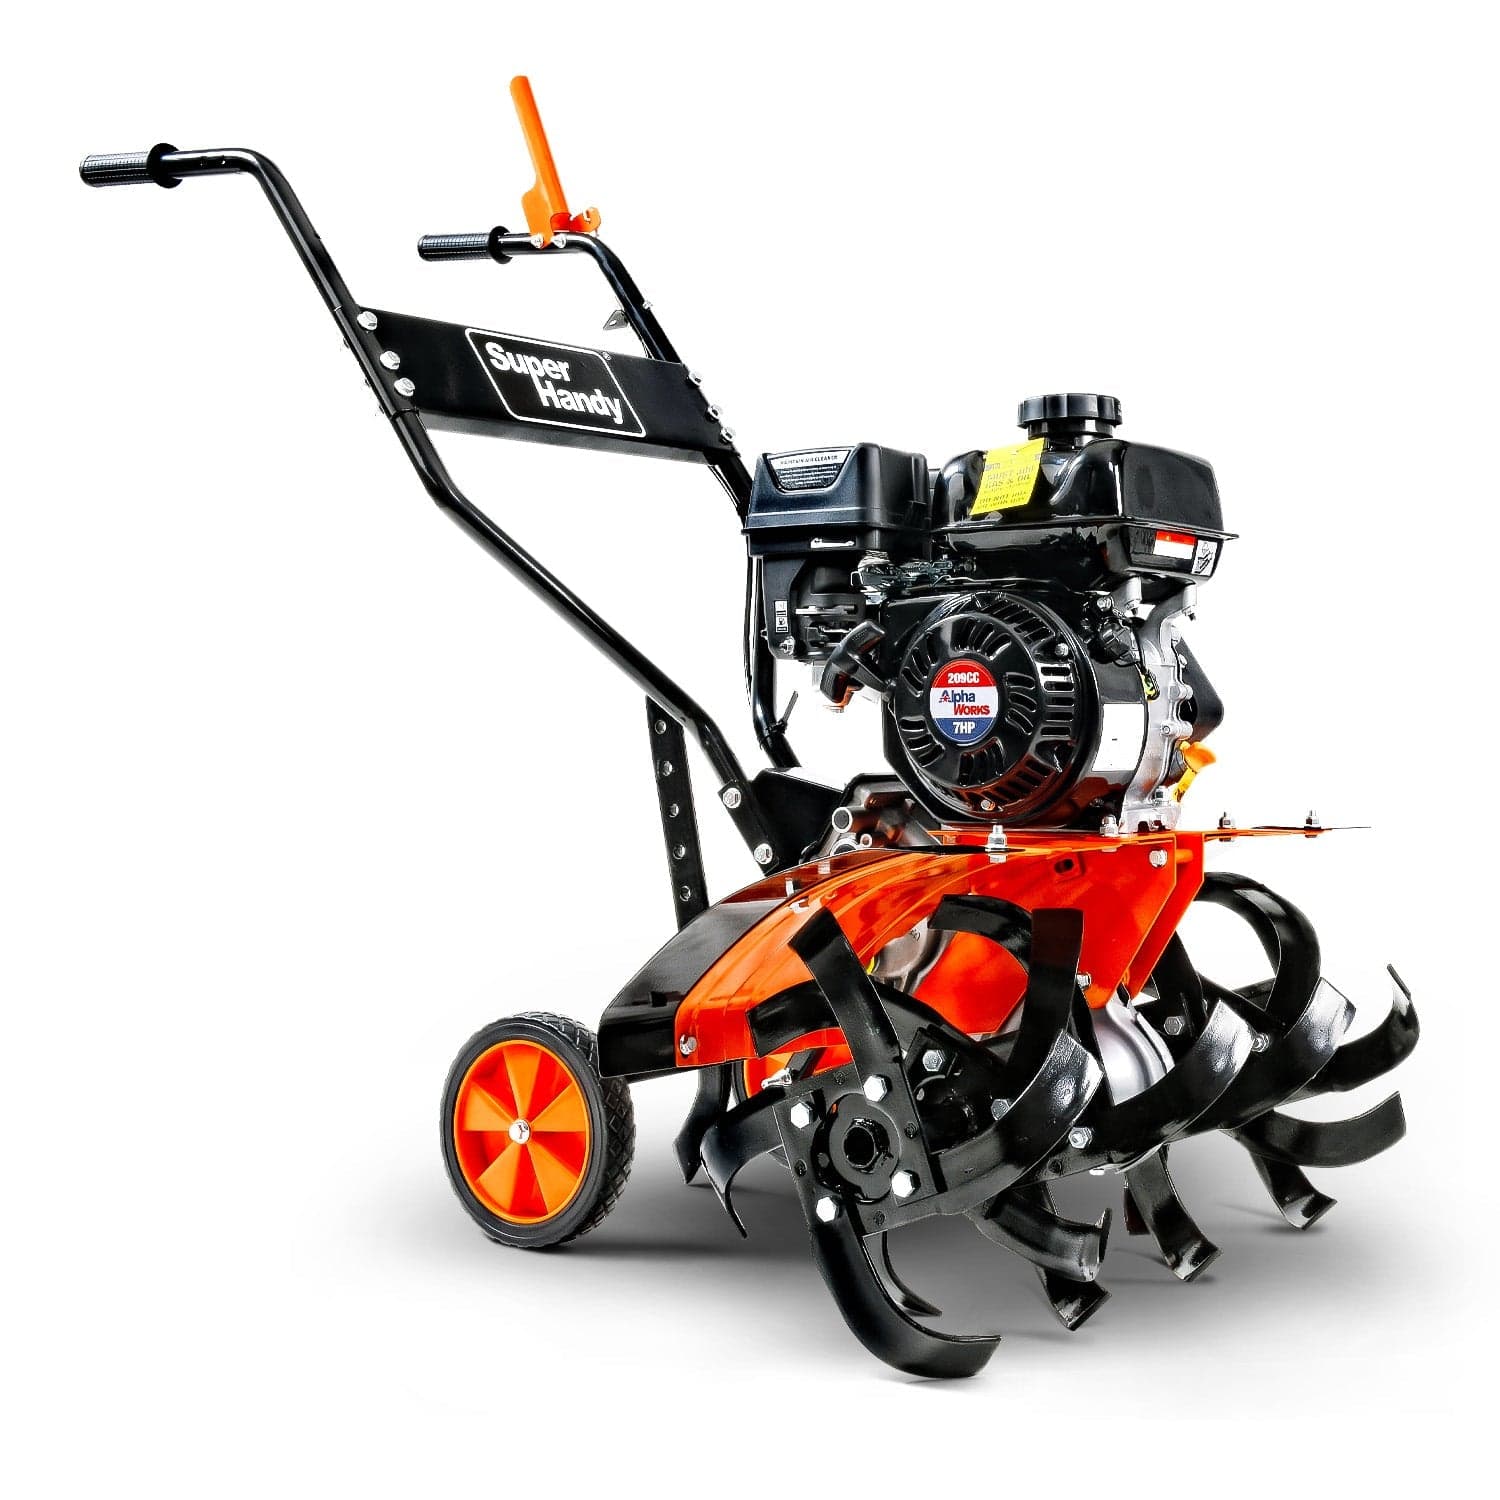
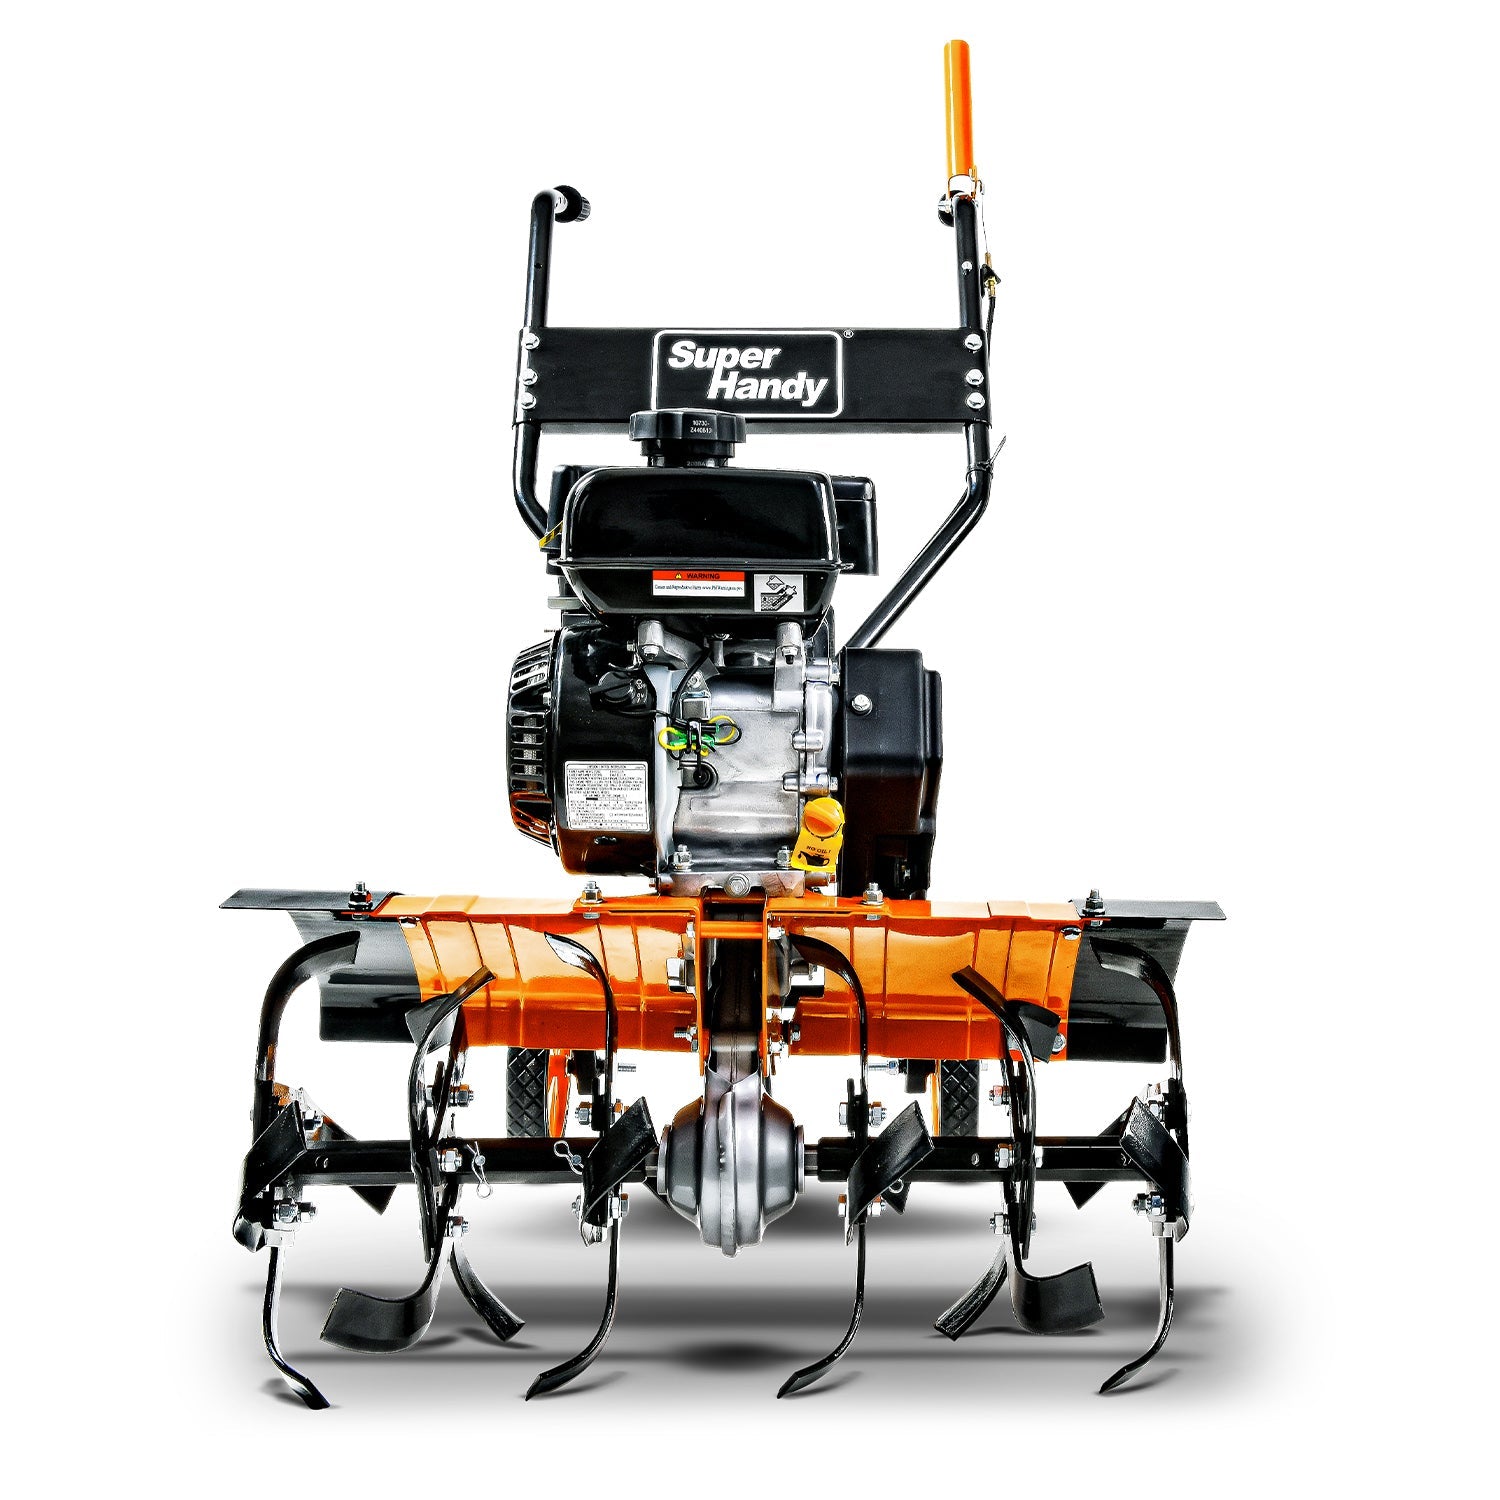
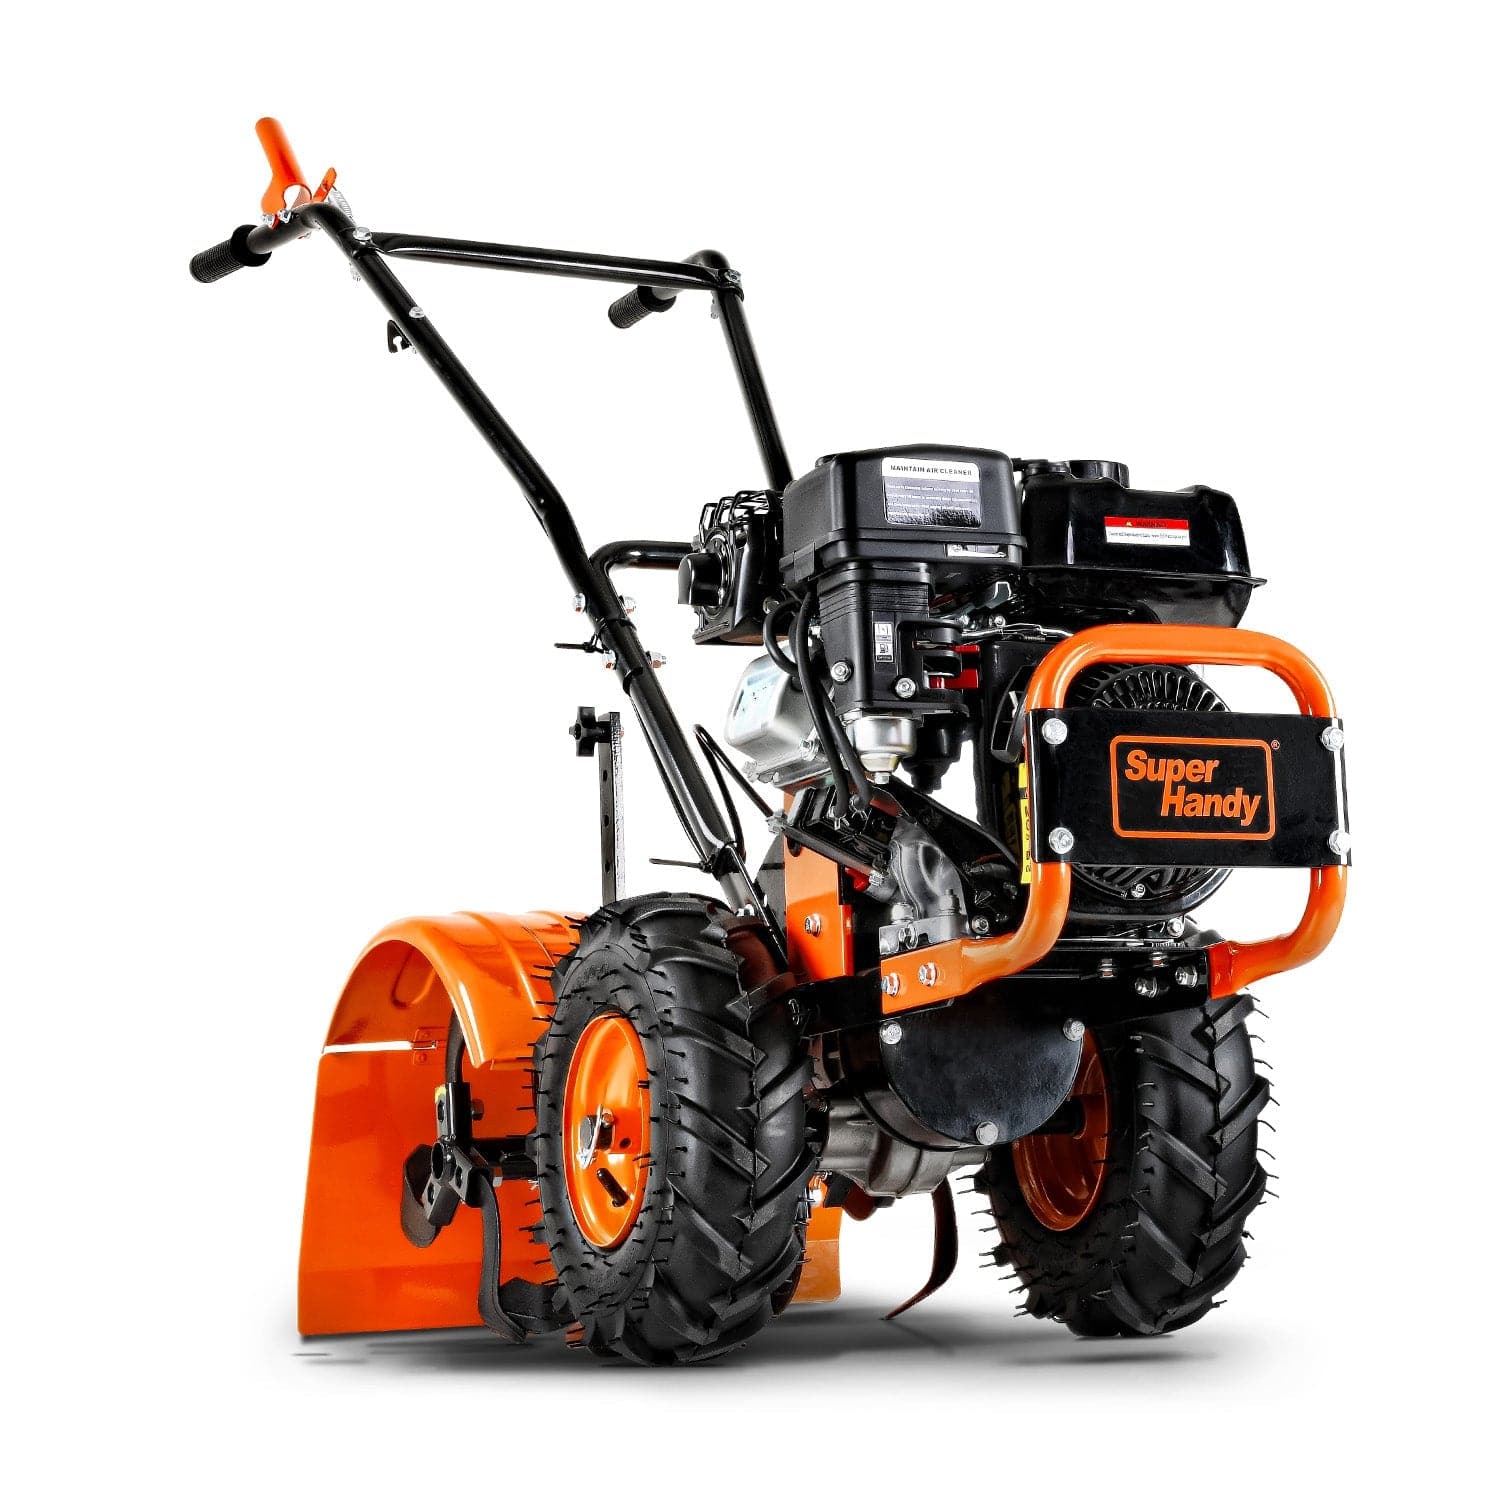
The SuperHandy tiller makes soil preparation easy and quick. Its strong design helps air reach the soil, spreads nutrients well, and removes the hard work of doing it by hand. Whether you're getting your garden ready or breaking hard soil, this tiller works great for plant growth. By using it the right way, you can avoid mistakes and make your soil healthy and rich. Using tools like the Rear Tine Tiller Pro or the 2 Stroke Gas Mini Tiller Cultivator helps you check your soil and follow good steps to prevent harm.
The Gas Garden Tiller Pro is also very useful and works for many gardening tasks. When you use the tiller properly, you give your plants the best start to grow strong.
Key Takeaways
- Clear the area of debris before tilling. This protects your tiller and improves soil health by adding organic matter.
- Test your soil's pH and nutrient levels. Knowing what your soil needs helps you plan better for plant growth.
- Adjust the tiller depth based on soil type. Shallow for sandy soil and deeper for clay to ensure effective mixing.
- Maintain your tiller regularly. Cleaning and checking parts keeps it running smoothly and extends its life.
- Avoid over-tilling and tilling wet soil. Both can harm soil structure and plant growth, so till only when necessary.
Preparing the Soil for Tilling

Clearing the Area of Debris
Before tilling, clean up the area. Take out rocks, sticks, and old plants. This stops the tiller from getting damaged and helps it work better. Leaving plant leftovers in the soil can make it healthier and save water.
- Soil Health: Plant leftovers add organic matter, helping soil hold water and nutrients.
- Water Conservation: Less water evaporates, and more soaks into the ground.
- Economic Benefits: Cleaning debris saves money on fertilizers and pesticides. It also helps crops grow better.
- Environmental Impact: Old plants help wildlife and reduce climate change effects.
These steps make your garden ready for planting and improve soil preparation.
Testing Soil pH and Nutrient Levels
Checking your soil is important for setting up the tiller and helping plants grow. Use a soil test kit or send samples to a lab to find out pH and nutrients.
|
Parameter |
What It Means |
|---|---|
|
Shows if soil is acidic or alkaline, which affects nutrients. |
|
|
Nitrogen (N) |
Needed for plants to grow and make energy. |
|
Phosphorus (P) |
Helps roots grow and seeds form. |
|
Potassium (K) |
Makes plants stronger and helps them make food. |
|
Cation Exchange Capacity (CEC) |
Tells how well soil holds and gives nutrients. |
|
Organic Matter Content |
Makes soil healthier and gives more nutrients. |
|
Soluble Salts |
Too much can stress plants and stop them from taking nutrients. |
Testing shows what your soil needs and helps you plan better.
Adding Compost and Fertilizers
Adding compost and fertilizer makes soil richer and helps plants grow. Compost improves how soil holds together, and fertilizers give needed nutrients.
|
Benefit |
What It Does |
|---|---|
|
Helps crops grow faster and better. |
|
|
Crop Quality |
Makes harvested crops healthier and tastier. |
|
Soil pH Balance |
Keeps pH levels right for plants to grow well. |
|
Erosion Control |
Stops soil from washing away and protects the land. |
Experts say mixing compost with biochar keeps nutrients in the soil longer. This mix slowly releases nutrients, keeping soil healthy for a long time. These steps help prepare your garden for planting success.
Step-by-Step Tilling Instructions
Adjusting Tiller Depth and Tines
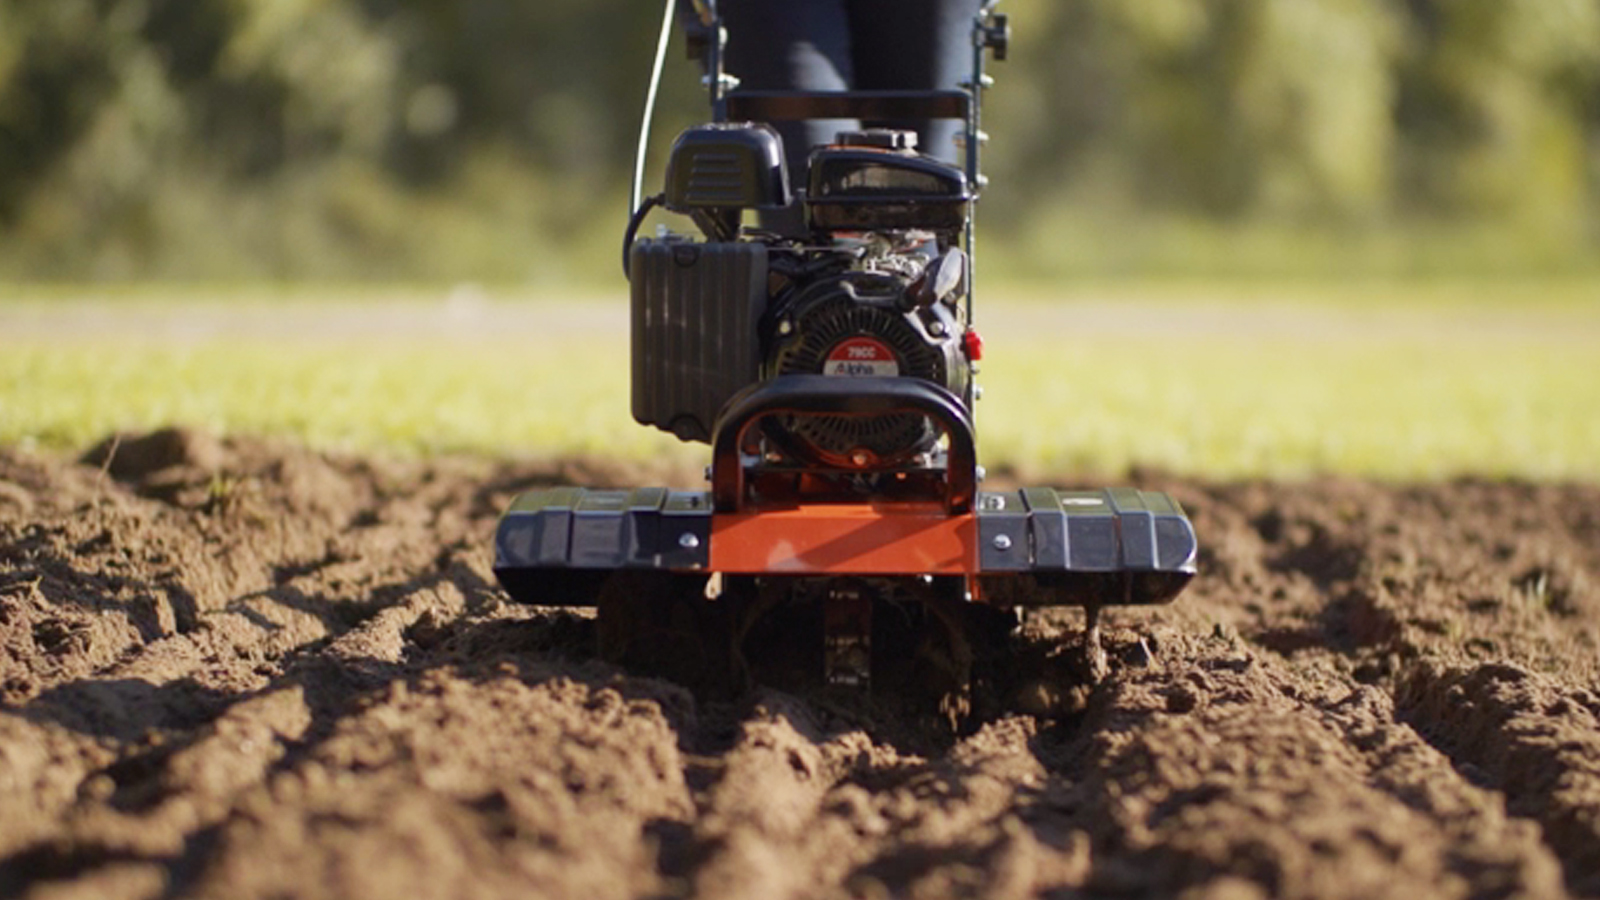
Setting the tiller depth and tines correctly helps it work well. First, check your soil type. Soft soil needs shallow tilling. Hard or packed soil needs deeper tilling. Adjust the depth on your tiller to match the soil.
The angle of the tines is also important. For soft soil, set the tines at a medium angle. This stops the soil from being overworked. For heavy or clay soil, increase the angle to dig deeper. Use the table below to guide your adjustments:
|
Parameter |
Effect on Soil Penetration |
|---|---|
|
Sweepback Angle |
Higher angle makes digging easier. |
|
Attack Surface Area |
Smaller area lowers the force needed. |
|
Forward Speed |
Faster speed needs more power to handle soil. |
|
Depth of Operation |
Deeper digging needs more power. |
|
Mixing Index |
Deeper digging mixes soil better. |
Studies back these tips. He et al. (2016) found that smaller attack areas help digging. Kim et al. (2013) showed deeper and faster tilling needs more power. Salokhe et al. (2001) said deeper tilling mixes soil better. Use these tips to adjust your tiller for great results.
Starting the SuperHandy Tiller Safely
Safety is key when using your SuperHandy tiller. Check for loose parts or damage before starting. Make sure the fuel tank is full and oil levels are good. Place the tiller on flat ground to stop it from tipping.
To start the tiller:
- Move the throttle to "Start."
- Use the choke if the engine is cold.
- Pull the starter cord until the engine starts.
- Slowly move the choke to "Run" as the engine warms up.
Wear gloves, goggles, and strong shoes for safety. Keep kids, pets, and others far away. These steps make starting your tiller safe and easy.
Tip: Clean the air filter and check the spark plug often. This keeps your tiller working well and safely.
Choosing the Right Tilling Pattern
The way you till affects how well the soil is prepared. For small gardens, go in straight lines. Start at one side and move in rows. Overlap a little to avoid missing spots.
For big areas, use a crisscross pattern. Till in one direction first. Then, go over the area again at a 90-degree angle. This mixes the soil well and breaks up hard spots.
Don’t make sharp turns with the tiller. It can harm the tines and mess up the soil. Instead, lift the tiller slightly and move it to the next spot.
Note: Keep a steady speed while tilling. This keeps the soil even and protects the machine.
By following these steps, you’ll prepare your soil well and get ready for planting success.
Tilling the Soil Correctly

Controlling Depth for Different Soil Types
Setting the tiller depth is important for good soil preparation. Different soils need different depths to mix nutrients and air. Sandy soil needs shallow tilling to avoid loosening too much. Clay soil needs deeper tilling to break hard layers.
Modern tillers have systems to adjust depth easily. These systems use smart methods to control how deep the tiller goes. Studies show that controlling depth helps soil turnover, planting depth, and crop growth.
|
Research Focus |
Key Findings |
|---|---|
|
Tillage Depth Control System |
Talks about designs for electric tillers to match soil types. |
|
Control Strategies |
Uses smart methods to adjust tillage depth dynamically. |
|
Experimental Results |
Shows these methods work well in different conditions. |
|
Impact on Agriculture |
Precise depth improves soil mixing, planting, and crop yield. |
Start with shallow tilling and go deeper if the soil is hard. This stops overworking the soil and gets it ready for planting.
Handling Compact or Rocky Soil
Hard or rocky soil can be tricky to till. Be careful to avoid breaking your tiller. First, loosen the top layer with a rake or shovel. This makes tilling easier and protects the machine.
For rocky soil, check for big rocks and remove them before tilling. Rocks can harm the tines and slow down the work. If the soil is still hard, set the tiller deeper to break tough layers. Use a crisscross pattern to mix and loosen the soil well.
Tip: If your tiller struggles, choose one with stronger power or special tines for tough soil.
By working carefully, you’ll make the soil better for plant roots to grow.
Avoiding Clumping in Moist Soil
Wet soil can clump when tilled, making preparation harder. Clumps block air and stop nutrients from spreading evenly. Wait until the soil is less wet before tilling. Wet soil sticks to the tines and forms clumps, but dry soil breaks apart easily.
Studies show good tilling methods improve air flow and reduce soil compaction. These methods also help keep water in the soil and stop erosion.
|
Aspect |
Tilling Effects |
Plowing Effects |
|---|---|---|
|
Soil Health and Structure |
Adds air and reduces compaction |
Helps soil structure but may compact it |
|
Effects on Soil Erosion |
Stops erosion with careful practices |
Can cause erosion if done wrong |
|
Water Management |
Keeps water in the soil |
Helps water soak into the soil |
Clean the tines often to stop clumps from forming. This keeps the tiller working well and spreads the soil evenly. Follow these tips for better soil preparation and easier planting.
Post-Tilling Care and Maintenance
Adding Organic Matter
After tilling, mix in organic matter to improve soil. Use compost, old manure, or shredded leaves to make soil richer. Spread it evenly over the tilled area. Then, use a rake or hoe to mix it into the soil. This helps spread nutrients all through the planting bed.
Soil with organic matter holds more air and water. This helps plants grow stronger. Research shows organic soils have more good microorganisms. These tiny helpers make nutrients easier for plants to use. They also fight harmful germs. For example, fungi like AMF help plants grow even in tough conditions.
Tip: Add organic matter often to keep soil healthy and grow better crops.
Smoothing the Soil for Planting
After adding organic matter, smooth the soil for planting. Use a rake to break clumps and fill low spots. A flat surface helps seeds grow at the right depth. It also spreads water evenly across the soil.
Leveling stops water from pooling, which can harm seeds or plants. Take your time to prepare the soil well. A smooth bed makes planting easier and helps plants grow healthy.
Note: Don’t press too hard while raking. Keep the soil loose and light.
Letting Soil Rest Before Planting
Once tilled and leveled, let the soil rest for a few days. This gives the soil time to settle naturally. It also lets microorganisms adjust and organic matter break down more. This releases nutrients into the soil.
Resting the soil prevents compaction and creates a stable place for seeds. Check the soil moisture during this time. If it feels dry, lightly water it to keep it ready for planting.
Tip: Add a resting period to your planting plan. It helps plants grow better in the long run.
Common Mistakes When Using a Garden Tiller
Over-Tilling the Soil
Tilling too much can hurt your soil. Over-tilling breaks the soil structure, making it compact and less airy. This makes it hard for roots to grow and get nutrients. It also increases erosion since loose soil washes away easily in rain.
Studies show over-tilling has bad effects:
|
Findings |
Description |
|---|---|
|
CO2 Emissions |
More tilling leads to higher CO2 release. |
|
Organic Matter Loss |
Over-tilling removes more organic matter than no-till methods. |
|
Soil Biological Activity |
Too much tilling lowers soil life, harming nutrient cycles. |
To prevent this, till only when needed. Keep a balance between loosening soil and keeping its natural form.
Tilling Wet or Waterlogged Soil
Tilling wet soil causes big problems. Wet soil compacts easily, stopping roots from growing well. It also blocks water from soaking in. Even if the top looks dry, wet soil underneath can still cause trouble. Compacted soil leads to erosion and ruins the protective plant cover.
Problems caused by tilling wet soil include:
- Compacted soil stops roots from spreading.
- Protective plant cover is destroyed, increasing erosion.
- Long-term wetness changes soil life and nutrient cycles.
Check soil moisture before tilling. If it feels sticky or clumps, wait until it dries. This keeps your soil healthy and ready for planting.
Neglecting Tiller Maintenance
Taking care of your tiller is very important. A well-maintained tiller works better and lasts longer. Ignoring maintenance can cause breakdowns, poor performance, and expensive repairs.
Follow a regular maintenance plan to avoid problems. Write down when you check or replace parts. This helps you know when repairs might be needed. Simple tasks like cleaning the tines and checking oil can stop bigger issues later.
By maintaining your tiller, it stays dependable and ready whenever you need it.
Using the SuperHandy Tiller the right way gets soil ready. Follow these steps: clean debris, test soil, set tiller correctly, and care for it. These actions make the soil perfect for plants to grow well. Good soil preparation helps plants grow stronger. Studies found:
- Raised soil beds grew taller plants than other methods.
- Turning soil over boosted plant growth in the second year.
Pick the SuperHandy Tiller for easy gardening. It works well, saves effort, and helps your garden bloom. 🌱
FAQ
What type of soil works best with the SuperHandy Tiller?
The SuperHandy Tiller works well with most soil types, including sandy, loamy, and clay soils. For compact or rocky soil, remove large rocks and loosen the top layer before tilling. This ensures better performance and protects the machine.
How often should I till my garden?
You should till your garden once or twice a year. Till in early spring to prepare the soil for planting and again in late fall to mix in organic matter. Avoid over-tilling to maintain healthy soil structure.
Can I use the tiller in wet soil?
Avoid using the tiller in wet soil. Wet soil compacts easily and forms clumps, which block air and nutrients. Wait until the soil feels dry and crumbly before tilling for the best results.
Tip: Test soil moisture by squeezing a handful. If it sticks together, it’s too wet.
How do I maintain the SuperHandy Tiller?
Clean the tines after each use to remove soil and debris. Check the oil, fuel, and air filter regularly. Tighten loose parts and replace worn components as needed. Proper maintenance ensures your tiller stays efficient and lasts longer.
Is the SuperHandy Tiller safe for beginners?
Yes, the SuperHandy Tiller is beginner-friendly. Follow the user manual, wear protective gear, and start with shallow tilling. Practice in a small area to get comfortable with the controls before tackling larger spaces.
Note: Always keep children and pets away while operating the tiller.
Related Products

Leave a comment
All comments are moderated before being published.
This site is protected by hCaptcha and the hCaptcha Privacy Policy and Terms of Service apply.