













Understanding Your Electric Floor Lift: Key Components and Their Functions
Before you can operate your lift like a pro, you need to know what you're working with. While designs vary, most electric floor lifts share a set of core components that work together to provide lifting power and stability.
- Base and Casters: This is the foundation of your lift. The base, often with adjustable legs, provides a stable footprint. It sits on casters (wheels) that allow you to move the lift. For safety, at least two of these casters are lockable to keep the unit stationary during transfers.
- Mast: The vertical column that supports the lifting mechanism. You will often use the mast to push and steer the lift.
- Boom (or Lifting Arm): This is the arm that extends from the mast and moves up and down. At the end of the boom is the attachment point for whatever will hold the load.
- Spreader Bar and Sling/Platform: The "business end" of the lift. For personal mobility, this is typically a spreader bar where you attach a sling. For moving objects, it might be a platform or harness. A versatile transfer floor lift is designed specifically for this purpose.
- Motor and Battery: The powerhouse of the unit. Electric floor lifts use motorized systems controlled by handheld remotes to provide consistent, effortless lifting, reducing physical strain on the operator. These are powered by a rechargeable battery pack, which can be detached for convenient charging.
- Handheld Controller: Your command center. This simple, tethered remote typically has two primary buttons: "Up" and "Down." It allows you to raise and lower the boom with precision. Many controllers also include an emergency stop button for immediate shutdown.
Pre-Operation Checklist: Ensuring Safety and Readiness for Heavy Lifting
A few minutes of preparation can prevent accidents and ensure a smooth transfer. Make this checklist a non-negotiable part of your routine before every single use.
- Visual Inspection: Walk around the entire floor lift. Look for any signs of wear and tear, such as frayed sling straps, loose bolts, or cracks in the frame.
- Battery Check: Confirm the battery has enough charge to complete the lift and transfer. A lift stopping mid-air due to a dead battery can be a difficult and dangerous situation.
- Control Test: With no load, press the "Up" and "Down" buttons on the controller. The boom should move smoothly without hesitation or unusual noises.
- Caster Function: Check the wheels. Do they roll freely? Most importantly, do the locking mechanisms engage securely? Test them by trying to push the lift while the brakes are on.
- Clear the Path: Ensure the entire path from your starting point to your destination is free of clutter, rugs, or other obstacles.
- Know Your Load: Be certain that the weight of the person or object you intend to lift does not exceed the lift's maximum capacity. A powerful 500lb floor lift is great for heavier loads, but you must always respect the stated limit.

Step-by-Step Guide: Safely Positioning and Securing Heavy Loads
With your pre-operation check complete, you're ready to position the lift and secure the load. Approach this process methodically.
- Position the Lift: Roll the electric floor lift into position. If your model has an adjustable base, spread the legs to their widest setting for maximum stability, especially when navigating around furniture like a bed or large armchair. Once in place, lock the casters.
- Lower the Boom: Use the handheld controller to lower the boom so the spreader bar or platform is at the correct height to easily attach the load.
-
Attach the Load Securely:
- For Slings: Carefully attach the sling straps to the hooks on the spreader bar. Ensure the straps are not twisted and that the hooks are completely engaged. Cross the leg straps where appropriate for added security.
- For Platforms: Center the object on the platform of your 330lb floor lift to ensure it is balanced. Use securing straps if the object is unstable.
- Perform a Test Lift: This is a critical safety step. Raise the load just one or two inches off the surface. Pause and check everything. Is the load balanced? Are all straps secure? Does the person feel safe? If anything seems off, lower the load immediately and readjust.
Mastering the Controls: Precise Maneuvering for Smooth Load Transfer
Once the load is securely suspended, it's time to move. The key here is to be smooth, slow, and deliberate.
- Lifting to Height: Use the "Up" button to raise the load only as high as necessary to clear the initial surface and any obstacles along your path. The higher the load, the higher the center of gravity, so keep it as low as is practical.
- Initiating Movement: With the load raised, unlock the casters. Grasp the mast or steering handles firmly. Always push the lift; never pull it. Pushing gives you better control and a clear view of where you're going.
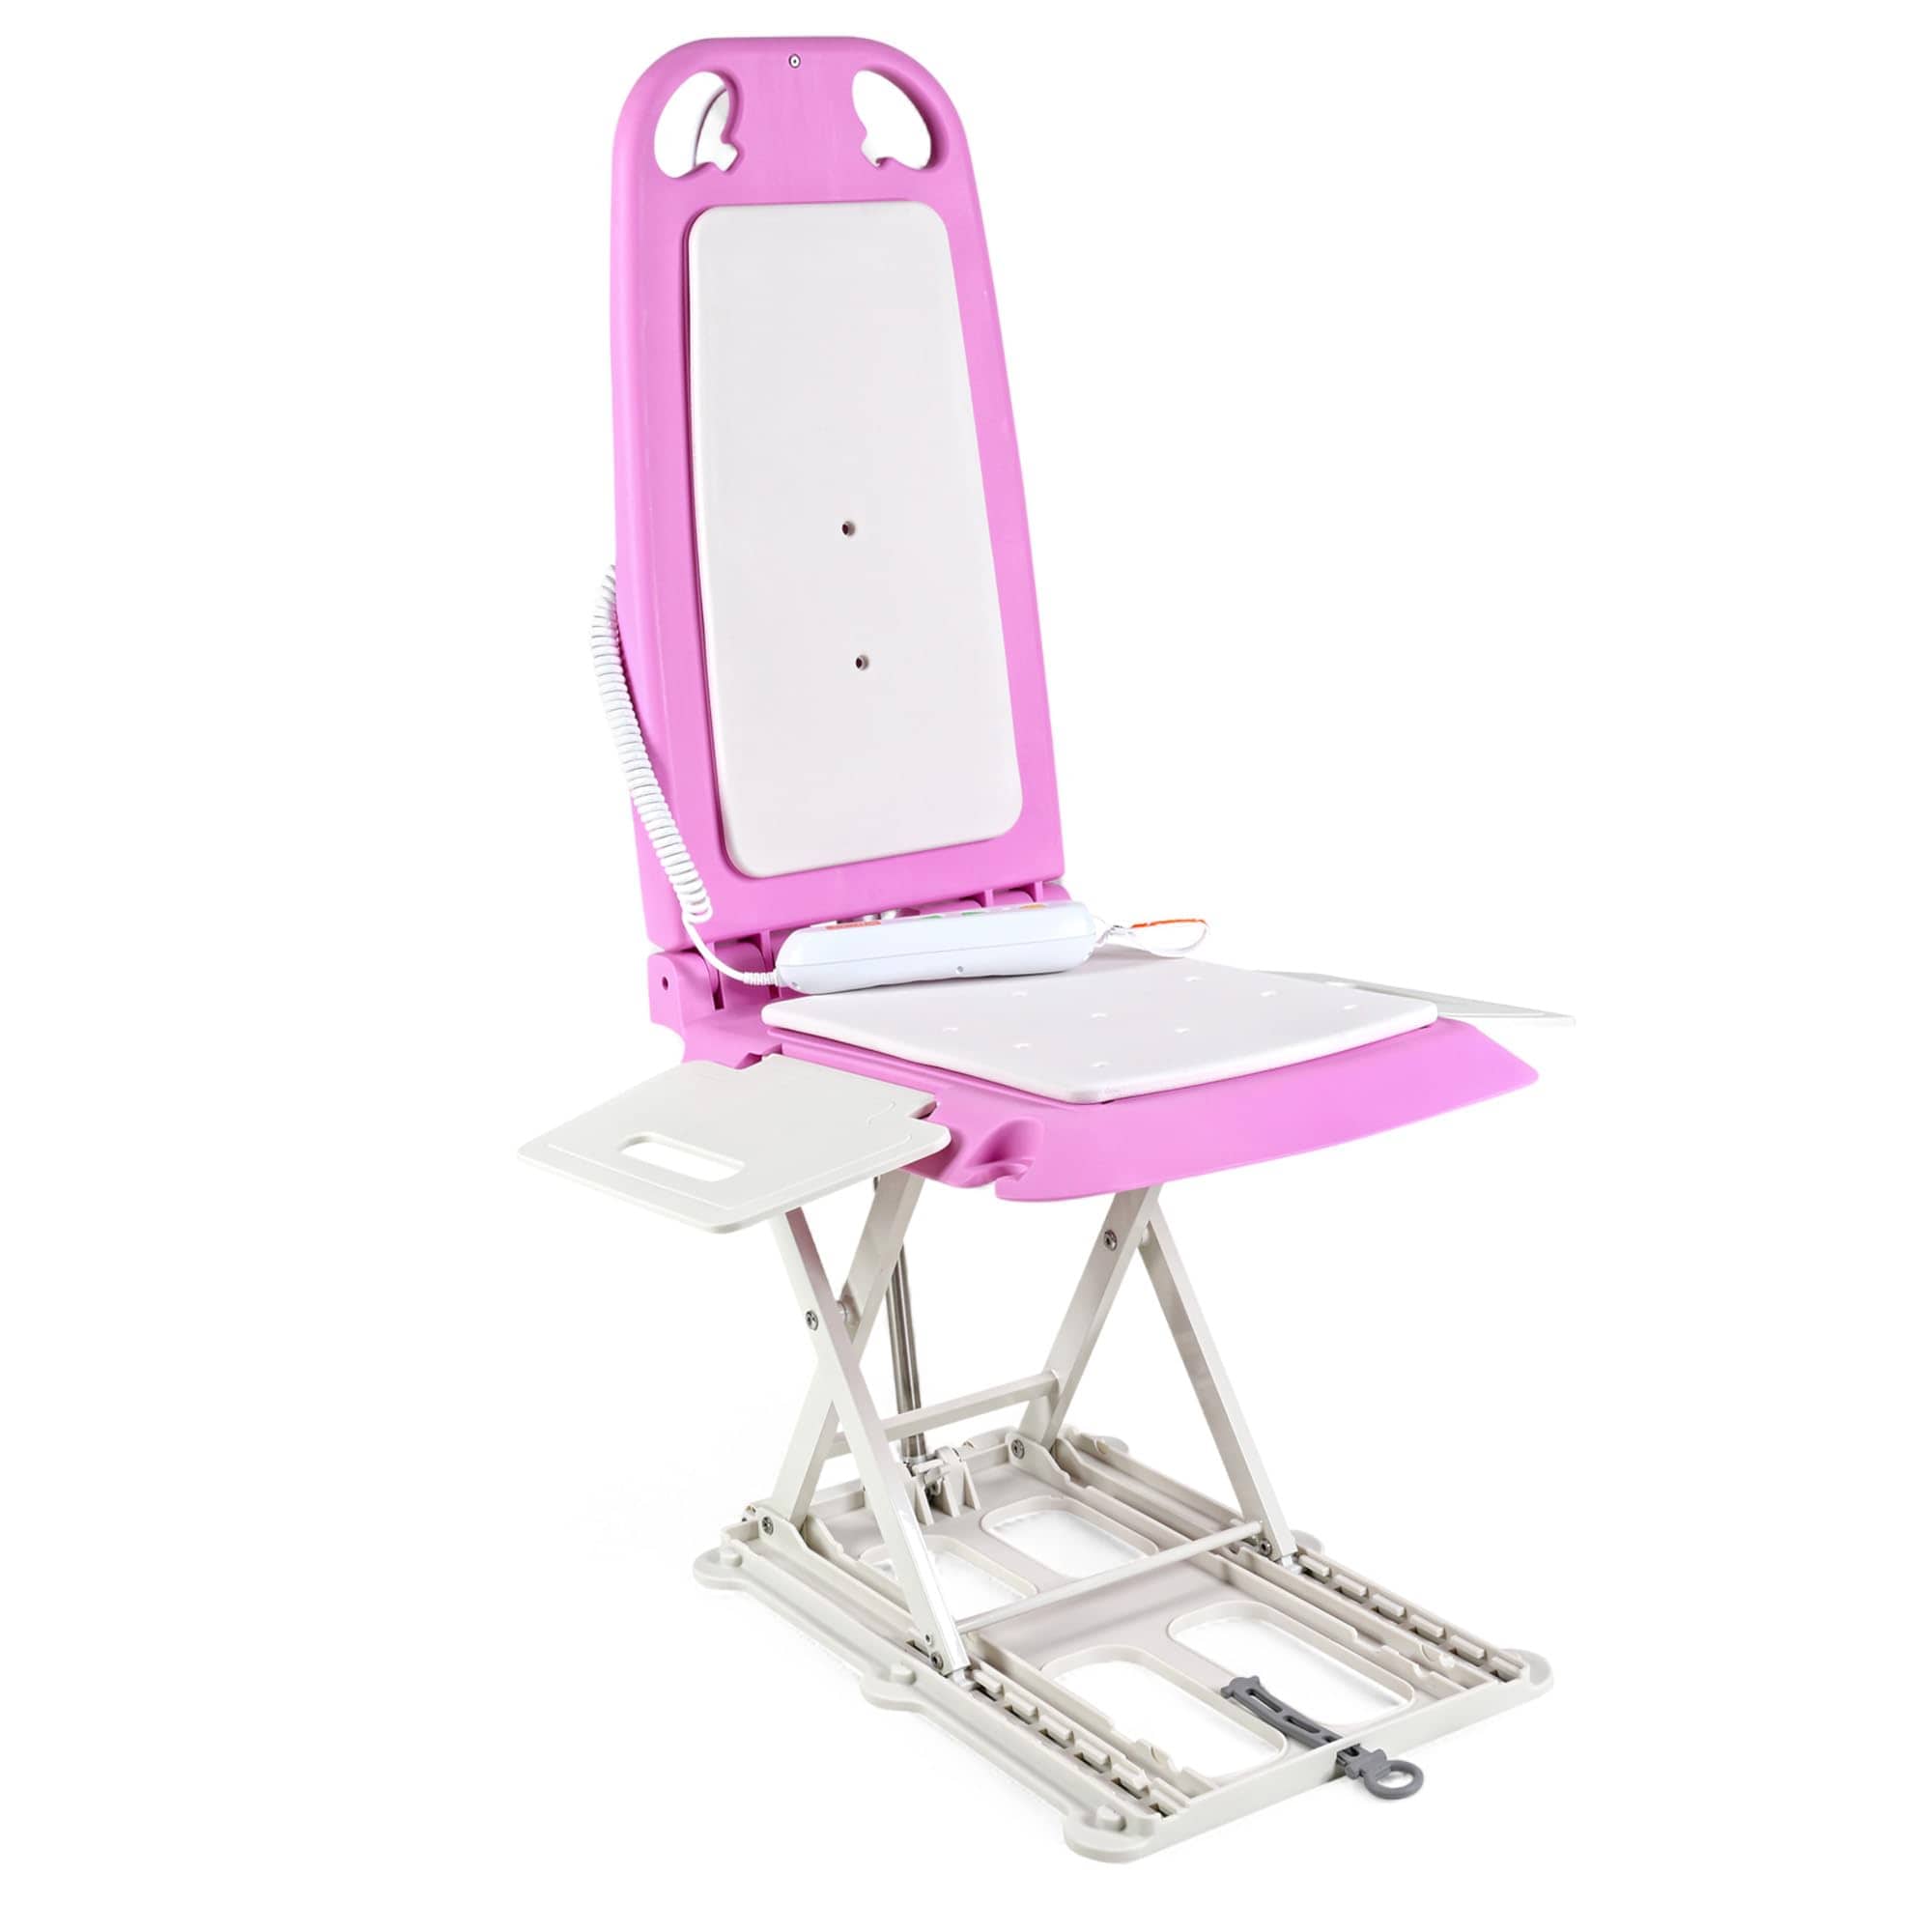
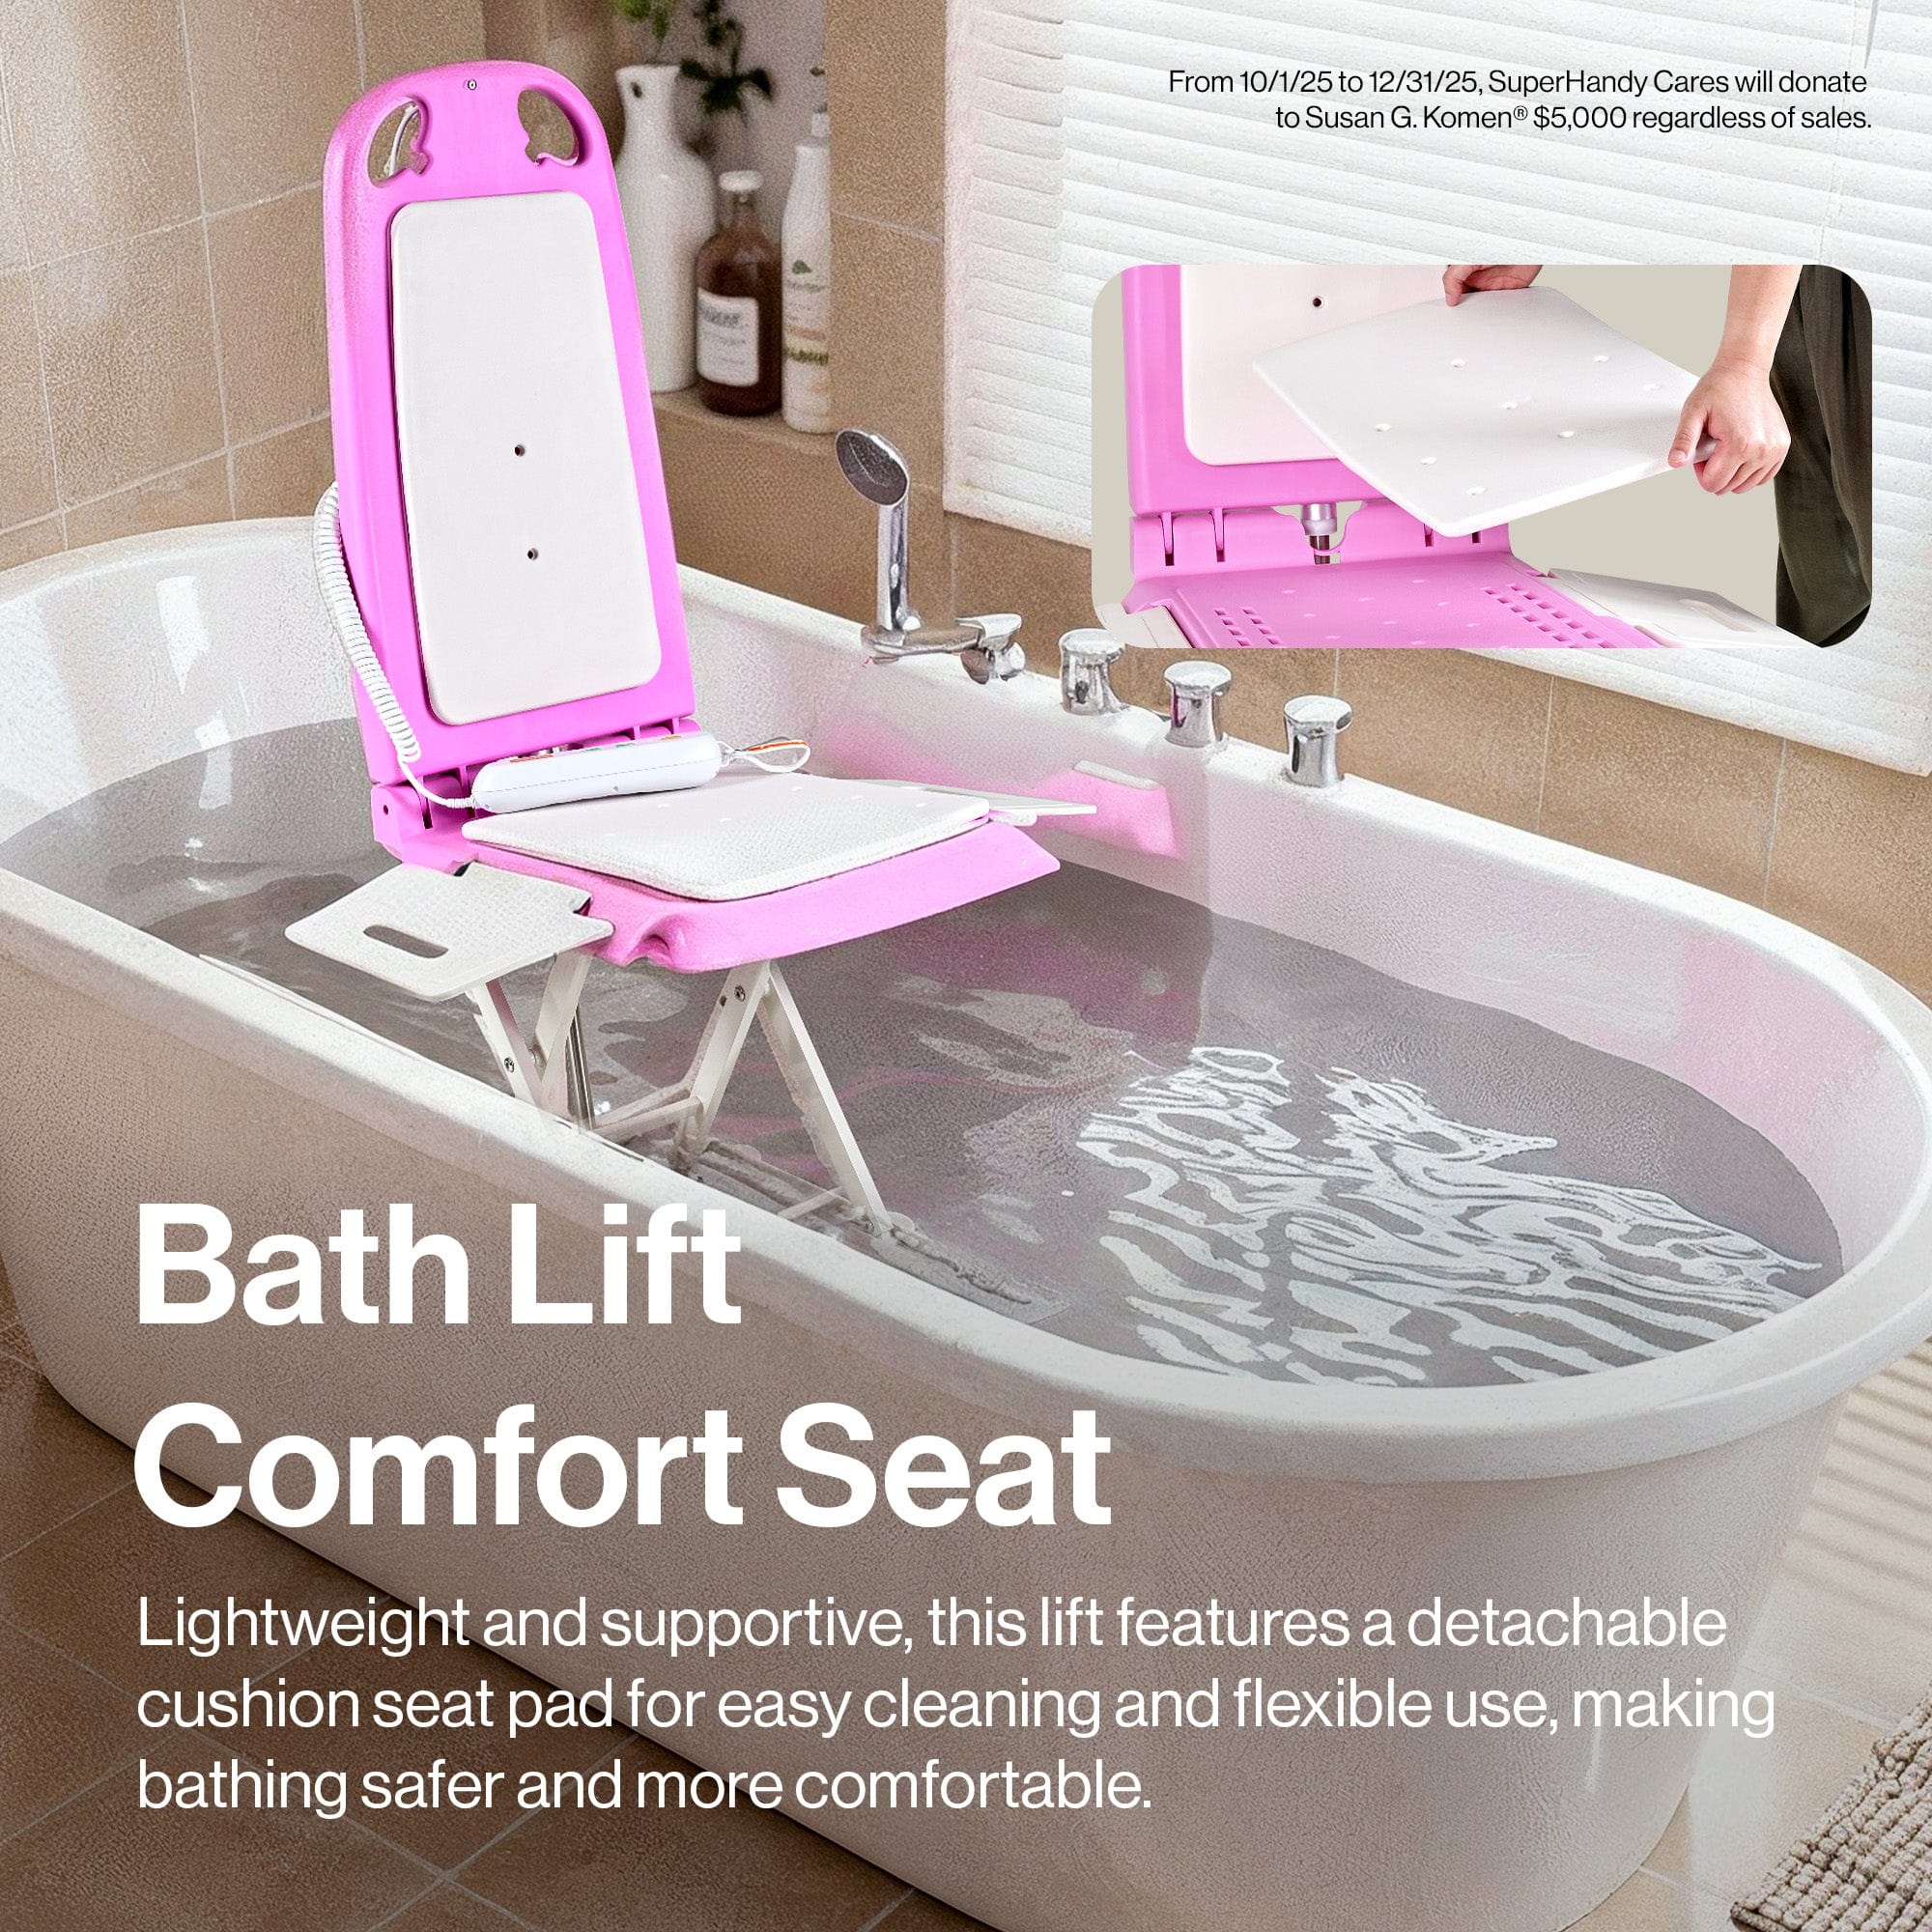
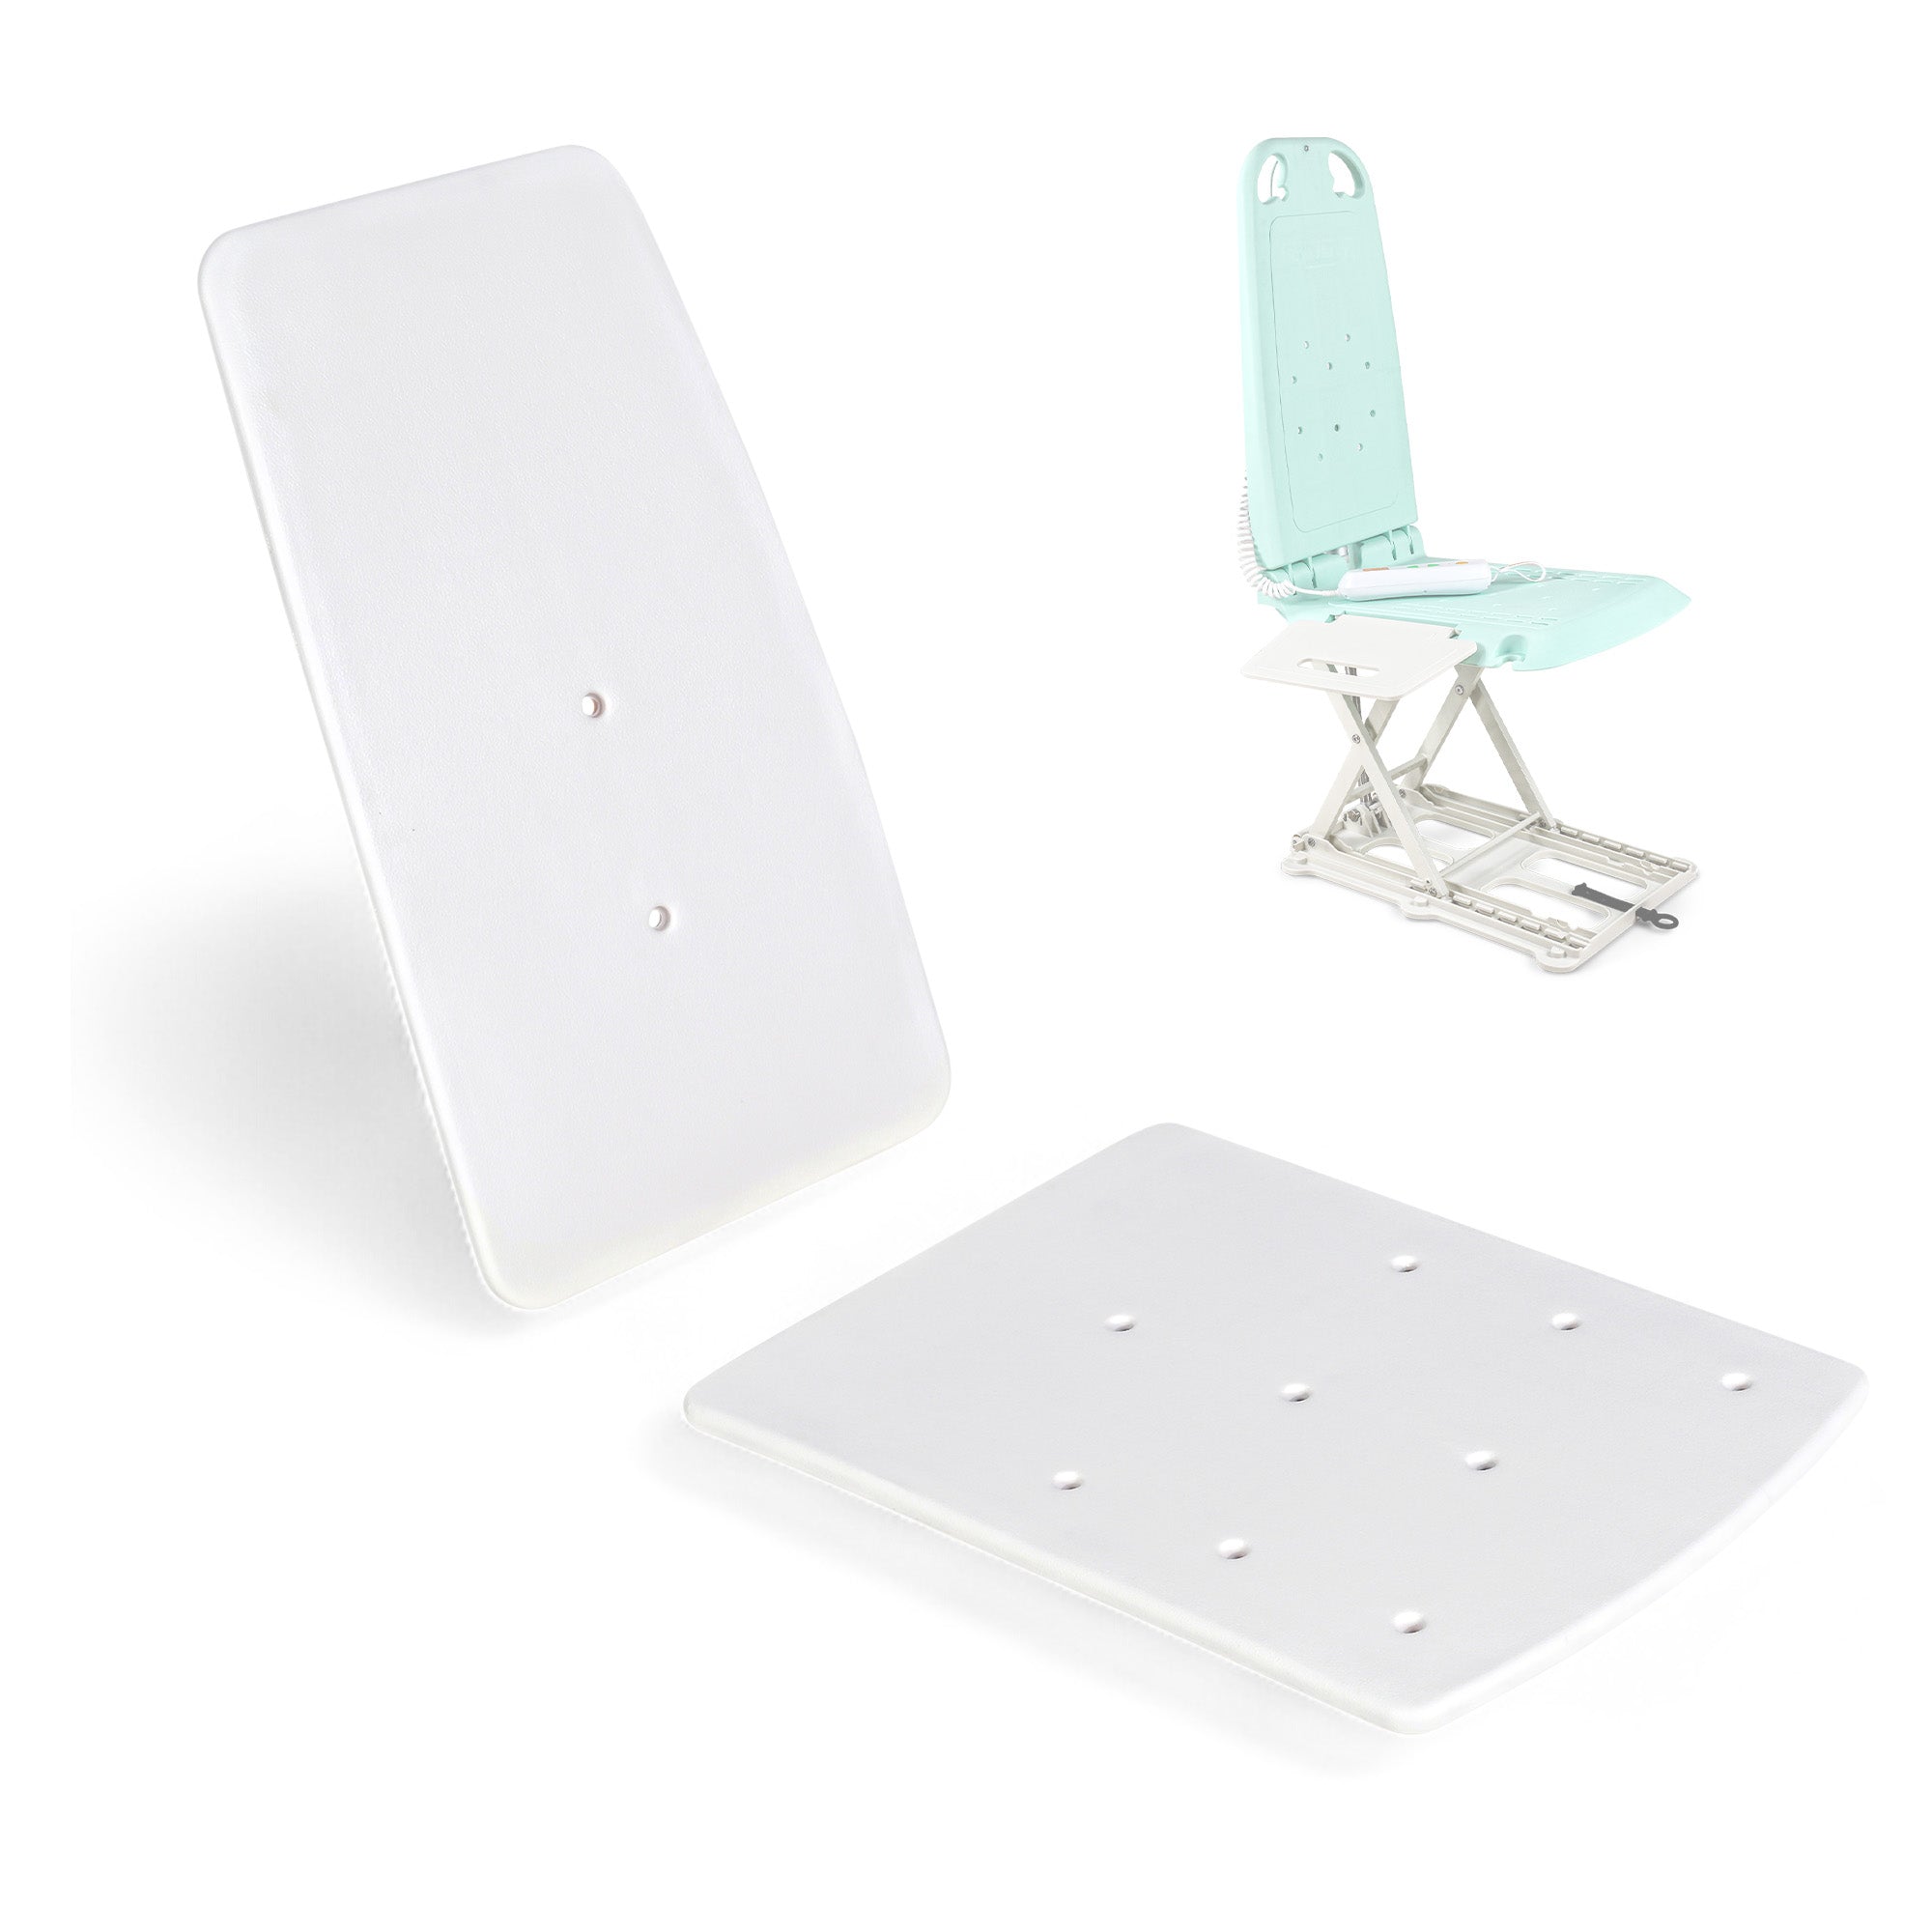
- Traveling: Move at a slow, walking pace. The user-friendly controls on models like the Pink floor lift or Blue floor lift make operation intuitive. Take wide, slow turns to prevent the load from swinging.
- Positioning and Lowering: When you reach your destination, position the lift, then lock the casters before lowering. Use the "Down" button to gently lower the load onto the target surface (a chair, bed, etc.). Do not release the tension until the load is fully supported by the new surface.
- Detaching: Only after the load is stable and secure should you detach the sling or remove the object from the platform. Move the lift away to give yourself clear, safe access.
Understanding Load Capacity: What Your Lift Can (and Cannot) Handle
Every electric floor lift has a specified maximum load capacity—the single most important number you need to know. This isn't a suggestion; it's a critical safety limit. Exceeding this weight can lead to mechanical failure, damage to the lift, and most importantly, a serious risk of injury.
Before any operation, always verify the weight of the load and compare it to your lift's capacity, which is clearly marked on the equipment itself and in the user manual. Capacities vary significantly between models. For example, many versatile and portable units like a standard 330lb floor lift are perfect for a wide range of tasks, while heavy-duty models like a 500lb floor lift are designed for more demanding situations.
Remember that load capacity assumes an evenly distributed and centered weight. An off-center load can compromise stability even if it's well under the weight limit. Always position the heaviest part of the load as close to the main mast or column of the lift as possible to maintain a stable center of gravity. Never attempt to lift more than your model is rated for.
Navigating Different Surfaces: Tips for Stable Operation on Various Floors
The performance of your electric floor lift is directly impacted by the surface you're operating it on. For the smoothest and safest operation, a hard, level, and clean floor is ideal. Think polished concrete, vinyl, linoleum, or hardwood.
When you encounter different surfaces, adjust your technique:
- Hard, Smooth Floors: This is the optimal environment. Your lift will roll with minimal effort, and the controls will be responsive.
- Low-Pile Carpet: Your lift can operate on commercial-grade or low-pile carpet, but you'll experience more rolling resistance. Move more slowly and deliberately, anticipating that it will take more effort to start, stop, and turn.
- Thick or High-Pile Carpet: Avoid using your floor lift on plush or shag carpeting. The wheels can sink in, making movement extremely difficult and potentially unstable.
- Thresholds and Transitions: Doorway thresholds or transitions from a hard surface to carpet are common obstacles. Approach them head-on and slowly. Never try to cross a threshold at an angle, as this can cause the lift to tip or jolt, unsettling the load.
- Rugs: Be cautious of area rugs. The casters can easily get caught on the edge, causing an abrupt stop. It's best to move rugs out of the way before operating the lift.
Under no circumstances should you use a standard indoor electric floor lift on uneven outdoor terrain, gravel, or significant slopes. They are engineered for stable, interior environments.

Advanced Techniques: Lifting and Moving Awkward or Unwieldy Items
Not every load is a perfect, easy-to-balance box. Lifting irregularly shaped or awkward items requires extra care and a strategic approach.
- Identify the Center of Gravity: Before you lift, try to determine where the item's center of gravity is. You may need to gently tip it to feel where the weight is concentrated. Position this central point as close to the lift's mast as possible.
- Use Securing Straps: For items that are top-heavy, tall, or have an unusual shape, use appropriate straps or slings to secure the load to the lift's frame. This prevents the item from shifting or tipping during movement. A versatile transfer floor lift often works well with various slings and harnesses.
- Keep the Load Low: When moving, always keep the load as low to the ground as possible. A higher center of gravity dramatically increases the risk of tipping, especially while turning or crossing thresholds. Raise the load only to the height needed to clear the destination surface (like a bed or chair) right before the transfer.
- Enlist a Spotter: For particularly valuable or unstable items, a two-person approach is safest. One person operates the lift controls while the other acts as a spotter, helping to guide and steady the load with their hands.
Troubleshooting Common Operational Issues: Quick Fixes for Smooth Sailing
Even the most reliable equipment can encounter a hiccup. If your electric floor lift isn't behaving as expected, run through these quick checks before calling for service.
-
Issue: The lift won't power on or respond.
- Quick Fix: Start with the most common culprit: the battery. Is it fully charged? Is it securely connected to the lift? Check if your model has an emergency stop button that may have been accidentally pressed; if so, reset it.
-
Issue: The lift operates slowly or seems weak.
- Quick Fix: This is a classic sign of a low battery. A partial charge may provide enough power to turn on, but not enough to lift a load effectively. Give your lift a full charge. For models like the specialized pink floor lift or blue floor lift, ensuring the battery is fully charged is key to their waterproof performance.
-
Issue: Movement is jerky or stuttering.
- Quick Fix: Check the casters (wheels) for debris like hair, carpet fibers, or dirt that could be obstructing smooth rolling. Also, ensure you are on a level surface. If the issue persists after charging the battery and clearing the wheels, it may indicate a deeper issue.
-
Issue: The lift is making a continuous beeping sound.
- Quick Fix: A persistent beep is an alert. It most often signals a low battery, but on some models, it can also indicate an overload. Lower the load, remove it, and place the unit on its charger. Consult your user manual to understand the specific alert codes for your model.
Maintenance Essentials: Keeping Your Electric Floor Lift in Peak Condition
An electric floor lift is a powerful piece of equipment, and like any machine, it requires regular attention to perform safely and reliably for years to come. Proactive maintenance not only extends the life of your lift but is also a critical component of safe operation. By integrating a simple checklist into your routine, you can prevent unexpected downtime and ensure your lift is always ready for the next heavy load.
Create a maintenance log and follow this schedule:
- Before Each Use: Perform a quick visual inspection. Look for any loose bolts, frayed wires or straps, and signs of damage to the frame or wheels. Test the controls briefly to ensure the up, down, and emergency stop functions are responsive.
- Weekly Checks: Wipe down the entire unit with a soft, damp cloth. A clean lift is easier to inspect for cracks or wear. Check the caster wheels for debris and ensure they swivel and lock correctly. Inspect the battery connections for any signs of corrosion.
- Monthly Tasks: Test the lift through its full range of motion without a load. Listen for any grinding, squeaking, or unusual sounds that could indicate a problem. Check and tighten any accessible nuts and bolts as specified in your user manual.
- Annual Service: We strongly recommend having your electric floor lift professionally serviced once a year. A qualified technician can perform a more in-depth inspection of the motor, battery, and lifting components, ensuring everything is in peak condition. Whether you operate a heavy-duty 500lb floor lift or a more compact model, these maintenance steps are essential.
Safety First: Essential Precautions for Operating Heavy Lifting Equipment
Mastering your electric floor lift's controls goes hand-in-hand with an unwavering commitment to safety. This equipment makes difficult tasks manageable, but it must be operated with care and respect for its power. Adhering to fundamental safety precautions is non-negotiable to protect both the operator and the load being moved.
Always keep these essential safety rules in mind:
- Know Your Equipment: Before your first lift, thoroughly read the owner's manual. Only trained and authorized personnel should operate the lift.
- Clear the Path: Ensure the floor is clean, dry, and completely free of obstacles. Check your intended path and destination before you begin moving.
- Secure the Load: Double-check that the load is balanced, stable, and properly secured on the lift's platform or in the sling. When using a specialized device like a Transfer floor lift, ensure all clips and loops are correctly attached.
- Respect the Capacity: Never exceed the maximum weight capacity stated by the manufacturer. Overloading is one of the most common causes of equipment failure and accidents.
- Operate Smoothly: Avoid jerky movements. Use the controls to start, lift, and stop in a slow, fluid motion to prevent the load from shifting.
How to Properly Charge Your Electric Floor Lift for Maximum Uptime?
Proper battery care is the secret to ensuring your electric floor lift is always ready when you need it. The battery is the heart of your machine, and its health directly impacts performance and longevity. To maximize battery life and uptime, follow a consistent charging routine. It’s best to charge the lift at the end of each day or after any period of significant use. Avoid letting the battery drain completely, as this can shorten its overall lifespan. Always use the specific charger that came with your lift, as using an incompatible one can damage the battery. The freedom of a cordless, rechargeable battery is a significant advantage, powering transfers in various settings from bedrooms to hospital rooms without needing to be near an outlet. The flexibility of such assistive technologies is a frequent topic in academic research, which can be explored through databases like OAISter. For consistent, reliable power, proper charging of models like our waterproof Blue floor lift is key.
What to Do If the Lift Stops Unexpectedly During Operation?
If your electric floor lift stops working mid-operation, the first step is not to panic. Most interruptions have a simple cause. Run through this quick troubleshooting checklist:
- Check the Emergency Stop: The most common reason for a sudden stop is an accidentally engaged emergency stop button. This large, red button is designed to cut all power instantly. If it has been pressed, you will need to reset it (usually by twisting or pulling it out) before the lift will operate again.
- Inspect the Battery: Look at the battery indicator. Is the battery depleted? Ensure the battery is securely connected to the lift.
- Look for Obstructions: Visually inspect the lift's path and mechanism. A stray object or tangled cord could be physically preventing movement.
- Use the Emergency Lowering Function: If the lift has stopped with a load suspended in the air, use the manual emergency lowering feature as described in your owner's
Can I Use This Lift Outdoors or on Uneven Terrain?
This is a critical safety question, and the answer is almost always no. Standard electric floor lifts are specifically engineered for operation on smooth, hard, and level indoor surfaces like tile, hardwood, linoleum, or low-pile carpet. Using them on uneven or outdoor terrain introduces significant risks.
Here’s why you should keep your lift indoors on flat ground:
- Stability and Tipping: The primary danger is instability. An uneven surface—like grass, gravel, a sloped driveway, or even deep-pile carpet—can cause the lift to become unbalanced. When carrying a heavy load, even a small bump or incline can shift the center of gravity and cause the entire unit to tip over, risking injury and damage to the load and the lift itself.
- Wheel and Caster Damage: The wheels on an electric floor lift are designed for smooth rolling. Rough surfaces like asphalt or dirt can quickly damage them, causing flat spots, cracks, or debris buildup that impedes their function. This can make the lift difficult to maneuver even when you return it to a proper surface.
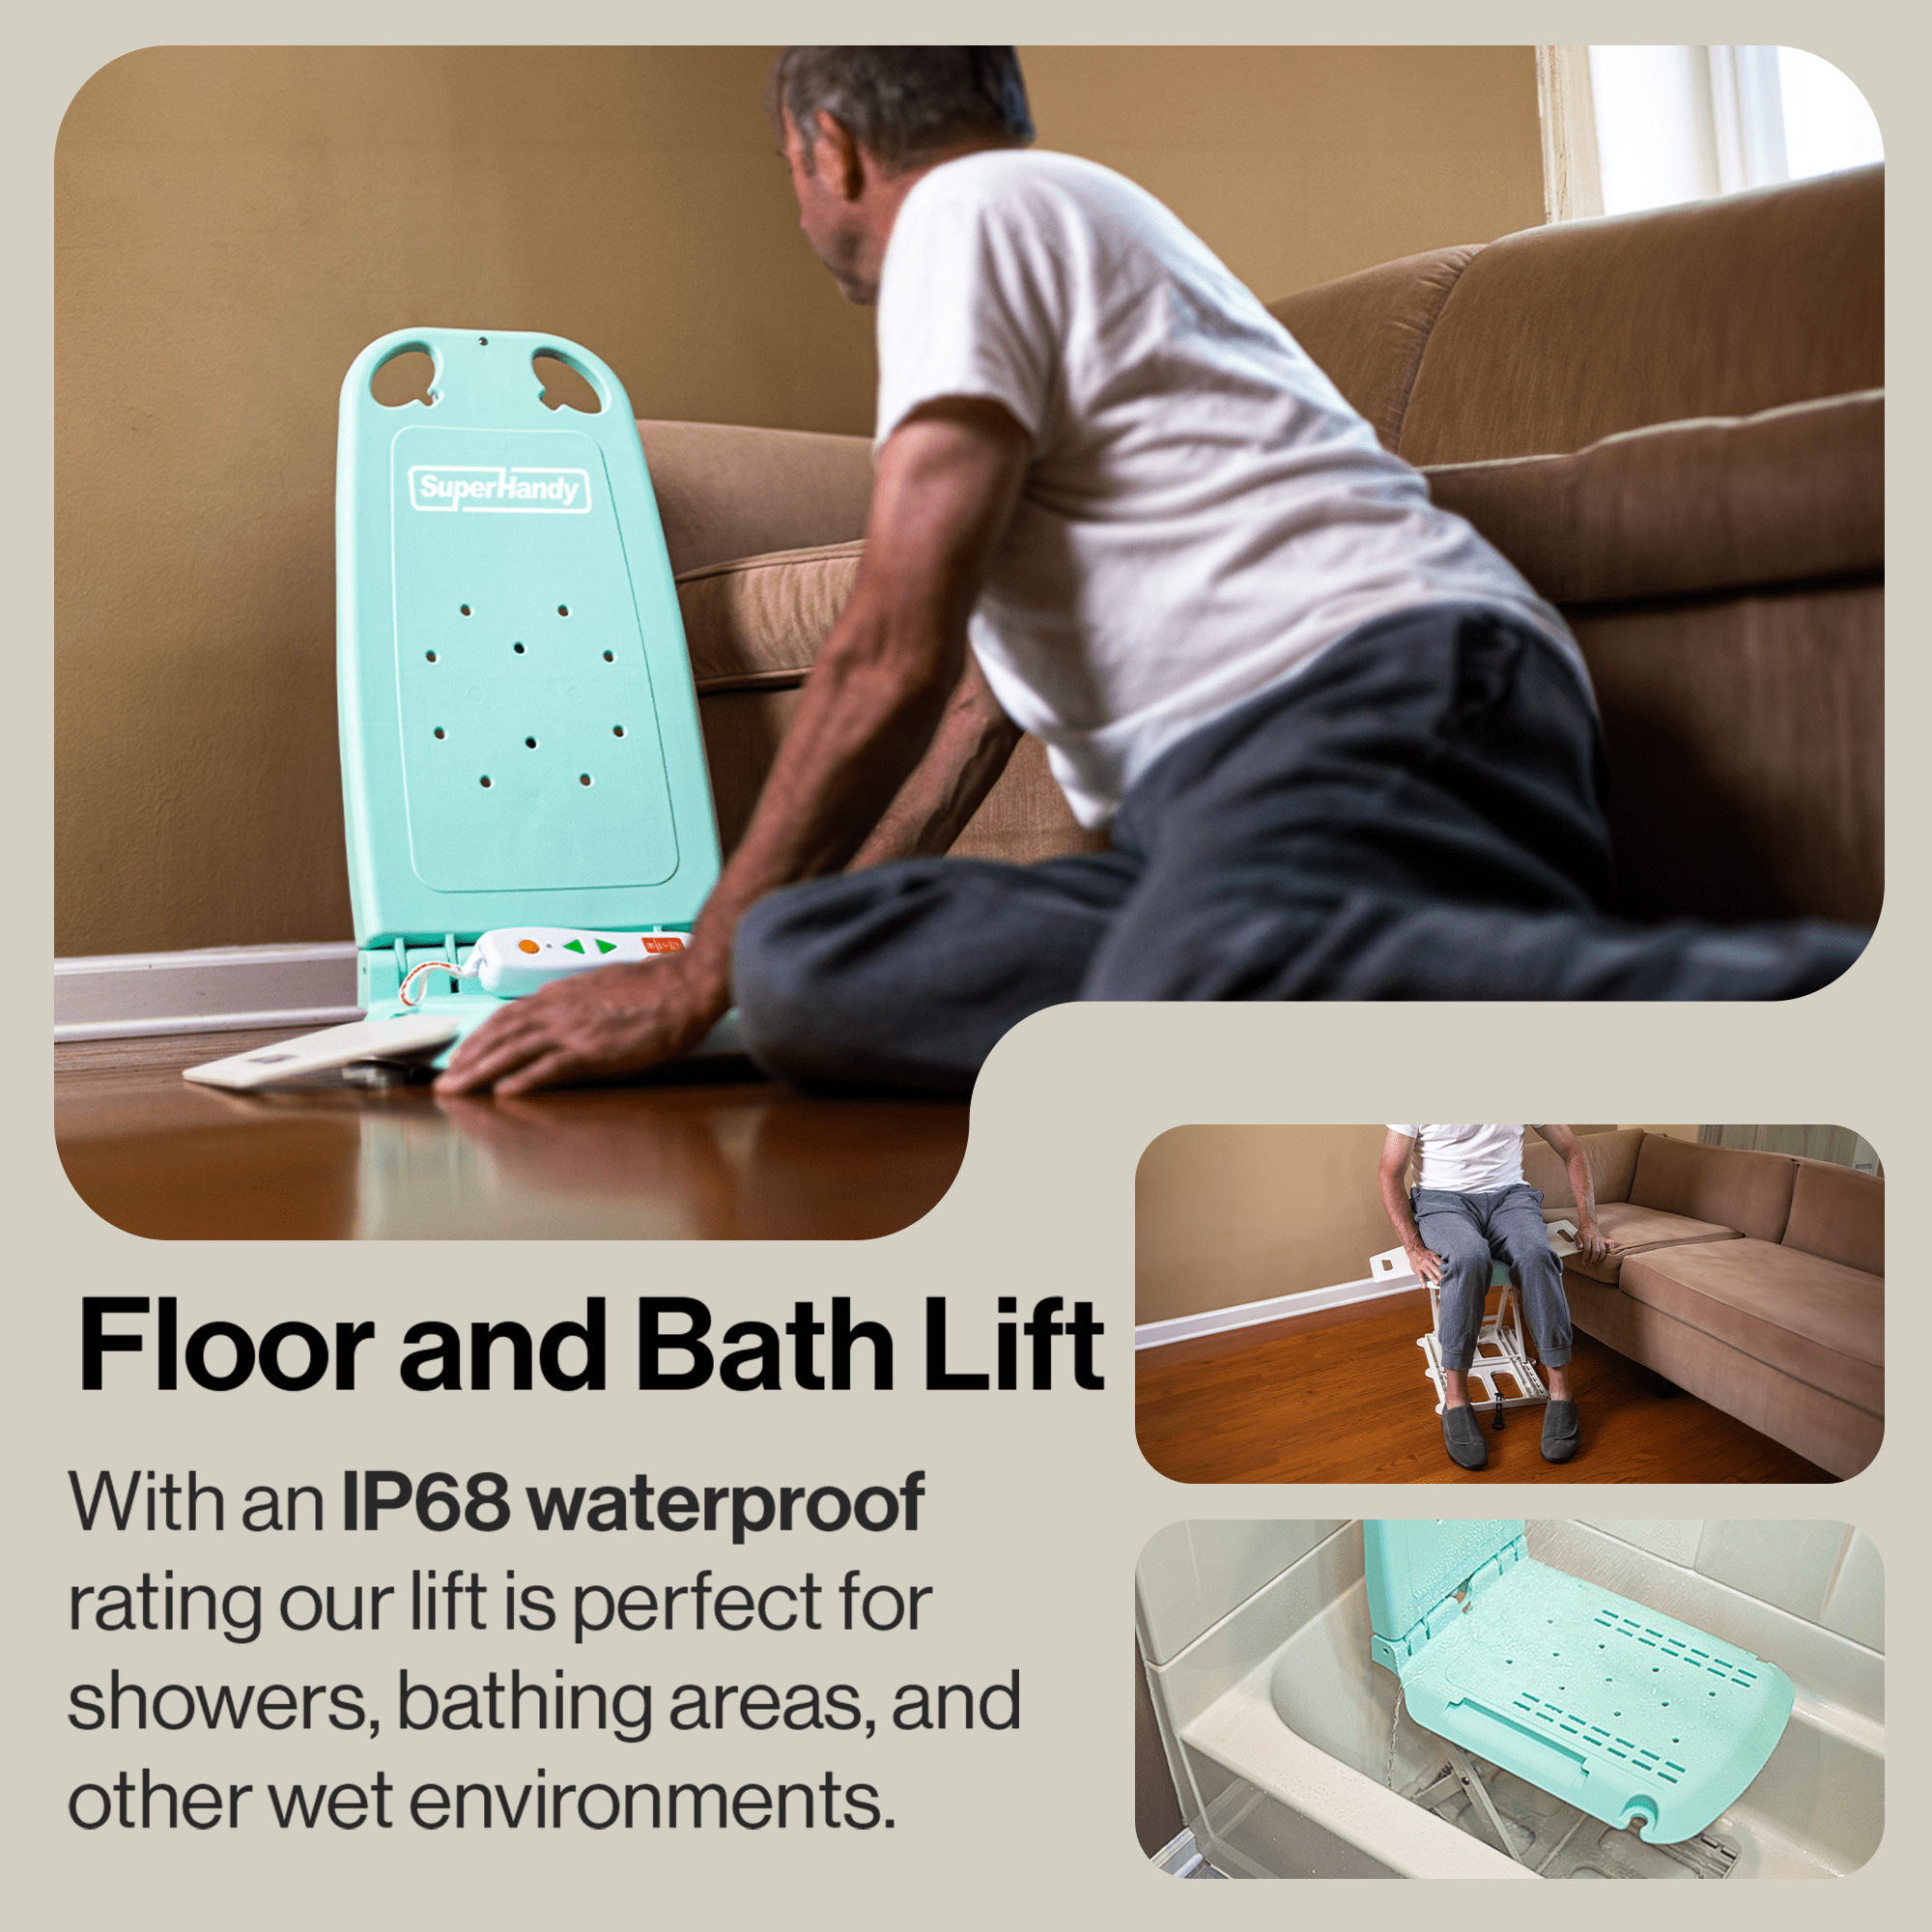
- Electrical Safety: Unless a model is explicitly rated for water resistance, exposing its electrical components to the elements is a major hazard. Rain, puddles, or even high humidity can damage the motor, battery, and controller, creating a risk of electrical shock or permanent malfunction. While some specialized models like a Pink floor lift or a Blue floor lift have high IP ratings for safe use in wet environments like bathrooms, this does not certify them for outdoor terrain.
Always consult your user manual for your specific model’s operational limitations. For safe operation, stick to flat, stable indoor floors.

How Often Should I Perform Routine Maintenance on My Floor Lift?
Consistent maintenance is non-negotiable for the safe and reliable operation of your electric floor lift. A well-maintained lift is a dependable lift. We recommend a multi-tiered maintenance schedule.
Before Every Use: Perform a quick pre-operation check. This takes only a minute and is your first line of defense against accidents.
- Visually inspect the frame for any cracks or damage.
- Check that all nuts and bolts are secure.
- Ensure the wheels are free of debris and roll smoothly.
- Confirm the battery has an adequate charge.
- Test the lift’s up/down functions without a load to ensure the controls are responsive.
Weekly (or after every 10-15 hours of use):
- Wipe down the entire lift with a clean, dry, or slightly damp cloth to remove dust and dirt.
- Inspect the casters more closely. Check for any hair, string, or other debris wrapped around the axles and remove it.
- Check the condition of any slings, straps, or platforms for signs of fraying or wear.
Monthly/Quarterly:
- Perform a thorough inspection of all hardware, tightening anything that has come loose.
- Check the battery terminals for any corrosion and clean them if necessary.
- Lubricate moving parts like caster swivels and pivot points as recommended in your user manual. Not all lifts require this, so always check the guide for your specific 330lb floor lift.
Annually: It’s wise to have a comprehensive inspection performed annually, either by a qualified internal technician or a third-party service provider. They can check the integrity of the lifting mechanism, battery health, and structural welds to certify the lift for another year of safe use.
What Safety Features Should I Look For in an Electric Floor Lift?
When selecting or using an electric floor lift, safety features are paramount. They provide crucial backup systems and operational guards that protect both the operator and the load. Here are the key features to look for:
- Emergency Stop Button: A large, red, and easily accessible button that can instantly cut all power to the lift’s functions. This is essential for stopping the lift immediately in an unexpected situation.
- Overload Protection: This feature prevents the lift from operating if the load exceeds its specified weight limit. It protects the motor from burning out and, more importantly, prevents catastrophic structural failure. A robust 500lb floor lift will have a reliable system to prevent users from attempting a 600lb lift.
- Locking Casters: Brakes on at least two of the wheels are a must-have. Engaging the brakes prevents the lift from moving during the delicate process of loading or unloading, ensuring a stable base of operations.
- Manual Lowering Mechanism: In the event of a total power failure or electronic malfunction, a manual release allows you to lower the lift arm safely and slowly, ensuring you are never left with a load suspended in the air.
- Low Battery Indicator: A clear visual and/or audible alarm that warns you when the battery is running low. This gives you ample time to complete your task and recharge the unit, preventing it from stopping mid-lift.
- Secure Load Handling: Whether it’s a platform, a cradle, or a sling system, the component that holds the load must be robust and secure. For patient lifts, features like a versatile and comfortable Transfer floor lift sling are critical for safety and comfort.
Related Products



Leave a comment
All comments are moderated before being published.
This site is protected by hCaptcha and the hCaptcha Privacy Policy and Terms of Service apply.