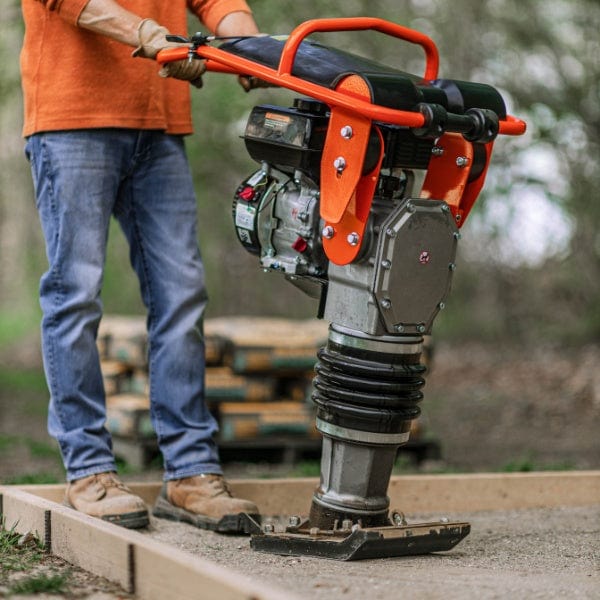


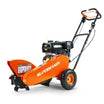


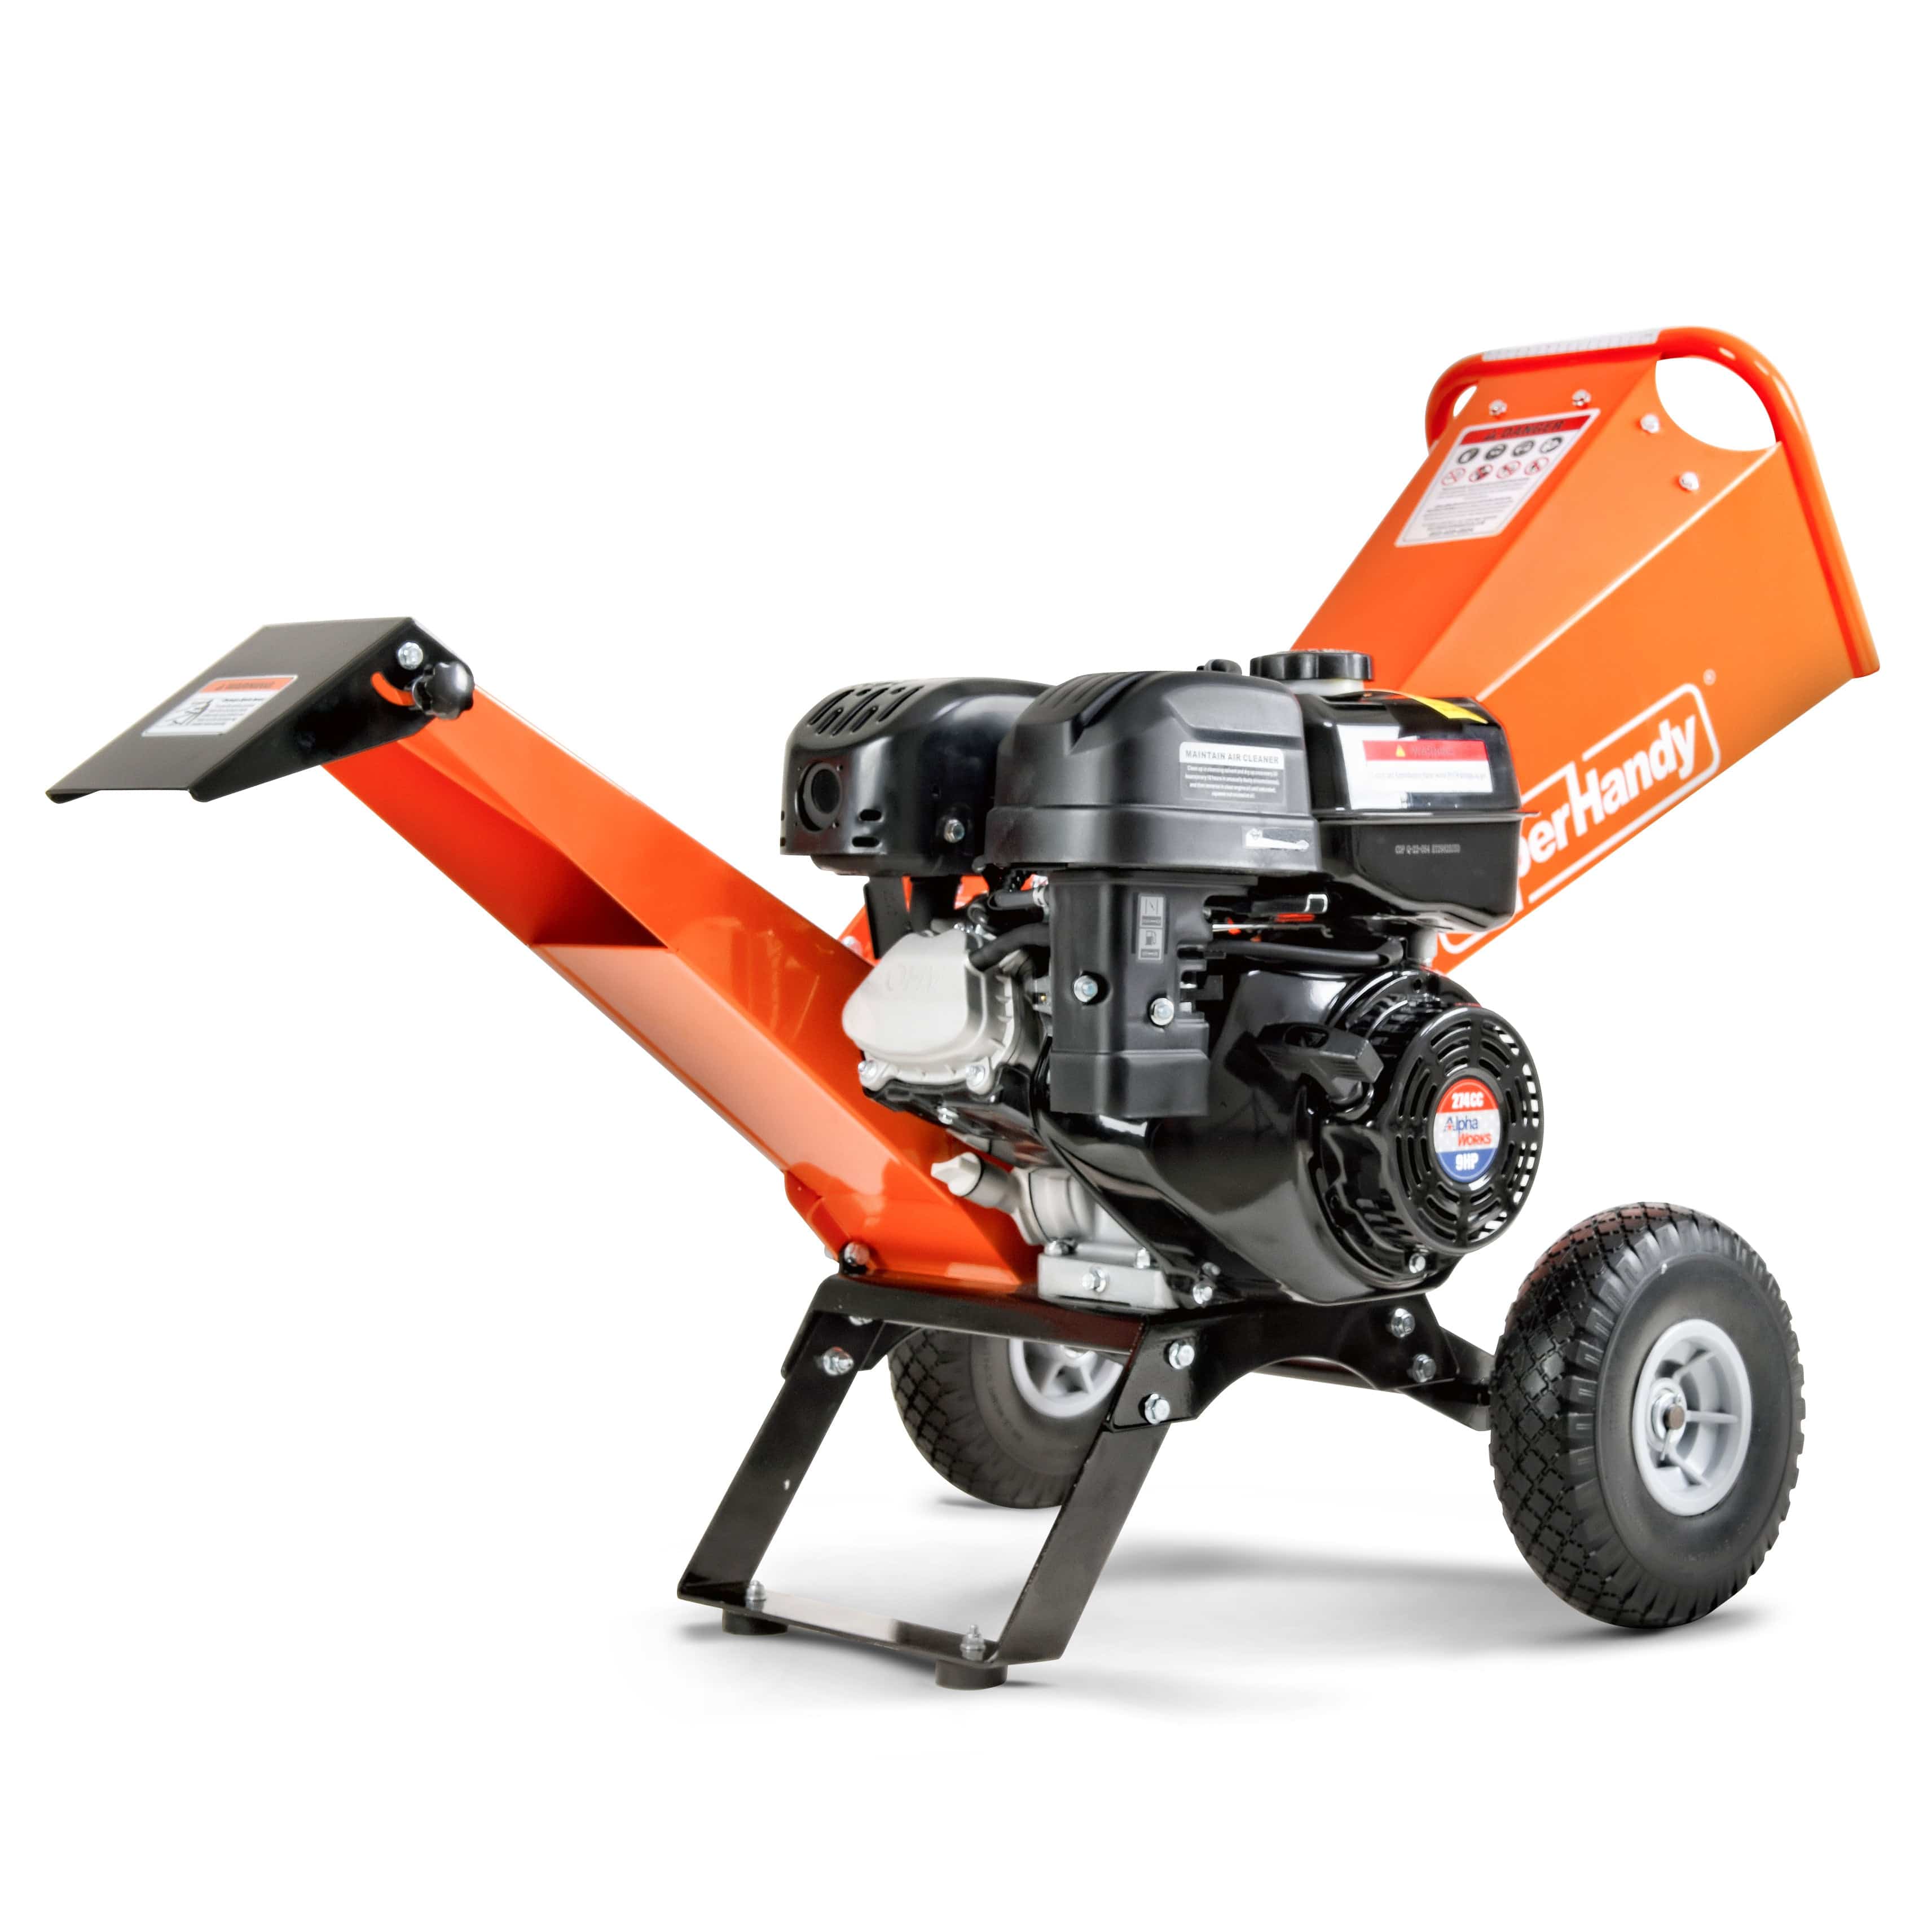
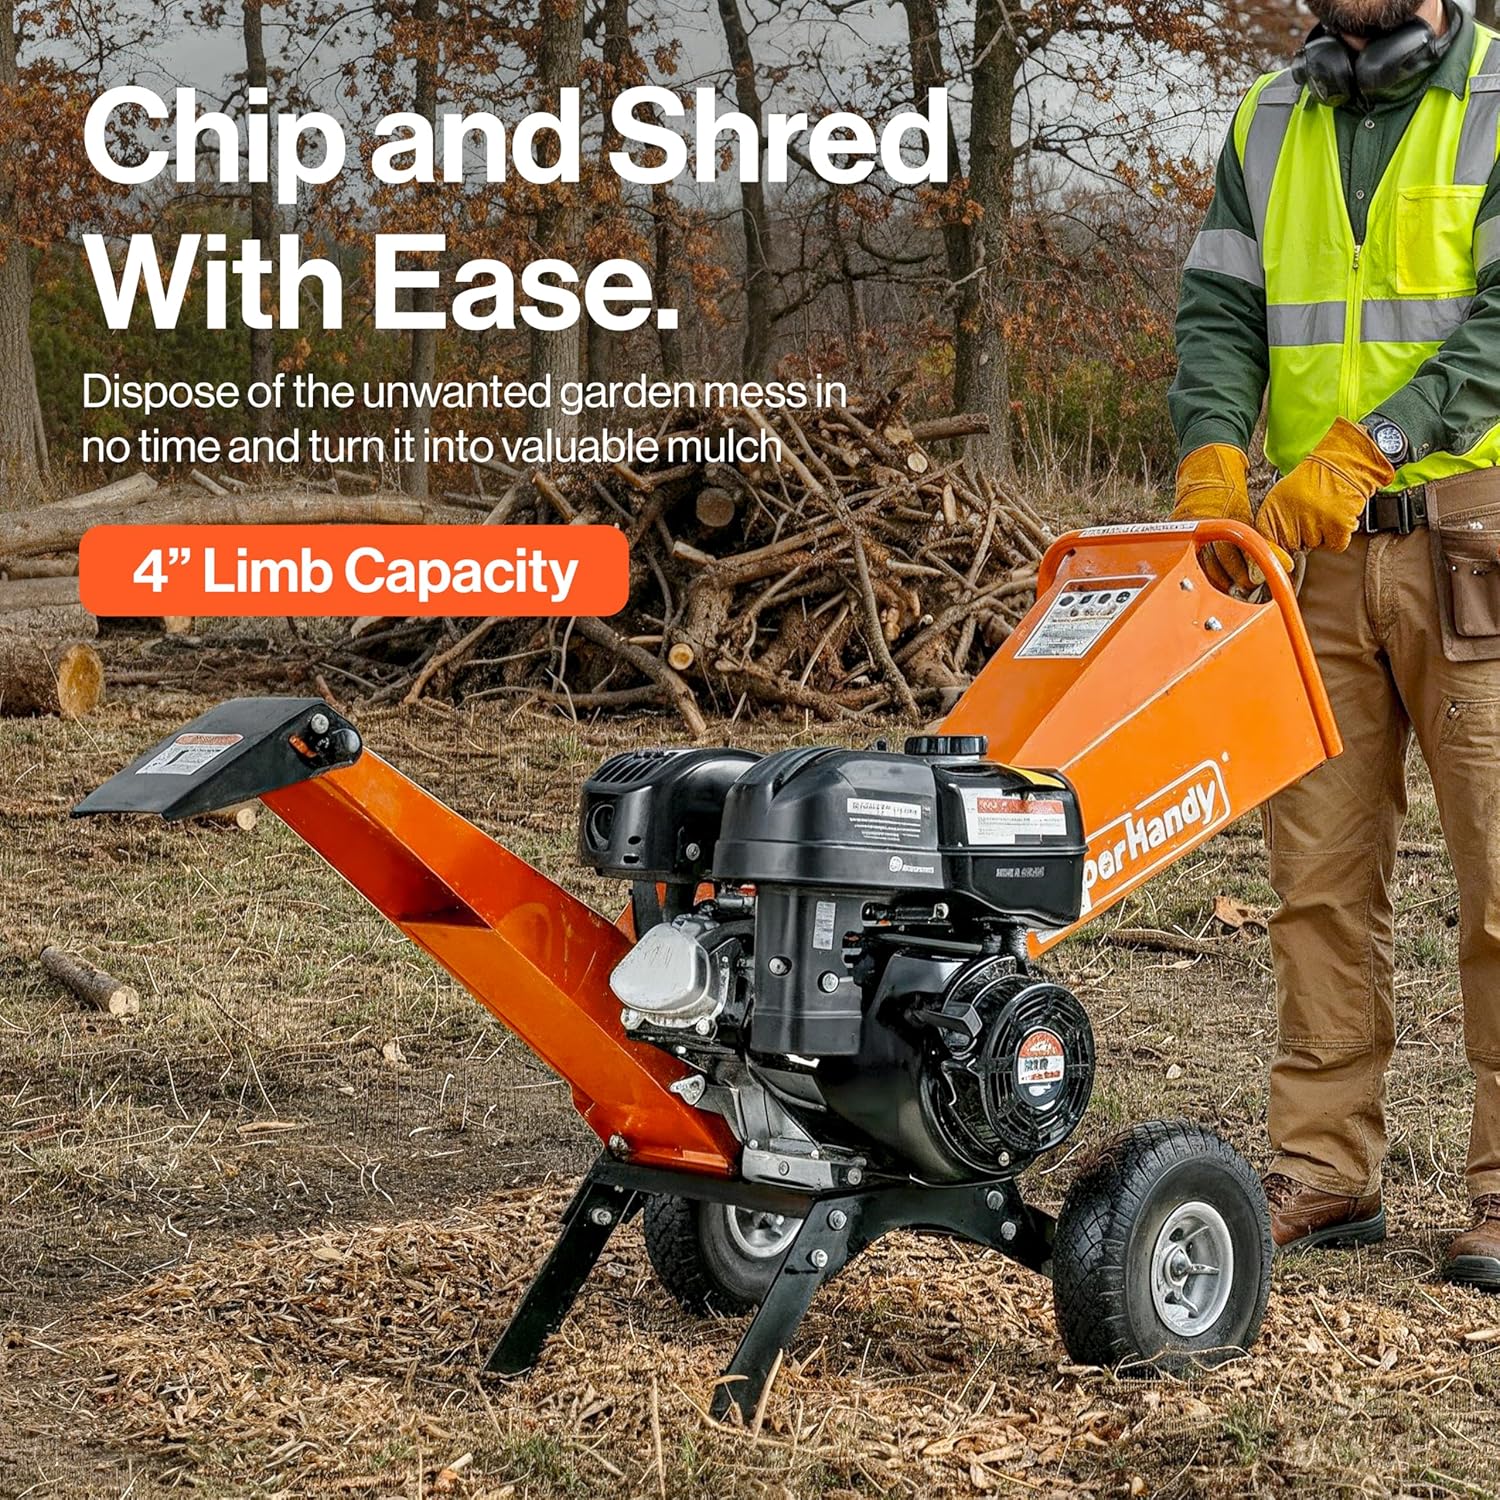
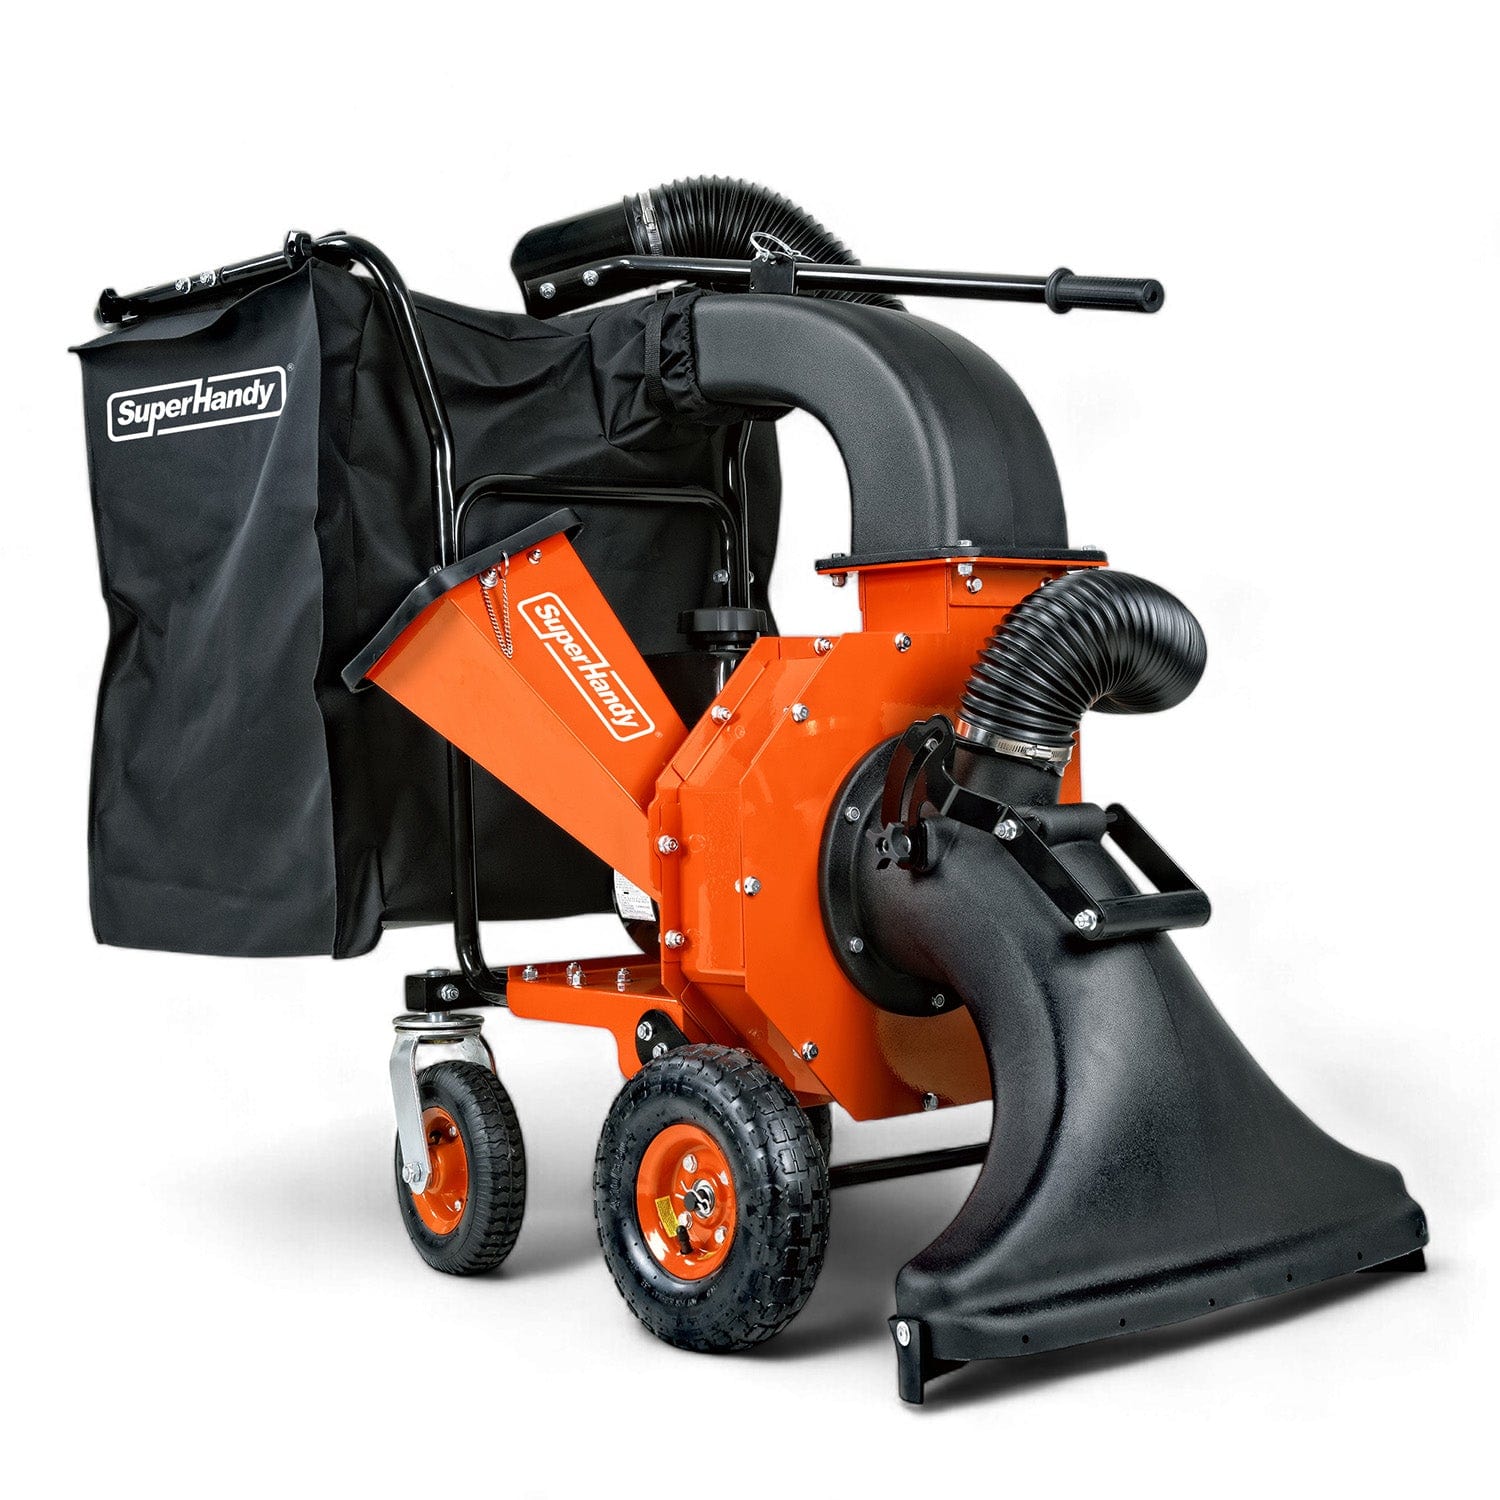
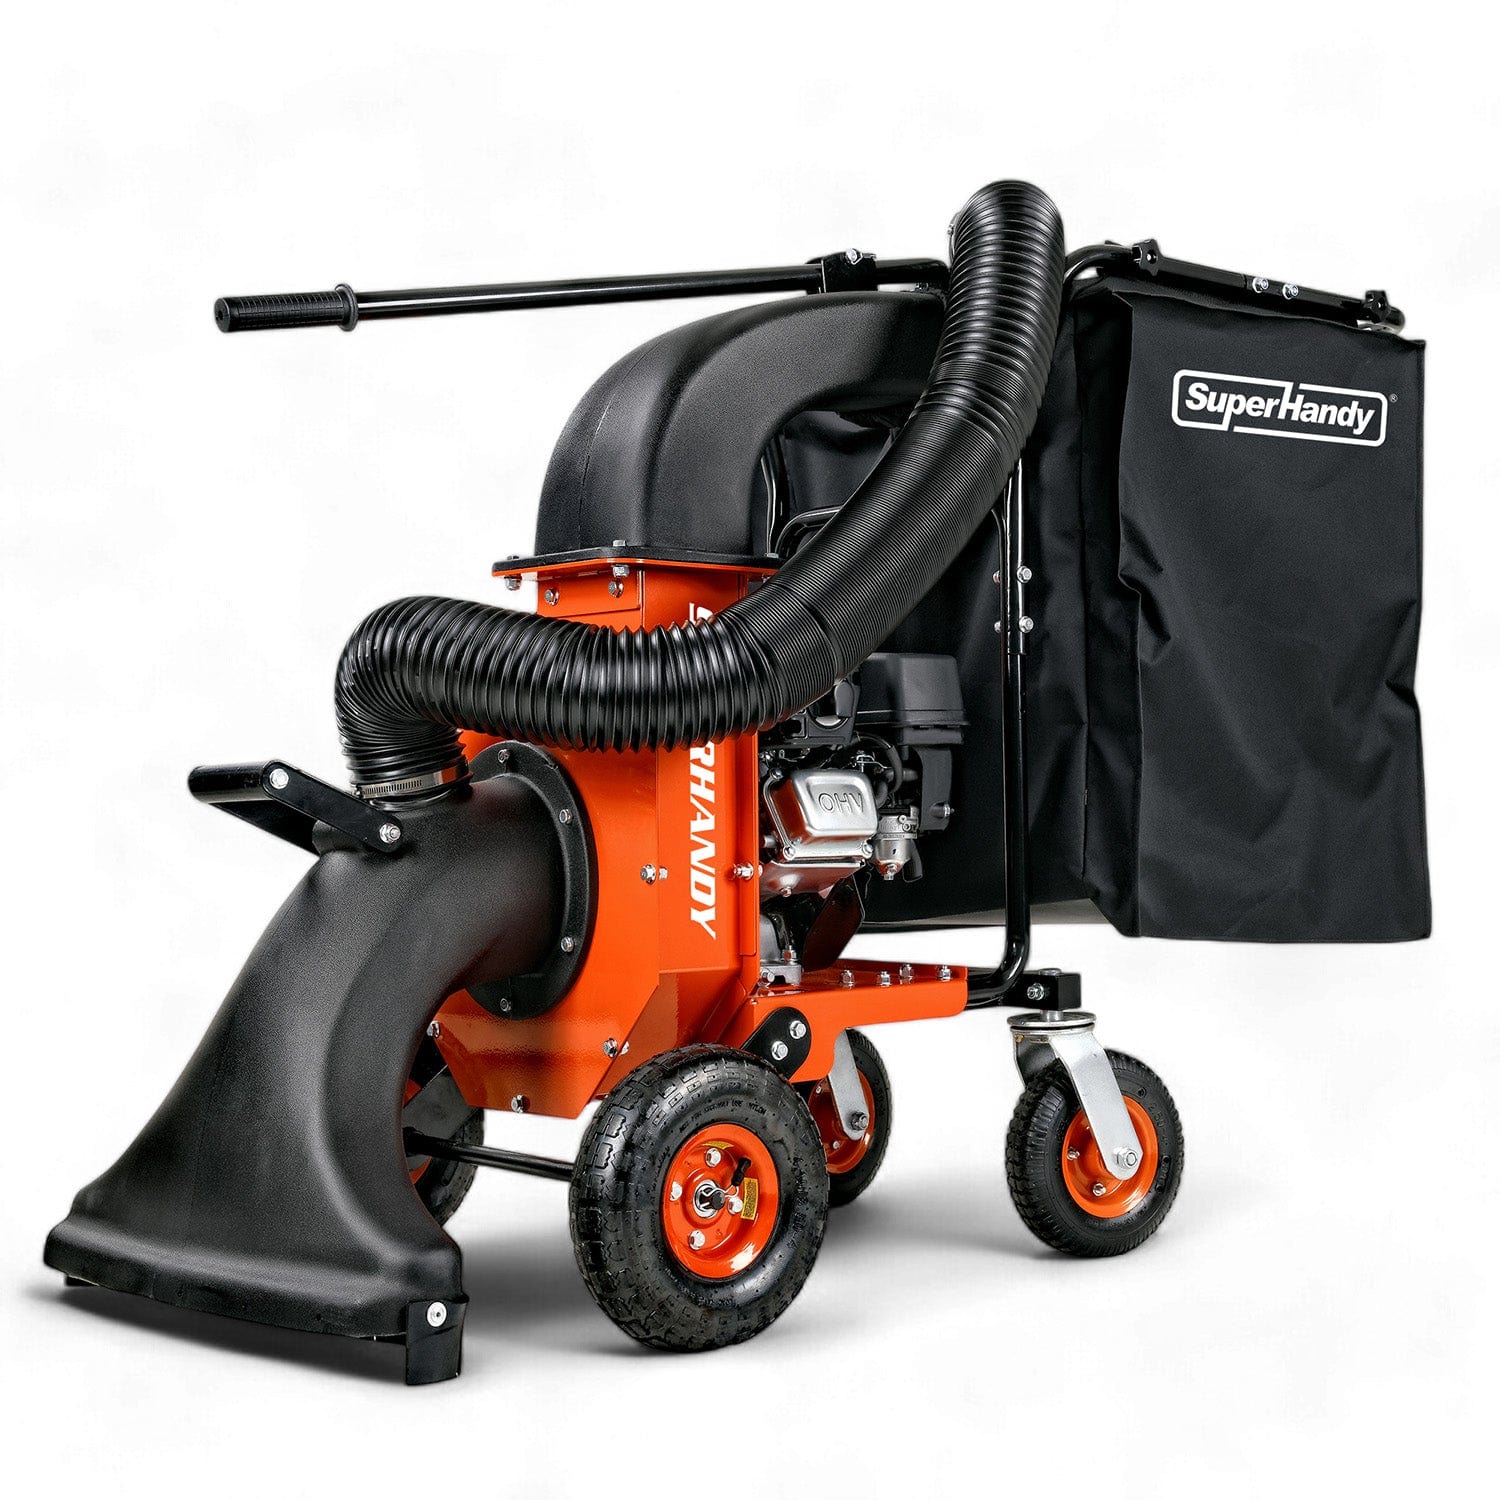
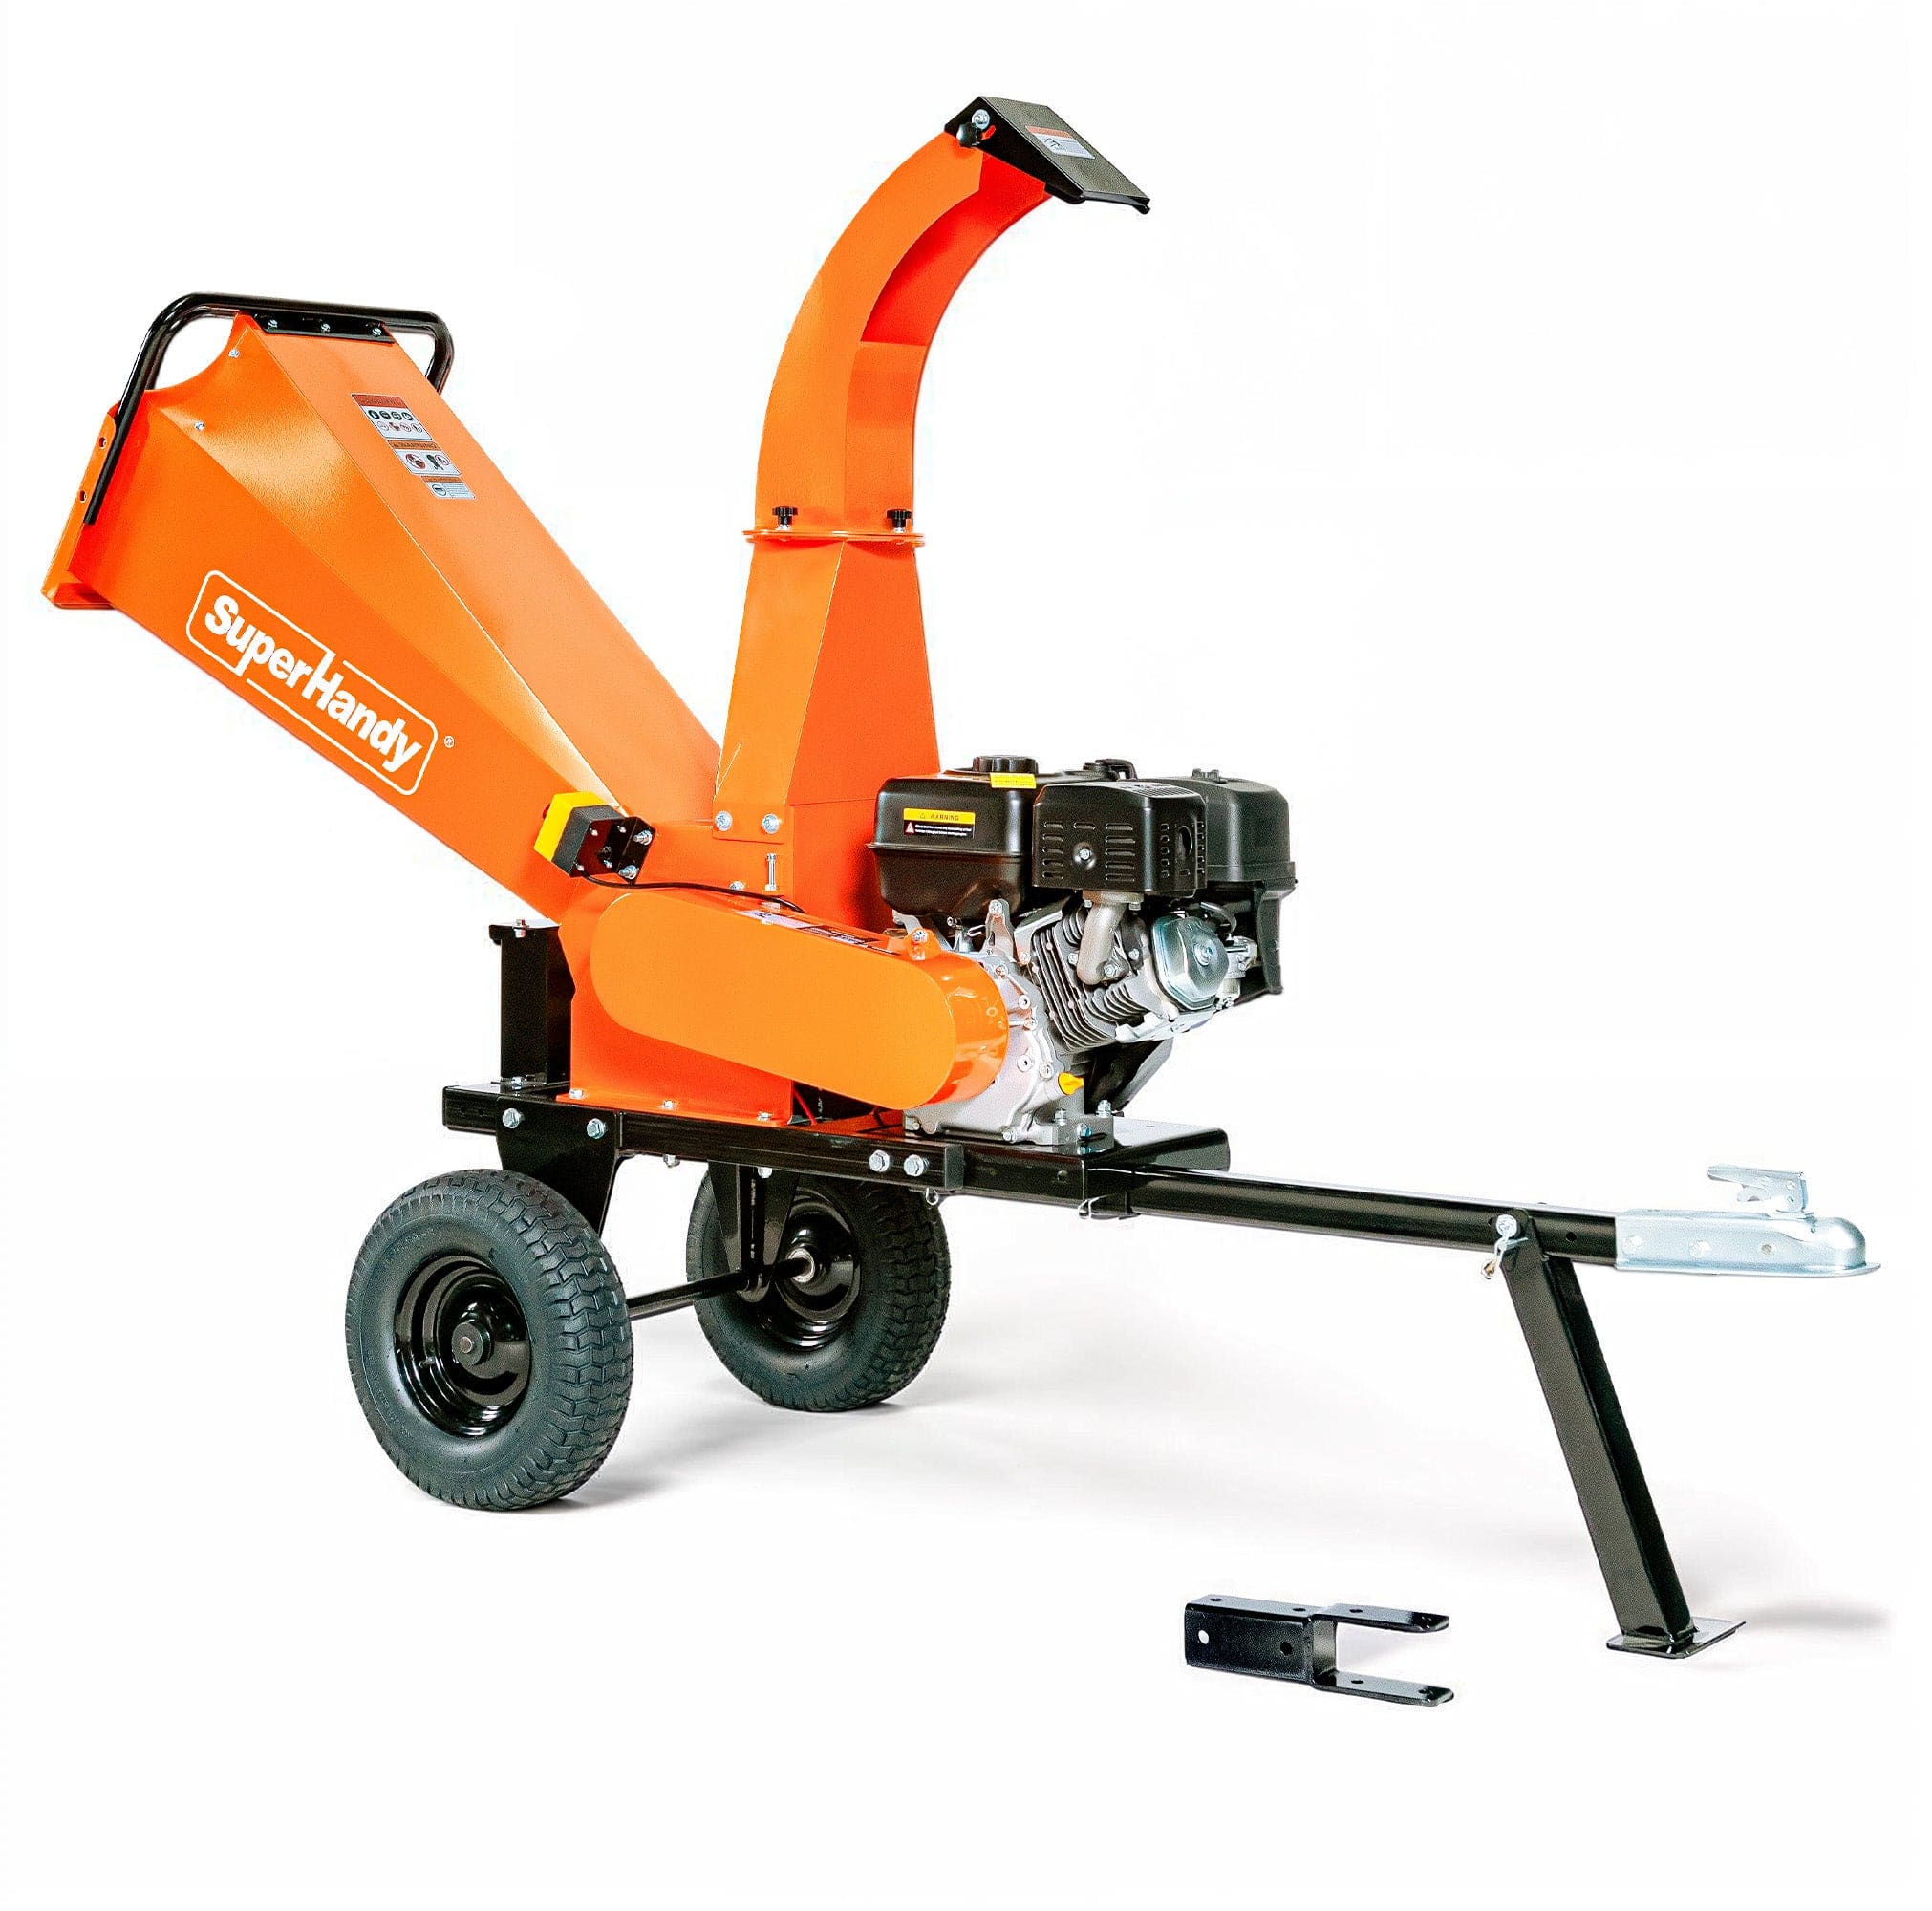
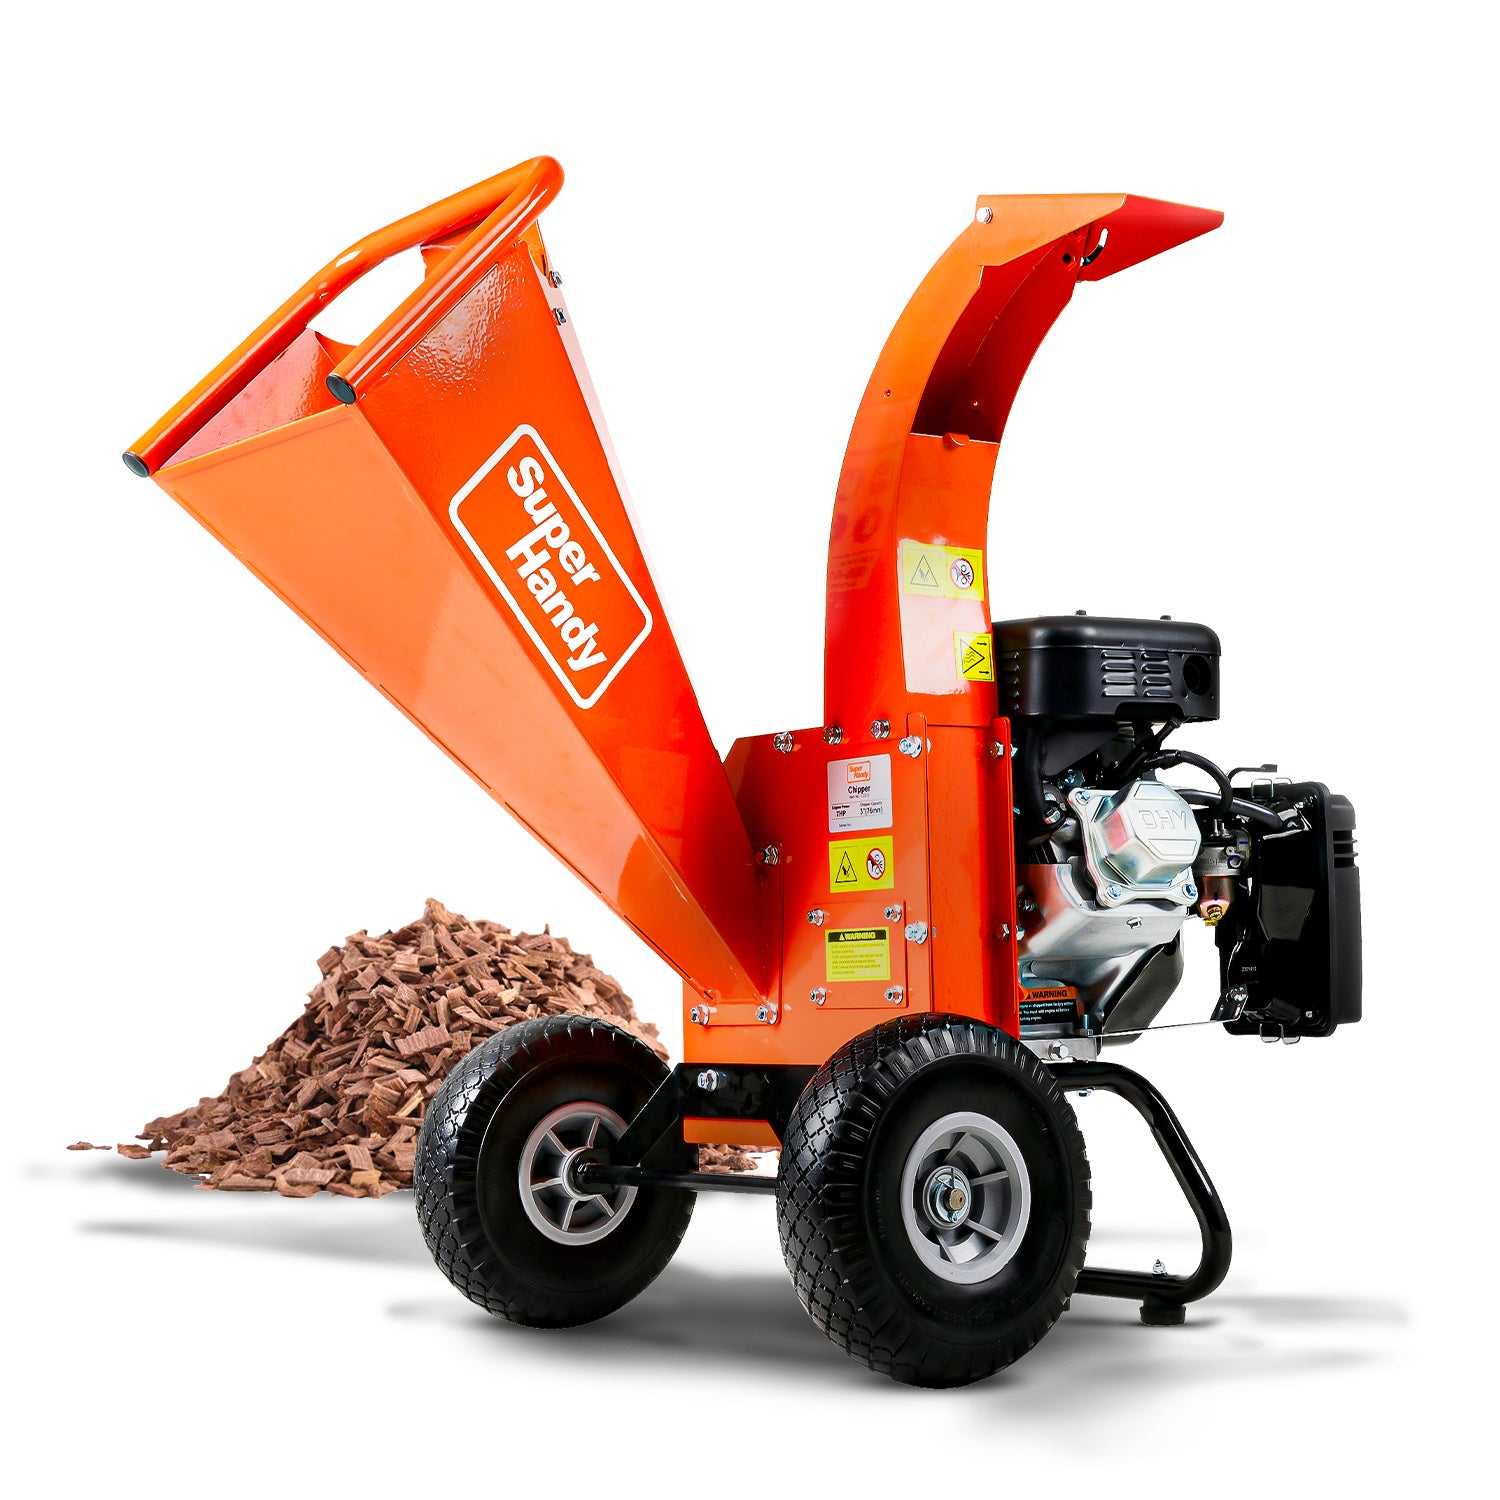
A gas wood chipper is a serious investment in your property's upkeep. It transforms unmanageable piles of branches and debris into valuable mulch, saving you time, effort, and money. But like any powerful piece of machinery, it demands respect and regular care. Neglecting maintenance doesn't just shorten your chipper's life; it compromises its performance and, most importantly, your safety.
Consistent maintenance ensures every component, from the engine to the cutting blades, operates as intended. This prevents catastrophic failures, reduces the strain on the engine, and guarantees you get clean, consistent chips every time. Whether you're running a compact Mini wood chipper for yard cleanup or a heavy-duty model for larger properties, these foundational checks are the key to a long and productive service life.
Before You Start Chipping: Essential Pre-Operation Safety and Performance Checks
Think of this as a pilot's pre-flight checklist. Taking just two minutes before you start the engine can prevent hours of frustration and potential accidents. This routine ensures the machine is stable, secure, and ready to work safely.
Before every single use, perform this quick walk-around inspection:
- Stable Ground: Position your wood chipper on a flat, level, and firm surface. Operating on a slope can affect engine lubrication and make the unit unstable.
- Inspect Your Work Area: Clear the surrounding area of any tripping hazards like rocks, tools, or stray branches. Ensure children and pets are kept at a safe distance.
- Check All Guards: Safety guards, hopper guides, and covers are there for your protection. Confirm they are all in place and securely fastened. Never operate a chipper with safety features removed.
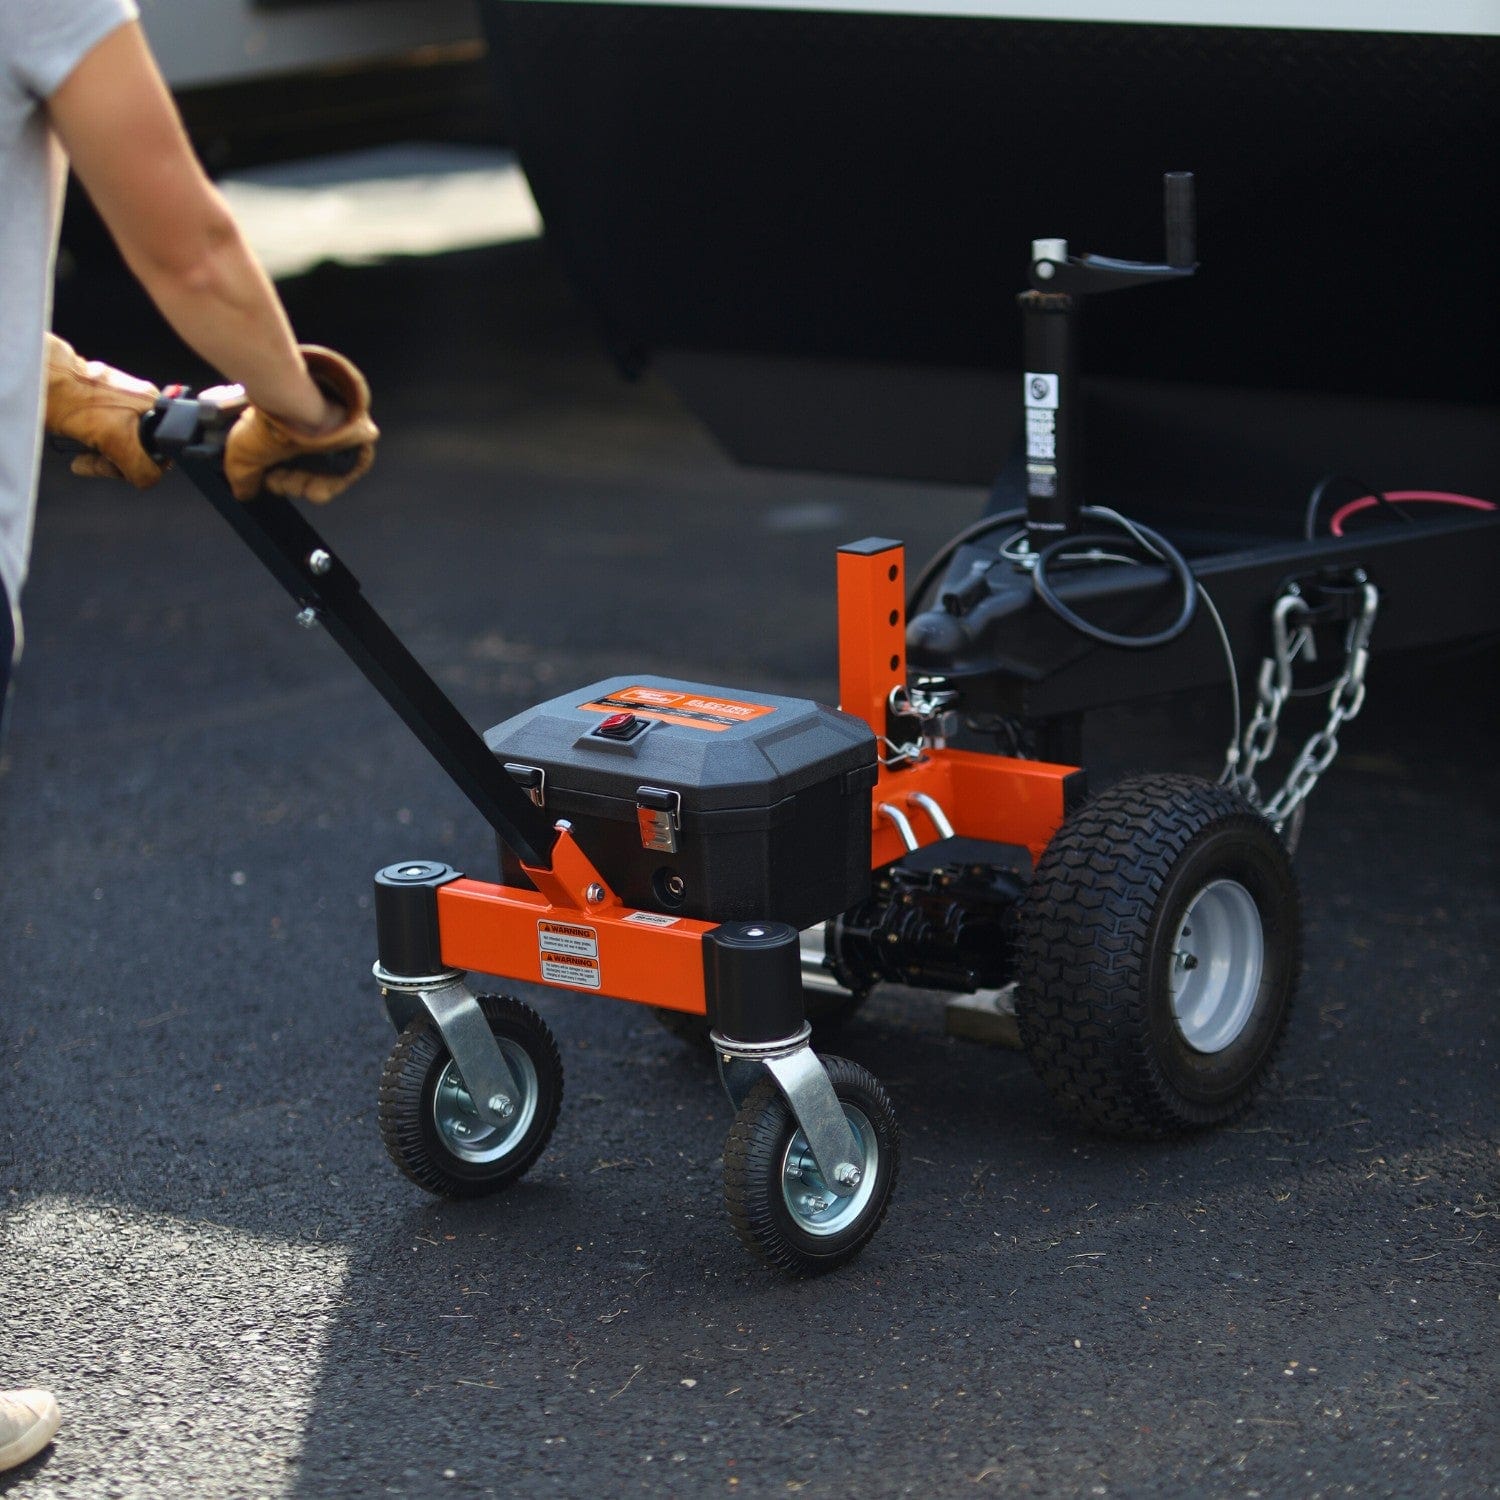
- Secure Hardware: Vibration is a natural part of a chipper's operation and can loosen nuts and bolts over time. Quickly check key fasteners on the wheels, axle, hitch (if applicable), and housing to ensure they are tight.
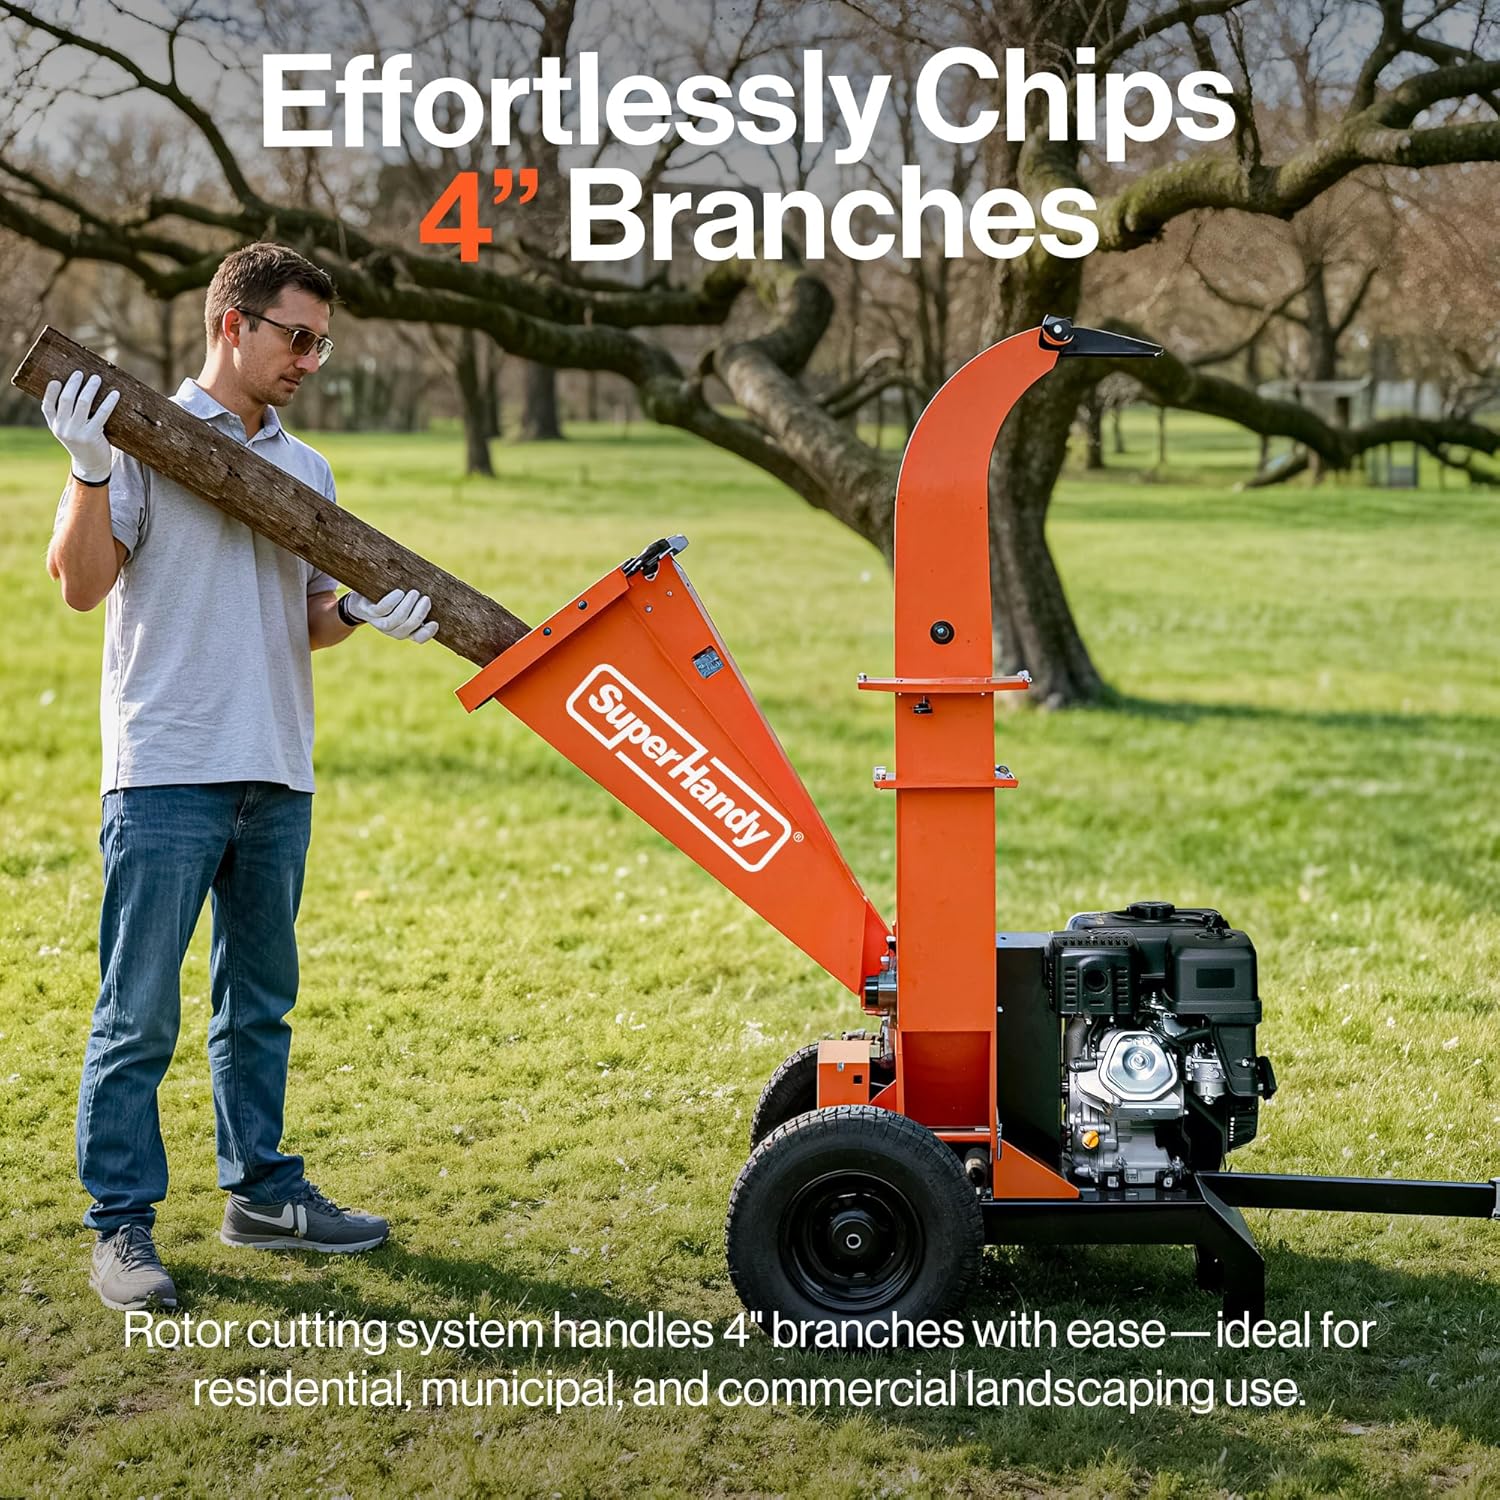
- Discharge Chute: Make sure the discharge chute is properly attached and aimed in a safe direction, away from windows, vehicles, and people. Check that it is clear of any old, compacted chips from the last session.

Inspecting Blades and Knives: Are They Sharp and Secure for Optimal Efficiency?
The cutting blades are the heart of your wood chipper. Dull or damaged blades don't just produce stringy, poor-quality mulch; they force the engine to work much harder, leading to increased fuel consumption, excessive vibration, and premature wear on the belts and engine components.
Before starting the chipper (and ensuring the spark plug is disconnected for safety), visually inspect the blades through the hopper opening. Look for:
- Dull Edges: A sharp blade will have a clean, defined edge. A dull one will appear rounded or rolled over.
- Nicks and Cracks: Hitting a rock or hard knot can chip or crack a blade. A damaged blade is unbalanced and can lead to dangerous, catastrophic failure if it breaks apart at high speed.
- Security: Verify that the bolts holding the blades are tight. A loose blade is an extreme safety hazard.
Different models have unique cutting systems. For instance, the powerful drum on a 4 inch wood chipper relies on pristine blades for performance, while a versatile 3 in 1 wood chipper may have a combination of blades and hammers that all require inspection. If you see damage, it's time to sharpen or replace them.
Checking Fluid Levels: Oil, Fuel, and Hydraulic (If Applicable) for Safe Operation
The gas engine is the powerhouse of your chipper, and it depends on clean fluids to run smoothly and reliably. Running an engine low on oil is one of the fastest ways to destroy it permanently.
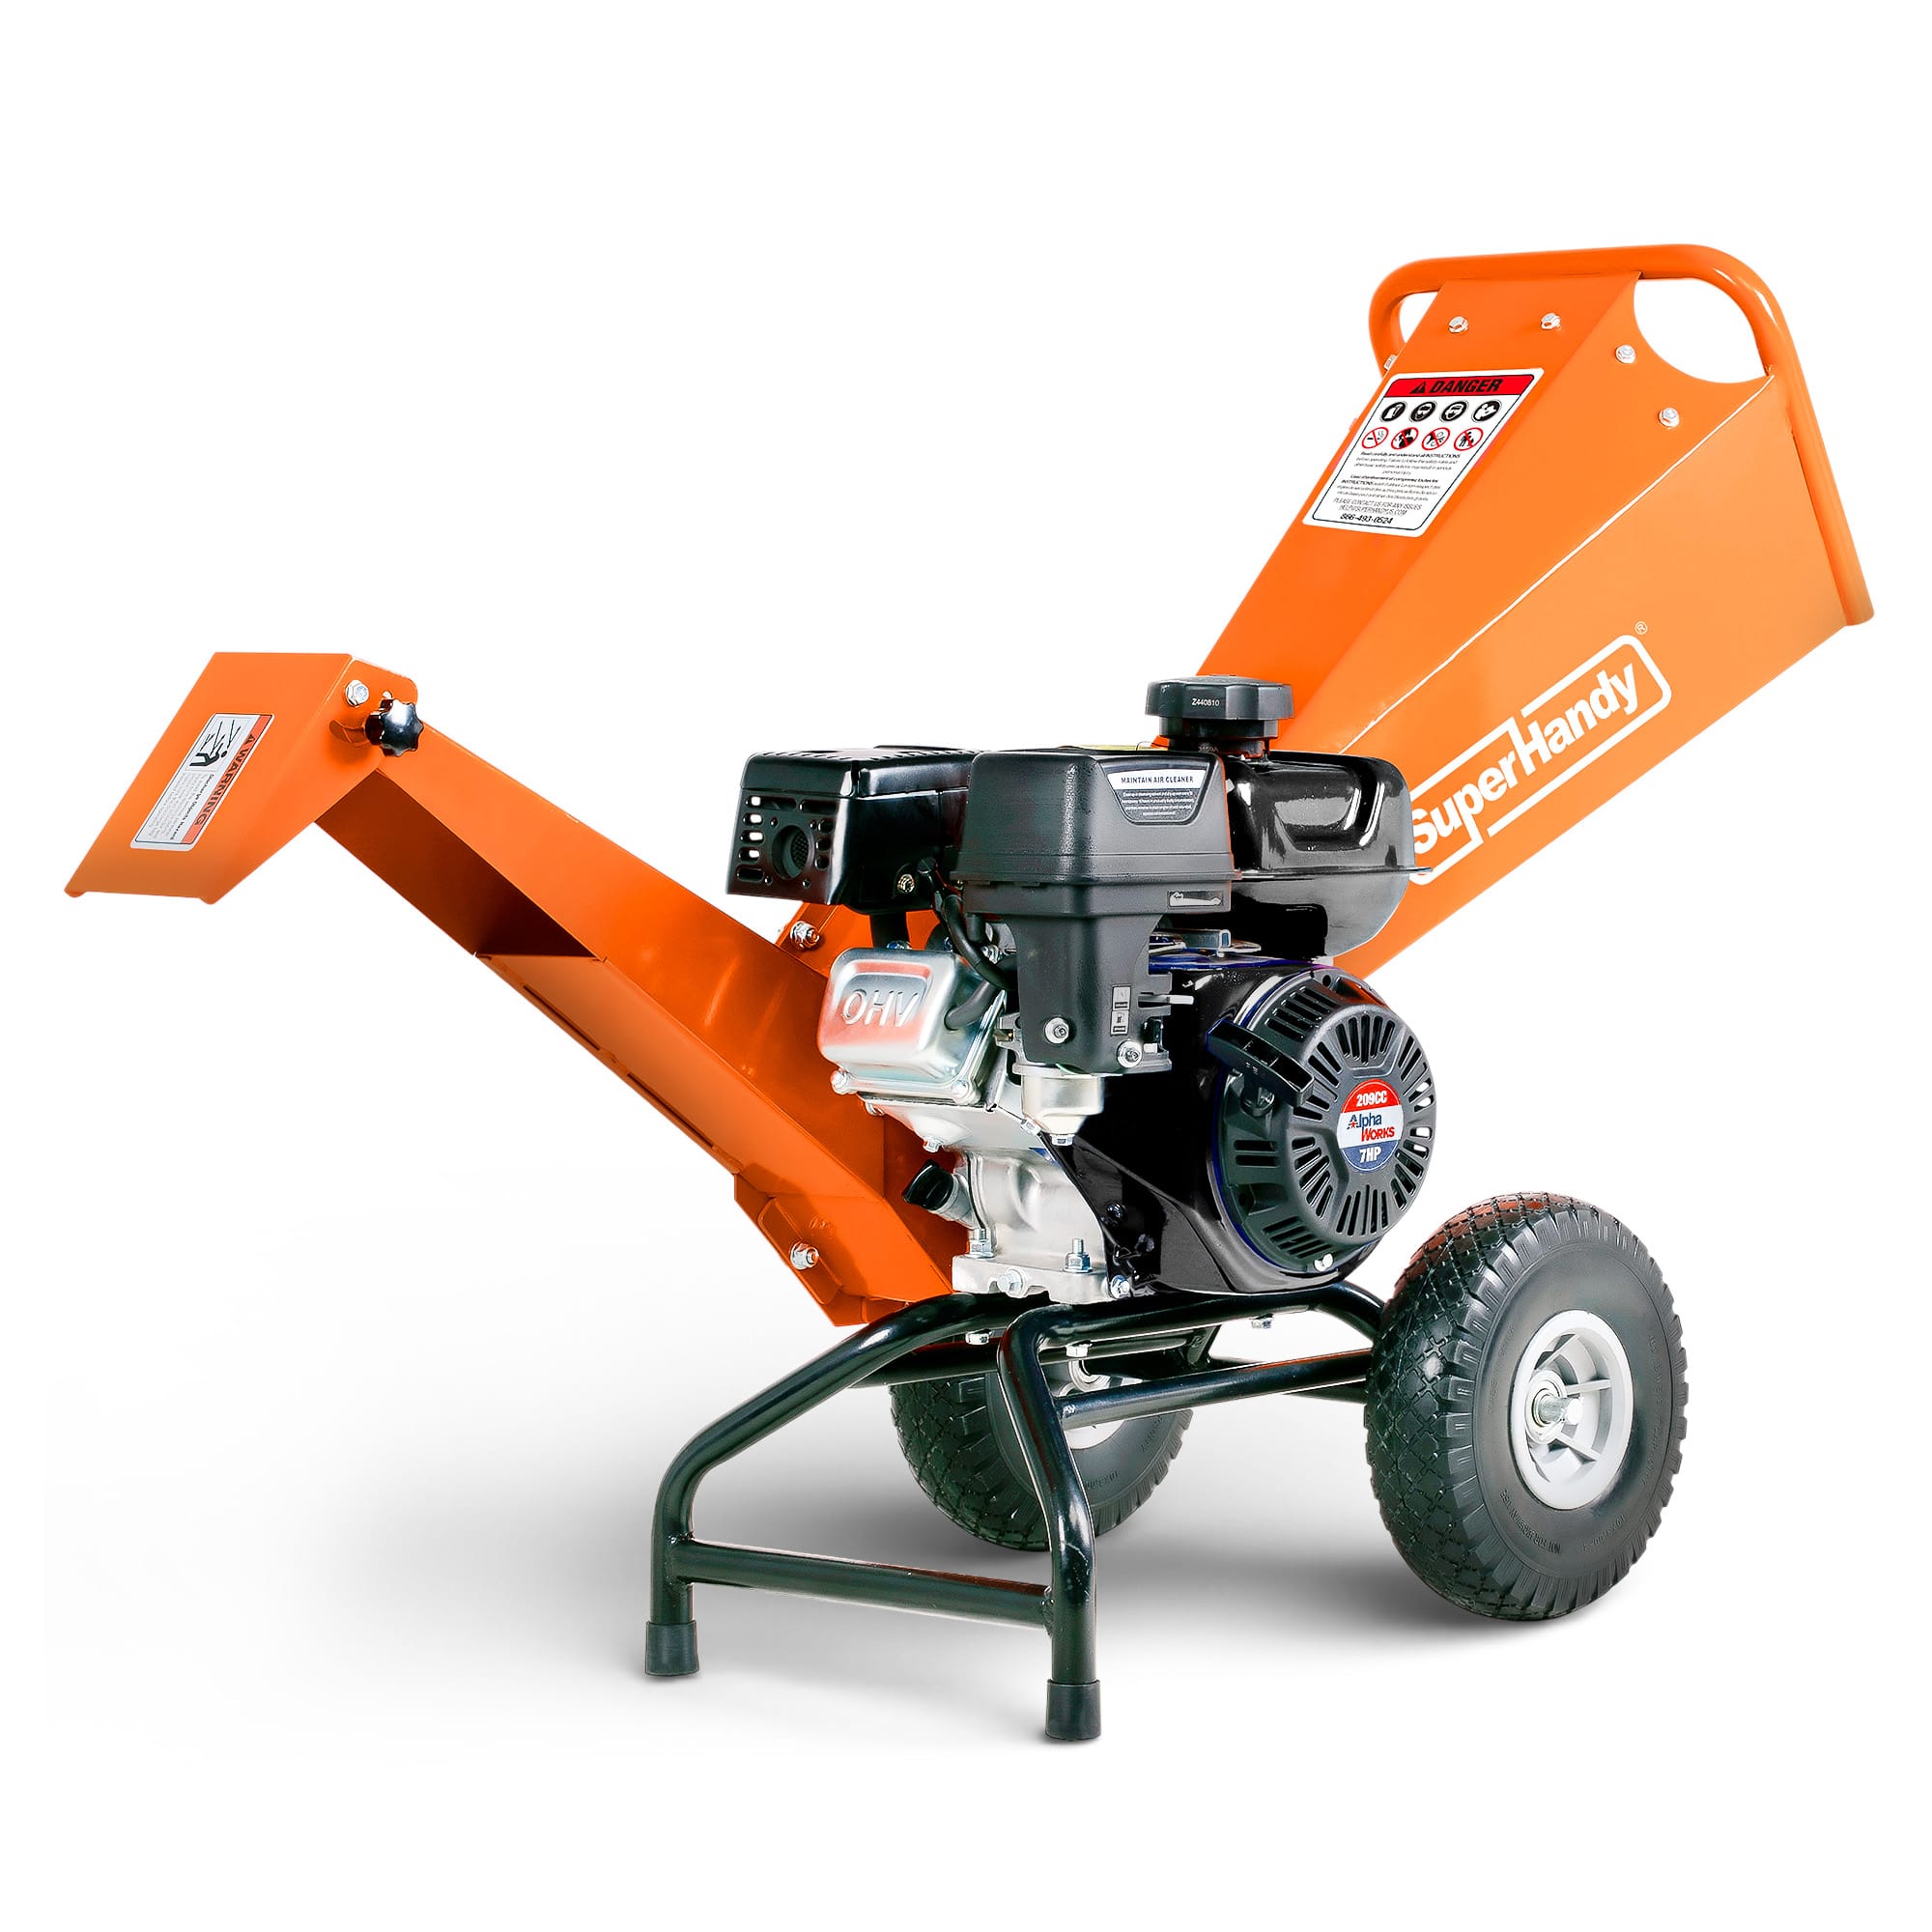
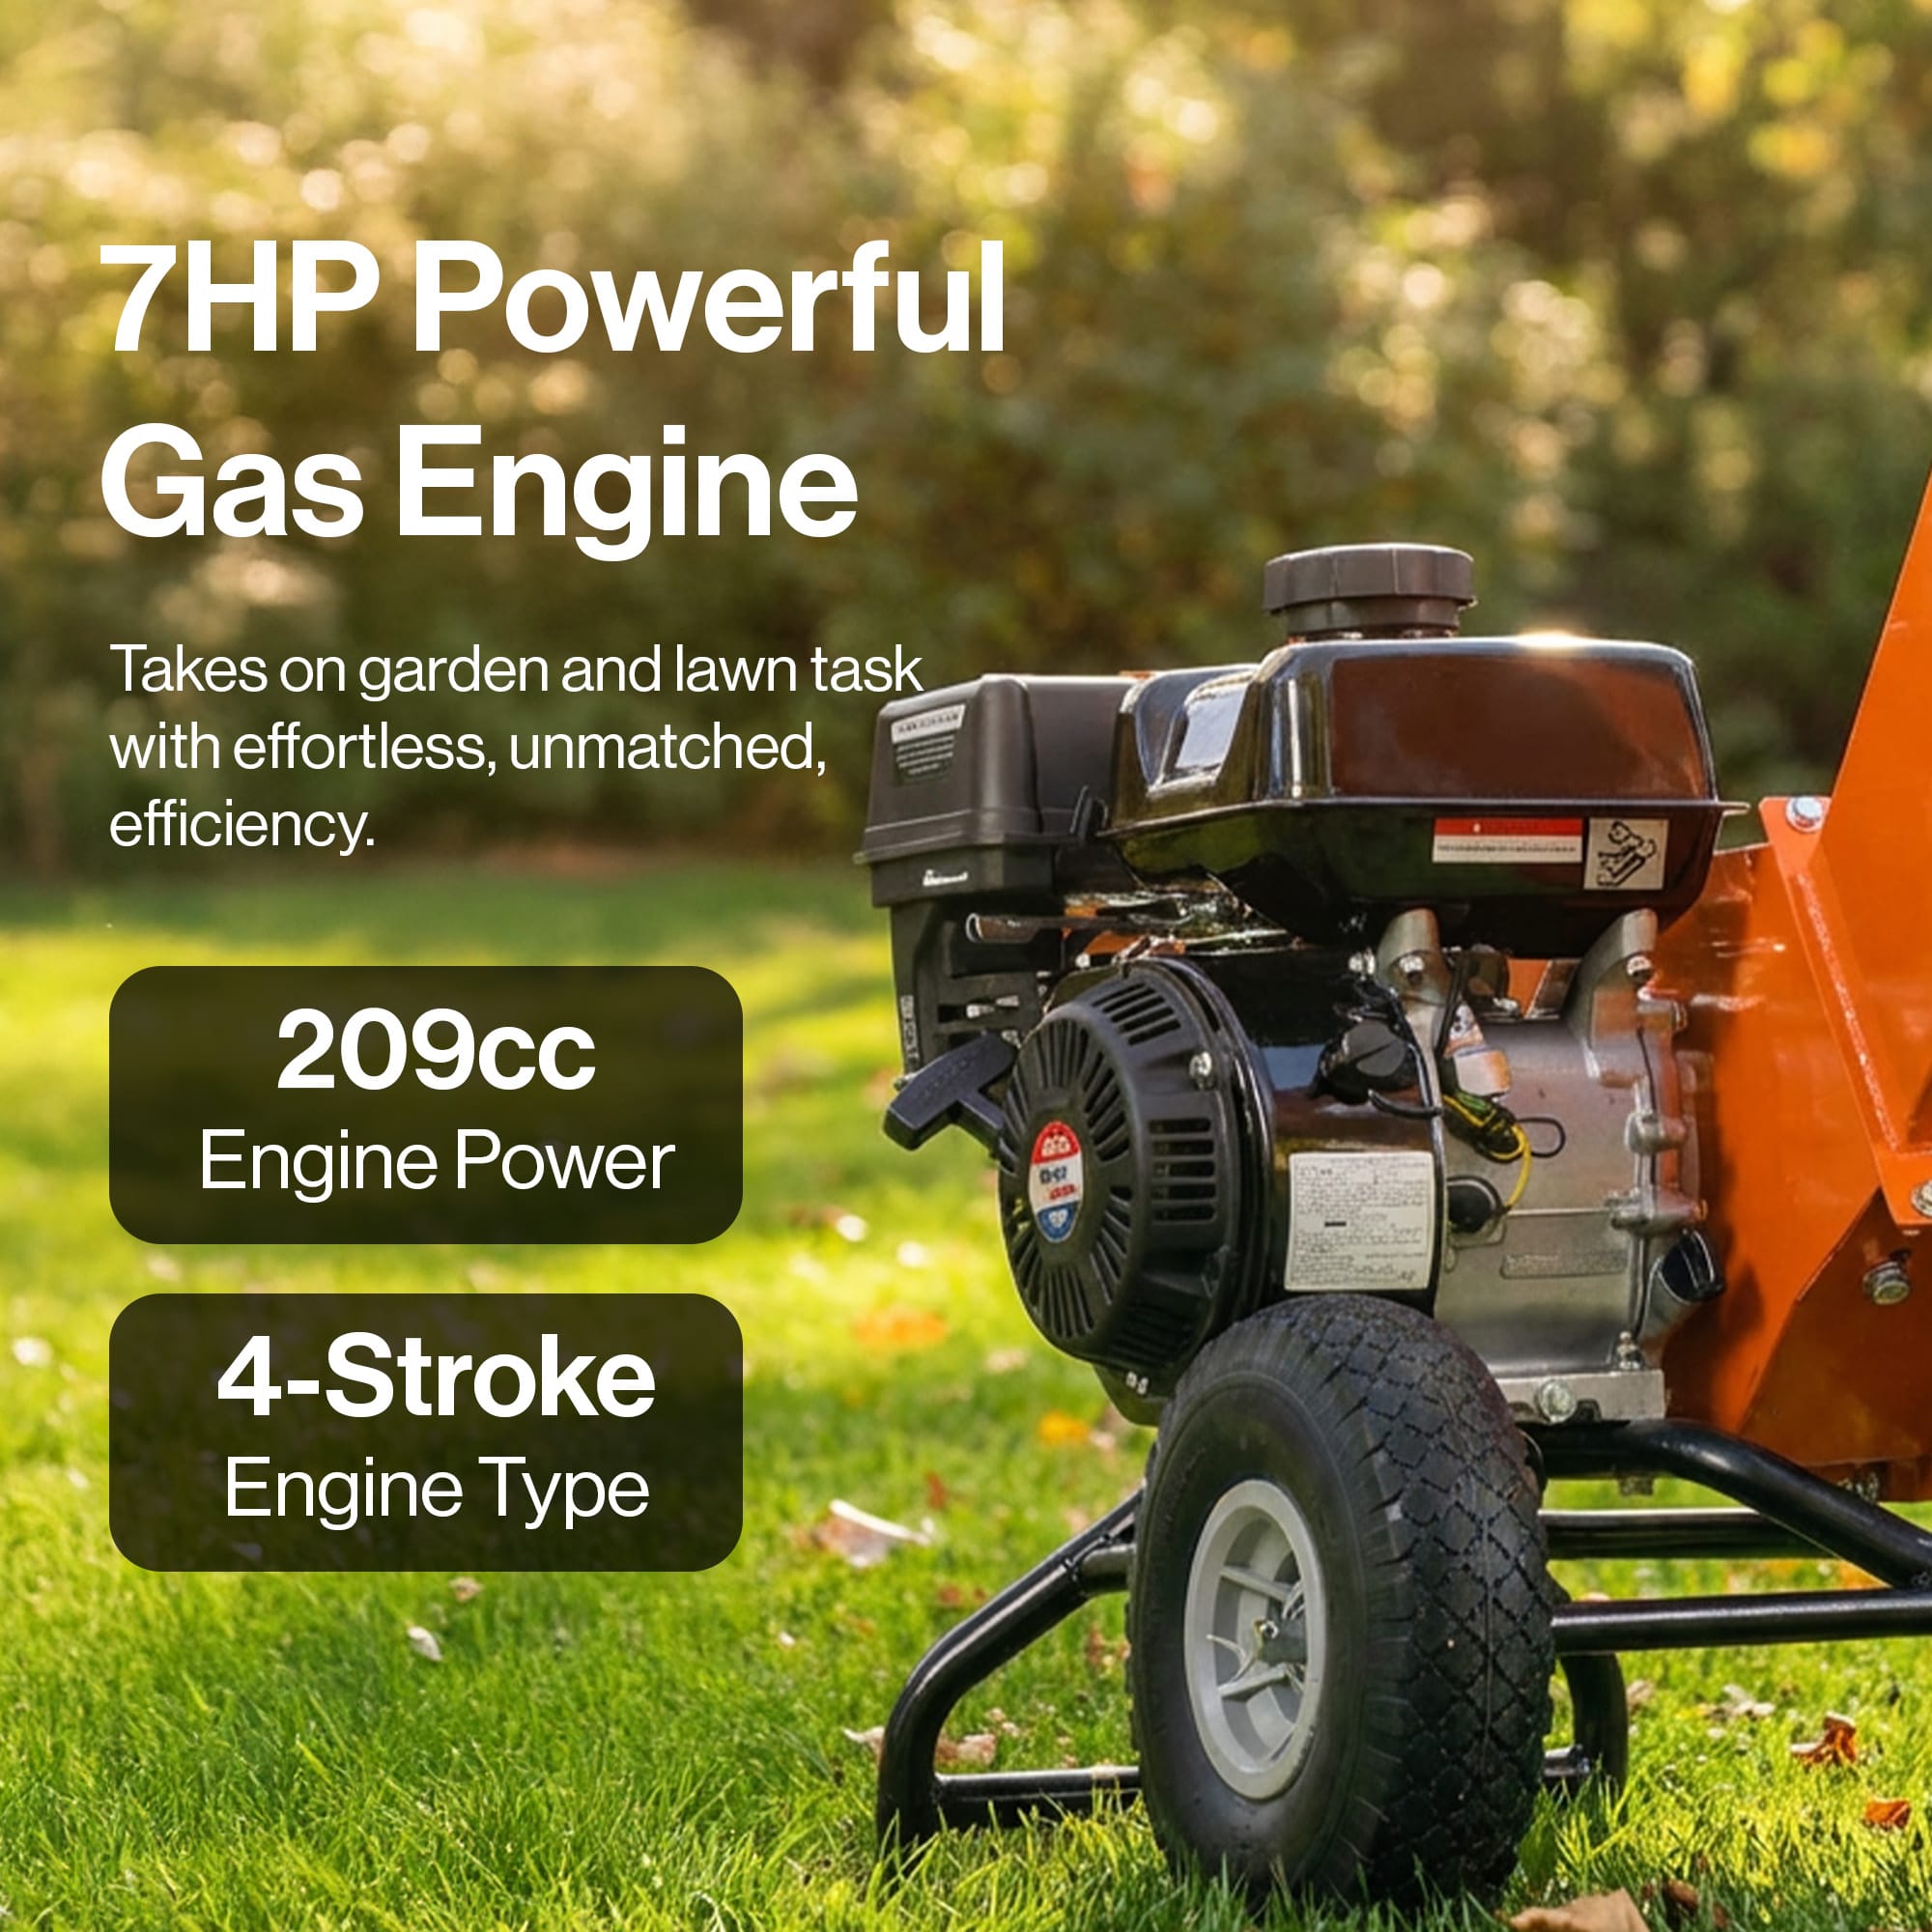
Engine Oil: Always check the oil level before starting a cold engine. Remove the dipstick, wipe it clean, re-insert it fully, and then pull it out again to get an accurate reading. The oil level should be between the 'Full' and 'Add' marks. Also, note the oil's color. Fresh oil is amber-colored; if it's black, gritty, or has a milky appearance, it's time for an oil change. A dependable 7HP wood chipper engine will last for years with this simple check.
Fuel: Always use fresh gasoline (less than 30 days old) from a clean, approved container. Stale fuel, especially ethanol-blended gasoline, can absorb water and form gummy deposits that clog your carburetor, leading to starting problems. If you don't use your chipper frequently, consider adding a quality fuel stabilizer to the gas can every time you fill it up. This small step is one of the best preventative measures for your entire fuel system. Before you start, check the tank to ensure you have enough fuel to complete your job.
Securing Fasteners and Guards: Ensuring All Components Are Tight and Safe
A gas wood chipper is a machine of controlled, violent force. The engine's powerful vibrations work tirelessly to shake every nut, bolt, and screw loose over time. Making a quick inspection for tight fasteners part of your pre-operation checklist is one of the easiest ways to prevent damage and ensure safety.
Before you start the engine, do a quick visual and physical check. Pay special attention to:
- Engine mounting bolts: These secure the engine to the frame.
- Hopper and chute fasteners: Loose components here can lead to dangerous debris spray.
- Blade access covers: A loose cover is a significant safety hazard.
- Safety guards and shields: These are your primary protection; ensure they are firmly in place and undamaged.
The intense vibration from a heavy-duty 4 inch wood chipper can be especially tough on fasteners. Keep a basic wrench or socket set handy and give key bolts a quick check. A loose machine is a dangerous machine.
After Every Session: Post-Chipping Cleaning and Storage Best Practices
What you do in the 15 minutes after you finish a job can add years to your wood chipper’s life. Letting acidic sap, moisture, and fine dust sit on your machine is an invitation for rust, corrosion, and pest infestation. Always allow your chipper’s engine and muffler to cool down completely before performing any cleaning or maintenance.
Clearing Debris from the Hopper, Chute, and Engine Area to Prevent Buildup
The first step after cooling is a thorough cleaning. Organic material holds moisture against metal and plastic, accelerating decay.
Use a leaf blower, compressed air, or a set of stiff brushes to meticulously clear debris from all key areas. This process is universal whether you're cleaning a compact Mini wood chipper or a more powerful 7HP wood chipper.
- Hopper and Chute: Clear out all wood chips, leaves, and twigs. Leftover material can harden, cause blockages during the next use, and trap moisture that leads to rust inside the chipping chamber.
- Engine Cooling Fins: This is critical. The engine is air-cooled, and the metal fins are designed to dissipate heat. If they become caked with sawdust and dirt, the engine can easily overheat, leading to poor performance and permanent damage.
- Wheels and Undercarriage: Clean away any packed-on mud and wood debris. This prevents rust on the frame and allows for easier inspection of tires and belts. For machines like a versatile 3 in 1 wood chipper, keeping the shredding mechanisms clear is just as important as the chipping chute.

Cleaning Air Filters and Spark Plugs for Consistent Engine Performance
Your chipper's engine breathes, and keeping its respiratory system clean is fundamental for reliable power and easy starting.
The Air Filter: The air filter is the engine’s first line of defense against abrasive sawdust and dirt. A clogged filter starves the engine of air, causing it to run rich (too much fuel), lose power, and potentially foul the spark plug.
- Inspection: Check the air filter after every few hours of heavy use.
- Cleaning: For foam filters, gently wash them in a solution of mild detergent and water, rinse thoroughly, and let them air dry completely. Before reinstalling, lightly saturate the filter with clean engine oil and squeeze out any excess. For paper filters, tap them gently on a hard surface to dislodge loose dirt. If it’s heavily soiled or oily, it's time for a replacement. Never use compressed air on a paper filter, as it can create microscopic tears.
The Spark Plug: The spark plug provides the critical spark that ignites the fuel-air mixture. A dirty or worn plug can cause hard starting, misfiring, and rough running.
- Inspection: Periodically, remove the spark plug using a spark plug socket. Inspect the tip for heavy carbon buildup (a sign of a rich fuel mixture, possibly from a dirty air filter), oiliness, or a white, burnt appearance.
- Cleaning and Gapping: If it's just lightly fouled, you can clean the electrode with a wire brush. It's also essential to check the gap between the electrodes with a feeler gauge, referencing your owner’s manual for the correct specification. If the electrode is rounded or the porcelain insulator is cracked, replace the plug immediately. It's an inexpensive part that makes a huge difference in engine performance.
Annual and Seasonal Maintenance: A Deep Dive into Your Chipper's Long-Term Health
While daily checks are the frontline defense for your equipment, a thorough annual or seasonal inspection is what truly guarantees its long-term health and reliability. Think of it as a comprehensive physical for your machine. Before storing your wood chipper for the winter or before firing it up for the spring cleanup season, dedicating a few hours to a deep-dive service will prevent major failures, ensure peak performance, and save you from costly repairs down the line.
This deeper level of care addresses the wear and tear that accumulates over dozens of hours of operation. From restoring the cutting power of the blades to ensuring the fuel system is clear and the drive belts are tight, these steps are crucial. The complexity might vary slightly between a compact mini wood chipper and a more robust 4 inch wood chipper, but the core principles remain the same.
Replacing Blades and Sharpening Techniques: Restoring Cutting Power
Dull blades are the number one enemy of an efficient wood chipper. They don’t just produce stringy, poor-quality mulch; they force the engine to work much harder, increasing fuel consumption and placing immense strain on the entire machine.
Signs of Dull Blades:
- The chipper struggles to pull branches through.
- The engine bogs down or stalls on material it used to handle easily.
- Output is stringy and torn rather than cleanly chipped.
- The machine vibrates more than usual during operation.
Before you begin, always disconnect the spark plug wire to prevent any chance of an accidental start. Access the cutting chamber according to your owner’s manual. Inspect the blades for nicks, chips, and overall dullness. Most chipper blades, like those on a powerful 7HP wood chipper, are reversible. If one side is worn, you can often simply unbolt them, flip them to the fresh, sharp edge, and reinstall them.
Once both sides are dull, it’s time for sharpening. For best results, use a bench grinder or a professional sharpening service to maintain the correct factory angle. An incorrect angle can affect performance and blade longevity. If a blade has deep gouges or cracks, do not attempt to sharpen it—replace it immediately.
Carburetor Cleaning and Fuel System Maintenance: Preventing Starting Issues
Is your chipper refusing to start after sitting for a few months? The culprit is almost always old fuel. Modern gasoline, especially ethanol-blended fuel, can degrade in as little as 30 days. As it breaks down, it leaves gummy varnish deposits that clog the tiny passages in the carburetor.
The best defense is a good offense. Always use a quality fuel stabilizer in your gas can, especially before long-term storage. If it's too late for that, you may need to clean the carburetor. This involves carefully removing it, disassembling it, and using a dedicated carburetor cleaner spray to clear the jets and ports. For many owners, this task is best left to a small engine repair professional.
Don’t forget the rest of the system. Annually, check the fuel lines for any signs of cracking or brittleness and replace them if necessary. It’s also wise to replace the small in-line fuel filter to ensure a clean, steady supply of gasoline to the engine of your 3 in 1 wood chipper.

Belt Inspection and Adjustment: Preventing Power Loss and Ensuring Smooth Operation
The drive belt is the critical link that transfers power from your gas engine to the wood chipper’s cutting drum. A belt that is worn, loose, or damaged will slip, causing a significant loss of chipping power and creating excess heat that can lead to premature failure.
With the engine off and the spark plug disconnected, remove the belt guard to inspect the belt. Look for:
- Cracks, splits, or fraying edges.
- Glazing (a shiny, hardened surface from slipping).
- Missing chunks or excessive wear.
If you see any of these signs, replace the belt. Next, check the tension. Your owner’s manual will provide a specific measurement, but a general rule is that the belt should have about 1/2 inch of flex when you press on it firmly at its midway point. If it’s too loose, you can typically adjust it by loosening the engine mounting bolts and sliding the engine slightly to increase tension. Be careful not to over-tighten, as this puts unnecessary stress on the engine and drum bearings.
Troubleshooting Common Wood Chipper Problems and When to Call an Expert
Even with diligent maintenance, your gas wood chipper can sometimes run into trouble. Most issues are minor and can be fixed with basic troubleshooting. Here’s a guide to diagnosing common problems and knowing when it’s time to call in a professional.
-
Problem: The Engine Won’t Start.
- Possible Causes: The most common culprits are fuel, air, or spark-related. This could mean old or contaminated gasoline, a closed fuel valve, the choke being in the wrong position, a clogged air filter, or a dirty/faulty spark plug.
- Solution: Follow a simple checklist. Ensure the choke is set correctly for a cold or warm start. Check that the fuel valve is open and the tank has fresh gasoline. If it still won't start, inspect and clean the air filter and spark plug as detailed in previous sections.
-
Problem: The Chipper Bogs Down or Stalls During Use.
- Possible Causes: You might be feeding material too quickly, trying to chip wood that exceeds your machine's capacity, or the blades may be dull. A loose or worn drive belt can also cause a significant loss of power.
- Solution: Reduce the rate at which you feed branches into the hopper. Listen to the engine's RPMs and let it recover between loads. If performance is consistently poor, it's a strong sign your blades need to be sharpened or replaced. For persistent power issues on a model like a robust 7HP wood chipper, inspect the drive belt for proper tension and wear.
-
Problem: Excessive Vibration or Loud, Unusual Noises.
- Possible Causes: This is a red flag that requires immediate attention. It could be caused by something as simple as a loose bolt or guard. More seriously, it could indicate an imbalanced or damaged blade, a foreign object lodged in the rotor, or a failing bearing.
- Solution: Shut the engine off immediately and disconnect the spark plug to prevent accidental starting. Perform a thorough visual inspection. Tighten all accessible nuts and bolts. Carefully inspect the chipping chamber for obstructions and check the blades for any signs of damage or uneven wear.
When to Call an Expert
While many tasks are DIY-friendly, some problems require professional service. Don't hesitate to contact a certified small engine mechanic if you encounter:
- Major Engine Issues: Such as dense blue or white smoke from the exhaust, loud metallic knocking sounds, or a complete inability to get the engine to turn over.
- Bent Crankshaft: Usually resulting from a sudden, hard stop of the blades, this is a complex and expensive repair.
- Complex Carburetor Problems: If a standard cleaning doesn't solve fuel delivery issues, a full rebuild or replacement by a pro is your best bet.
- Structural Damage: If the housing or frame of your 4 inch wood chipper is cracked or bent, an expert should assess its safety before further use.
Frequently Asked Questions About Gas Wood Chipper Maintenance
How often should I sharpen my chipper blades?
The frequency depends entirely on usage and the type of wood you're chipping. For heavy use or when processing very hard, dense wood, you may need to sharpen them after every 10-15 hours of operation. For lighter use with softer woods, blades can often last 25-30 hours or more. The best indicator is performance: if you notice stringy, poorly-chipped output or the engine is straining more than usual, it's time to inspect and sharpen the blades.
What kind of oil and fuel should I use?
Always check the owner’s manual for your specific model first. Most 4-stroke gas wood chipper engines, from a compact Mini wood chipper to a larger machine, use SAE 10W-30 motor oil. For fuel, use fresh (less than 30 days old) unleaded gasoline with an octane rating of 87 or higher. To prevent fuel system clogs, especially during storage, it's highly recommended to use a fuel stabilizer.
Can I chip wet or green wood?
While most gas-powered chippers can handle it, chipping very wet or green wood is less efficient and can lead to clogs. The high moisture content creates a pulpy material that can wrap around the blades and clog the discharge chute. Whenever possible, let wood season for a few weeks before chipping. Models like a versatile 3 in 1 wood chipper often have shredding functions that are better suited for leafy, green material.
What is the single most important daily maintenance check?
The pre-operation safety check. Before every single use, take 60 seconds to do a walk-around. Look for loose nuts, bolts, or guards. Check your oil and fuel levels. Make sure the hopper and discharge chute are clear of any old debris. This simple habit, recommended by safety experts like the Outdoor Power Equipment Institute (OPEI), is the most effective way to prevent accidents and catch small problems before they become major failures.
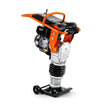
Related Products


Leave a comment
All comments are moderated before being published.
This site is protected by hCaptcha and the hCaptcha Privacy Policy and Terms of Service apply.