


Tired of struggling with a finicky engine leaf blower or spending hours raking leaves? Mastering the art of starting and operating your gas power leaf blower isn't just about getting the job done; it's about transforming your yard work from a chore into a highly efficient process. When you understand the nuances of your equipment, you save valuable time, reduce frustration, and achieve cleaner results with less effort. A well-maintained and correctly started gas blower runs smoother, delivers consistent power, and effectively tackles everything from light debris to stubborn wet leaves and small branches. This mastery extends the lifespan of your equipment and ensures you're always ready to tackle whatever Mother Nature throws your way, making you feel like a true yard care professional.

Understanding Your Blower's Components for Optimal Performance
Before you can confidently start your gas power leaf blower, it's crucial to familiarize yourself with its key components. Each part plays a vital role in the blower's operation and performance.
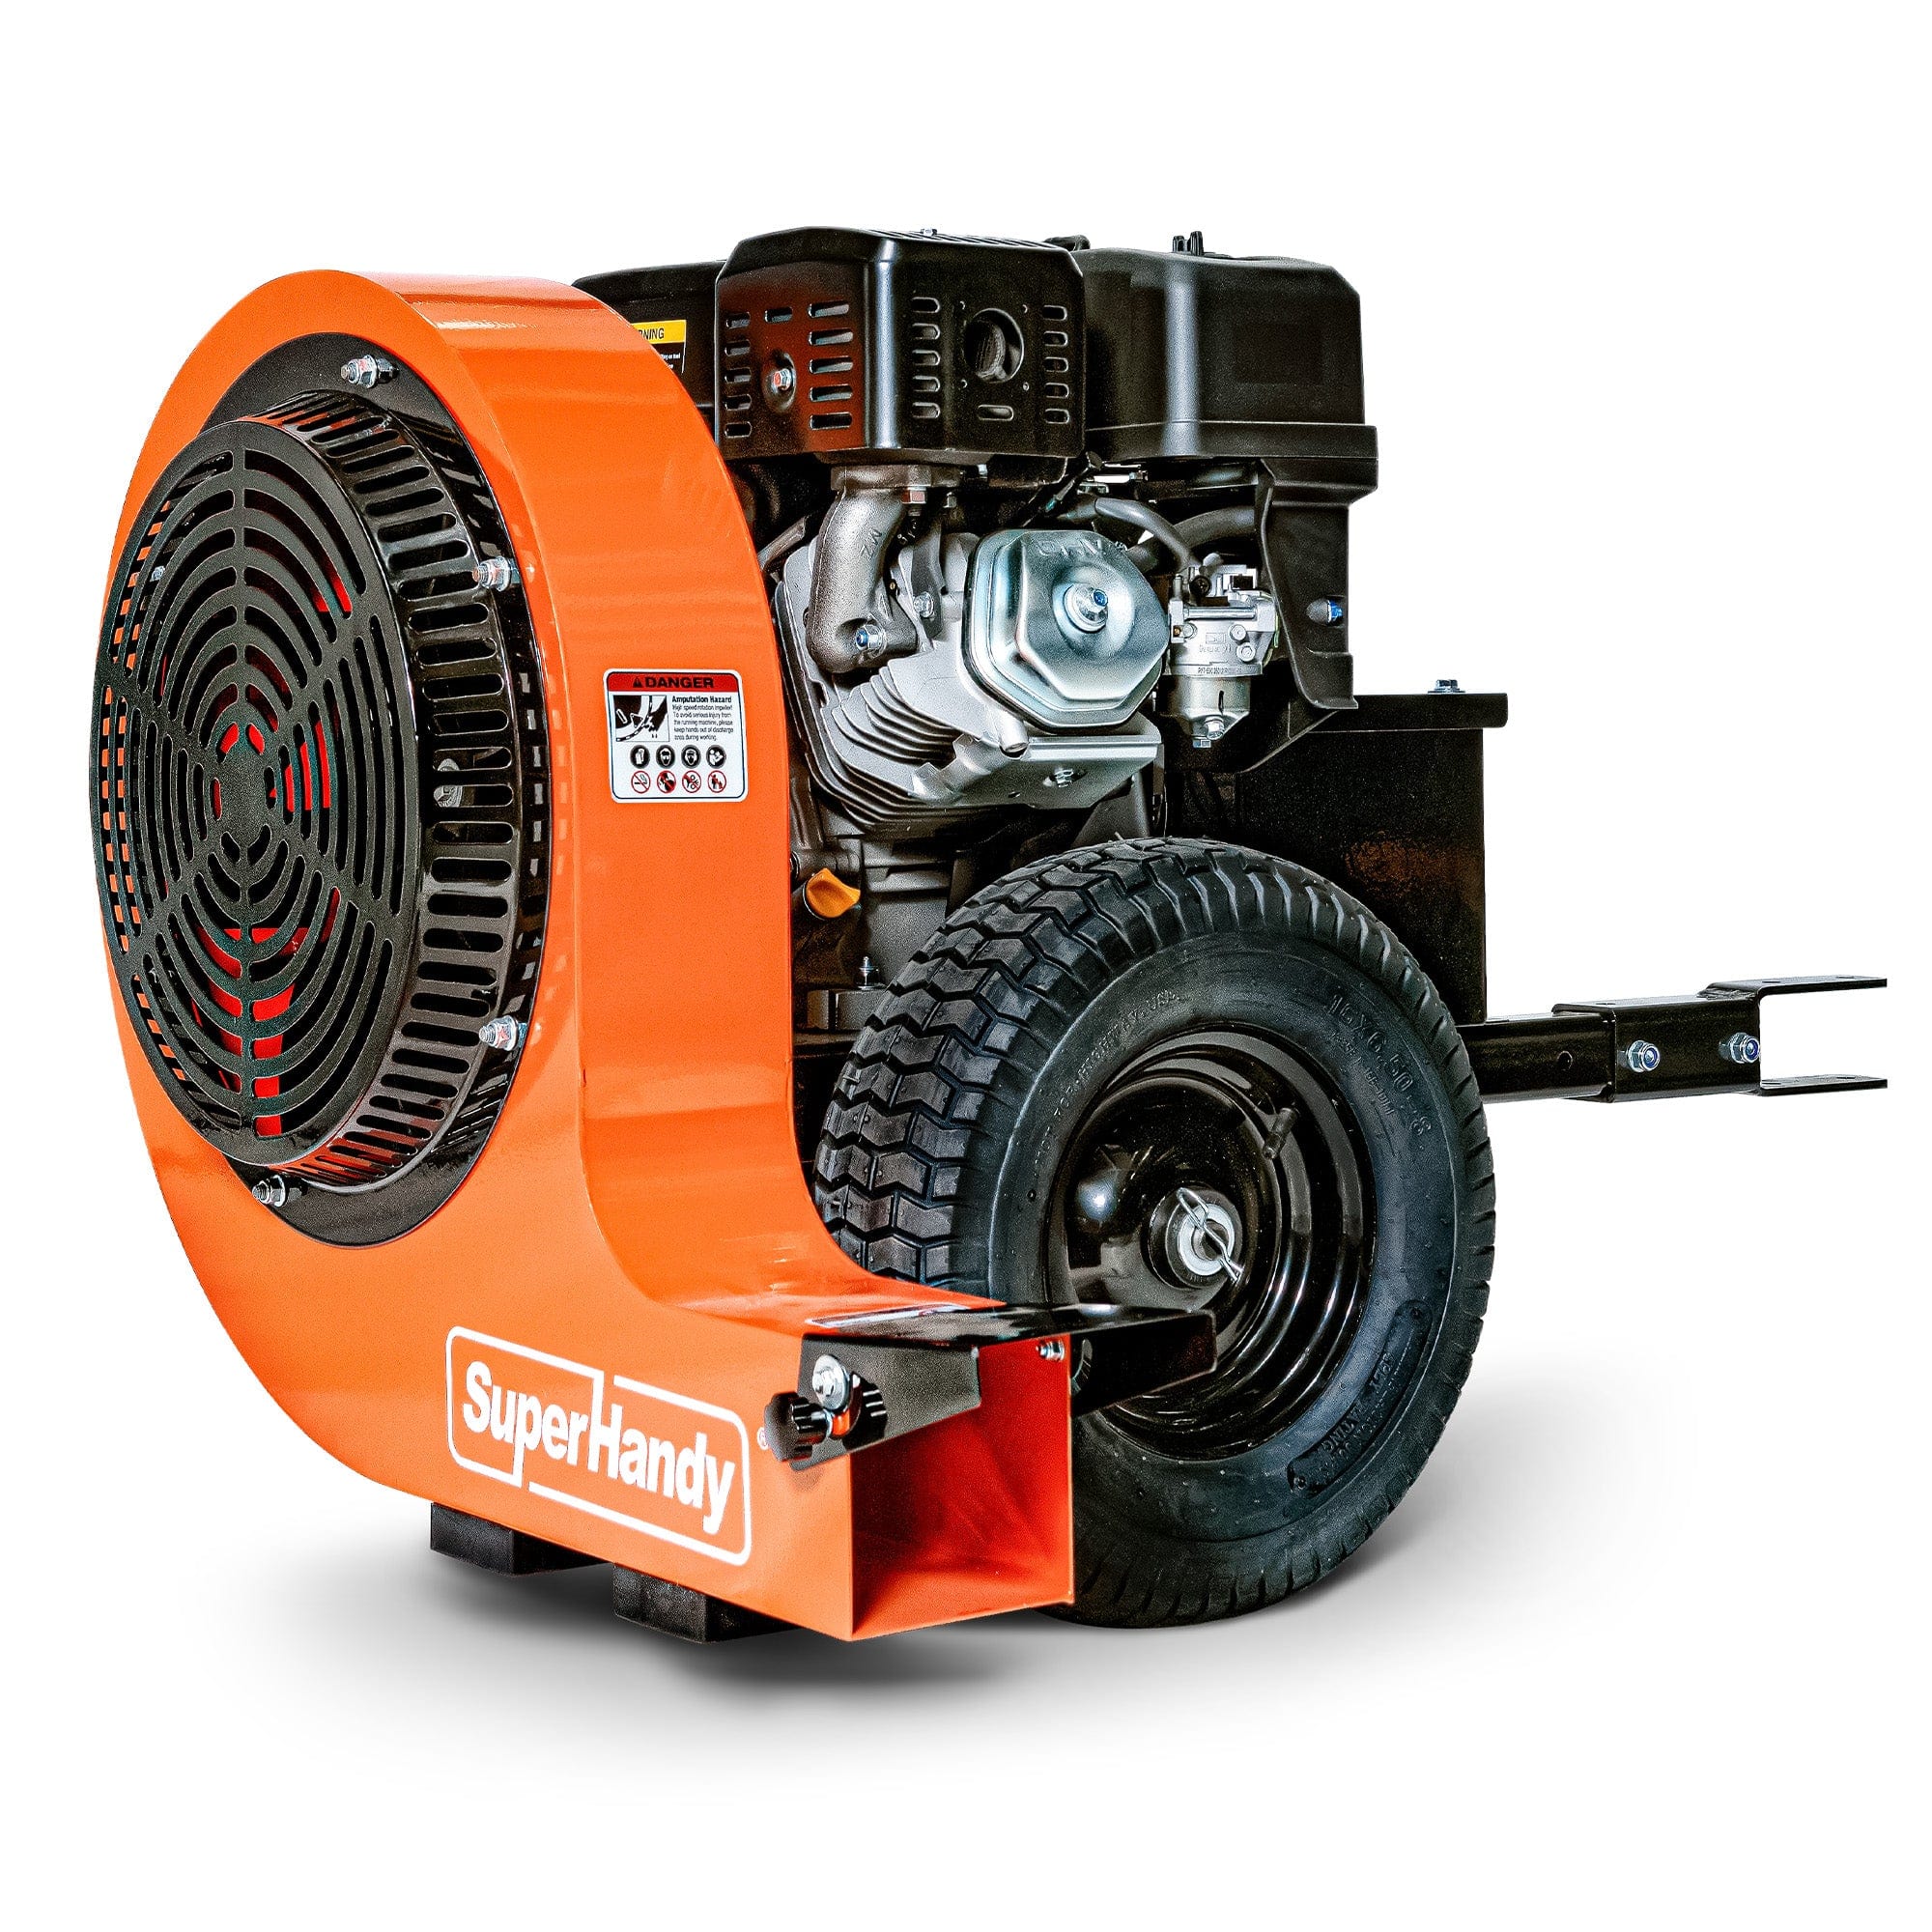
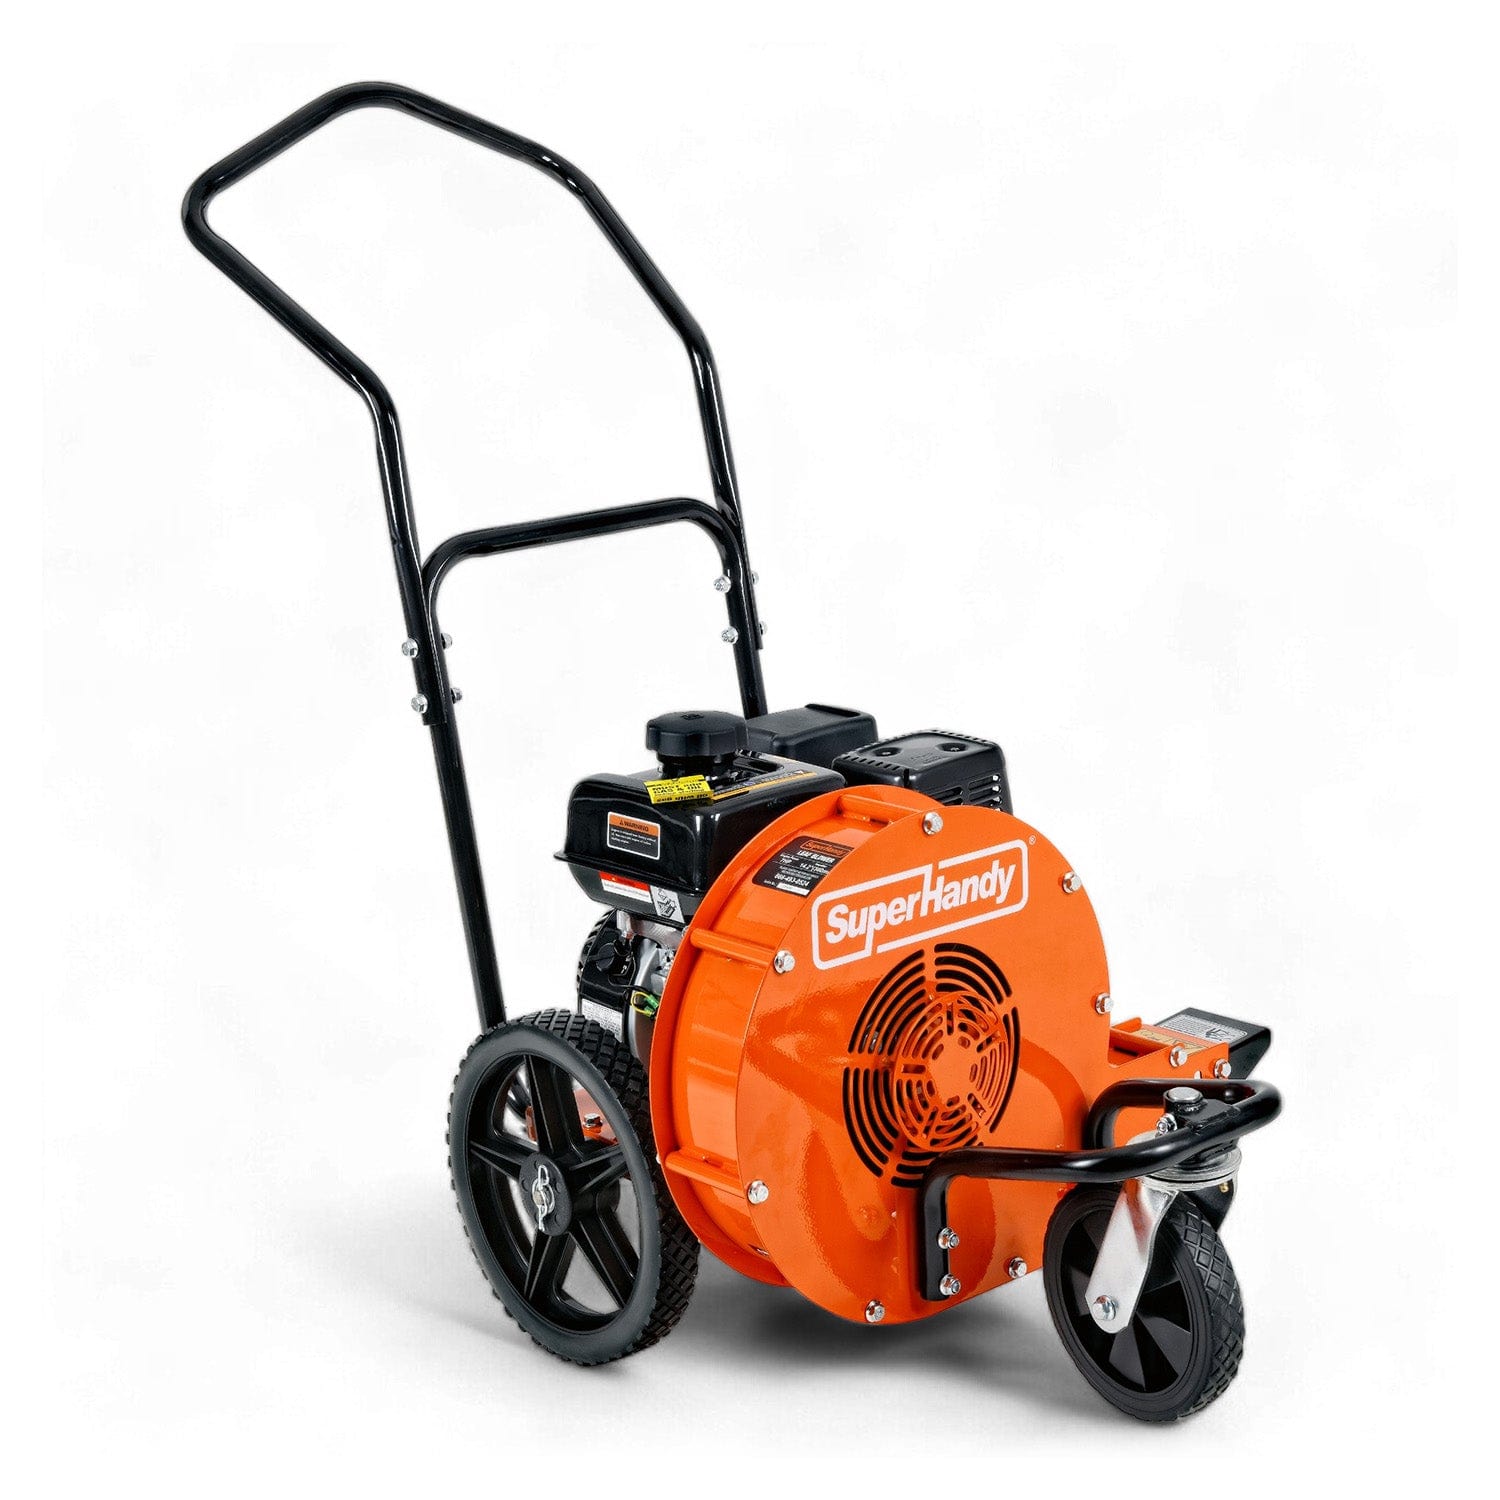
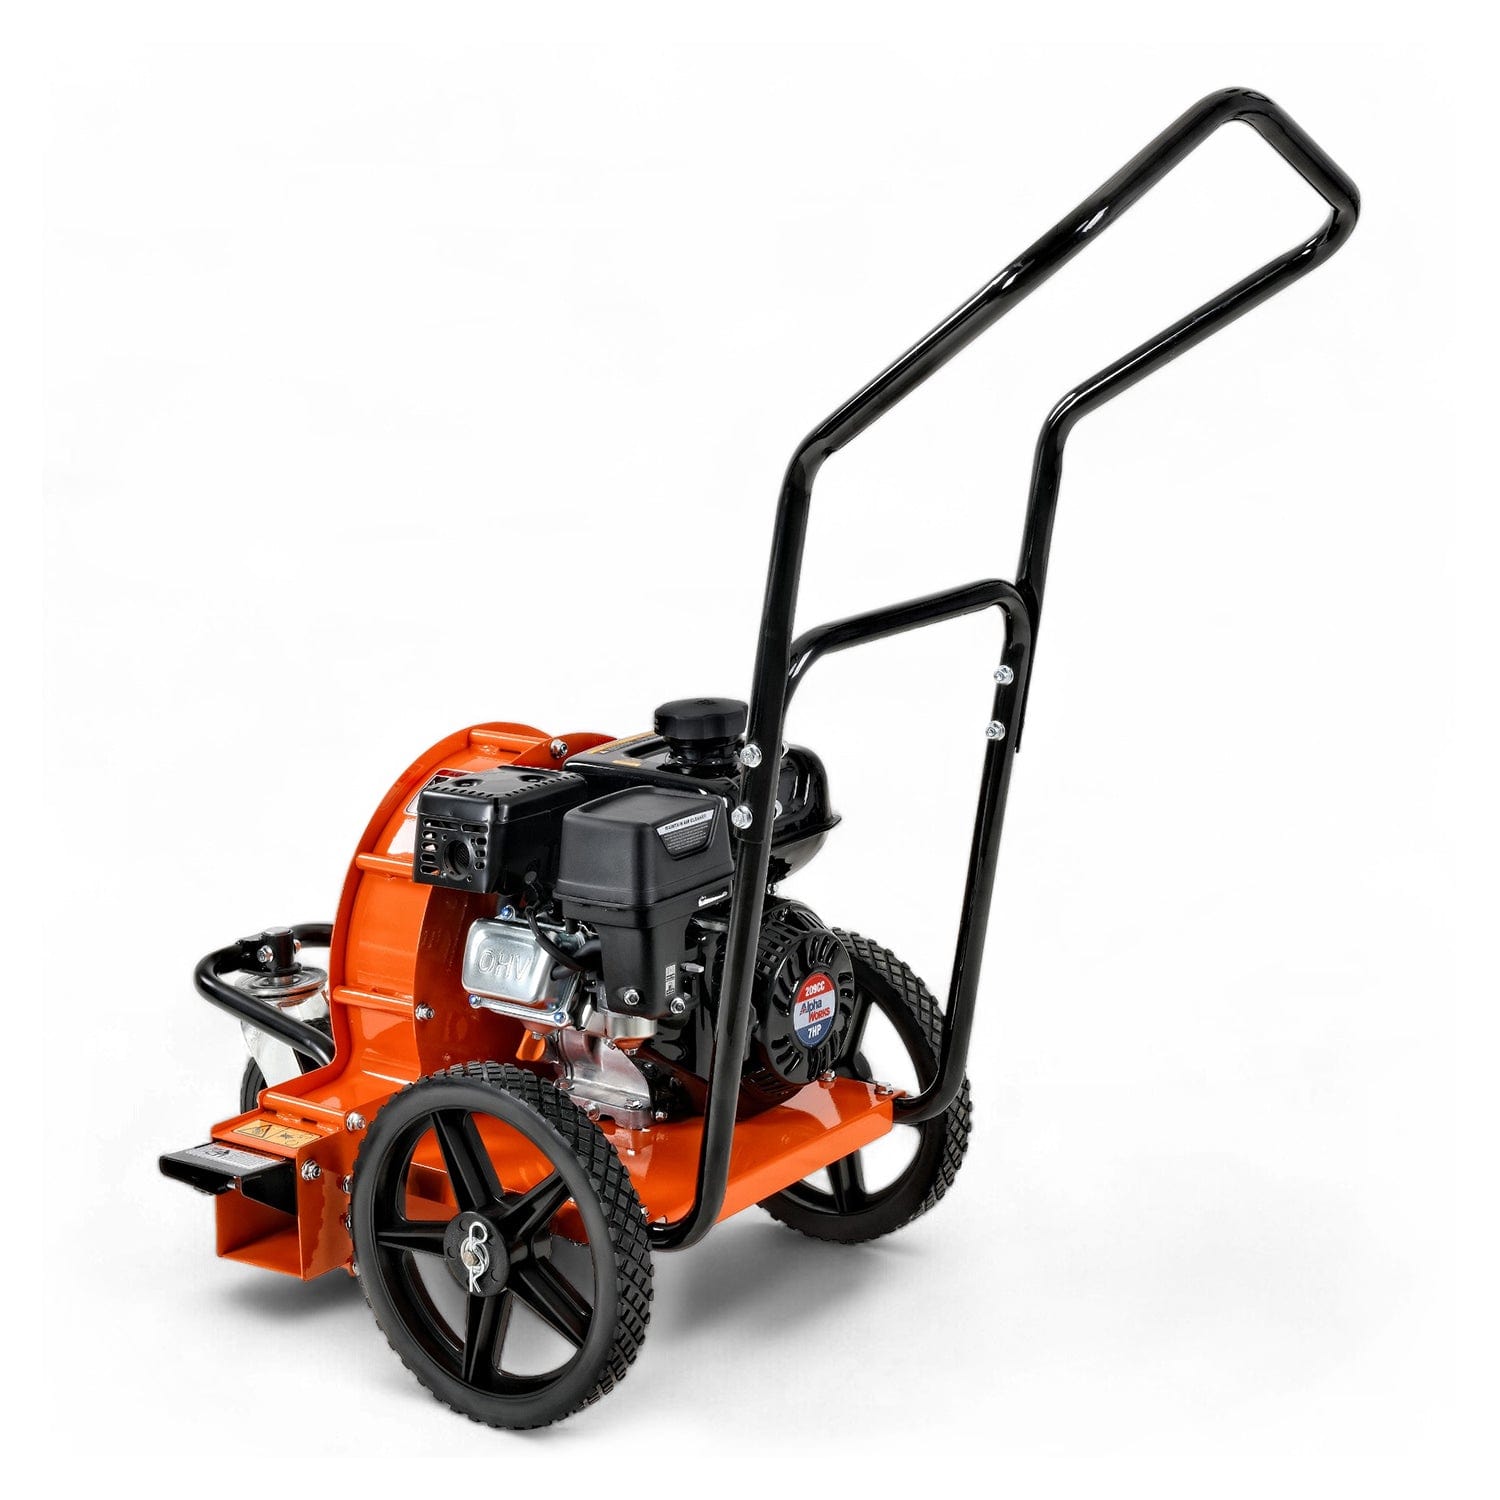
- Engine: The heart of your gas power leaf blower, providing the power to move air. Gas blowers come in various horsepower (HP) ratings, from powerful models like a 15HP leaf blower ideal for large properties to more compact yet robust options such as a 7HP leaf blower perfect for residential use.
- Fuel Tank: Stores the fuel mix required to power the engine.
- Primer Bulb: A small, rubber bulb that, when pressed, draws fuel from the tank into the carburetor, helping to prepare the engine for starting.
- Choke Lever/Knob: Restricts airflow into the carburetor, creating a richer fuel-to-air mixture for cold starts.
- Throttle Trigger/Lever: Controls the engine's RPMs and, consequently, the airflow speed.
- Air Filter: Prevents dirt and debris from entering the engine, protecting internal components. A clean filter is crucial for optimal performance.
- Spark Plug: Ignites the fuel-air mixture in the engine cylinder. A fouled or worn spark plug can lead to starting difficulties.
- Starter Cord (Pull Cord): Used to manually turn the engine over, initiating the combustion process.
- Blower Tube/Nozzle: Directs the airflow, often featuring different shapes or attachments for varied tasks.
Understanding where these components are and what they do is the first step towards a smooth, efficient start every time.
Essential Safety Measures Before You Touch That Blower
Safety should always be your top priority when operating any power tool, especially a gas power leaf blower. Taking a few moments to prepare can prevent accidents and injuries.
- Read Your Owner's Manual: This is non-negotiable. Every gas power leaf blower has specific instructions and safety warnings unique to its model. Familiarize yourself with them before operation.
- Inspect Your Blower: Before each use, quickly check the blower for any loose parts, damaged cables, or fuel leaks. Ensure all guards and covers are securely in place.
- Clear the Work Area: Remove any obstacles, pets, or people from the area you'll be blowing. Be mindful of potential projectiles like rocks or sticks that could be picked up and thrown by the powerful air stream.
- Fuel Safely: Always refuel your gas power leaf blower outdoors or in a well-ventilated area, away from sparks, open flames, or heat sources. Never refuel a hot engine.
- Maintain Your Stance: Be aware of your surroundings and maintain firm footing. Operating a leaf blower can be physically demanding, so proper posture and grip are important.
[IMAGE PLACEHOLDER: Safety checklist graphic with icons for reading manual, checking blower, clearing area, etc.]
Recommended Personal Protective Equipment (PPE) for Leaf Blower Operation
Protecting yourself is paramount when operating an engine leaf blower. The noise, debris, and fumes necessitate specific personal protective equipment (PPE).
- Eye Protection: Safety glasses or goggles are absolutely essential to protect your eyes from flying debris, dust, and small particles. Even if you don't see anything, microscopic particles can cause irritation or serious injury.
- Hearing Protection: Gas power leaf blowers can produce noise levels well above 100 decibels, which can cause permanent hearing damage with prolonged exposure. Always wear earplugs or earmuffs.
- Gloves: Sturdy work gloves protect your hands from vibrations, blisters, cuts, and scrapes. They also provide a better grip on the blower.
- Long Pants and Sleeves: Wearing long pants and a long-sleeved shirt helps protect your skin from flying debris, scratches from branches, and exposure to exhaust fumes.
- Sturdy Footwear: Closed-toe shoes or work boots with good traction are important to prevent slips and protect your feet from falling objects or debris. Avoid sandals or open-toed shoes.
Investing in the right PPE is a small price to pay for your safety and well-being.

Pre-Flight Checklist: Preparing Your Gas Leaf Blower for Ignition
Before you even think about pulling that starter cord, a quick pre-flight inspection can save you frustration and potential mechanical issues. Think of it as your gas power leaf blower's warm-up routine.
- Fuel Level: Always check your fuel tank. Running out of fuel mid-task is inefficient, and trying to start an empty engine can be confusing. Ensure you have a sufficient, freshly mixed supply.
- Physical Inspection: Take a moment to visually inspect the entire unit. Look for any loose screws, damaged housing, or frayed wires. A well-maintained engine leaf blower runs more reliably.
- Clear Air Intake & Vents: Ensure the air intake and cooling fins are free of debris like leaves, grass, or dirt. Blocked vents can lead to overheating, severely impacting your blower's performance and lifespan.
- Secure Attachments: If your blower has interchangeable nozzles or vacuum attachments, ensure they are securely fastened. Loose components can vibrate off during operation or hinder optimal airflow.
- Spark Plug Cap: Verify the spark plug cap is firmly seated on the spark plug. A loose connection can prevent proper ignition.
The Right Fuel Mix: Why It Matters for Engine Health
The lifeblood of your gas power leaf blower is its fuel. For most handheld and backpack leaf blowers, you'll be dealing with a 2-stroke engine, which requires a specific blend of gasoline and 2-cycle engine oil. Unlike 4-stroke engines that have separate oil reservoirs, 2-stroke engines rely on the oil mixed directly with the fuel to lubricate internal components.
The correct fuel mix ratio is absolutely critical. Using straight gasoline in a 2-stroke engine will lead to immediate and irreversible damage as the engine will run without lubrication. Conversely, too much oil can cause excessive smoke, carbon buildup, and poor performance. Always consult your leaf blower's owner's manual for the exact recommended ratio (e.g., 50:1 or 40:1). SuperHandy models, such as the powerful 15HP leaf blower and the versatile 7HP leaf blower, will have their specific fuel requirements detailed.
Always use fresh, high-octane (87-octane or higher) unleaded gasoline and a high-quality 2-cycle engine oil specifically designed for air-cooled engines. Avoid ethanol-heavy fuels if possible, as ethanol can degrade fuel lines and carburetor components over time. Mix your fuel in a clean, approved fuel can and label it clearly.
Checking Spark Plugs and Air Filters for a Smooth Start
Two often-overlooked components play a huge role in your gas leaf blower's ability to start and run efficiently: the spark plug and the air filter. Regularly checking and maintaining these ensures reliable performance.
-
Spark Plug Inspection: The spark plug creates the spark that ignites the fuel-air mixture. A dirty, fouled, or improperly gapped spark plug can lead to hard starting or misfires.
- Disconnect the spark plug cap.
- Using a spark plug wrench, carefully remove the plug.
- Inspect the electrode for carbon buildup or discoloration. A light tan color is good, while black and sooty indicates a rich mixture or oil fouling.
- Clean any light carbon deposits with a wire brush. If heavily fouled or damaged, replace it with a new one of the correct type and gap (refer to your manual).
- Carefully reinsert and tighten the spark plug, then reattach the cap.
-
Air Filter Check: The air filter prevents dirt and debris from entering the engine, which can cause significant wear. A clogged air filter restricts airflow, making the engine run rich, harder to start, and less powerful.
- Locate and remove the air filter cover.
- Carefully remove the air filter element.
- Inspect it for dirt, dust, and debris. If it's heavily soiled, it needs cleaning or replacement.
- For foam filters, wash them with warm soapy water, rinse thoroughly, let them dry completely, and then lightly oil them with engine oil (check manual). For paper filters, tap out loose debris or replace them if heavily soiled.
- Reinstall the clean filter and secure the cover.

The Step-by-Step Method to Confidently Start Your Gas Leaf Blower
Mastering the start of your gas leaf blower is a critical skill for any homeowner. Follow these steps for a confident and quick ignition.
- Placement: Place your leaf blower on a flat, stable surface on the ground. Ensure it's away from any obstacles or people and that the nozzle is pointing away from you.
- Prime the Engine: Locate the primer bulb (usually a small, clear rubber bulb). Press it 5-10 times (or until you see fuel fill the bulb) to draw fuel into the carburetor. This helps ensure there's enough fuel for the initial combustion.
- Engage the Choke: Move the choke lever to the "FULL CHOKE" or "START" position. The choke restricts airflow, creating a richer fuel mixture necessary for a cold engine start.
- Set the Throttle: Depending on your model, either set the throttle to the "START" position (often a half-throttle setting) or to the idle position if there's no specific start setting. Some models may have a throttle lock button to hold it in a specific position.
- First Pulls (with Choke): Hold the blower firmly with one hand. With the other, grasp the starter cord handle. Pull the cord with a smooth, deliberate, and full motion until you feel resistance, then pull it briskly. Avoid short, jerky tugs. Repeat 1-3 times, or until the engine "sputters" or briefly fires up (but likely won't stay running).
- Move to Half-Choke/Run: As soon as the engine sputters or briefly runs, immediately move the choke lever to the "HALF CHOKE" or "RUN" position (if your model has a half-choke). If it doesn't have a half-choke, move it directly to "RUN." This provides more air to the now partially warmed engine.
- Final Pulls (with Less Choke): Continue pulling the starter cord, usually 1-3 more times, using the same smooth, brisk motion. The engine should now start and run.
- Warm-Up and Full Choke Off: Once the engine is running, let it idle for 15-30 seconds to warm up. Then, fully move the choke lever to the "RUN" or "OFF" position. The engine should now run smoothly without the choke.
- Throttle Control: You can now engage the throttle lever to increase engine RPM and air velocity for your clearing tasks.
Priming the Engine: The Key to Quick Ignition
Before you even think about pulling that starter cord, properly priming your gas power leaf blower's engine is a crucial step for a quick and frustration-free start. The primer bulb's job is to manually pump a small amount of fuel into the carburetor, ensuring there's enough fuel vapor present for the ignition system to catch. This is especially vital for cold starts when the engine hasn't run recently.
To prime your engine, locate the small, usually translucent rubber bulb on the carburetor or engine housing. With the fuel tank filled and the fuel valve (if present) open, press and release the primer bulb 3-5 times. You should see fuel drawing into the bulb and then flowing back down the fuel line. Once the bulb is full of fuel or you see fuel flowing clearly, you’ve primed the system sufficiently. Over-priming can actually flood the engine, making it harder to start, so stick to the recommended number of presses.
Mastering the Choke and Throttle for First-Time Starts
Understanding and correctly using the choke and throttle controls are fundamental to confidently starting any engine leaf blower. These controls regulate the air-to-fuel mixture going into the engine's combustion chamber.
-
The Choke: The choke lever or knob enriches the fuel mixture by restricting the amount of air entering the carburetor. For a cold engine (one that hasn't run recently or is starting for the first time in a while), you'll typically set the choke to the "full choke" or "start" position. This ensures a fuel-rich environment, necessary for ignition when the engine is cold. Once the engine "pops" or attempts to start (usually after 1-2 pulls), you should move the choke to the "half-choke" or "run" position. If the engine is already warm, you generally won't need to use the choke at all.
-
The Throttle: The throttle control dictates the engine's speed and power output. For starting, many gas power leaf blowers have a specific "start" or "idle" throttle position recommended by the manufacturer. Avoid starting at full throttle, as this can put unnecessary strain on the engine and make it harder to catch. Once the engine is running, you'll increase the throttle to achieve your desired blowing power. Whether you're operating a powerful [15HP leaf blower] for large property clearing or a nimble [7HP leaf blower] for general yard work, mastering these controls ensures a smooth power delivery.
The Art of Pulling the Starter Cord Without Flooding
The starter cord is your direct link to igniting your gas power leaf blower, and pulling it correctly is an art. Improper technique can lead to a flooded engine, arm fatigue, or even damage to the starter mechanism.
- Secure Your Blower: Place the blower on a flat, stable surface. For handheld models, you might hold it firmly between your knees or against your foot. Backpack blowers should be on the ground or a workbench.
- Locate Resistance: Slowly pull the starter cord until you feel the engine's compression resistance. This initial slow pull engages the starter mechanism properly.
- Smooth, Deliberate Pull: Once you feel resistance, give the cord a quick, smooth, and full pull – extending your arm almost completely. Avoid short, jerky yanks. Don't pull the cord all the way out to its absolute limit, as this can damage it.
- Controlled Release: Allow the cord to retract smoothly back into the housing. Do not let go abruptly, as this can cause the cord to snap back and potentially damage the recoil spring.
- Avoid Over-Pulling: If the engine doesn't start after 3-5 pulls on full choke and it "pops" (a sign of combustion), immediately move the choke to half-choke or off and try another 1-2 pulls. Continuing to pull on full choke after a pop is a common cause of engine flooding.
What to Do After Your Leaf Blower Starts: Optimizing Performance
Congratulations, your gas power leaf blower is running! Now, it's time to transition from starting to optimal operation.
- Choke Adjustment: If the engine started on full choke and has now fired up, immediately move the choke lever to the "half-choke" or "run" position. If it was already on half-choke, move it to "run." Running the engine for too long on full choke can lead to excessive smoke and potential fouling of the spark plug.
- Warm-Up Period: Allow the engine to warm up for about 30-60 seconds at a low to mid-throttle setting. This allows the internal components to lubricate properly and the engine to reach its optimal operating temperature, ensuring smooth and efficient performance.
- Increase Throttle: Once warmed up, gradually increase the throttle to the desired operating speed. For heavy-duty tasks like clearing wet leaves or large debris, you'll likely use full throttle to harness the power of your blower, such as the impressive CFM of a [15HP leaf blower]. For lighter tasks or to conserve fuel, a lower throttle setting with a [7HP leaf blower] might suffice.
- Listen and Observe: Pay attention to the engine's sound. It should run smoothly without sputtering, excessive vibration, or unusual noises. Check for a steady airflow from the nozzle. If you notice any issues, refer to your owner's manual for troubleshooting steps.
Troubleshooting Common Starting Problems with Your Gas Blower
Even the most reliable gas power leaf blower can sometimes be stubborn. When your engine leaf blower refuses to spring to life, a systematic approach to troubleshooting can often identify and resolve the issue without needing professional help.
1. No Fuel or Old Fuel: This is the most common culprit.
- Check: Is the fuel tank full? Is the fuel fresh (preferably less than 30 days old)? Old, stale gasoline, especially with ethanol, can degrade and gum up the carburetor.
- Fix: If the tank is empty, refill it with the correct fuel mix. If the fuel is old, drain it completely and replace it with fresh, properly mixed fuel.
2. Clogged Air Filter: A dirty air filter restricts airflow, suffocating the engine.
- Check: Remove the air filter cover and inspect the filter. Is it visibly dirty, oily, or clogged with debris?
- Fix: Clean a foam filter with soap and water, squeeze dry, and allow it to air dry completely. Replace paper filters if they are heavily soiled. A clean filter ensures optimal performance for models like the robust [15HP leaf blower].
3. Spark Plug Issues: A faulty or fouled spark plug prevents proper ignition.
- Check: Remove the spark plug (after ensuring the engine is cool) and inspect it. Is it wet with fuel, carbon-fouled, or are the electrodes damaged?
- Fix: Clean a fouled plug with a wire brush or replace it entirely. Ensure the gap is correct according to your blower's manual. A clean, properly gapped spark plug is vital for consistent ignition.
4. Carburetor Problems: While more complex, minor carburetor issues can prevent starting.
- Check: If fuel and spark are good, and the engine still won't start, the carburetor might be clogged, especially if the blower sat with old fuel.
- Fix: For minor clogs, a fuel system cleaner can sometimes help. For more severe issues, the carburetor may need cleaning or rebuilding by a qualified technician.
Diagnosing and Fixing a Flooded Engine
A flooded engine is a common, yet easily fixable, starting problem. It occurs when too much fuel enters the engine's combustion chamber, preventing the spark plug from igniting the air-fuel mixture.
Symptoms of a Flooded Engine:
- A strong smell of gasoline.
- The engine won't start despite repeated pulls.
- The spark plug appears wet when removed.
How it Happens:
- Excessive priming (pressing the primer bulb too many times).
- Leaving the choke on for too long after the engine attempts to start.
- Repeatedly pulling the starter cord without successful ignition.
Steps to Fix a Flooded Engine:
- Turn Off the Blower: Ensure the power switch is in the "OFF" position.
- Remove the Spark Plug: Use a spark plug wrench to carefully remove the spark plug.
- Dry the Spark Plug: Wipe the spark plug clean and dry it thoroughly. If it's heavily fouled, consider replacing it.
- Clear the Cylinder: With the spark plug removed, pull the starter cord vigorously 5-10 times. This helps to expel excess fuel from the cylinder.
- Reassemble: Reinsert and tighten the spark plug, then reattach the spark plug wire.
-
Attempt Restart (Without Choke):
- Set the throttle to a partial open position (often a "run" or "start" setting, but not full choke).
- Pull the starter cord firmly. It might take a few extra pulls, but the engine should eventually catch. Avoid using the choke unless the engine is still cold and struggling after the initial dry start.

Frequently Asked Questions About Starting and Using Gas Leaf Blowers
Why won't my leaf blower start after sitting all winter?
The most common reason for a gas power leaf blower failing to start after extended storage is old, stale fuel. Fuel containing ethanol can separate and degrade, leaving gummy deposits in the carburetor that clog fuel lines and jets. Always use fresh, ethanol-free fuel or a fuel stabilizer before storing your [7HP leaf blower] or any engine leaf blower for the off-season. Checking the spark plug and air filter for debris is also crucial after storage.
How often should I perform maintenance on my gas leaf blower?
Regular maintenance is key to reliable starting and performance. You should inspect the air filter and spark plug every 10-25 operating hours or at the beginning of each season. Replace the spark plug annually or if it shows signs of wear. The fuel filter (if applicable) should be checked and replaced every 50-100 hours or annually. Always refer to your specific model's owner's manual for detailed maintenance schedules and recommendations.
What type of fuel should I use for my leaf blower?
Most gas power leaf blowers use a specific gasoline-to-oil mix (e.g., 50:1 or 40:1, depending on the manufacturer). Always use fresh, high-octane (89+), ethanol-free gasoline. Ethanol can cause significant damage to the fuel system components of small engines. Mix it with high-quality 2-cycle engine oil designed for air-cooled engines. Pre-mixed, canned fuel is an excellent alternative that eliminates mixing errors and ethanol concerns.
Related Products

Leave a comment
All comments are moderated before being published.
This site is protected by hCaptcha and the hCaptcha Privacy Policy and Terms of Service apply.