


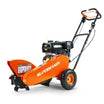

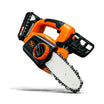


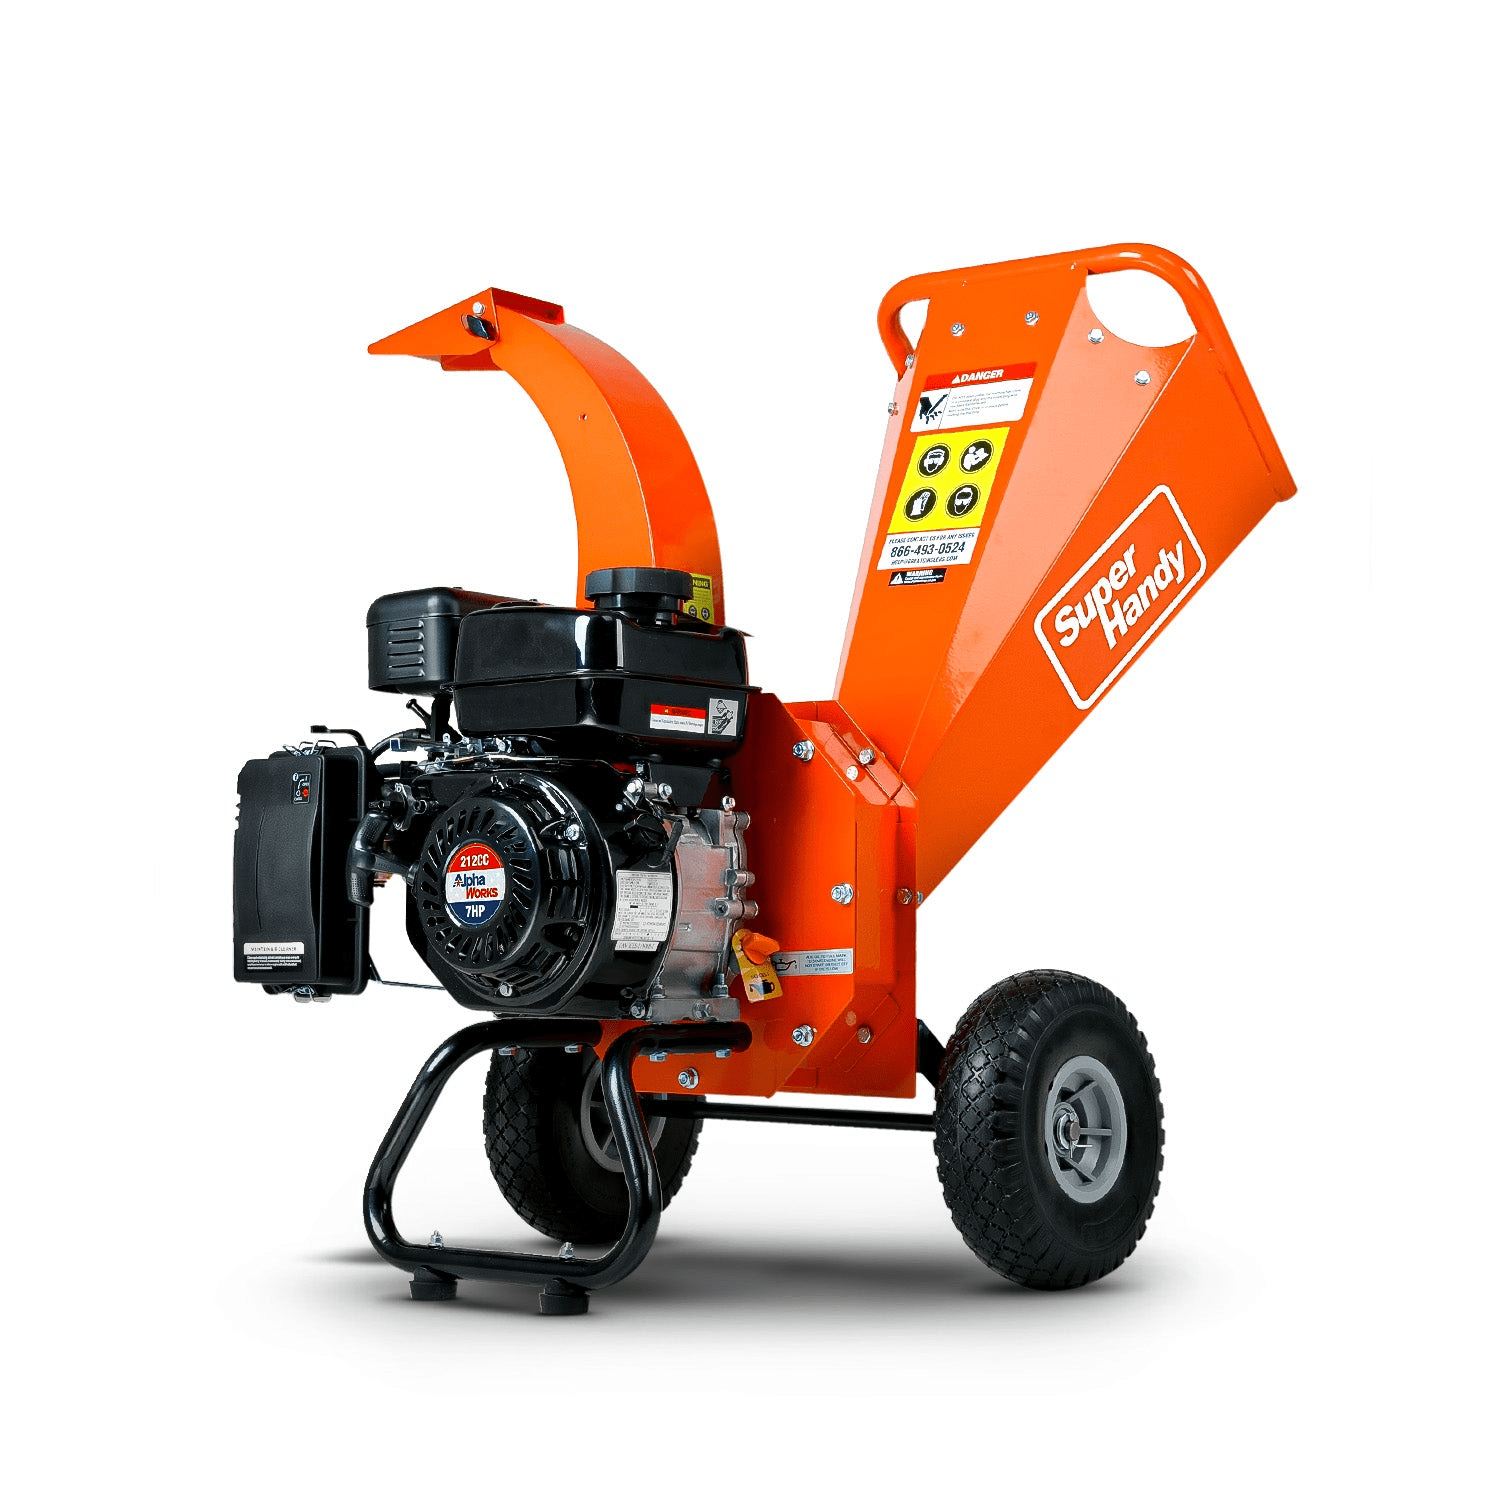
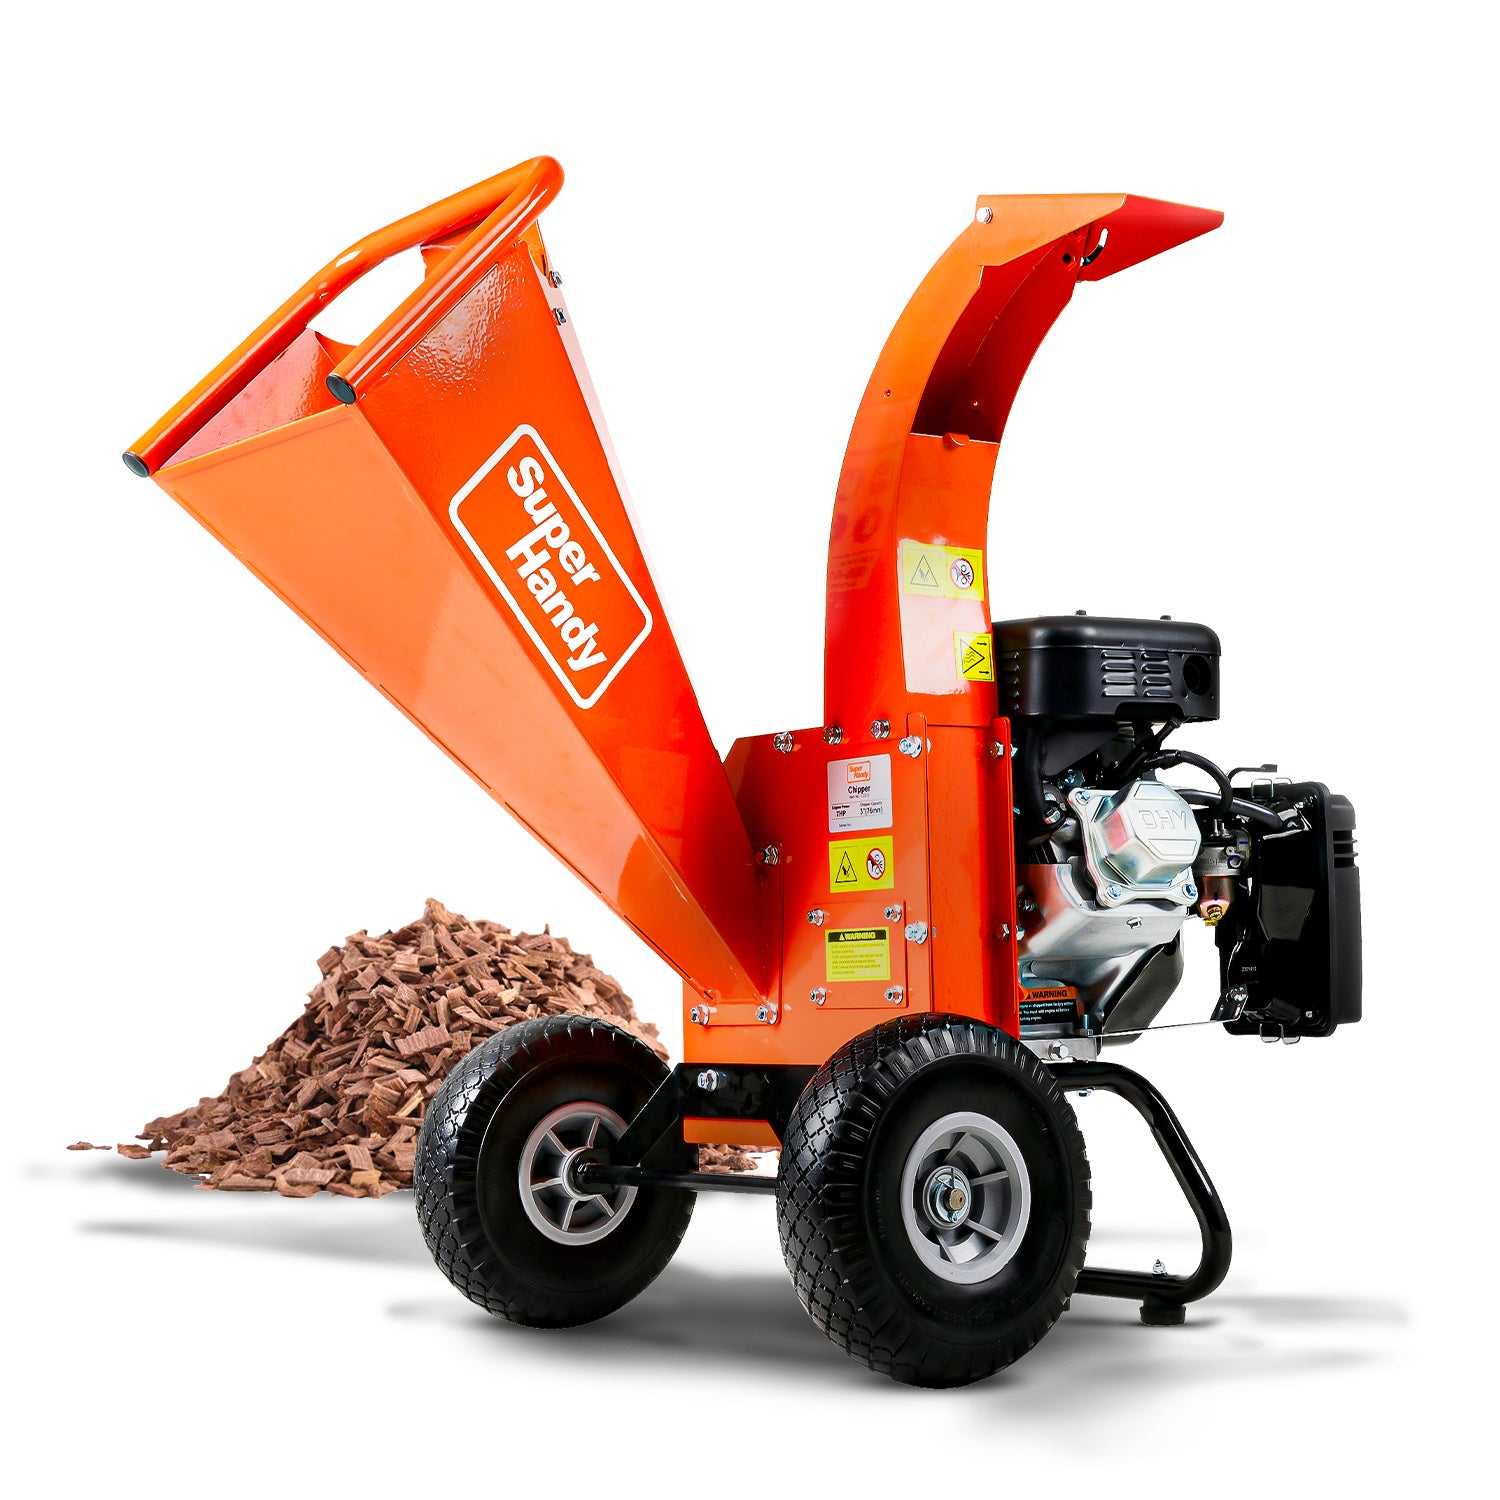
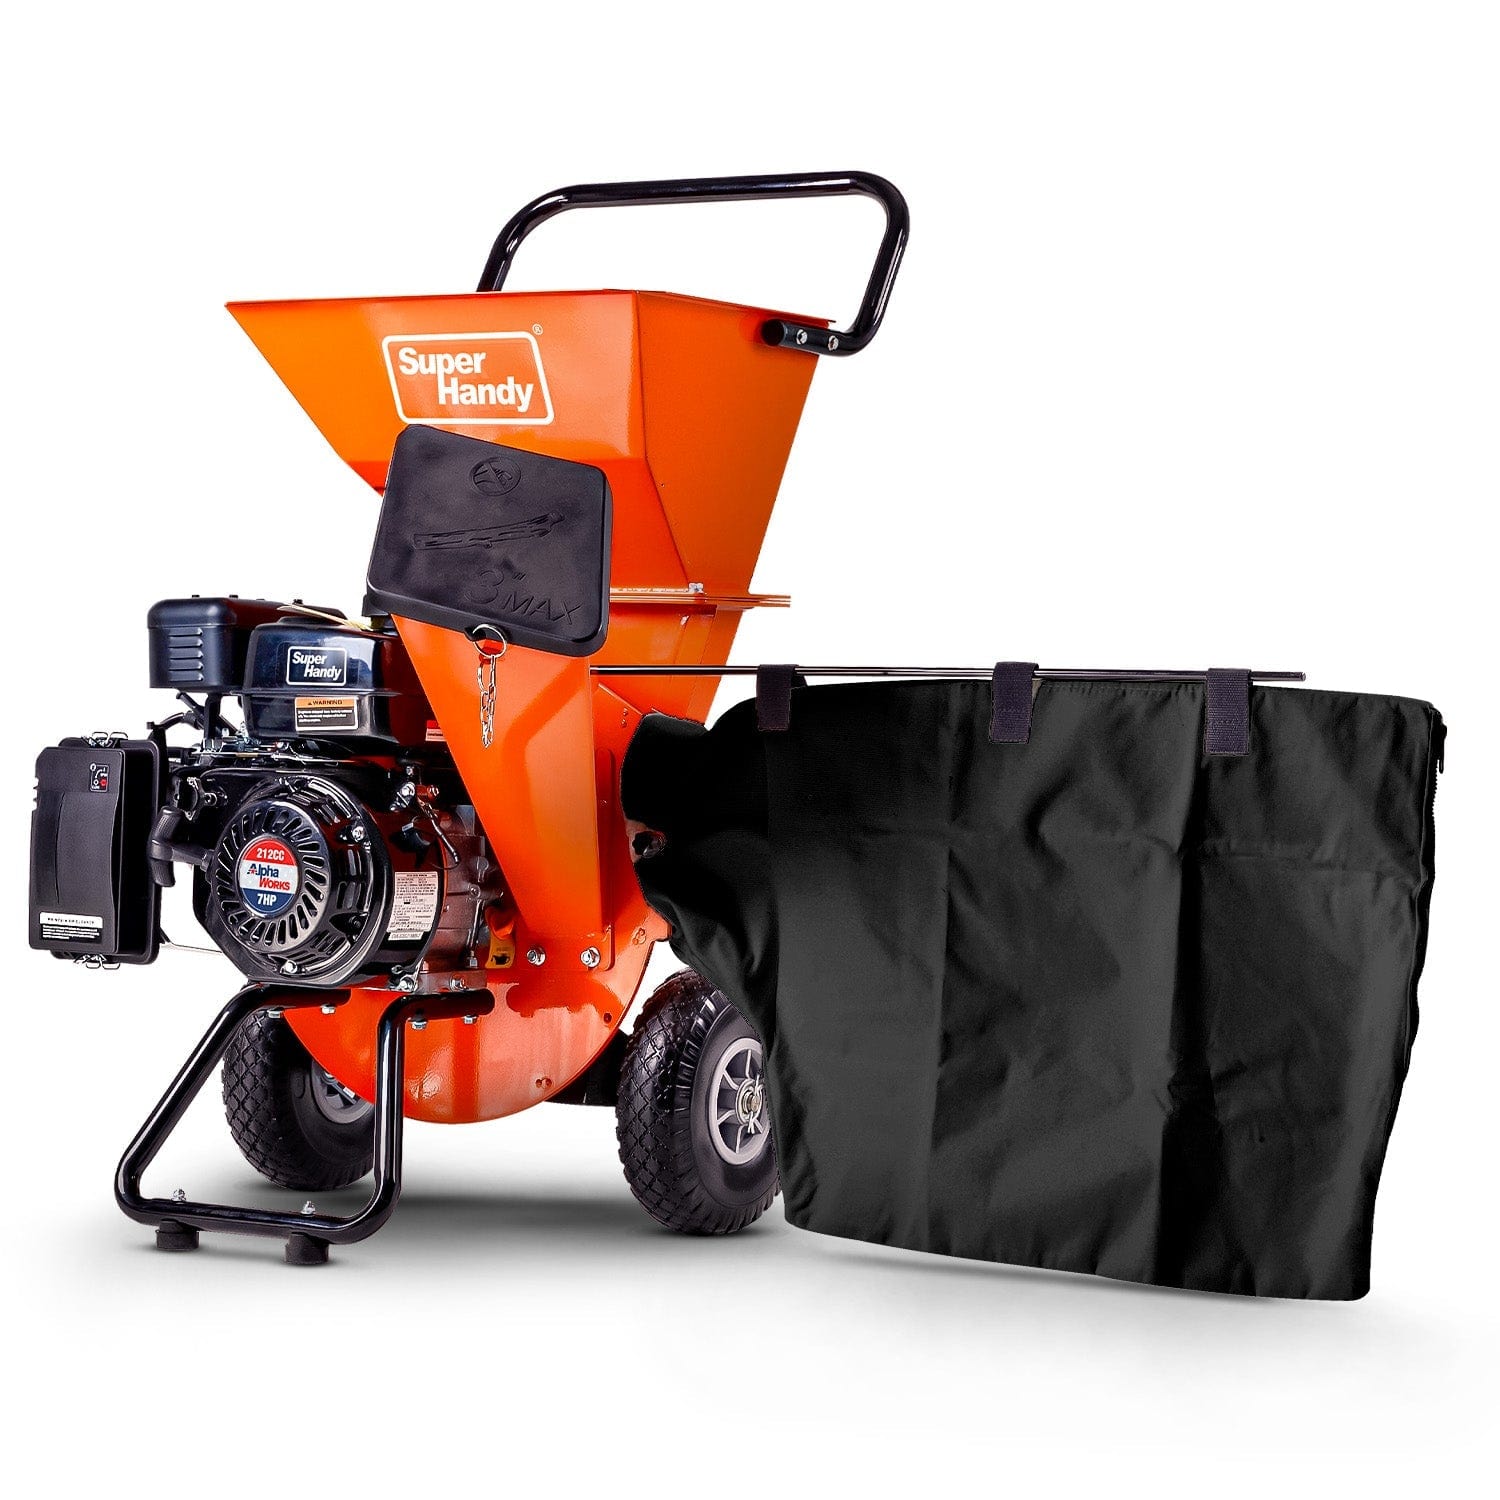
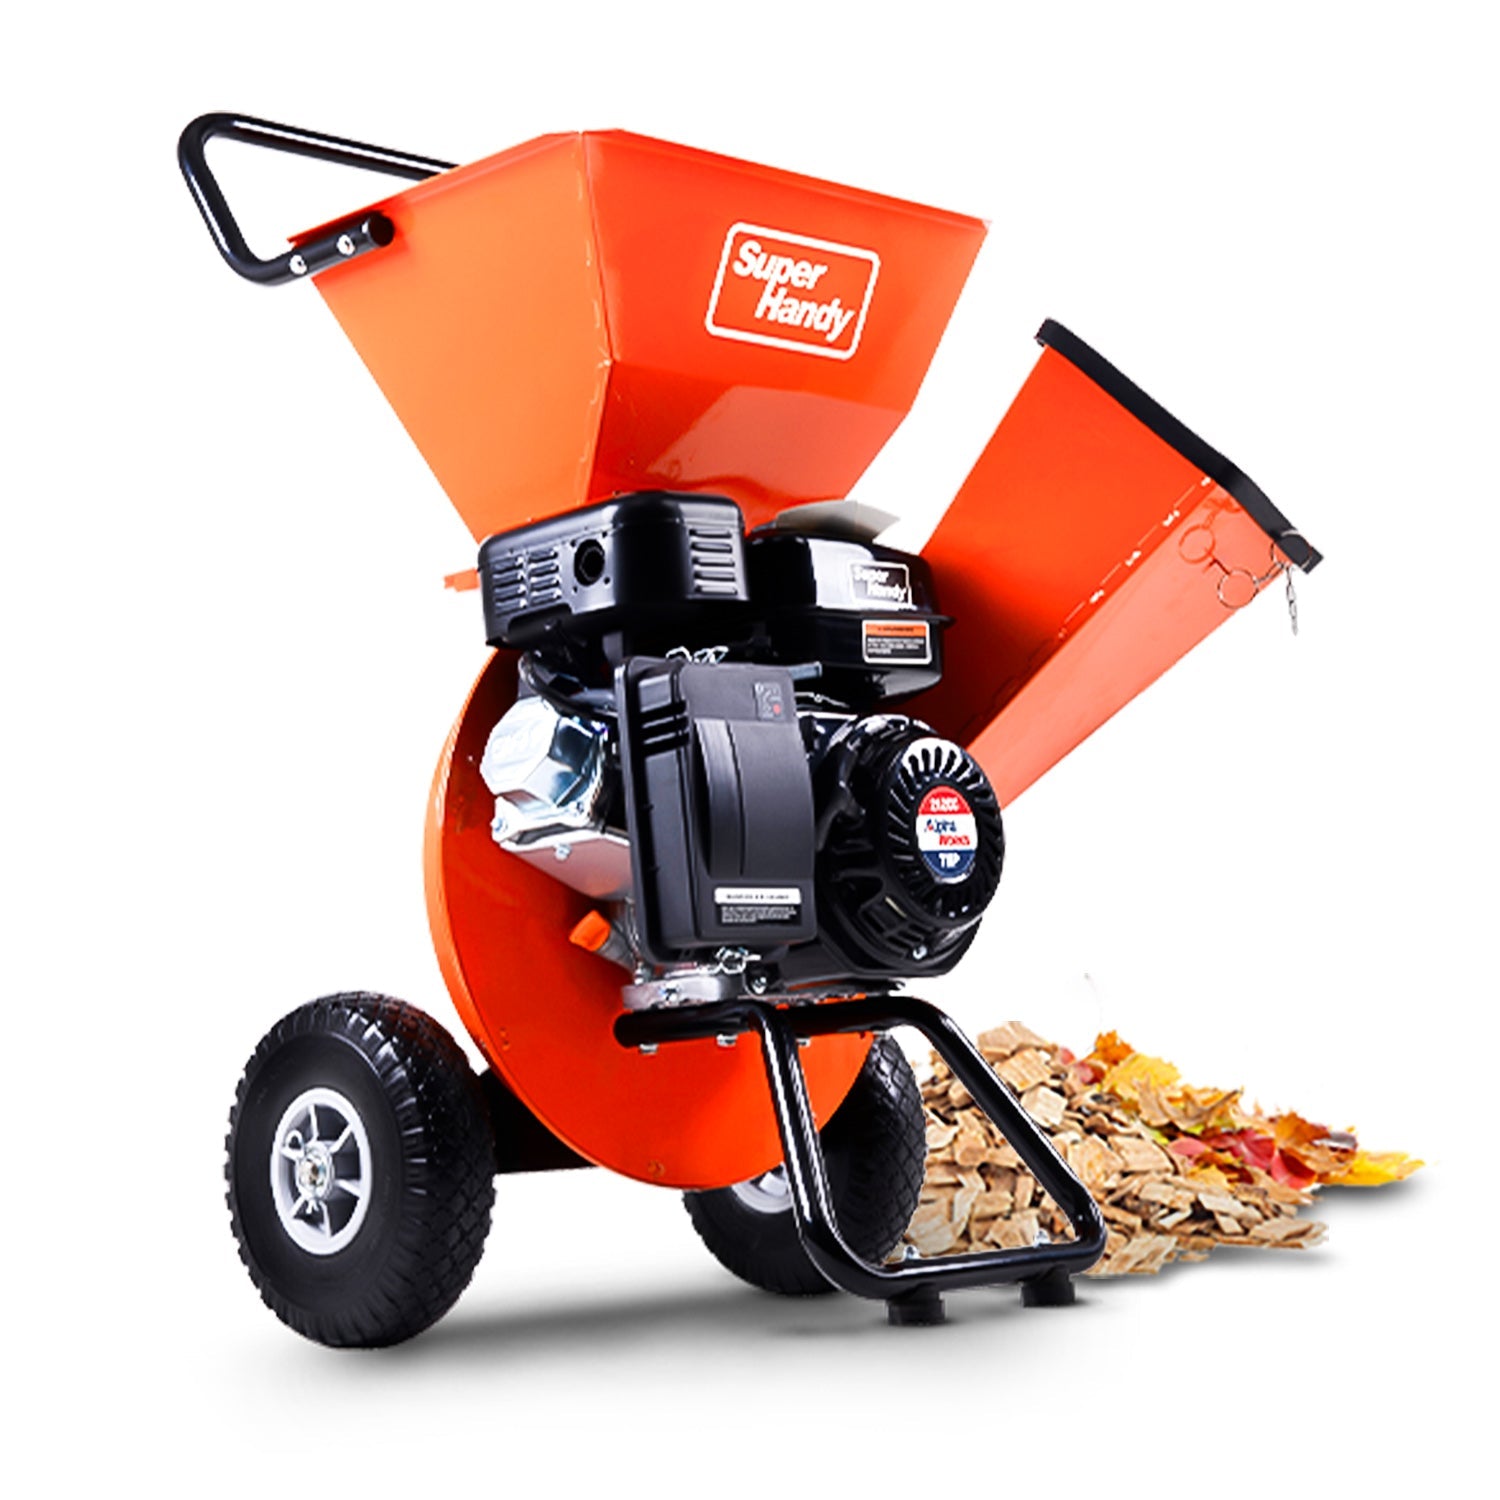
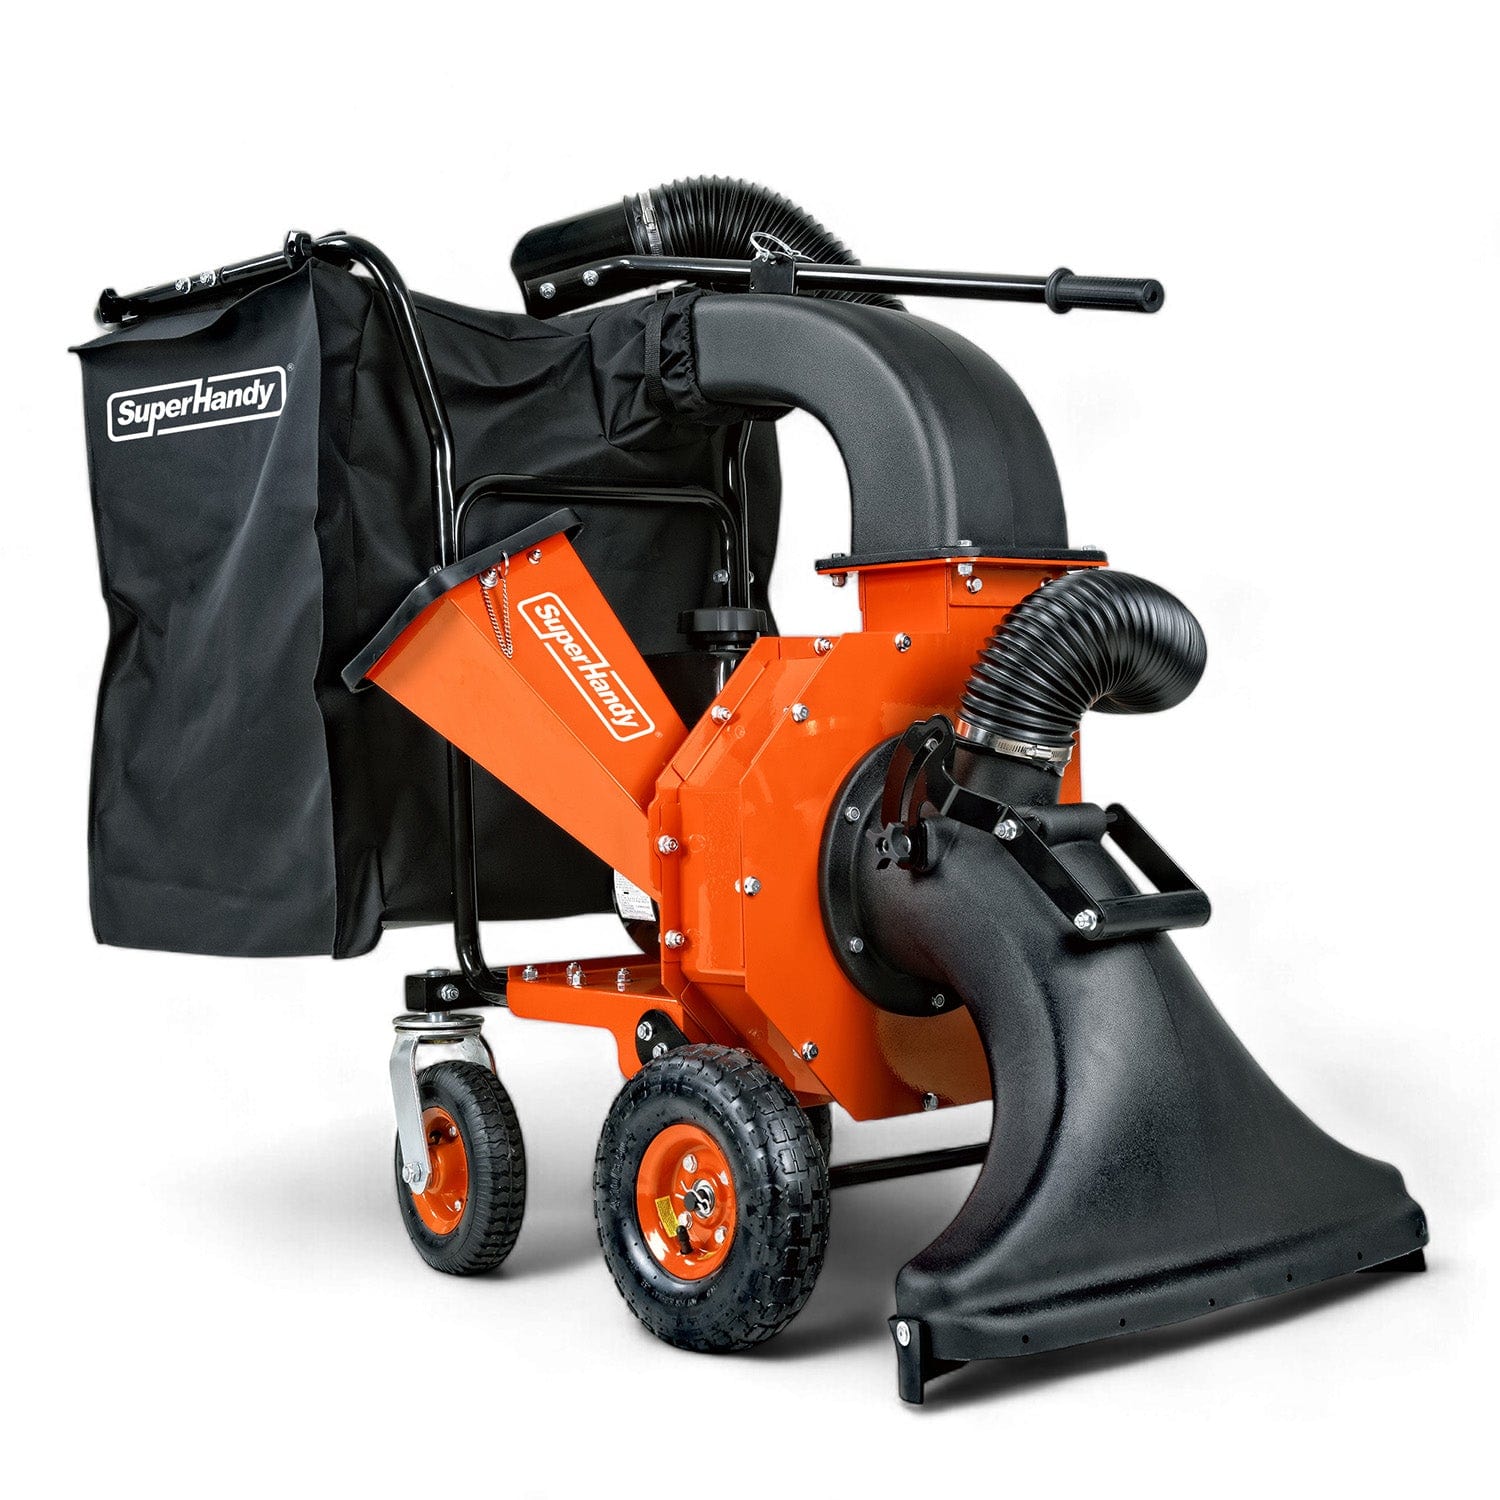
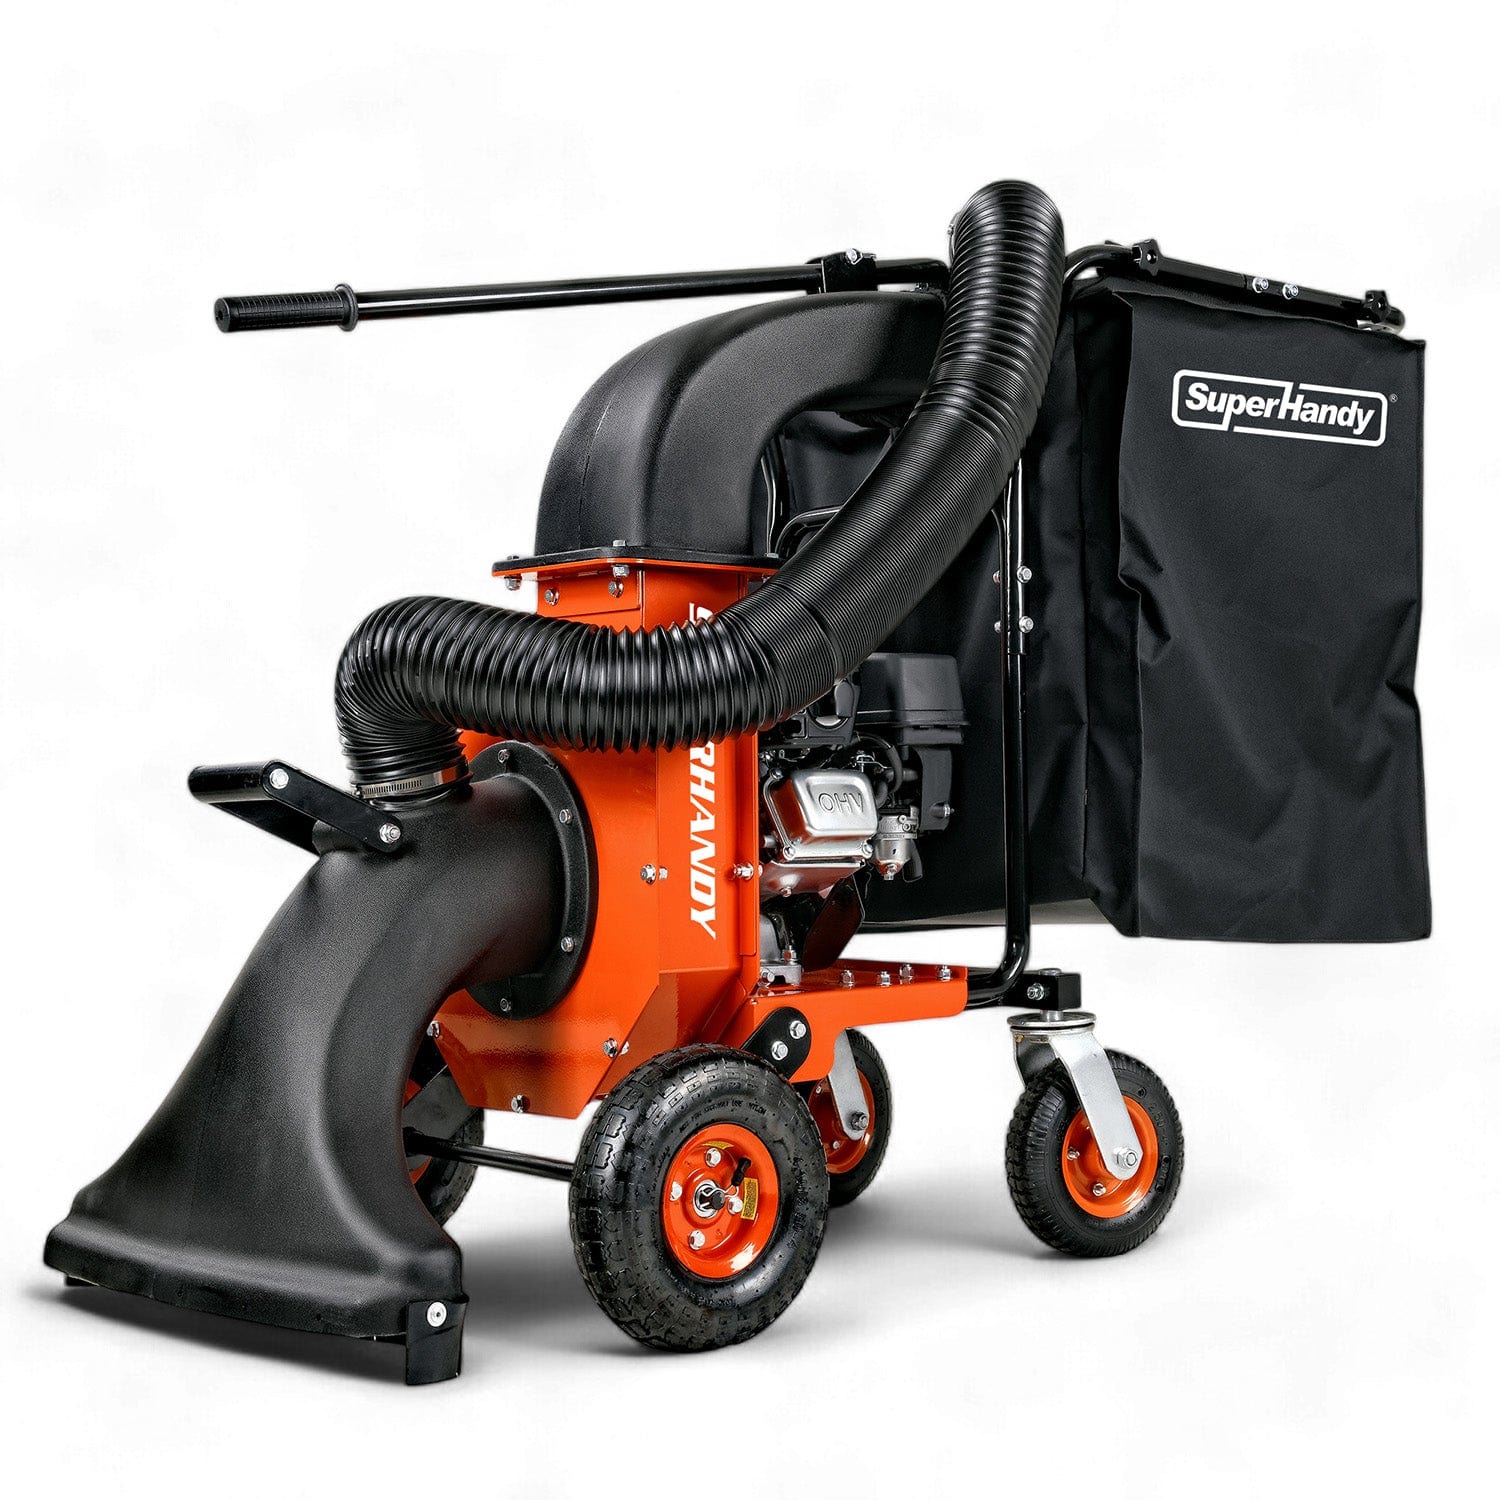
A mini wood chipper lets you turn wood, branches, and yard waste into useful mulch or chips. You can safely feed your chipper with many types of wood, wood debris, and agro-forestry biomass. Wood chippers like the GreatCircleUSA Mini Wood Chipper and Landworks Mini Wood Chipper handle most yard materials. Stick to size limits to keep your chipper running well. Proper feeding prevents damage and makes your wood chipper last longer.
Key Takeaways
Put softwood, hardwood, and yard debris in your mini wood chipper. Make sure nothing is wider than 2-3 inches. This helps the chipper work well and not break.
Cut branches to the right size before using them. Take off any rocks or metal from the material. Mix dry wood and green wood together. This stops clogs and makes better mulch.
Stay safe and keep your chipper working by wearing safety gear. Sharpen the blades often. Do regular checks and care to help your chipper last longer.
Safe Materials for Mini Wood Chipper
Wood Types
You can put many kinds of wood in your mini wood chipper. It is important to know which wood works best. Most mini wood chippers can chip both softwood and hardwood. Always check the size and how hard the wood is before you start. Softwood, like pine, cedar, and fir, is easy to chip. It does not make your chipper work too hard. Hardwood, such as eucalyptus and gum trees, is heavier and needs a stronger chipper. If you mix hardwood and softwood, it can help your chipper work better.
Here is a table to help you pick the right wood for your mini wood chipper:
Wood Type |
Common Species |
Notes on Chipping |
Typical Size Limitations |
|---|---|---|---|
Softwood |
Pine, Cedar, Fir |
Easier to chip, less wear on blades |
Up to 2-3 inches diameter |
Hardwood |
Eucalyptus, Gum Trees |
Denser, needs sharp blades and strong chipper |
Up to 2-3 inches diameter |
Mixed Woods |
Both types |
Good for balancing chipper load |
Up to 2-3 inches diameter |
Bamboo, Pine Cones |
Bamboo, Pine Cones |
Suitable for most mini wood chippers |
Up to 2-3 inches diameter |
Tip: Keep your chipper blades sharp, especially for hardwood. Dull blades make chipping harder and less safe.
How wet or dry the wood is also matters. Dry wood is easier to chip and makes bigger chips. If you use green wood or fresh branches, you might need to change your chipper settings. Drying wood before chipping helps make better chips and stops clogs. Dry wood is also lighter and easier to move.
Yard Debris and Organics
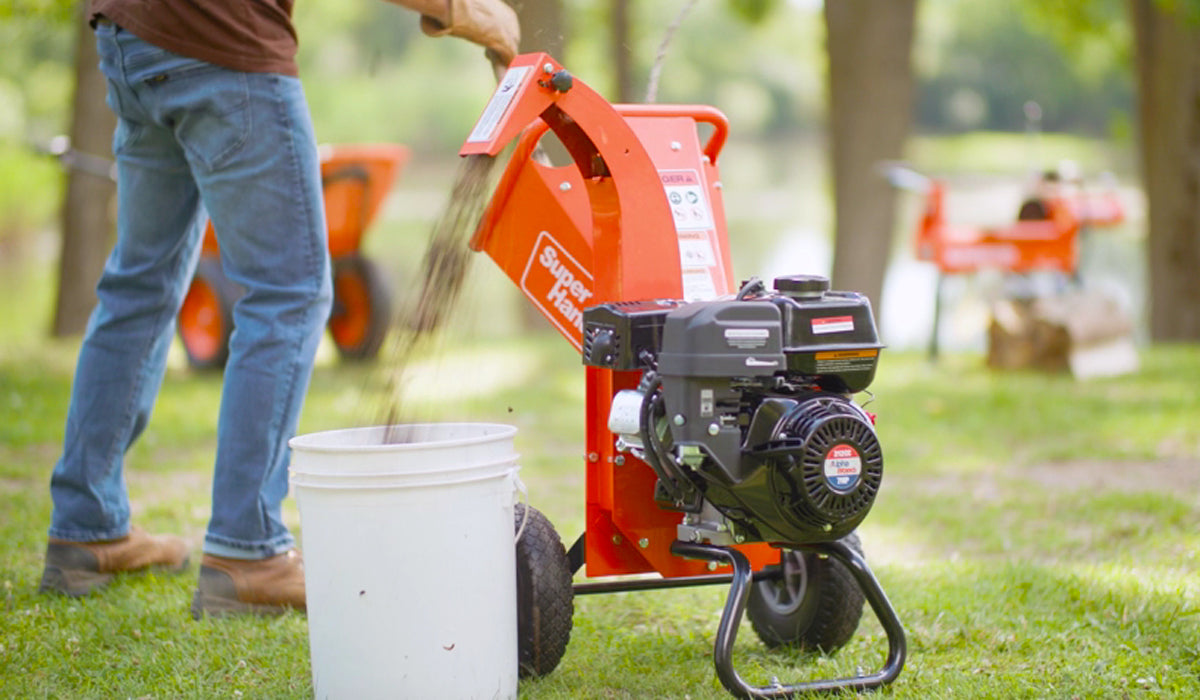
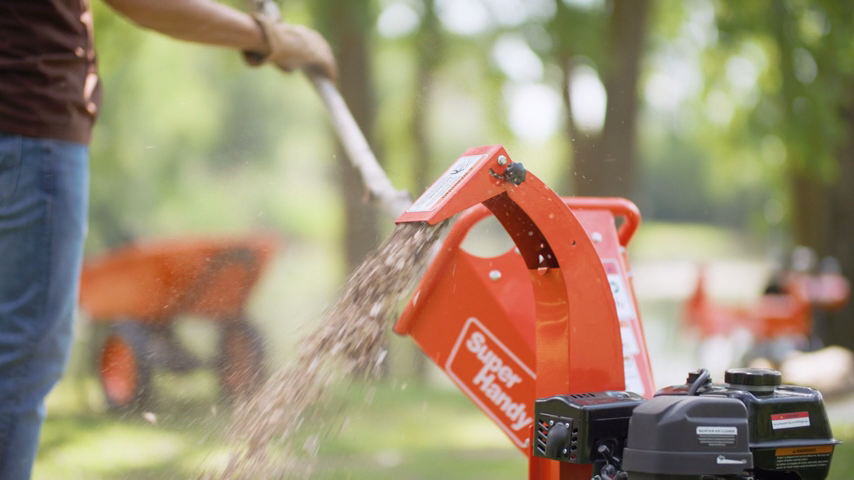
Your mini wood chipper can chip more than just wood. You can use it for yard debris like branches, twigs, leaves, and shrubbery. Most wood chippers can chip both green and dry things. But do not use very wet leaves because they can clog the chipper. Dry leaves from trees like maple, oak, and birch break down fast and make good mulch. Green leaves can go in the chipper, but you might need to chip them again.
-
Good yard debris for your wood chipper:
Branches and twigs (up to 2-3 inches wide)
Dry leaves (maple, oak, birch)
Green leaves (a little at a time)
Shrubbery and small brush
Mixing green and dry things helps stop clogs. Dry stuff helps push sticky green things through the chipper. This mix makes mulch that is good for your garden. Using a wood chipper for yard waste makes the pile much smaller. This means less trash goes to landfills. You also get mulch that helps your soil, saves water, and cuts down on chemicals.
Note: Chipping yard debris at home means you do not have to take waste to a landfill or recycling center. This helps lower pollution.
Size and Condition
You need to watch the size and shape of what you put in your mini wood chipper. Most mini wood chippers can chip branches and wood up to 2 or 3 inches wide. If you put in bigger pieces, it can break the chipper or make it jam. Always cut long branches into smaller pieces before chipping.
-
Size rules for mini wood chippers:
Biggest width: 2-3 inches for most models
Length: Cut branches so they are easy to feed
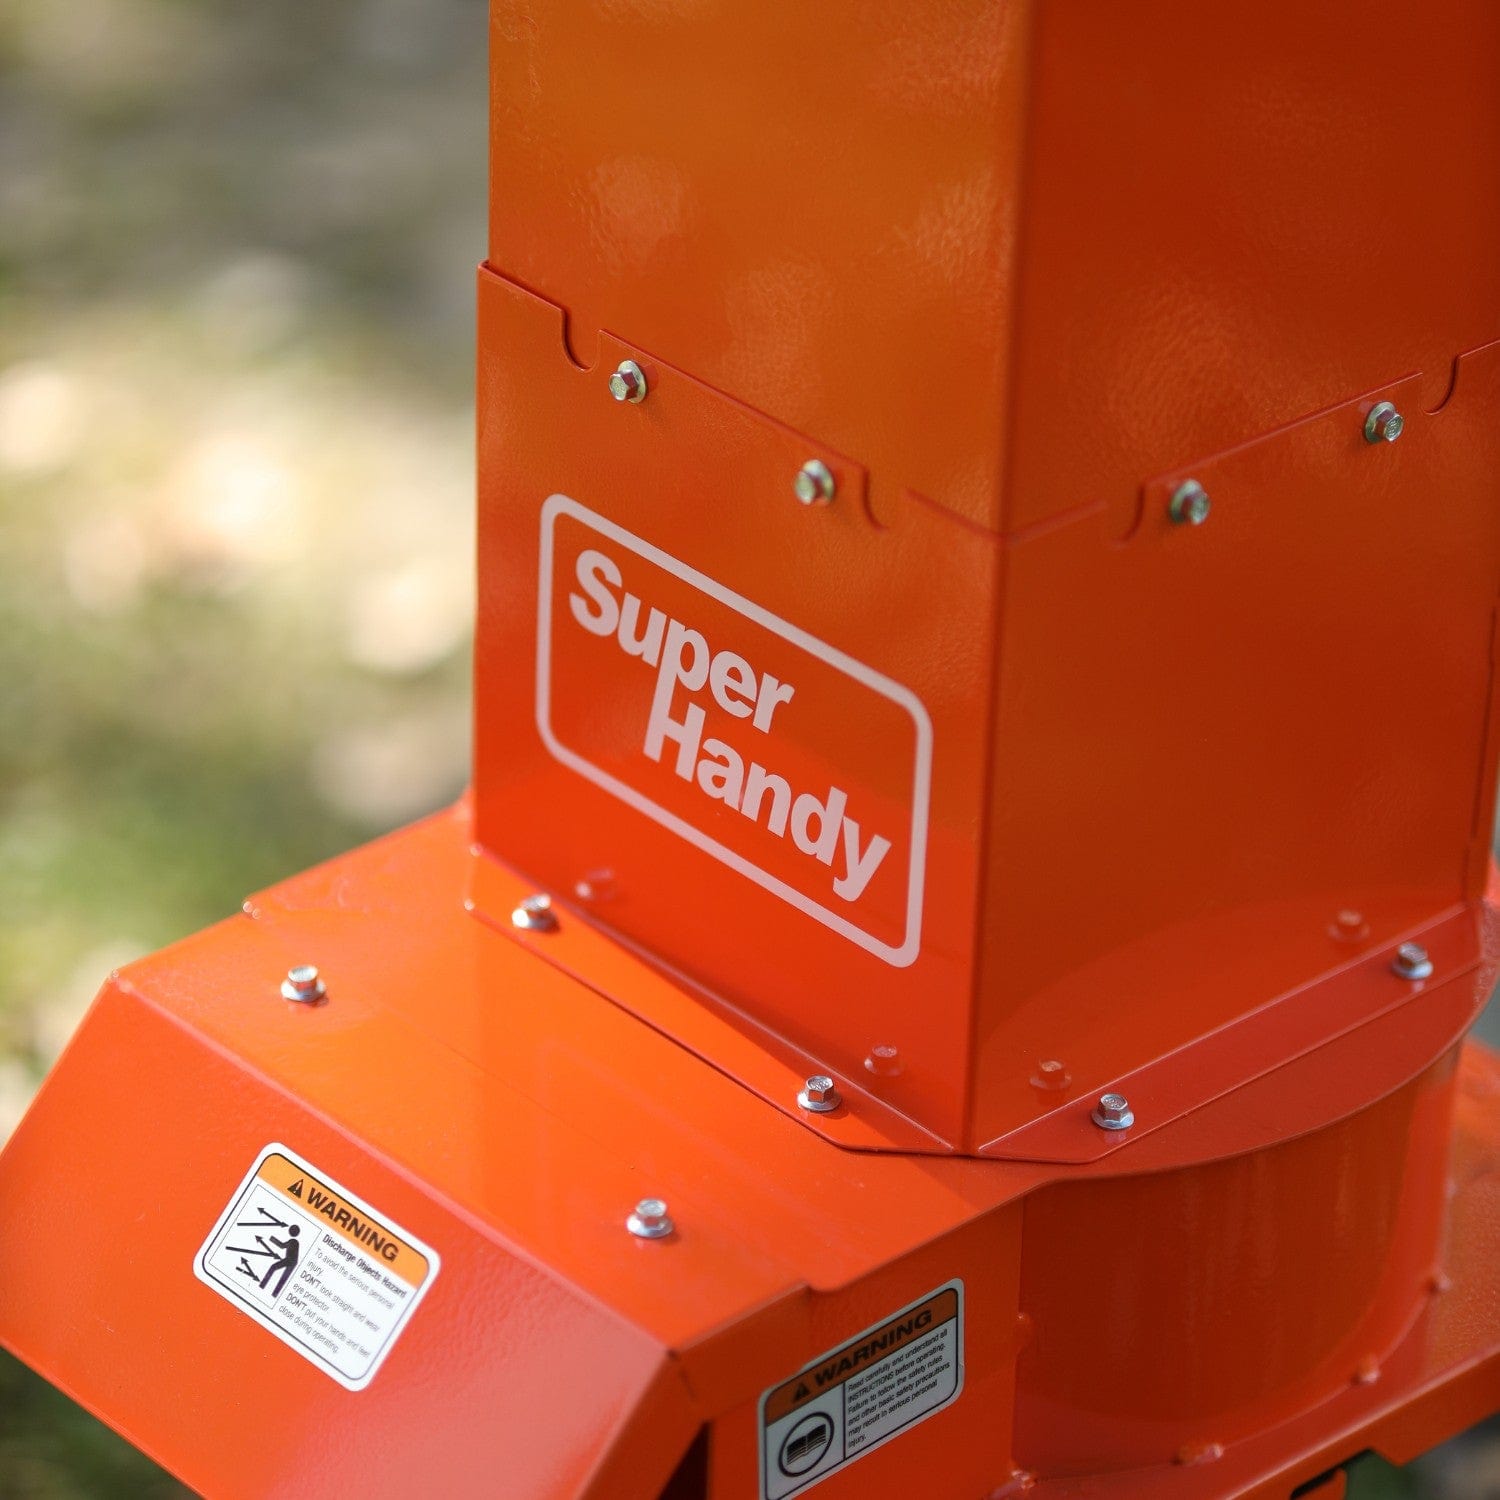
Make sure your materials are clean and do not have rocks, metal, or plastic. These things can break the blades and make your chipper last less time. Only put in things like wood, branches, leaves, and shrubbery. Do not use pressure-treated wood, painted wood, or anything with chemicals.
Safety Reminder: Always wear gloves and eye protection when using your chipper. Keep your hands and clothes away from moving parts.
If you follow these tips, your mini wood chipper will work well and safely. You will also get good mulch for your yard and help the environment by making less waste.
What Wood Chippers Should Avoid
Unsafe Materials
You should never put certain materials into your wood chipper. These can damage the machine or cause accidents. Avoid feeding rocks, metal, or plastic into the chipper. Pressure-treated lumber, painted wood, and logs with nails or screws can harm the blades. Do not use coconut shells, rubber, palm fronds, or long vines. These items can jam the chipper or dull the blades quickly. Larger branches and logs that are too thick for your chipper’s rating will also cause problems. Always check the size limit before feeding any wood or branches.
Tip: Feeding the wrong materials can void your wood chipper’s warranty and lead to costly repairs.
Preparation Tips
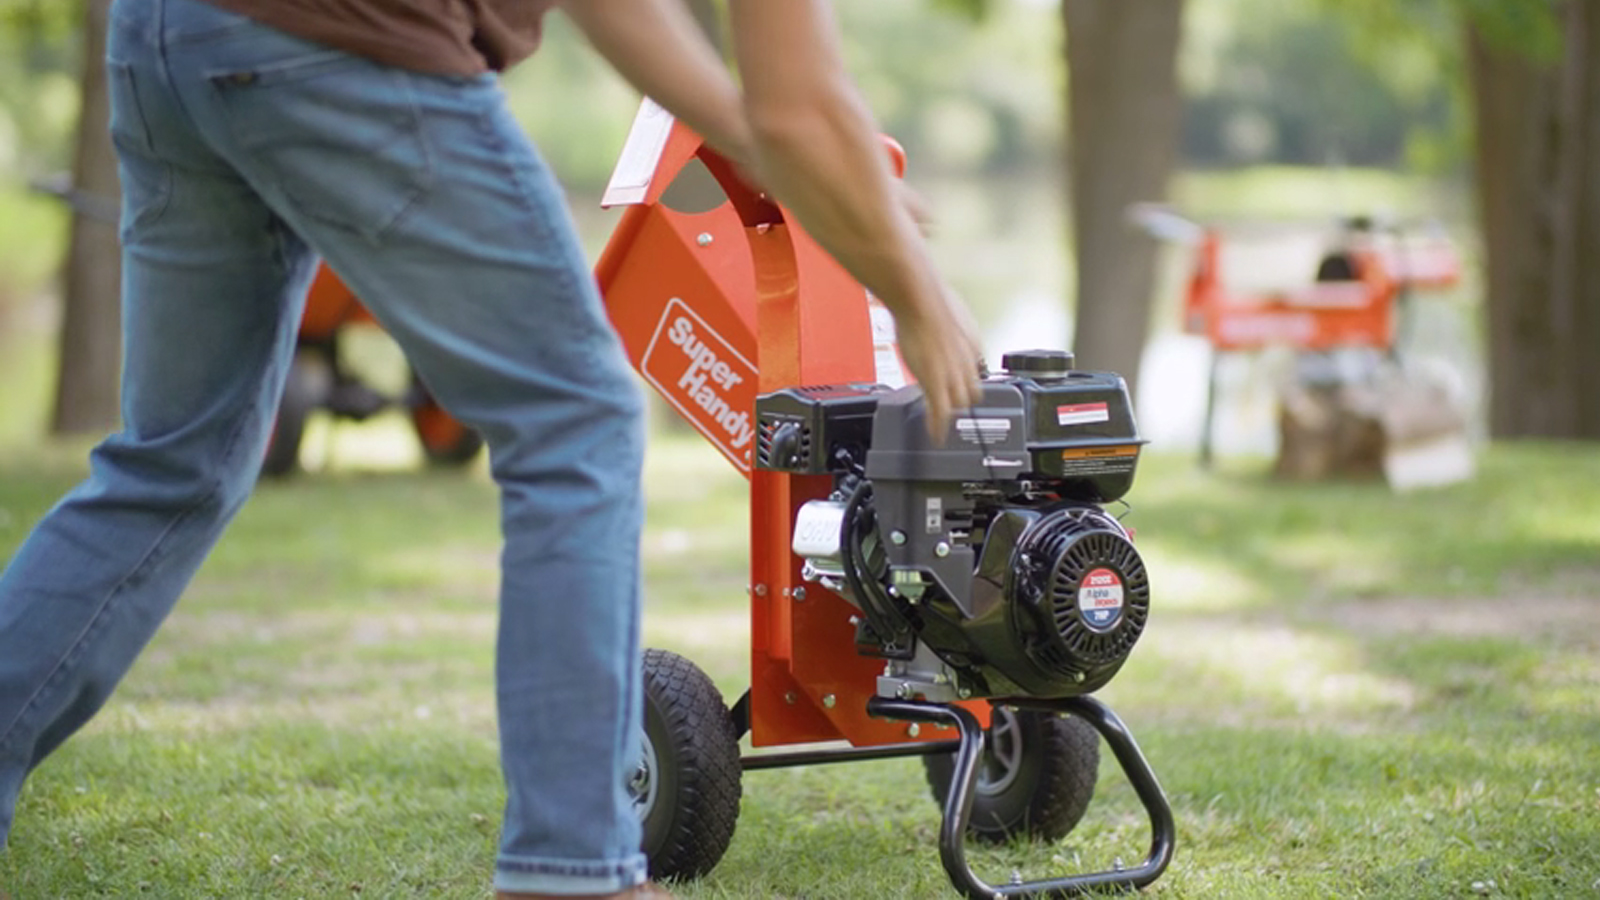
Proper preparation keeps your wood chipper running smoothly. Cut logs and branches to the right size before chipping. Most mini wood chippers handle wood up to 2-3 inches wide. Feeding larger branches or oversized logs can strain the blades and cause jams. Remove any non-organic debris from your materials. Inspect wood for hidden metal or rocks. Mix green and dry wood to help the chipper process materials more easily. Always feed the blunt end of logs first. Stand to the side to avoid flying debris.
Safety and Maintenance
You must keep your wood chipper in top shape for safe use. Before each session, inspect the blades for dullness or damage. Clean the blades to remove dirt and sap. Sharpen the blades every 10-20 hours of use. Replace them if you see cracks or chips. Wear protective gear like gloves, goggles, and sturdy shoes. Check oil levels, tighten bolts, and clean the feeding chute. Store your chipper in a dry place to protect the blades and engine. Regular maintenance helps your wood chipper last longer and keeps you safe.
You will get the best results if you use safe things in your mini wood chipper. Do not put in rocks or treated wood. Always get branches ready and look for hidden metal. Take care of your chipper by changing fuel and replacing old parts. This helps your chipper work for a long time. A chipper that is well taken care of makes better mulch for your garden.
Doing things like changing knives and checking spark plugs helps your chipper last longer.
Taking care of your chipper early saves money on repairs and keeps making mulch easy.
FAQ
Can you put wet wood in a mini wood chipper?
You can chip wet wood, but dry wood works better. Wet wood may clog the chipper. Mix dry and green materials for best results.
What should you do if your chipper jams?
Turn off the chipper.
Remove the jammed material with a stick or tool.
Check for damage before restarting.
How often should you sharpen chipper blades?
You should check the blades every 10-20 hours of use. Sharpen them when you see dull edges or chips. Sharp blades make chipping safer and easier.
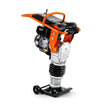
Related Products

Leave a comment
All comments are moderated before being published.
This site is protected by hCaptcha and the hCaptcha Privacy Policy and Terms of Service apply.