


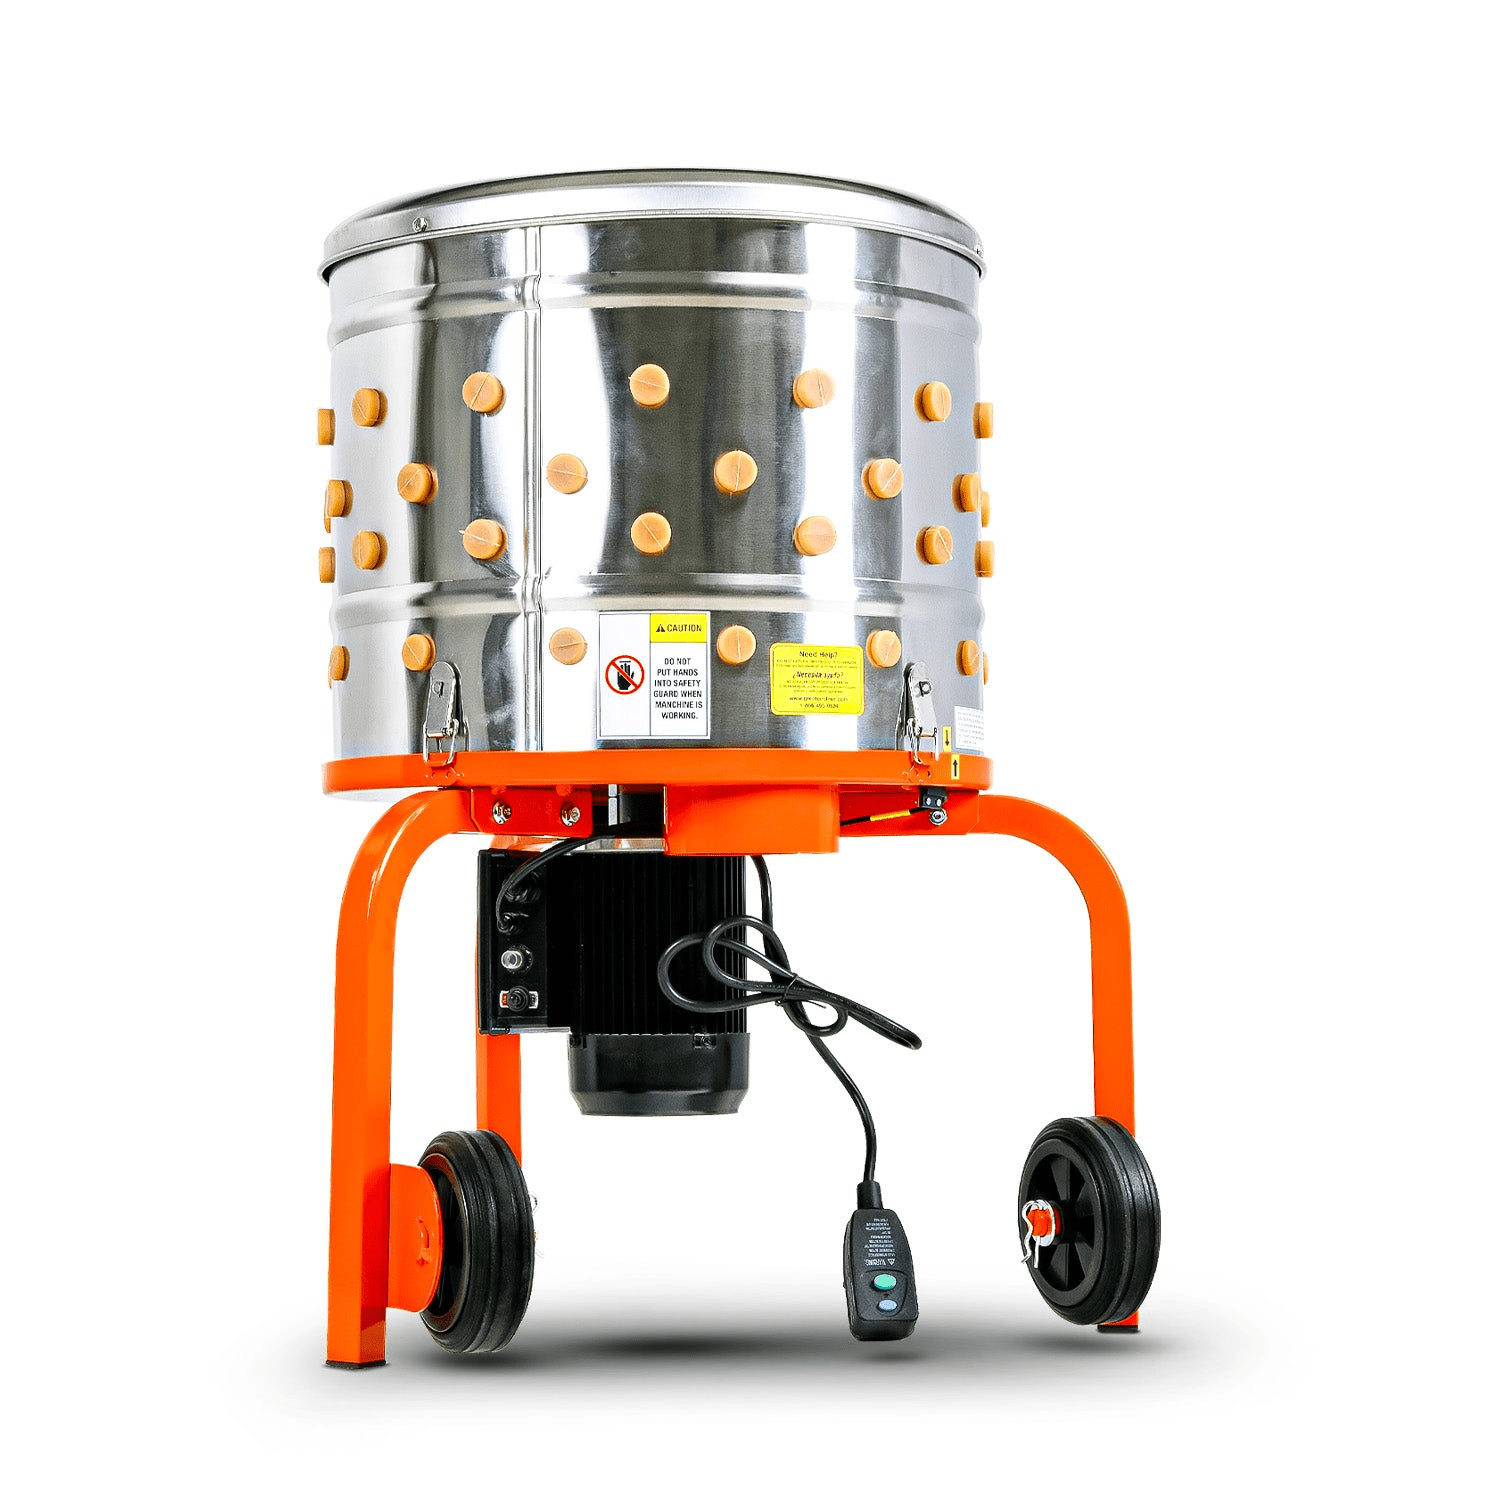
You can start processing chickens at home with a chicken plucker. Many homestead owners say this guide and the right tools help a lot. Studies show that home chicken processing is safe and easy with help. Pick a good chicken plucker, like Superhandy, for your homestead. This beginner’s guide will help you with home butchering on any homestead.
Key Takeaways
Pick the chicken plucker that fits your needs. Small drum pluckers are good for one bird. Tub pluckers are better for many birds. Tub pluckers save time and work fast.
Get your workspace ready before you start. Make sure you have all your tools. Keep water hot at about 160°F for scalding. Use a sharp knife to process the chicken safely and kindly.
Stay safe and clean by wearing protective gear. Clean all your equipment after you use it. Follow each step to get clean, fresh chicken with less trouble.
Equipment for Home Chicken Processing
Chicken Plucker Types
When you start looking for a chicken plucker, you will see a few main types. Each one works a bit differently, so you can pick what fits your needs best.
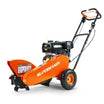
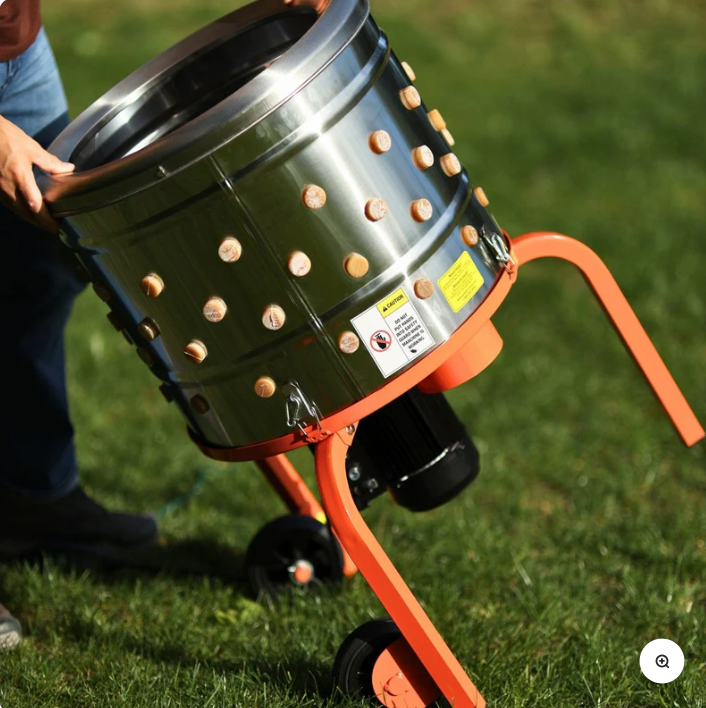
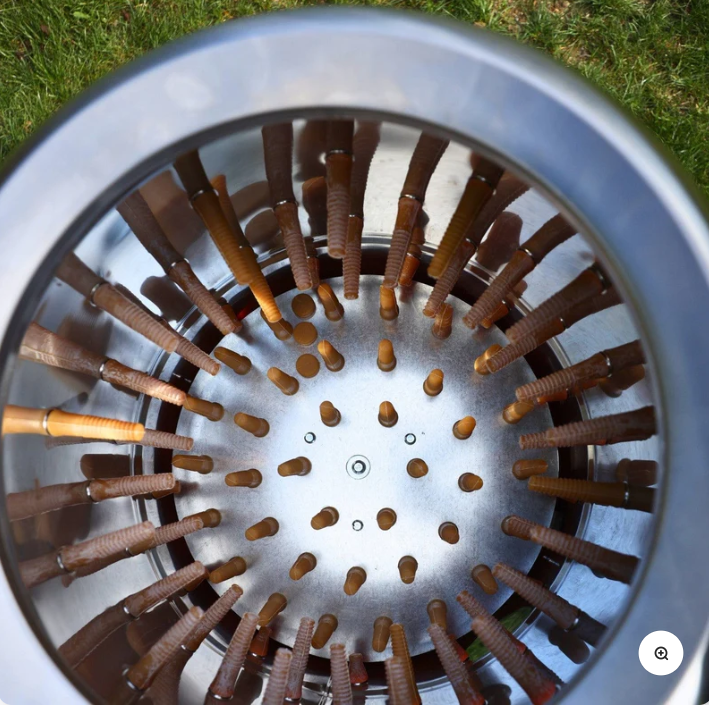
Drum Plucker: This type uses a spinning drum with rubber fingers. You drop the bird in, and the drum spins to remove feathers fast. Drum pluckers work well for one bird at a time and are great for small batches.
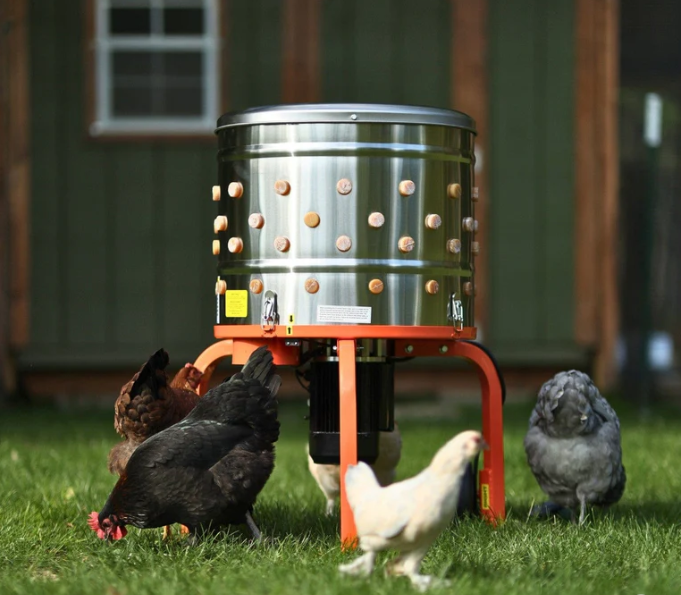
Tub or Batch Plucker: These can handle several birds at once. You place the birds in a tub, and spinning fingers do the work. If you want to process more birds quickly, this is a good choice.
Tabletop Plucker: These are smaller and fit on a table. They work for people with limited space or who process just a few birds.
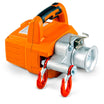
Hand Drill Powered Plucker: This tool attaches to a regular drill. It is budget-friendly and works for very small jobs, but it takes more effort.
Here’s a quick comparison to help you decide:
Capacity/Scale |
Cost Range (USD) |
Processing Rate / Notes |
|
|---|---|---|---|
Small Scalder |
1 bird at a time |
<$200 |
Good for very small batches; easy to set up |
Small Picker (Drum) |
1 bird at a time |
~$600 |
Removes feathers in about 30 seconds per bird |
Tub/Batch Picker |
2 to 12 birds at a time |
~$2,000 (commercial) |
Great for larger batches; homemade options can save money |
Homemade Pickers |
Variable |
~$500 (DIY) |
Cheaper, but may not meet inspection standards |
Tip: If you plan to process more than a few birds at a time, a tub plucker or a quality plucker like Superhandy will save you time and effort.
Essential Tools and Supplies
You need more than just a chicken plucker for smooth processing. Here’s a list of essential poultry processing equipment you should have ready:
Scalder: This heats water to the right temperature, making feather removal easier and preventing skin tears.
Hose and Spray Nozzle: Use these to rinse birds and keep your workspace clean.
Killing Cone: This holds the bird steady for a humane dispatch.
Sharp Knife: A sharp blade makes the process quick and safe.
Buckets and Tubs: Use these for collecting feathers and waste.
Gloves and Apron: These keep you clean and safe.
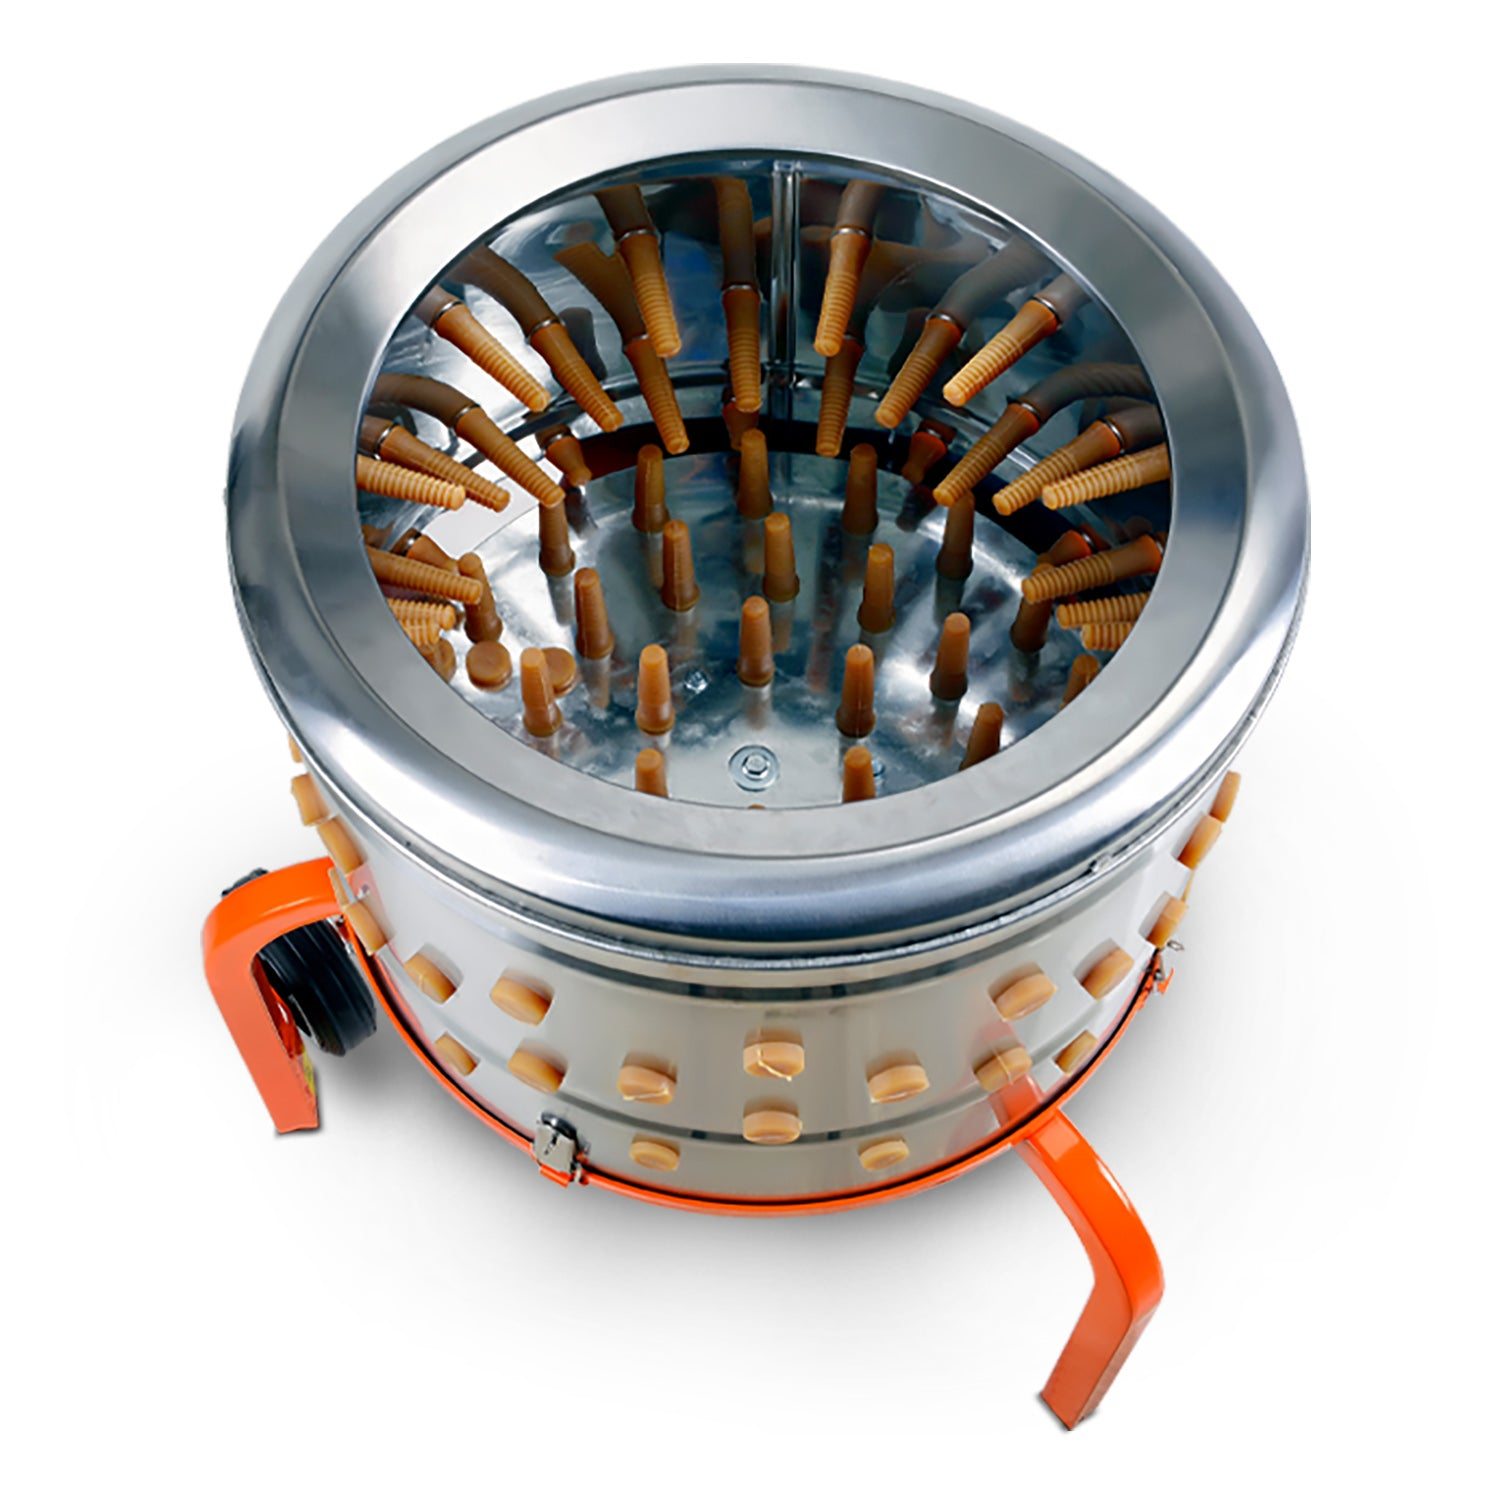
Mechanical pluckers with rubber fingers speed up the job and give you a cleaner bird. A quality plucker and scalder improve your results and make the process much easier. When you use the right chicken processing equipment, you get better speed, cleaner birds, and less stress.
Preparation Steps
Setting Up for Chicken Processing
Getting ready is the first step to processing chickens at home on your homestead. You want your workspace clean and organized before you start to butcher. Set up your table, buckets, hose, and all your tools in one spot. This helps you move quickly and keeps things safe. Place your chicken plucker and scalder close together so you do not have to walk far with each bird.
A clean area means less mess and fewer germs. Put down tarps or mats to catch feathers and waste. Keep a trash bin nearby for easy cleanup. Wear gloves and an apron to protect yourself. Many homestead owners find that good preparation makes butchering chickens much smoother.
Studies show that when you follow clear steps and use visual guides, you work safer and faster. Big poultry processing plants use signs and labels to remind workers about safety. You can do the same at home with simple notes or checklists.
Humane Dispatch
When you butcher chickens on your homestead, you want to do it kindly. Use a killing cone to hold the bird steady. A sharp knife lets you humanely butcher chickens with less stress for the animal. This method is not only kinder, but it also gives you better meat.
Research shows that humane dispatch methods lower stress and pain for the bird. Groups like UFAW and AVMA have made guidelines to help people butcher animals with care. These steps help you get better results and make processing chickens at home more respectful.
Tip: Always stay calm and focused during this step. Your care makes a big difference for both the bird and your homestead.
Scalding for Easy Plucking
Scalding Temperature and Technique
Scalding makes plucking much easier. You want to heat water to about 160°F. This temperature works best for loosening feathers. If you use water that is too cool, feathers will not come off well. If the water is too hot, the skin can tear or cook. Most people use a large pot or a special scalder for this step.
To scald a chicken, grab the legs and dip the bird into the hot water. Move it around for about 60 seconds. You can check if it is ready by pulling a few tail feathers. If they come out easily, you are set for plucking. Scientific studies and the USDA both say that 160°F is the sweet spot. This temperature loosens the skin and feather follicles without hurting the meat. For older birds, you might need to scald a bit longer, up to 90 seconds.
Tip: Use a thermometer to keep the water at the right temperature. This helps you get the best results every time.
Common Scalding Mistakes
Many beginners make mistakes during scalding. Some use water that is too cold, which makes plucking slow and hard. Others leave the chicken in too long, which can damage the skin. If you over-scald, the skin may get oily or even start to cook. This makes de-feathering the chicken messy and tough.
Always watch the time and temperature. Keep the water moving around the bird for even scalding. Good scalding means faster plucking and cleaner birds. You will save time and effort with this step done right.
Using a Chicken Plucker
Operating the Plucker
Ready to start? Here’s your step-by-step guide for using a chicken plucker. You already have your workspace set up and your chicken scalded. Now, let’s get to the main event—poultry plucking!
Check the Machine
Before you turn on the chicken plucker, look over the machine. Make sure the rubber fingers are clean and not worn out. Check that the drum or plate spins freely. A high-quality motor should keep a steady speed. This helps remove feathers without tearing the skin.Load the Bird
Hold the chicken by the legs. Place it gently into the drum or on the tabletop plucker. If you use a drum style, drop the bird in feet first. For tabletop models, press the bird against the spinning fingers.Start the Plucker
Turn on the machine. Most chicken pluckers work best at about 400 rpm. This speed gives you the best mix of speed and gentle handling. The rubber fingers will grab and pull out the feathers. Keep an eye on the bird to make sure it moves around for even plucking.Rinse as You Go
Use a hose with a spray nozzle to rinse the bird while the machine runs. Water helps wash away loose feathers and keeps the skin clean. This step also cools the bird and helps you spot any missed spots.Check for Missed Feathers
After about 20–30 seconds, stop the machine. Lift out the bird and check for any feathers left behind. Most of the time, you’ll see a few on the wings or tail. You can pull these by hand or run the bird through the plucker again for a few seconds.Repeat for Each Bird
If you’re processing chickens at home in batches, follow this step-by-step guide for each one. Don’t overload the machine. Too many birds at once can lower plucking quality and even damage the motor.
Tip: For the best results, match the size of the bird to the drum. Avoid overloading. This keeps the machine running smoothly and gives you a cleaner bird every time.
Here’s a quick table to help you remember the best settings:
Setting |
Best Practice |
|---|---|
Rotation Speed |
400 rpm |
Rubber Finger Size |
|
Base Clearance |
30 mm |
Plucking Time |
20–30 seconds |
Bird-to-Drum Ratio |
1 bird at a time (home use) |
A step-by-step guide like this makes processing chickens at home much easier. You get fast, clean results and less stress.
Troubleshooting Plucker Issues
Even the best machines can run into problems. Here’s how you can handle the most common issues during poultry plucking:
Missed Feathers
Sometimes, you’ll see feathers left on the wings or tail. This happens if the bird isn’t scalded enough or if the rubber fingers are worn out. Try running the bird through the plucker again. If that doesn’t work, check the water temperature next time you scald.Machine Jams
If the drum stops spinning or makes a strange noise, turn off the machine right away. Look for feathers or debris stuck in the drum. Remove anything blocking the movement. Regular cleaning after each use helps prevent jams.Worn-Out Parts
Rubber fingers and belts wear out over time. If you notice the machine isn’t plucking as well, inspect these parts. Replace them as needed. Keeping spare parts on hand saves time.Motor Problems
If the machine won’t start or loses power, check the power cord and plug. Sometimes, the motor overheats if you run too many birds at once. Let it cool down before starting again.Hygiene and Safety
Always clean the machine after each use. Bacteria can build up if you skip this step. Removable parts make cleaning easier. Use disinfectant to keep everything safe for the next round.
Note: Regular maintenance, like checking for loose parts and lubricating moving pieces, keeps your chicken plucker working longer. If you notice anything unusual, get professional help. This keeps you safe and your equipment in top shape.
Here’s a quick checklist for troubleshooting:
Inspect for worn or broken parts
Clean the machine after every use
Check for jams or blockages
Replace rubber fingers as needed
Make sure the motor runs smoothly
Train everyone who helps with processing chickens at home
By following this step-by-step guide, you can avoid most problems and keep your poultry plucking smooth and easy. You’ll spend less time fixing issues and more time enjoying fresh chicken from your own homestead.
Post-Plucking Chicken Processing
Evisceration and Cleaning
After you finish plucking, you need to butcher the chicken by removing the innards. Place the bird on a clean table. Use a sharp knife to cut around the vent. Take your time with this step. You want to avoid cutting into the intestines. Gently pull out the organs. This is called eviscerating the chicken. Check inside the cavity for any leftover parts. Rinse the bird well with cool water.
Keeping everything clean is very important when you butcher. Bacteria can spread easily during this step. Studies show that good hygiene and careful cleaning help keep your chicken safe to eat. Always wash your hands and tools before and after you process a meat chicken. Many people use a visual check to spot any missed feathers or bits. You can also use a sanitation checklist to make sure you do not miss anything.
Tip: Go slow and stay organized. A clean workspace helps you butcher safely and get better meat.
Chilling and Packaging
Once you finish butchering, chill the chicken right away. Place the bird in ice water for at least an hour. This step keeps the meat fresh and stops bacteria from growing. Research shows that chilling and good packaging can make your chicken last longer and taste better.
Dry the chicken with a towel before you wrap it. Use vacuum bags or freezer paper for the best results. Remove as much air as you can. Label each package with the date. Let the meat rest in the fridge for a day before cooking. This helps the texture and flavor.
Remember: Quick chilling and careful packaging help you get the most out of your hard work.
Safety and Hygiene in Home Poultry Processing
Personal Safety Tips
You want to safely process poultry at home, so always put safety first. Sharp knives, hot water, and moving parts can cause injuries if you are not careful. Many people who work in poultry processing get cuts, sore hands, or even more serious injuries. You can avoid these problems by following a few simple rules:
Wear gloves and an apron to protect your skin.
Keep your tools sharp and clean. Dull blades slip and cause accidents.
Take breaks if your hands feel tired or sore. Repetitive motions can hurt your wrists and fingers.
Never rush. Fast work leads to mistakes and injuries.
Make sure your workspace is dry to prevent slips and falls.
Remember: Most injuries happen when people hurry or skip safety steps. Slow down and focus on each task.
Cleaning Equipment
Clean equipment keeps your chicken safe to eat and helps you safely process poultry at home. Dirty tools and machines can spread germs and cause food to spoil. You should follow a cleaning routine every time you finish home poultry processing.
Take apart your chicken plucker and other tools. Clean each part with hot, soapy water.
Use food-safe cleaners and rinse everything well. Make sure no soap or chemicals stay on the equipment.
Dry all parts before putting them away. Wet spots can grow bacteria.
Check for any leftover feathers or bits of meat. Use a brush for hard-to-reach places.
Write down when you clean your equipment. This helps you remember and keeps your routine on track.
A regular cleaning schedule and good habits help you avoid common mistakes. Some people forget to clean hidden spots or use the wrong cleaners. Others skip drying, which lets germs grow. If you keep your tools clean, you will have better results every time you do home poultry processing.
Tip: Training everyone who helps you makes the process safer and cleaner for all.
Common Mistakes to Avoid |
Why It Matters |
|---|---|
Rushing through steps |
Increases risk of cuts and accidents |
Skipping cleaning routines |
Raises chance of contamination |
Using dull knives |
Causes slips and injuries |
Not wearing gloves or aprons |
Leads to cuts and skin irritation |
Ignoring tired hands or wrists |
Can cause long-term pain |
You can master home chicken processing on your homestead with the right steps. Your homestead will benefit from fresh chicken, and you’ll feel proud. Try using a quality chicken plucker. Your homestead kitchen will thank you. Start your homestead journey with trusted brands like Superhandy!
Homegrown food makes your homestead shine.
FAQ
How do you clean a chicken plucker after use?
Take the machine apart. Wash each part with hot, soapy water. Rinse well. Dry everything before you put it back together.
Tip: Clean right after use for best results.
Can you use a chicken plucker for other birds?
Yes, you can pluck ducks, turkeys, or geese. Adjust the time and check the size. Some birds need longer plucking or special care.
What should you do if feathers stick after plucking?
Check if you scalded the bird long enough. Try hand-pulling the stubborn feathers.
Use tweezers for pinfeathers.
Run the bird through the plucker again if needed.
Related Products
Leave a comment
All comments are moderated before being published.
This site is protected by hCaptcha and the hCaptcha Privacy Policy and Terms of Service apply.