


You want to keep your loved one safe when using a transfer floor lift at home. Getting ready matters just as much as every step you take. Checking equipment, making sure straps sit right, and looking at the patient’s needs help you avoid injuries.
Injury Type |
Description |
|---|---|
Falls |
Commonly occur due to improper use of the lift, leading to serious injuries. |
Fractures |
Result from falls or improper handling during transfers. |
Skin Tears |
Caused by rough handling or poorly placed straps during transfers. |
Emotional Distress |
Can result from the trauma of falling or being mishandled during transfers. |
Catastrophic Injuries |
Includes severe outcomes like brain injuries or fatalities due to improper lift operation. |
Key Takeaways
Always assess the patient's condition and the environment before using a transfer floor lift. Clear pathways and check flooring types to prevent accidents.
Inspect the lift and its components before each use. Look for loose parts, frayed straps, and ensure the battery is charged to avoid malfunctions.
Communicate clearly with your loved one throughout the transfer process. Explain each step to reduce anxiety and ensure cooperation.
Preparation for Transfer Floor Lift
Assess Patient and Environment
Before you use a transfer floor lift, look at your loved one’s condition. Make sure they are alert and able to follow directions. If they have pain or weakness, talk with their healthcare provider first. Check the area around them. You want a clear space with no clutter. Look at the floor. Carpet can make moving the lift harder, and hardwood floors can be slippery. Watch out for thresholds between rooms. These can trip you or make the lift unstable.
Tip: Always keep shoes and cords out of the way to prevent accidents.
Environmental Safety Checklist
Check the type and condition of flooring.
Look for transitions between carpet and hardwood.
Remove obstacles and clear pathways.
Inspect Equipment and Brakes
You need to check your transfer floor lift before every use. Look for loose bolts, frayed straps, or worn parts. Make sure the battery is charged if your lift is powered. Test the brakes. They should hold the lift steady and not slip. If you skip these steps, the lift could fail and cause injury. Regular maintenance helps prevent problems like tipping or broken straps.
-
Common equipment issues:
Risk of tipping if overloaded.
Malfunctions from poor maintenance.
Prepare for Safe Lifting
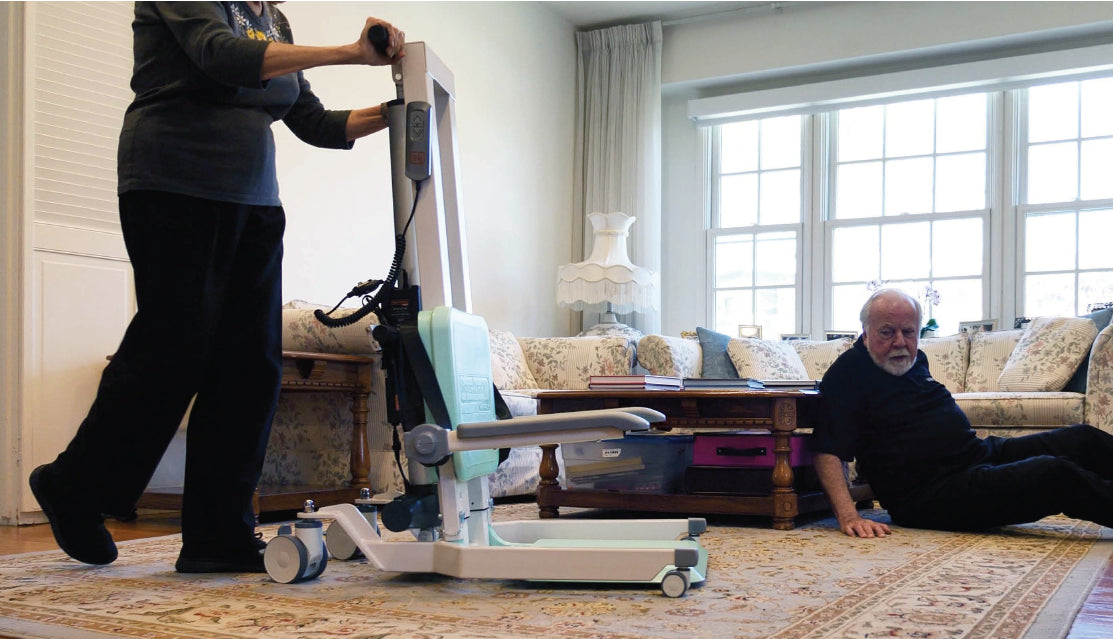
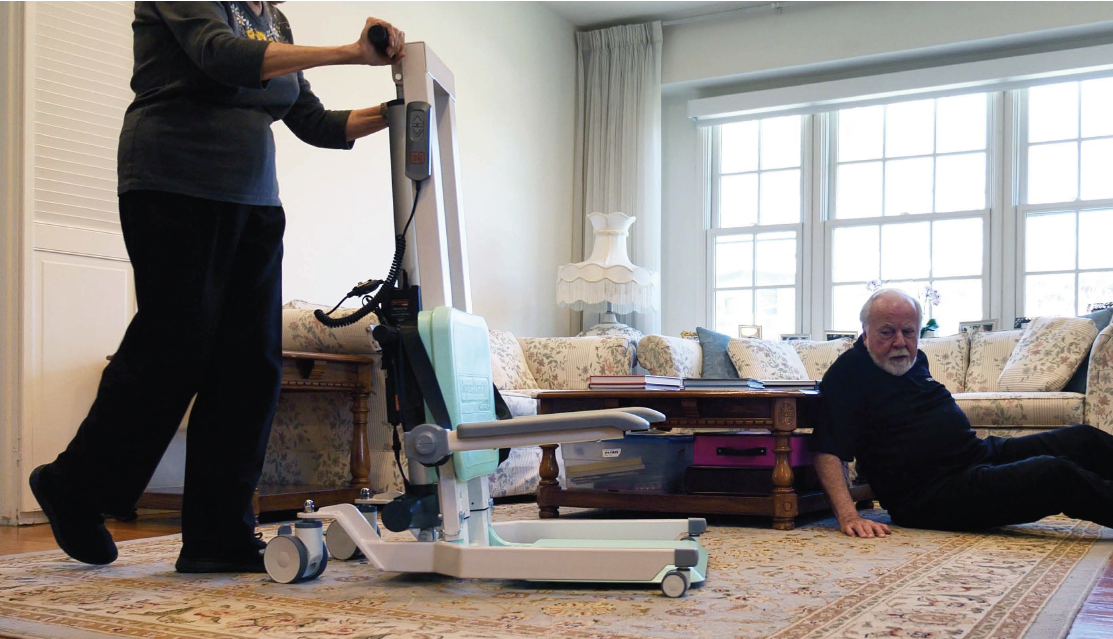
Get ready to lift by using good body mechanics. Stand with your feet shoulder-width apart. Bend your knees and hips, not your back. Let your legs do the work. Never try to lift more than you can handle. Work at your loved one’s pace. Talk to them during the transfer to help them feel safe. If you need to lift someone from the floor, always ask for help. Two people make the transfer safer and easier.
Recommendation |
Description |
|---|---|
Stand with feet apart for balance. |
|
Use your legs to lift |
Protects your back from injury. |
Communicate with the patient |
Reduces anxiety and helps with cooperation. |
Use a gait belt if possible |
Adds extra support during the transfer. |
Note: For heavier transfers or if your loved one cannot help, always use two people and a transfer floor lift.
Transfer Floor Lift Steps
Position Lift and Attach Sling
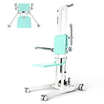
Getting started with a transfer floor lift means you need to set up everything just right. First, roll the lift close to your loved one. Make sure the brakes are on and the lift feels steady. You want the lift base wide enough for good balance. Now, pick the right sling for the job. You might use a full-back sling, a bariatric sling, a sit-to-stand sling, or a specialized Hoyer sling. Each sling fits different needs, so check the label and instructions.
Here’s a simple step-by-step guide to help you:
Check the lift for loose parts and make sure the battery is charged.
Talk to your loved one about what you’re going to do. Let them know each step.
Slide the sling under your loved one. Make sure it’s smooth and not bunched up.
Attach the sling straps to the lift hooks. Cross the leg straps if the instructions say so. This keeps legs from swinging out.
Double-check every strap and connection. You want everything snug but comfortable.
Tip: Always use the sling that matches your loved one’s size and needs. If you’re not sure, ask a healthcare provider.
Secure Patient and Operate Controls
You want your loved one to feel safe before you start moving the lift. Ask them to sit up straight and put their feet flat on the foot platform. Make sure their arms are inside the sling and they’re holding the support handles. Check every strap again. Tighten them so your loved one feels secure but not squeezed.
Here’s what you do next:
Explain what’s about to happen. Let your loved one know when you’ll start lifting.
Make sure their body is centered in the sling.
Use the lift controls. Most transfer floor lifts have electric buttons or levers. Move the lift slowly. Watch your loved one’s face for signs of discomfort.
If your lift has emergency controls, know where they are. You might need them if the power fails.
Control Type |
What It Does |
|---|---|
Electric lift buttons |
Raises or lowers the patient easily |
Emergency stop switch |
Stops the lift in case of trouble |
Manual lowering lever |
Lets you lower the patient by hand |
Note: Always follow the manufacturer’s instructions for your transfer floor lift. This helps prevent accidents.
Complete Transfer Safely
Now you’re ready to finish the transfer. Hold your loved one close to you as you move the lift. Pivot your feet to turn, instead of twisting your back. Move slowly and keep talking to your loved one. If you need to cross a doorway or uneven floor, go extra slow.
Here’s how to wrap up the transfer:
Move the lift to the new spot, like a bed or chair.
Lower your loved one gently. Make sure their feet touch the ground or footrest.
Unhook the sling straps one at a time. Support your loved one as you do this.
Help them get comfortable in their new spot.
Check for any signs of discomfort or pain.
If the lift stops working or you feel unsure, have a backup plan. Call for help or use emergency controls. Never try to fix the lift while your loved one is in it.
You can make every transfer smooth and safe by following these steps. Practice helps you feel more confident. Your loved one will feel safer, too.
Safety Tips and Mistakes to Avoid
Communicate and Troubleshoot
You want every transfer to go smoothly. Start by talking with your loved one before you use the transfer floor lift. Explain each step in simple words. Ask if they feel ready. You can agree on a signal, like saying “ready?” before you begin. This helps you both stay in sync. Encourage your loved one to help as much as they can. If something goes wrong, stay calm. Check the lift for error messages or strange sounds. Make sure the power is on and the emergency stop is not pressed. If you spot a problem, keep your loved one safe and call for help.
Avoid Common Errors
Mistakes can happen, but you can prevent most of them. Here are some common errors to watch out for:
Forgetting to check the brakes before lifting.
Not attaching the sling straps correctly.
Trying to lift someone who is too heavy without help.
Rushing through the transfer.
Not providing enough support during the move.
Using the wrong sling size or type.
Tip: Always double-check straps and brakes before you start. Take your time and never rush.
Practical Transfer Advice
You can make transfers safer and easier with a few simple steps:
Use your legs and stomach muscles to lift, not your back.
Move your feet instead of twisting your body.
Get close to your loved one before lifting.
Ask for help if you need it—two people are better for heavy transfers.
Keep written instructions for each person’s needs.
Make sure the room is well-lit and free of tripping hazards.
Remember, practice builds confidence. Review your steps and adjust your routine as needed.
You can keep transfers safe by following these steps:
Prepare the lift and check all parts.
Explain each step to your loved one.
Secure straps and harnesses.
Lift slowly and watch for problems.
Never leave anyone unattended.
Teamwork makes every transfer smoother. Practice often and use assistive devices to build your confidence. 😊
FAQ
How often should you check the transfer floor lift?
You should check your lift before every use. Look for loose parts, frayed straps, or low battery. Regular checks keep everyone safe.
Can one person use a transfer floor lift alone?
You can use some lifts alone, but two people make it safer. Always ask for help if your loved one is heavy or cannot help.
What should you do if the lift stops working during a transfer?
Stay calm. Use the emergency lowering feature if your lift has one. Call for help right away. Never try to fix the lift with someone in it.

Leave a comment
All comments are moderated before being published.
This site is protected by hCaptcha and the hCaptcha Privacy Policy and Terms of Service apply.